
Introduction
This manual provides comprehensive instructions for the installation, setup, and operation of your HIDALIFE Keypad Door Lock with Knob (Model HL-300FK). Please read this guide thoroughly before installation and use to ensure proper functionality and safety.
Package Contents
Verify that all components are present before beginning installation:
- Exterior Assembly (Keypad with Knob)
- Interior Assembly (Backplate with Knob)
- Latch
- Backplate
- Battery Cover
- Strike
- Strike Box
- Keys (3 pieces)
- Latch/Strike Screws (M4.0*20, 4 pieces)
- Interior Assembly Screws (M4.0*10, 3 pieces)
- Backplate Screws (M4.0*35, 4 pieces)
- User Manual
Installation Guide
Before installation, ensure your door meets the following specifications:
- Door Holes: 2-1/8" (54 mm)
- Door Thickness: 1-3/8" to 2" (35mm-50mm)
- Backset: 2-3/8" or 2-3/4" (60mm or 70mm)
- Latch Hole: Rectangular (Note: Not compatible with 1-1/2" door holes or rounded latch holes)
Required Tools:
- Phillips head screwdriver (Do not use power drill, which may damage the lock).
- 9V alkaline battery (Not included).
Step-by-Step Installation:
- Adjust Latch Length and Direction:
Ensure the latch is set to the correct backset (60mm or 70mm) and the beveled edge faces the closing direction of your door. Pull the cam to adjust the length if needed.

Image: Diagram showing door hole, backset, and thickness measurements, along with compatible latch types (rectangular recommended).
- Install Latch:
Insert the latch into the door edge and secure it with the supplied screws. Ensure the latch is centered in the door hole.
Video: Demonstrates the correct way to install the latch into the door frame, ensuring proper alignment and securing with screws.
- Install Exterior Assembly (Keypad):
Pass the IC wire from the exterior assembly through the hub of the latch and into the door. Position the exterior assembly flush against the door.
- Install Interior Assembly (Backplate):
Connect the IC wire from the exterior assembly to the interior assembly. Secure the interior assembly to the backplate using the provided screws. Ensure it is parallel with the exterior assembly and the door edge.
- Install Battery:
Open the battery cover on the interior assembly and install a new 9V alkaline battery. Close the battery cover securely.

Image: Graphic highlighting the long battery life of the lock, powered by a 9V battery.
Setup and Programming
The default programming code (PC) is 000000. The default user code (UC) is 1234. It is recommended to change these codes immediately after installation.
Change the Programming Code (PC):
- Enter the default PC (000000) and press the unlock key.
- Wait for 1 green light and 1 beep.
- Press '1' and then the unlock key.
- Wait for 1 green light and 1 beep.
- Enter your new 6-digit programming code and press the unlock key.
- Wait for 1 green light and 1 beep. Setting is complete.
Video: Step-by-step guide on how to change the default programming code of the lock.
Add User Codes (UC):
User codes must be 4 digits in length and different from the first 4 numbers of the programming code.
- Enter the PC and press the unlock key.
- Wait for 1 green light and 1 beep.
- Press '2' and then the unlock key.
- Wait for 1 green light and 1 beep.
- Enter a new 4-digit user code and press the unlock key.
- Wait for 1 green light and 1 beep. User code is added.
Add One-Time Codes:
One-time codes are valid for a single use and will be invalid after one use. They must be different from any user codes.
- Enter the PC and press the unlock key.
- Wait for 1 green light and 1 beep.
- Press '8' and then the unlock key.
- Wait for 1 green light and 1 beep.
- Enter a 4-digit one-time code and press the unlock key.
- Wait for 1 green light and 1 beep. One-time code is added.
Video: Instructions on how to add a one-time use code to the keypad door lock.
Add User Fingerprints:
The lock can store up to 50 unique fingerprints.
- Enter the PC and press the unlock key.
- Wait for 1 green light and 1 beep.
- Press '4' and then the unlock key.
- Wait for 1 green light and 1 beep.
- Place your finger on the sensor. The lock will flash green and beep once. Repeat this 5 times, repositioning your finger slightly each time.
- After 5 successful scans, the lock will flash green and beep once. Fingerprint is added.

Image: Highlights the fingerprint unlocking feature, showing 0.3s biometric identification and storage for up to 50 fingerprints.
Set Auto-Lock Delay Time (2-99 seconds):
The default auto-lock time delay is 5 seconds.
- Enter the PC and press the unlock key.
- Wait for 1 green light and 1 beep.
- Press '9' and then the unlock key.
- Wait for 1 green light and 1 beep.
- Enter the desired delay time (2-99 seconds) and press the unlock key.
- Wait for 1 green light and 1 beep. Setting is complete.
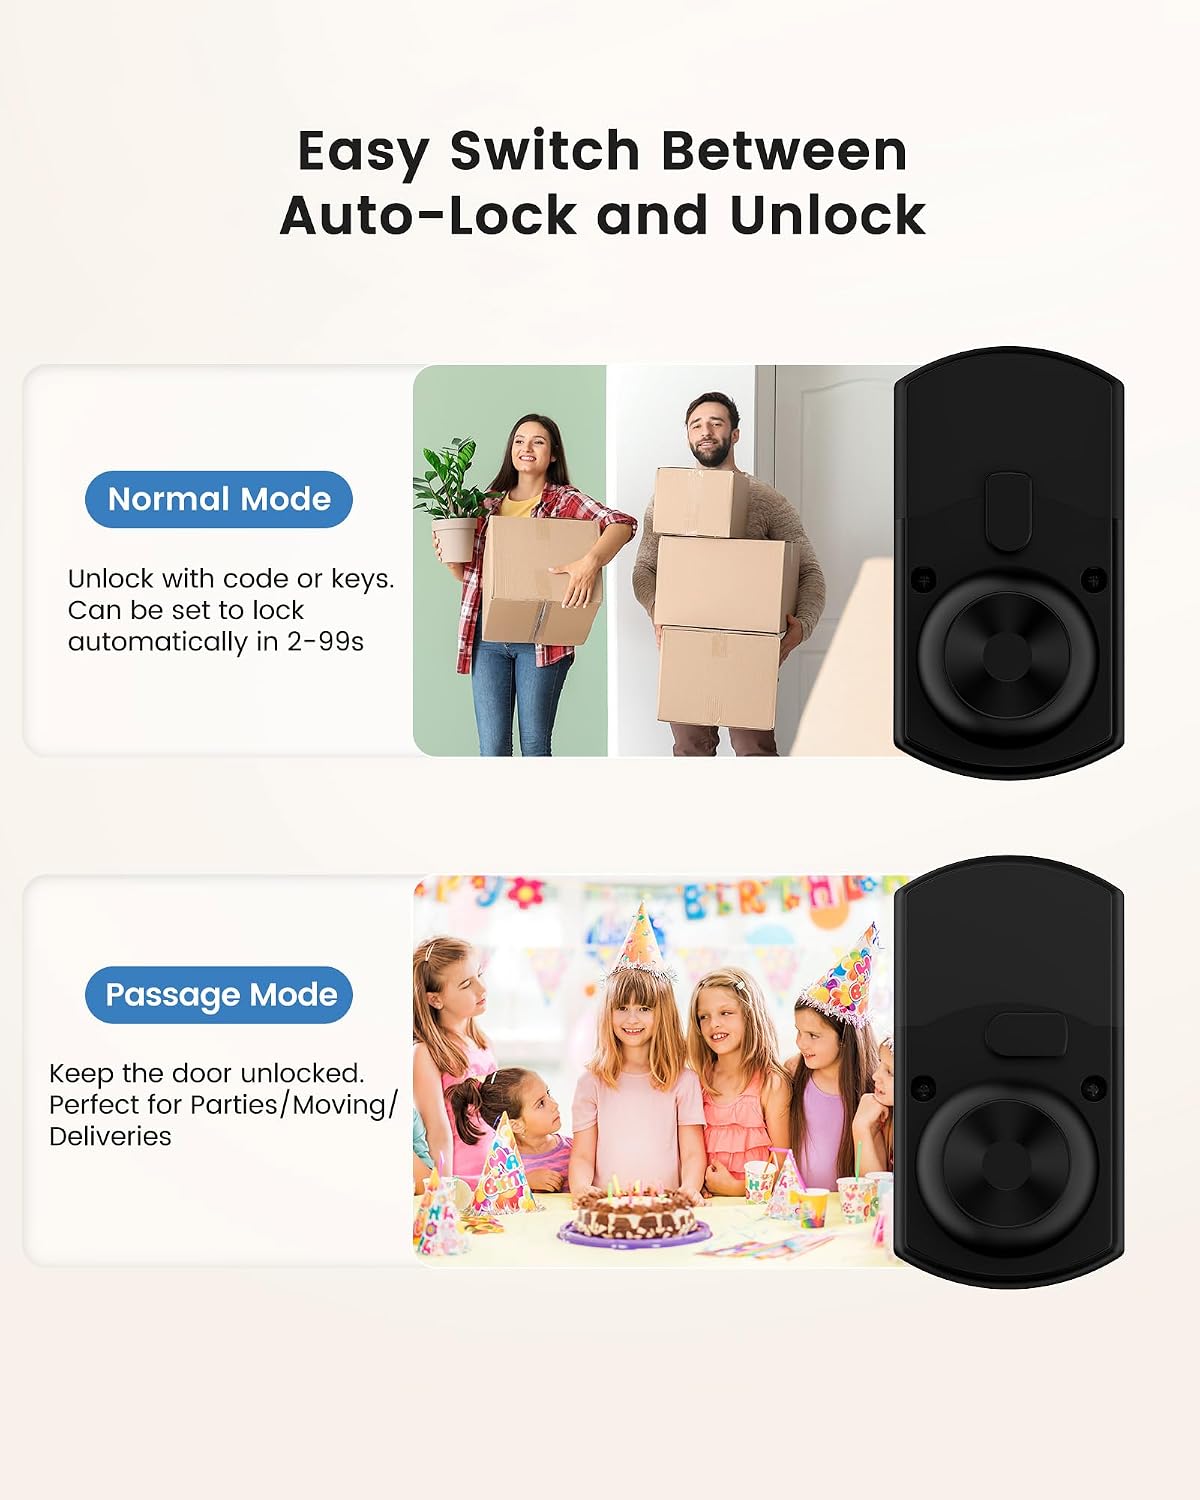
Image: Illustrates the easy switch between normal mode (auto-lock) and passage mode (unlocked) for convenience.
Enable/Disable Vacation Mode:
When vacation mode is active, only the administrator's passcode and physical key can unlock the door. All other passcodes and fingerprints are disabled.
- Enter the PC and press the unlock key.
- Wait for 1 green light and 1 beep.
- Press '7' and then the unlock key.
- Wait for 1 green light and 1 beep. Vacation mode is now enabled/disabled.
Operating Instructions
Unlocking the Door:
- Using User Code: Enter your 4-digit user code and press the unlock key.
- Using Fingerprint: Place your registered finger on the fingerprint sensor.
- Using Physical Key: Insert the key and turn it 90° to the left, then turn the handle to unlock.

Image: Shows various users (roommate, tenant, family, guest, tutor, domestic service) who can be granted access using 50 fingerprints, 20 user passcodes, or 3 physical keys.
Locking the Door:
- Automatic Lock: If auto-lock is enabled, the door will automatically lock after the set delay time (2-99 seconds).
- Manual Lock: Press the unlock key to manually lock the door.
Passage Mode:
To enable passage mode, turn the turnpiece 90° to the right. The door will remain unlocked, allowing free entry and exit. This function is useful for guests or when moving items. To disable passage mode, turn the turnpiece to vertical.

Image: Depicts the lock's versatility for various scenarios like garage door, bedroom door, office door, and apartment door.
Smart Anti-Peek Protection:
When entering your code, you can add random numbers before or after your actual code to prevent others from guessing it. For example, if your code is 1234, you can enter 56123478 and the lock will still open.
Silent Mode:
To enable or disable silent mode, enter the PC and press the unlock key, then press '6' and the unlock key. This mutes the keypad beeps for quiet entry.
Maintenance
Battery Replacement:
The lock will emit 10 beeps after unlocking when the battery is low. Replace the 9V alkaline battery promptly to ensure continuous operation.
Image: Highlights the long battery life of the lock, powered by a 9V battery.
Cleaning:
Wipe the keypad and fingerprint sensor with a soft, dry cloth regularly to ensure optimal performance and recognition.
Troubleshooting
| Problem | Possible Reasons | Solutions |
|---|---|---|
| Cannot add user code. | Repeatedly added an existing user code. User code is not 4 digits. User code is same as first 4 digits of PC. | Add a new user code. User code must be 4 digits. User code must be different from first 4 digits of PC. |
| Cannot delete user code. | User code does not exist. | Confirm the correct user code to be deleted. |
| Cannot change PC. | New PC is not 6 digits. New PC is same as first 4 digits of UC. | PC must be 6 digits. PC must be different from first 4 digits of UC. |
| Keypad is locked. | Incorrect code entered 5 times. | Wait for 1 minute. |
| Battery is dead. | No power. | Install or replace 9V alkaline battery. |
| Passage mode is on. | Door does not lock automatically. | Turn turnpiece to vertical. |
Specifications
| Feature | Detail |
|---|---|
| Brand | HIDALIFE |
| Model | HL-300FK |
| Lock Type | Biometric, Keypad |
| Special Features | Anti-Peeping Password, Auto-Lock, Back-Lit Keypad, Fingerprint, Passcode Unlock |
| Material | Zinc Alloy |
| Item Dimensions (L x W x H) | 5.1 x 2.72 x 2.3 inches |
| Power Source | 9V Alkaline Battery (not included) |
| Fingerprint Storage | Up to 50 fingerprints |
| User Codes | Up to 20 permanent codes |
| Auto-Lock Timing | Adjustable 2-99 seconds |
Warranty and Support
This HIDALIFE product comes with a 1-Year Warranty. For any questions, installation assistance, or troubleshooting, please contact our support team:
Email: support@hidalife.com
Please provide your order number when contacting support for faster service.

