
1. Introduction
Thank you for choosing the Nineigh CT190 75-inch Phone Tripod Stand. This versatile tripod is designed to provide stable support for smartphones, cameras, ring lights, and projectors, facilitating various shooting needs including overhead recording, live streaming, vlogging, and photography. Its lightweight aluminum construction and adjustable features make it suitable for both indoor and outdoor use.

Image: The Nineigh CT190 75-inch Phone Tripod Stand in its standard configuration.
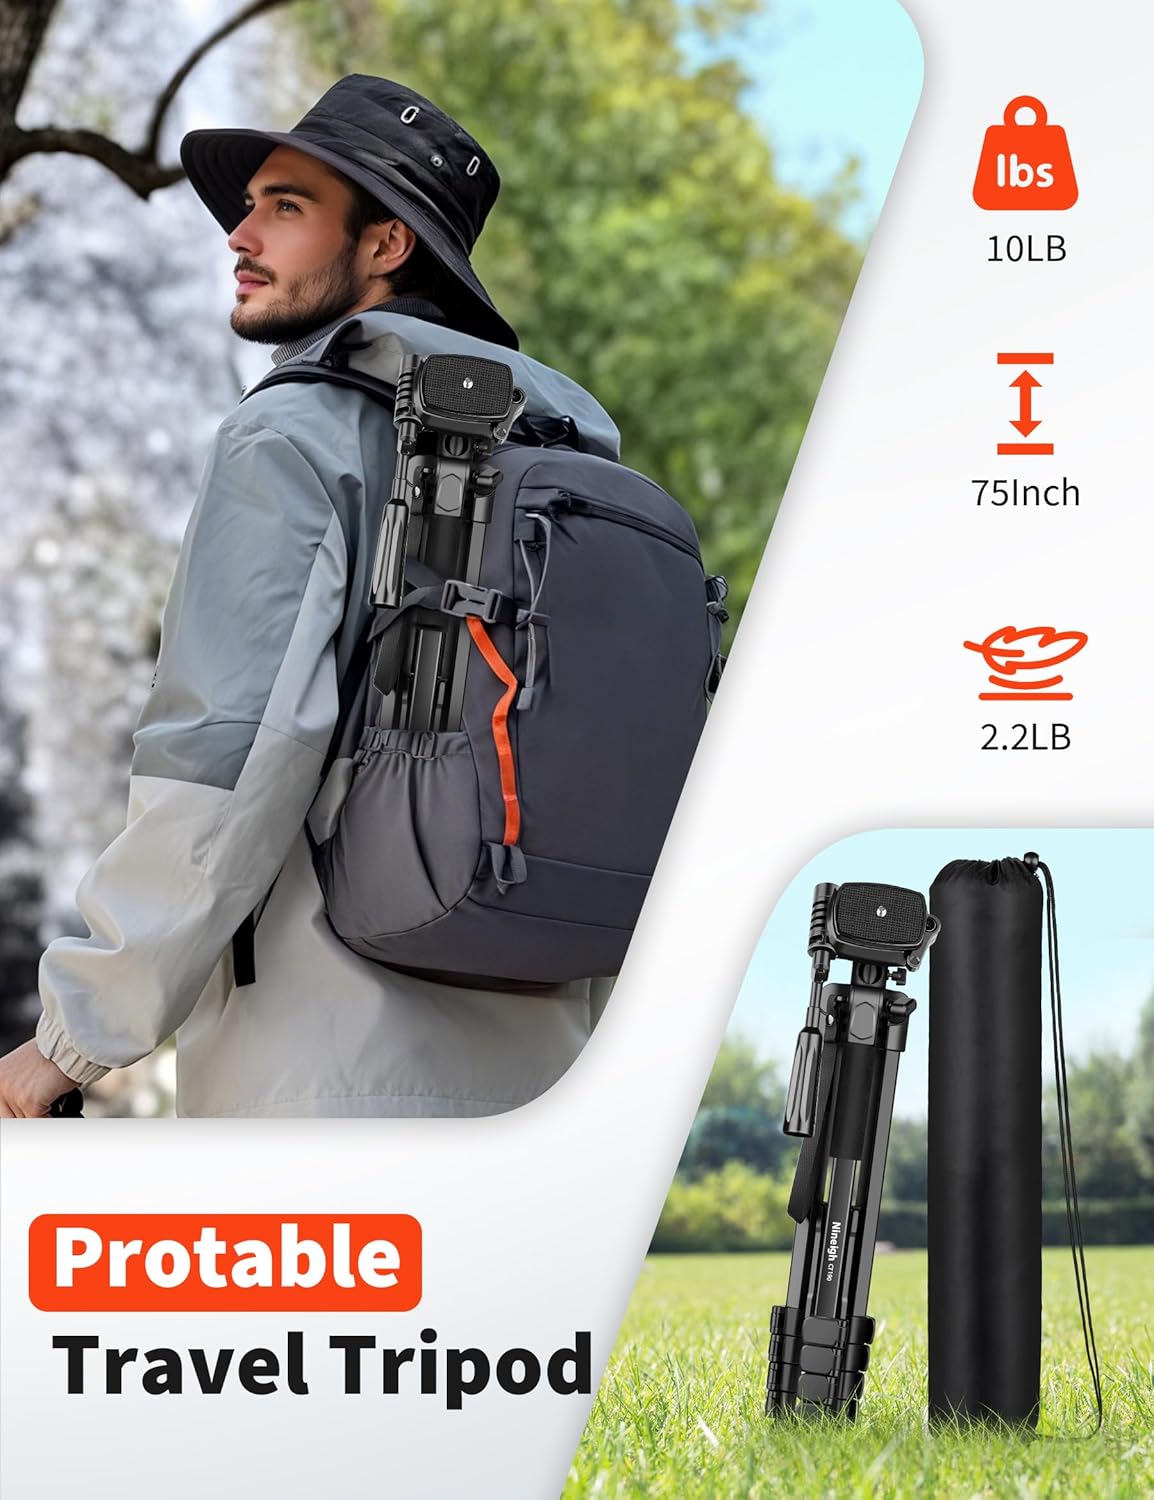
Image: The Nineigh CT190 tripod folded and stored in its carrying bag, demonstrating its portability.
2. Safety Information
- Weight Limit: Do not exceed the maximum load capacity of 10 lbs (4.5 kg).
- Overhead Mode: When using the tripod in overhead mode, it is recommended for smartphones and small mirrorless cameras only. Avoid using heavy equipment such as DSLR cameras.
- Balance: When the tripod is not fully extended in overhead mode, ensure to hang a counterweight on the opposite end of the horizontal bar to maintain stability and prevent tipping.
- Stability: Always ensure the tripod legs are fully extended and locked before mounting any device. The higher the tripod is extended, the more stable it will be in standard configuration.
- Uneven Surfaces: Use caution on uneven surfaces. Adjust leg lengths to ensure a level and stable base.
- Children: Keep out of reach of children. This product is not a toy.
- Environmental Conditions: Avoid using in strong winds or extreme weather conditions that could compromise stability. This product is not water resistant.
3. Package Contents
Verify that all items are present in the package:
- Tripod (x1)
- Phone Holder (x1)
- Remote Control (x1)
- Quick Release Plate (x2)
- Carry Bag (x1)

Image: Visual representation of the Nineigh CT190 tripod and its included accessories.
4. Product Overview
The Nineigh CT190 tripod features a robust yet lightweight aluminum alloy construction with several key components for versatile use.
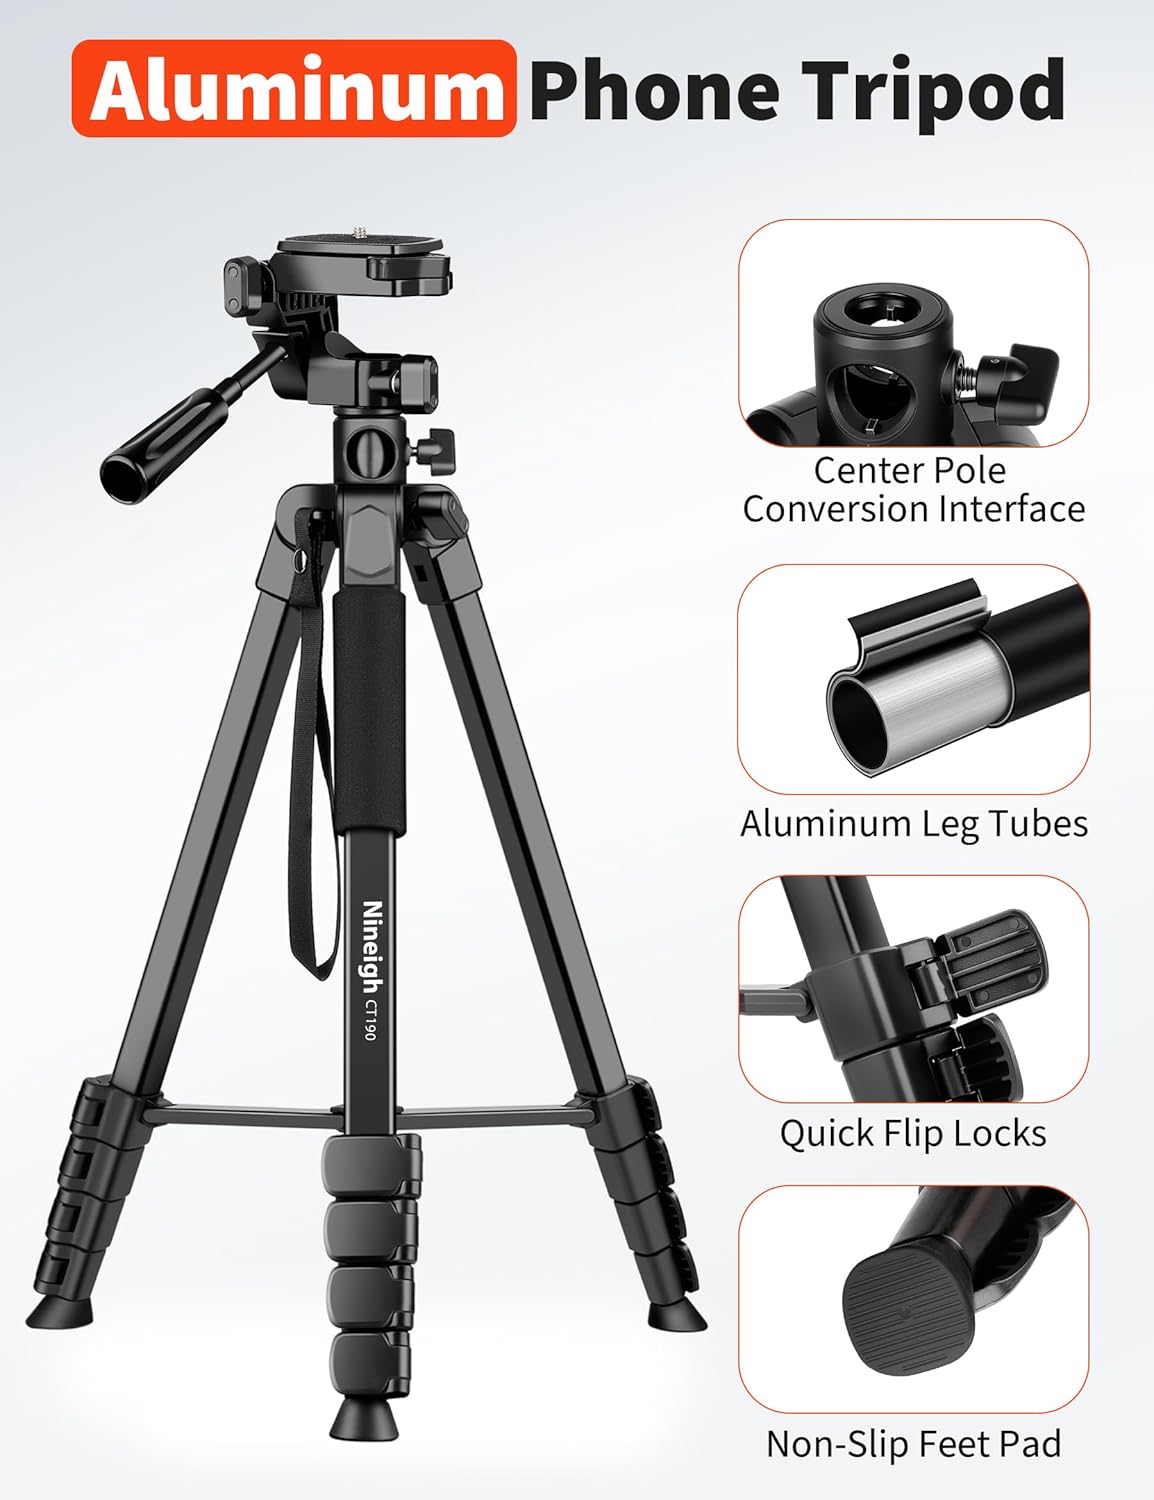
Image: Detailed view of the Nineigh CT190 tripod highlighting its key components: Center Pole Conversion Interface, Aluminum Leg Tubes, Quick Flip Locks, and Non-Slip Feet Pad.
- 3-Way Pan Head: Allows for precise adjustments in vertical, horizontal, and tilt angles.
- Center Column: Extends vertically for additional height and can be converted for horizontal (overhead) shooting.
- Quick Flip Locks: Securely lock the leg sections at desired heights.
- Non-Slip Rubber Feet: Provide stability on various surfaces.
- Quick Release Plate: Enables fast attachment and detachment of devices.
- Phone Holder: Adjustable clamp to secure smartphones from 4 to 7 inches.
- Remote Control: Bluetooth-enabled for wireless photo and video capture.
5. Setup
5.1 Unfolding and Adjusting Height
- Place the tripod on a flat, stable surface.
- Release the leg locks and extend each leg section to the desired height. Ensure all leg locks are securely fastened.
- To extend the center column, loosen the locking knob on the main body and pull the column upwards. Tighten the knob to secure.
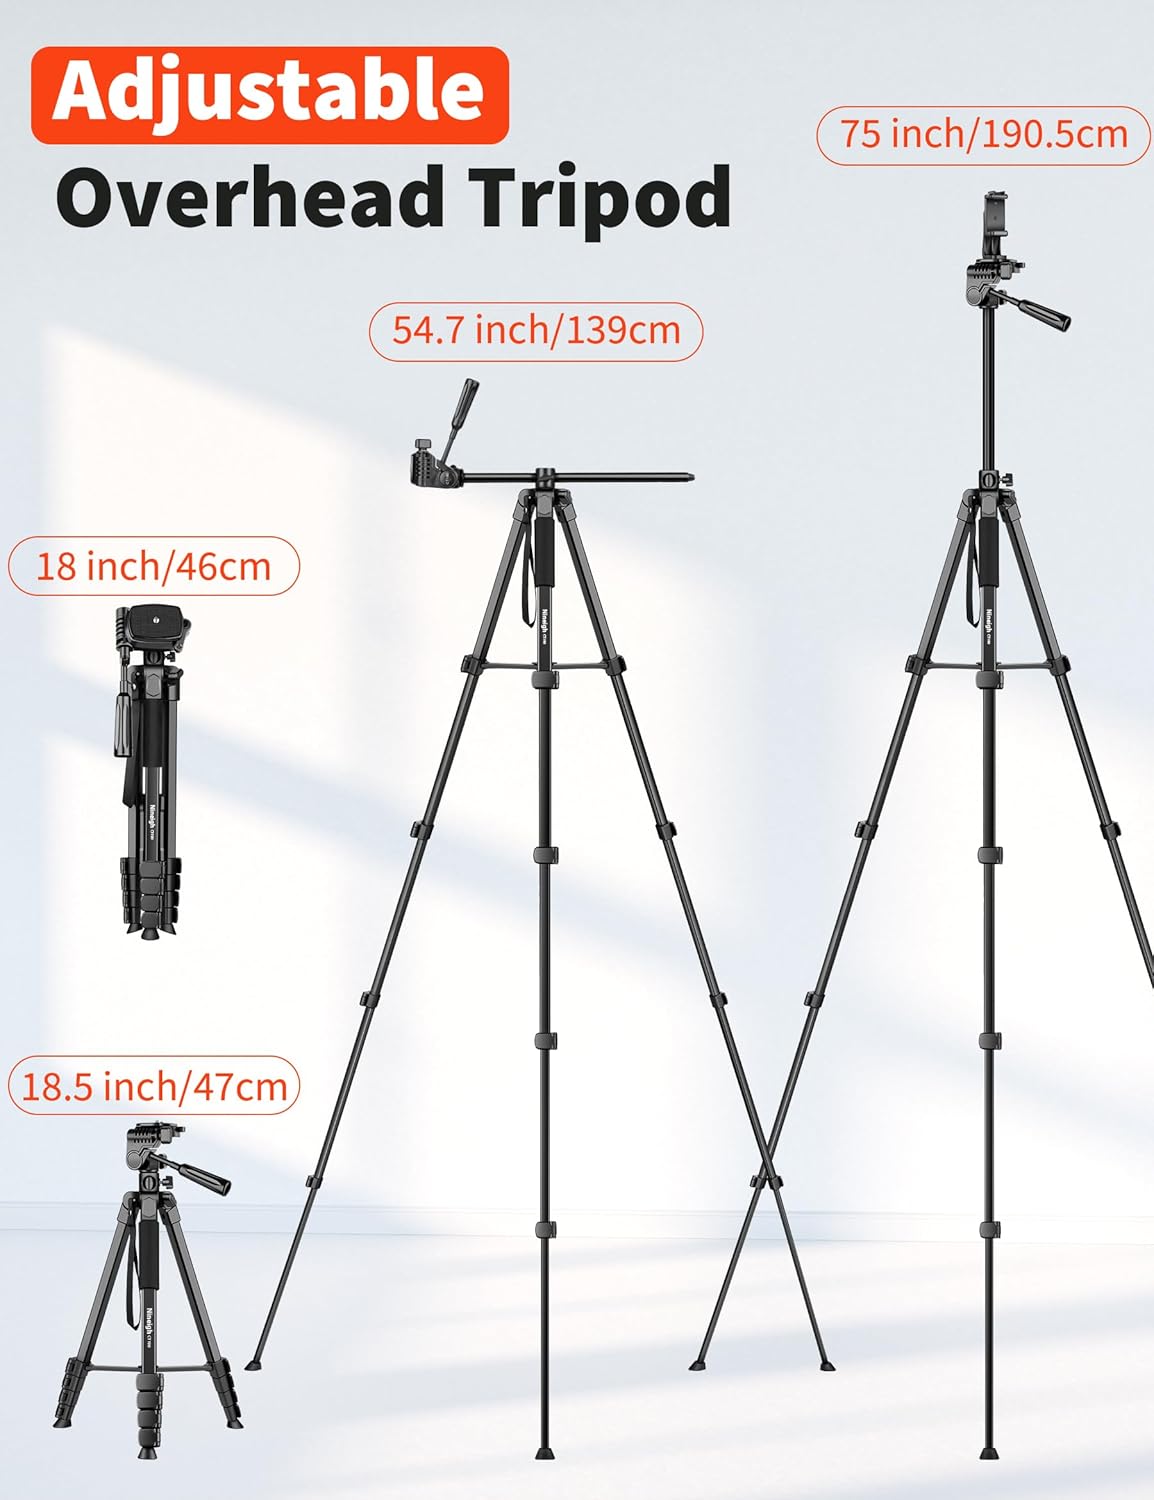
Image: Illustration of the tripod's adjustable height, showing folded (18.5 inches), standard (54.7 inches), and fully extended (75 inches) configurations.
5.2 Attaching Devices (Camera/Phone)
- Attach a quick release plate to your device (camera or phone holder) by screwing it into the 1/4" thread.
- Align the quick release plate with the tripod head and slide it into place until it clicks securely.
- For smartphones, insert your phone into the adjustable phone holder. Ensure it is centered and securely gripped.

Image: The universal phone holder, showing its adjustable width (2.2" - 3.7") and compatibility with various smartphones. It also shows a cold shoe mount for accessories.

Image: The 1/4" fast release plate, demonstrating how it attaches to cameras, ring lights, or projectors for quick device changes.
5.3 Overhead Mode Setup
- To convert to overhead shooting mode, first remove any device from the quick release plate.
- Loosen the center column locking knob and pull the center column up.
- Locate the rotation knob at the base of the center column. Loosen this knob and tilt the center column horizontally.
- Tighten the rotation knob to secure the horizontal position.
- Re-attach your device (phone or small mirrorless camera) to the quick release plate at the end of the horizontal arm.
- Important: If the tripod is not fully extended, attach a counterweight to the opposite end of the horizontal bar to ensure balance and prevent tipping.

Image: The Nineigh CT190 tripod configured for overhead shooting, showing a smartphone mounted for top-down recording.

Image: Step-by-step visual guide demonstrating how to quickly convert the tripod to horizontal (overhead) shooting mode.

Image: Illustrates the 360-degree rotation capability of the center column and the rotation knob for securing the horizontal arm.
5.4 Remote Control Pairing
- Turn on the remote control.
- Enable Bluetooth on your smartphone.
- Search for "AB Shutter3" in your phone's Bluetooth settings and pair with it.
- Once paired, you can use the remote to trigger your phone's camera shutter from up to 33 feet (10 meters) away.

Image: The wireless remote control, showing its name "AB Shutter3" and indicating compatibility with Android/iOS devices for remote shooting.
6. Operating Instructions
6.1 Multi-angle Shooting
The 3-way pan head allows for flexible adjustments to achieve various shooting angles:
- Vertical Shooting: Loosen the tilt lock and rotate your device 90 degrees for portrait orientation.
- Up and Down Shooting: Adjust the tilt handle to achieve upward or downward angles (up to 270 degrees).
- Panoramic Shooting: Loosen the pan lock at the base of the head and rotate the head 360 degrees horizontally for panoramic shots.

Image: Demonstrates vertical, up and down, and panoramic shooting capabilities using the 3-way pan head.
6.2 Device Compatibility
The tripod is compatible with a wide range of devices:
- Smartphones: Fits devices from 4 to 7 inches (e.g., iPhone 11-17 Pro Max, Samsung Galaxy, Google Pixel).
- Cameras: Compatible with most DSLR cameras, mirrorless cameras, and digital cameras (up to 10 lbs).
- Other Devices: Supports projectors and ring lights with a standard 1/4" screw mount.
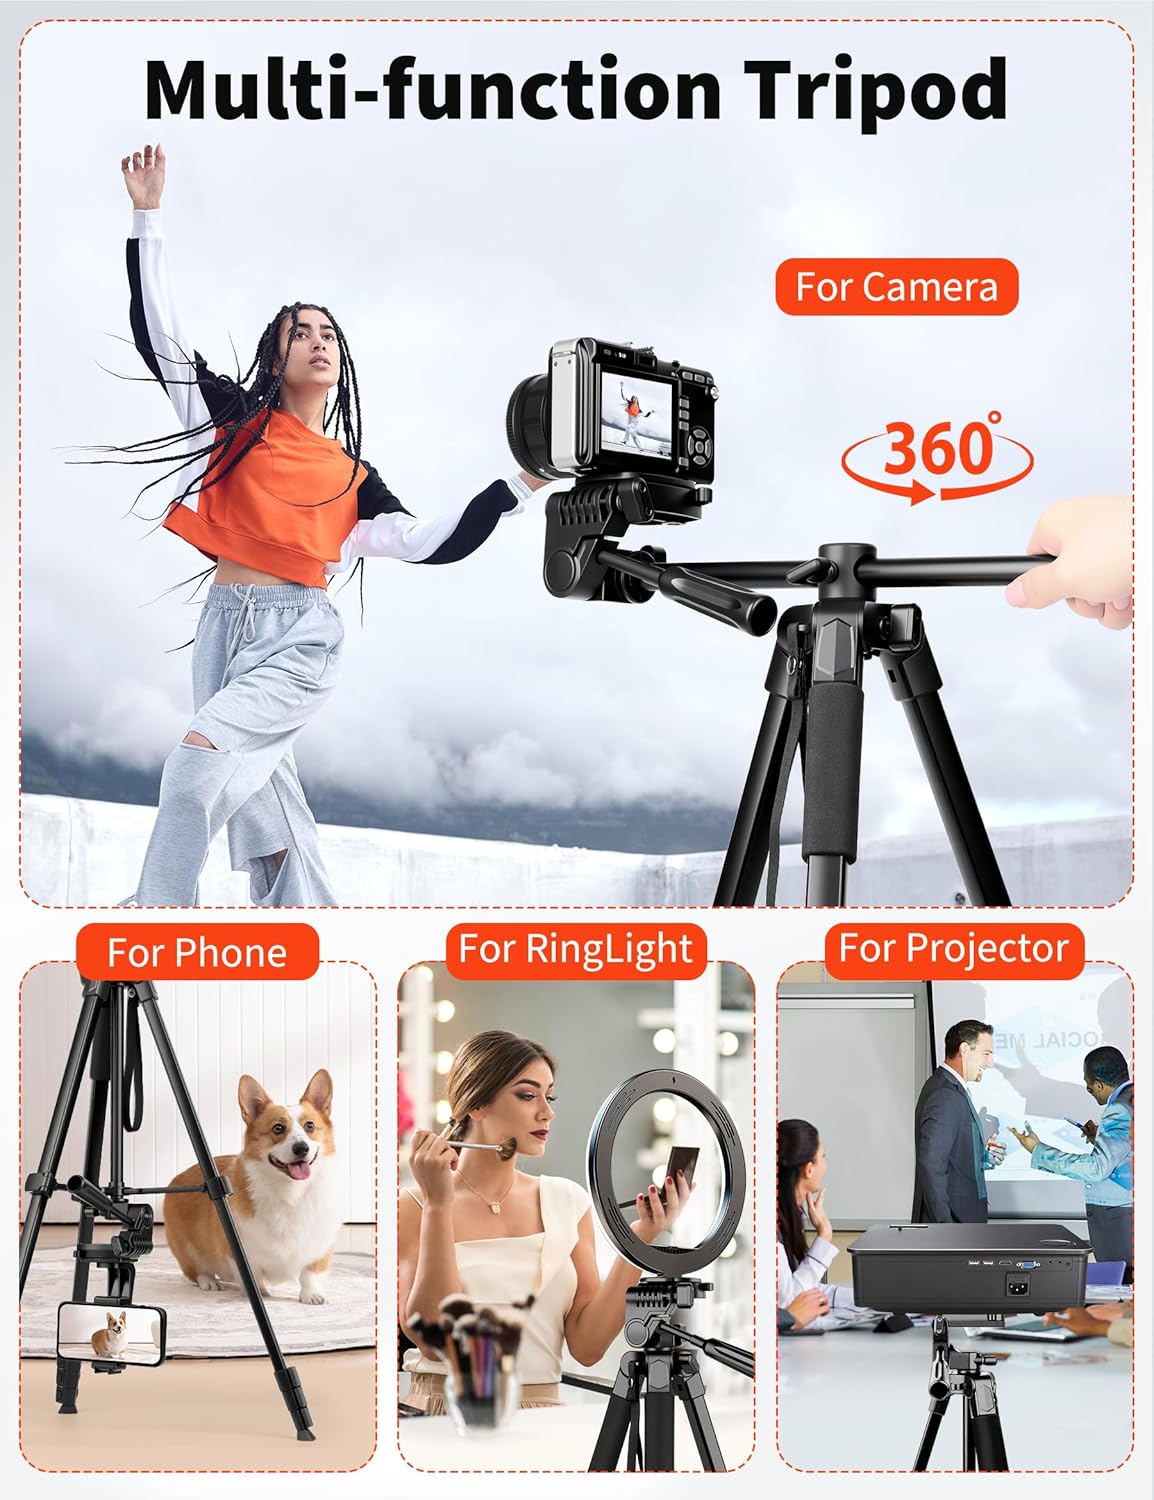
Image: Shows the tripod being used with a camera, phone, ring light, and projector, illustrating its multi-functional design.

Image: Collage showing the tripod in various use cases: with a phone for family photos, with a camera for outdoor photography, with a ring light for makeup tutorials, and with a projector for home entertainment.
6.3 Important Usage Reminders
- For optimal stability, especially when using the horizontal arm, ensure the tripod legs are fully extended before extending the center column to its maximum.
- Always verify that all locking mechanisms are tightened before leaving the tripod unattended with a device mounted.

Image: Visual guide illustrating correct and incorrect methods for extending the tripod to ensure maximum stability, especially in horizontal mode.
7. Maintenance
- Cleaning: Wipe the tripod with a soft, dry cloth. For stubborn dirt, a slightly damp cloth can be used, followed by immediate drying. Avoid harsh chemicals or abrasive cleaners.
- Storage: Store the tripod in its included carry bag in a cool, dry place away from direct sunlight and extreme temperatures.
- Inspection: Periodically check all screws, knobs, and leg locks to ensure they are secure and functioning correctly.
8. Troubleshooting
| Problem | Possible Cause | Solution |
|---|---|---|
| Tripod is unstable or tips over. | Legs not fully extended/locked; uneven surface; excessive weight; no counterweight in overhead mode. | Ensure all leg locks are secured. Adjust leg lengths for a level base. Reduce device weight. Add a counterweight to the horizontal arm if in overhead mode. |
| Device (camera/phone) is loose on the tripod head. | Quick release plate not secured; device not tightened to plate; phone not gripped properly. | Ensure the quick release plate is fully engaged and locked. Tighten the screw connecting the device to the plate. Adjust the phone holder to firmly grip the phone. |
| Remote control not pairing. | Remote off; Bluetooth off on phone; remote battery low; interference. | Turn on the remote. Enable Bluetooth on your phone. Ensure "AB Shutter3" is selected. Replace remote battery if necessary. Move closer to the phone. |
| Center column or pan head not moving smoothly. | Locking knobs too tight; dirt/debris. | Loosen relevant locking knobs. Clean any visible dirt or debris from moving parts. |
9. Specifications
| Feature | Detail |
|---|---|
| Brand | Nineigh |
| Model Name | CT190 |
| Material | Aluminum Alloy, Plastic |
| Maximum Height | 75 inches (190.5 cm) |
| Minimum Height | 18.5 inches (47 cm) |
| Folded Size | 18 inches (46 cm) |
| Weight | 2.2 pounds (1 kg) |
| Weight Limit | 10 pounds (4.5 kg) |
| Tripod Head Type | 3-Way Pan Head |
| Phone Holder Compatibility | Smartphones 4-7 inches wide |
| Screw Mount | Standard 1/4" |
| Remote Control Range | Up to 33 feet (10 meters) |
| Special Features | Lightweight, Portable, Adjustable, Overhead Shooting Capability |
10. Warranty & Support
10.1 Warranty Information
The Nineigh CT190 Phone Tripod Stand comes with a 1-Year Warranty from the date of purchase. This warranty covers manufacturing defects and material flaws under normal use. It does not cover damage caused by misuse, accidents, unauthorized modifications, or normal wear and tear.
Please retain your proof of purchase for warranty claims.
10.2 Customer Support
For technical assistance, warranty claims, or any questions regarding your Nineigh CT190 tripod, please contact Nineigh customer support through the retailer's platform or visit the official Nineigh website for contact details.
Note: Product specifications and appearance are subject to change without prior notice.