Introduction
Thank you for choosing the Fanbulous 56-Inch Crystal Chandelier Ceiling Fan. This manual provides essential information for the safe installation, operation, and maintenance of your new ceiling fan. Designed for spacious rooms, this fan combines elegant crystal lighting with efficient air circulation, featuring a quiet reversible DC motor and convenient remote control. Please read this manual thoroughly before installation and use, and retain it for future reference.
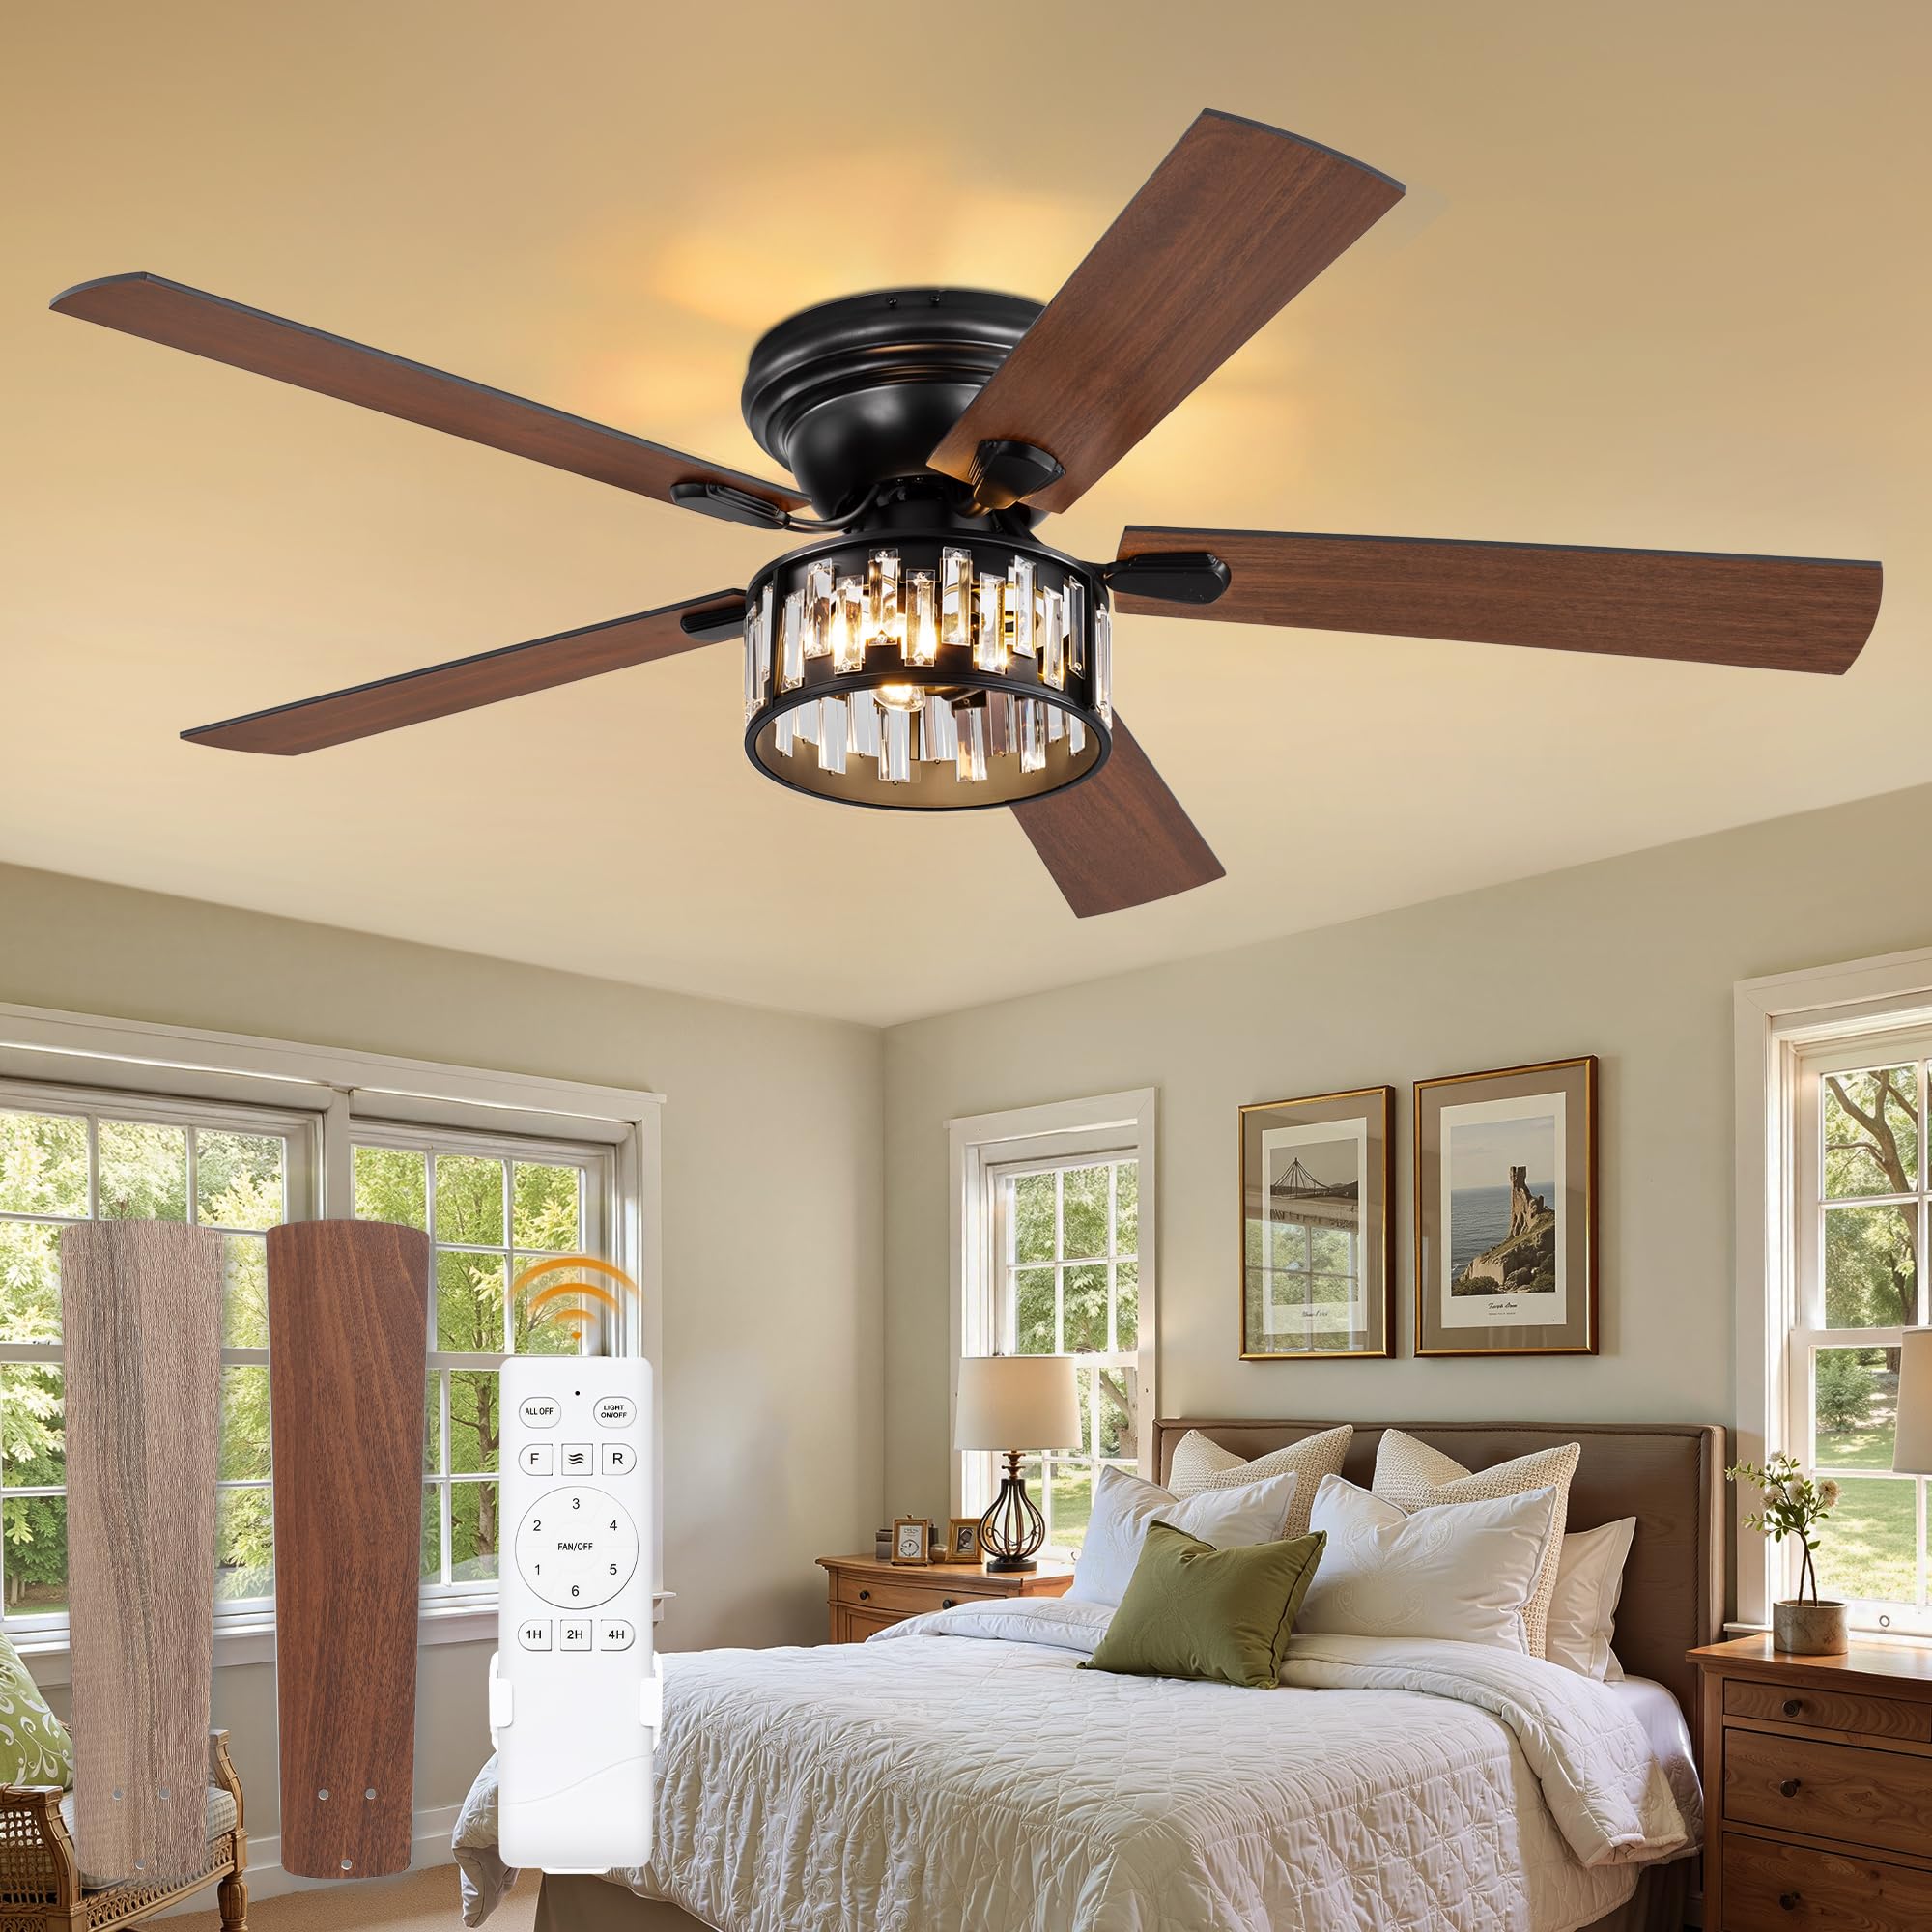
Image: The Fanbulous 56-inch Crystal Chandelier Ceiling Fan, showcasing its elegant design and crystal light fixture, installed in a modern living room setting.
Safety Information
- Electrical Safety: Always disconnect power at the circuit breaker before installation or servicing. Ensure all electrical connections comply with local codes and ordinances.
- Professional Installation: Installation should be performed by a qualified electrician to prevent electrical shock or fire.
- Mounting: The ceiling fan must be mounted to a structure capable of supporting the fan's weight (minimum 35 lbs).
- Blade Clearance: Ensure fan blades are at least 7 feet (2.1 meters) from the floor and 30 inches (76 cm) from walls or other obstructions.
- Light Bulbs: Use only E12 base bulbs (not included) as specified. Do not exceed the maximum wattage indicated on the fixture.
- Remote Control: Keep the remote control away from water and extreme temperatures.
Package Contents
Verify that all components are present and undamaged before beginning installation. If any parts are missing or damaged, contact customer service.
- Ceiling Fan Motor Assembly
- Fan Blades (5)
- Crystal Light Fixture (pre-assembled)
- Remote Control
- Mounting Bracket
- Downrod (if applicable)
- Hardware Pack (screws, wire nuts, etc.)
- Instruction Manual
Specifications
| Feature | Specification |
|---|---|
| Brand | Fanbulous |
| Model Number | F-SN56XX-1X0X |
| Product Dimensions | 56"D x 56"W x 18.9"H |
| Color | Black |
| Style | Elegant |
| Power Source | DC |
| Voltage | 120 Volts |
| Wattage | 30 watts |
| Number of Blades | 5 |
| Blade Length | 22 Inches |
| Number of Speeds | 6 |
| Noise Level | 35 Decibels |
| Controller Type | Remote Control |
| Light Type | LED (Requires 3 E12 base bulbs, not included) |
| Room Type | Bedroom, Living Room |
| Mounting Type | Flush Mount |
| Indoor/Outdoor Usage | Indoor |

Image: Detailed dimensions of the 56-inch Fanbulous Crystal Chandelier Ceiling Fan, including blade length, fixture width, and overall height.
Setup and Installation
The Fanbulous ceiling fan is designed for straightforward installation, with pre-assembled crystal components to simplify the process. The entire installation can typically be completed in approximately 40 minutes.
- Prepare for Installation: Turn off power at the circuit breaker. Ensure the mounting surface is secure and can support the fan's weight.
- Install Mounting Bracket: Secure the mounting bracket to the ceiling junction box using the provided hardware.
- Assemble Fan Blades: Attach the five fan blades to the motor housing.
- Wire the Fan: Connect the fan's electrical wires to the household wiring according to the wiring diagram in the full instruction manual. Use appropriate wire nuts.
- Mount the Fan: Carefully lift the fan assembly and attach it to the mounting bracket.
- Install Light Fixture: The crystal light fixture comes pre-assembled. Attach it to the bottom of the fan motor housing.
- Install Light Bulbs: Insert three E12 base bulbs (not included) into the sockets within the crystal light fixture.
- Restore Power: Once installation is complete and all connections are secure, restore power at the circuit breaker.

Image: A close-up view of hands attaching the pre-assembled crystal light fixture to the main body of the ceiling fan, highlighting the ease of installation.
Operating Instructions
Your Fanbulous ceiling fan is operated using the included remote control, offering convenient access to all functions.
Remote Control Functions:
- Power On/Off: Turns the fan and light on or off.
- Fan Speed: Select from 6 adjustable speeds to control airflow. The DC motor operates quietly, maintaining sound output below 35dB.
- Light On/Off: Controls the light fixture independently.
- Reversible Motor: Change the direction of the fan blades for year-round comfort. Forward rotation delivers cool air in summer, while reverse rotation circulates warm air in winter.
- Timer: Set a programmable countdown timer for 1, 2, or 4 hours.

Image: The remote control for the Fanbulous ceiling fan, showing buttons for power, fan speed (1-6), light control, reverse function, and timer settings (1H, 2H, 4H).
Reversible Airflow for Seasonal Comfort:
The fan's reversible DC motor allows you to optimize air circulation for different seasons:
- Summer Mode (Downward Airflow): Set the fan to rotate counter-clockwise to create a downward breeze, providing a cooling effect.
- Winter Mode (Upward Airflow): Set the fan to rotate clockwise to draw warm air up towards the ceiling and circulate it downwards, helping to retain warmth.

Image: A visual representation of the fan's reversible function, showing cool air delivery in summer (forward rotation) and warm air circulation in winter (reverse rotation).
Quiet Operation:
The advanced DC motor ensures quiet operation, with a noise level below 35 decibels, making it suitable for bedrooms and living rooms where minimal disturbance is desired.

Image: An infographic illustrating the low noise level of the Fanbulous fan (35dB) compared to common sounds like a flower sound (10dB), library voice (25dB), normal conversation (45dB), and a crowded street (55dB).
Maintenance
Regular maintenance helps ensure the longevity and optimal performance of your ceiling fan.
- Cleaning: Periodically clean the fan blades and crystal light fixture with a soft, damp cloth. Do not use abrasive cleaners or solvents, as they may damage the finish or crystals.
- Dusting: Dust the fan motor housing and blades regularly to prevent dust buildup, which can affect performance and balance.
- Tighten Screws: Check all screws and fasteners periodically to ensure they are tight. Loose connections can cause noise or wobbling.
- Bulb Replacement: When replacing light bulbs, ensure the power is off. Use only E12 base bulbs.
Troubleshooting
If you encounter issues with your Fanbulous ceiling fan, refer to the following common problems and solutions:
| Problem | Possible Cause | Solution |
|---|---|---|
| Fan does not start | No power to the fan; Loose wire connections; Remote control battery low. | Check circuit breaker; Verify all wire connections are secure (consult an electrician if unsure); Replace remote control battery. |
| Light does not work | Light bulb faulty; Loose wire connection; No power to the light. | Replace light bulb; Check light fixture wiring; Ensure power is on. |
| Fan is noisy | Loose screws on motor housing or blades; Fan not properly balanced; Obstruction in fan's path. | Tighten all screws; Ensure blades are balanced (refer to full manual for balancing kit instructions); Remove any obstructions. |
| Fan wobbles | Loose mounting bracket; Unbalanced blades; Incorrect installation. | Ensure mounting bracket is securely fastened; Balance blades using a balancing kit; Recheck installation steps. |
| Remote control not working | Battery low or dead; Remote not paired with fan; Obstruction between remote and receiver. | Replace battery; Re-pair remote with fan (refer to full manual); Ensure clear line of sight to fan receiver. |
For more detailed troubleshooting or issues not listed here, please refer to the complete instruction manual or contact Fanbulous customer service.
Warranty and Support
Fanbulous stands behind the quality of its products. This ceiling fan comes with the following warranty:
- Motor Warranty: 5-year warranty on the fan motor.
- Crystal Light Fixture Warranty: 2-year warranty on the entire crystal light fixture.
For warranty claims, technical support, or any questions regarding your Fanbulous ceiling fan, please contact our customer service team. We offer 24-hour customer service to promptly address any issues you may encounter.
Please have your model number (F-SN56XX-1X0X) and purchase information ready when contacting support.


