
1. Introduction
This manual provides essential information for the LG Microwave Inverter Electronic Board, model EBR82899209. This component is a critical replacement part designed to restore the full functionality of compatible LG microwave ovens. It is an inverter board, which plays a key role in the microwave's power delivery system, ensuring efficient and consistent heating.
2. Safety Information
WARNING: Microwave ovens contain high-voltage components that can store a lethal electrical charge even when unplugged. Servicing should only be performed by qualified service personnel. Attempting repairs without proper training and tools can result in serious injury or death.
- Always disconnect the microwave oven from the power supply before attempting any inspection, repair, or replacement.
- Discharge the high-voltage capacitor before touching any internal components. Refer to your microwave's service manual for specific discharge procedures.
- Wear appropriate personal protective equipment, including insulated gloves.
- Handle the electronic board by its edges to avoid damaging sensitive components due to electrostatic discharge (ESD).
- Ensure all connections are secure and correctly oriented before restoring power.
3. Product Overview
The LG EBR82899209 is an inverter electronic board specifically designed for LG microwave ovens. This board is responsible for converting the incoming AC power into the high-frequency AC power required by the magnetron, allowing for precise power control and efficient cooking. Its primary function is to ensure stable and consistent microwave energy output.
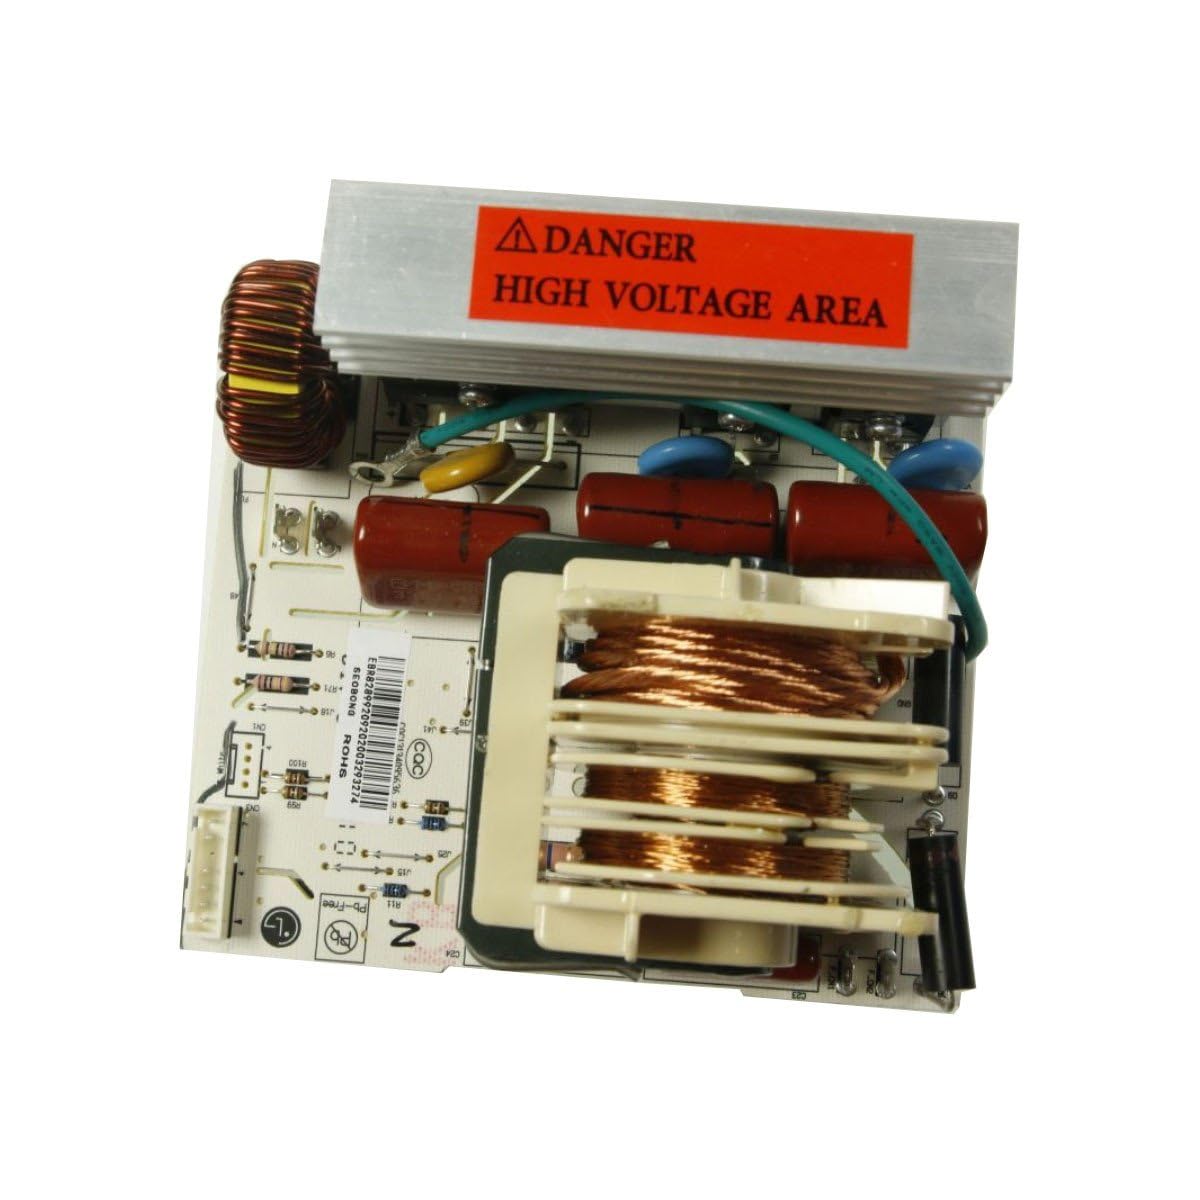
Image 1: LG Microwave Inverter Electronic Board EBR82899209. This image displays the electronic board with various components and connectors visible, indicating its complex circuitry.
4. Setup and Installation
Installation of the EBR82899209 inverter board requires technical expertise and should ideally be performed by a qualified technician. Incorrect installation can damage the microwave or pose a safety risk.
4.1. Preparation
- Disconnect Power: Unplug the microwave oven from the wall outlet.
- Gather Tools: You will typically need screwdrivers (Phillips and flathead), needle-nose pliers, and a multimeter for safety checks.
- Work Area: Ensure a clean, well-lit, and static-free work surface.
4.2. Accessing the Old Board
- Remove Outer Casing: Carefully remove the screws securing the microwave's outer casing. Note the location of each screw for reassembly.
- Locate Inverter Board: Identify the existing inverter board. It is usually located near the magnetron or power transformer.
- Discharge Capacitor: Before touching any components, use a high-voltage probe or a screwdriver with an insulated handle to safely discharge the high-voltage capacitor. Touch the metal shaft of the screwdriver to both terminals of the capacitor simultaneously.
4.3. Removing the Old Board
- Photograph Connections: Take clear photos of all wire connections to the old board. This will serve as a reference for connecting the new board.
- Disconnect Wires: Carefully disconnect all wires and connectors from the old board. Note any specific locking mechanisms.
- Remove Mounting Screws: Unscrew any mounting screws or clips holding the old board in place and remove it.
4.4. Installing the New Board
- Position New Board: Place the new EBR82899209 board in the same location as the old one.
- Secure Board: Fasten the new board with the mounting screws or clips.
- Reconnect Wires: Using your reference photos, carefully reconnect all wires and connectors to the new board. Ensure each connection is firm and correctly seated.
4.5. Testing and Reassembly
- Initial Check: Double-check all connections and ensure no tools or loose items are left inside the microwave.
- Partial Power-Up (Optional, for technicians): For qualified technicians, a partial power-up with safety precautions can be performed to verify basic functionality before full reassembly.
- Reattach Casing: Carefully replace the outer casing and secure it with all screws.
- Final Test: Plug the microwave back into the power outlet and perform a test run with a cup of water to ensure proper heating and operation.
5. Operating
Once the LG EBR82899209 inverter electronic board is correctly installed, the microwave oven should operate according to its original specifications. The inverter board facilitates the microwave's heating functions, power level adjustments, and defrosting programs. No special operating procedures are required for the board itself; simply use your microwave as instructed in its primary user manual.
6. Maintenance
The LG EBR82899209 inverter electronic board is a sealed component and does not require routine user maintenance. To ensure its longevity and the overall performance of your microwave:
- Keep the microwave oven clean, especially the interior and ventilation areas, to prevent overheating.
- Avoid spilling liquids inside the microwave, as moisture can damage electronic components.
- Ensure adequate ventilation around the microwave to prevent heat buildup.
- If the microwave requires internal cleaning or inspection, always disconnect power first and consult a qualified technician.
7. Troubleshooting
If your microwave oven exhibits issues after the installation of the EBR82899209 board, consider the following troubleshooting steps. Remember to always disconnect power before inspecting internal components.
- Microwave Does Not Power On:
- Check if the microwave is properly plugged into a working outlet.
- Verify the circuit breaker has not tripped.
- Ensure all internal wire connections to the inverter board are secure.
- Microwave Powers On but Does Not Heat:
- This could indicate an issue with the magnetron, high-voltage diode, or a fault in the inverter board itself.
- Re-check all connections to the inverter board and magnetron.
- Error Codes Displayed:
- Refer to your specific microwave oven's user manual or service manual for the meaning of any displayed error codes.
- Some error codes may directly point to an inverter board malfunction.
If troubleshooting does not resolve the issue, it is recommended to contact a qualified appliance repair technician or LG customer support for further assistance.
8. Specifications
| Brand | LG |
| Product Model Number | EBR82899209 |
| Manufacturer Part Number | EBR82899209 |
| Special Feature | Inverter |
| Recommended Product Uses | Residential |
| Installation Type | Countertop (for compatible microwave models) |
| Material | Stainless Steel (for compatible microwave models) |
| Controller Type | Button (for compatible microwave models) |
| Human Interface Input | Buttons, Compact Keypad (for compatible microwave models) |
| Number of Power Levels | 10 (for compatible microwave models) |
| Heating Method | Convection (for compatible microwave models) |
| Defrost System Type | Auto Defrost (for compatible microwave models) |
| Cooking Program | Defrost, Power Level (for compatible microwave models) |
| Interior Material | Stainless Steel (for compatible microwave models) |
9. Warranty and Support
For information regarding the warranty of the LG EBR82899209 inverter electronic board, please refer to the documentation provided with your original microwave oven or contact LG customer support directly. Warranty terms typically cover manufacturing defects and may vary by region and purchase date.
For technical support, service inquiries, or to locate authorized service centers, please visit the official LG website or contact their customer service hotline in your region. When contacting support, have your microwave oven's model and serial number, along with the part number EBR82899209, readily available.
