
MAONO DM40 Pro
MAONO DM40 Pro Wireless Microphone User Manual
Model: DM40 Pro
1. Introduction
Thank you for choosing the MAONO DM40 Pro Wireless Microphone. This manual provides detailed instructions for setting up, operating, and maintaining your new microphone system. The DM40 Pro is designed for gamers, streamers, and content creators, offering wireless freedom, AI noise reduction, AI voice changing capabilities, and RGB lighting. It ensures a high-quality audio experience across various platforms.
2. Safety Information
- Do not expose the device to water or excessive moisture.
- Avoid extreme temperatures.
- Do not attempt to disassemble or repair the device yourself. Refer all servicing to qualified personnel.
- Keep out of reach of children.
- Use only specified power adapters and cables.
3. Package Contents
Please check the package to ensure all items are present:
- MAONO DM40 Pro Wireless Microphone
- Boom Arm Stand (BA20)
- USB-A to USB-C Cable
- USB-A Wireless Receiver
- USB-C Wireless Receiver
- User Manual (this document)
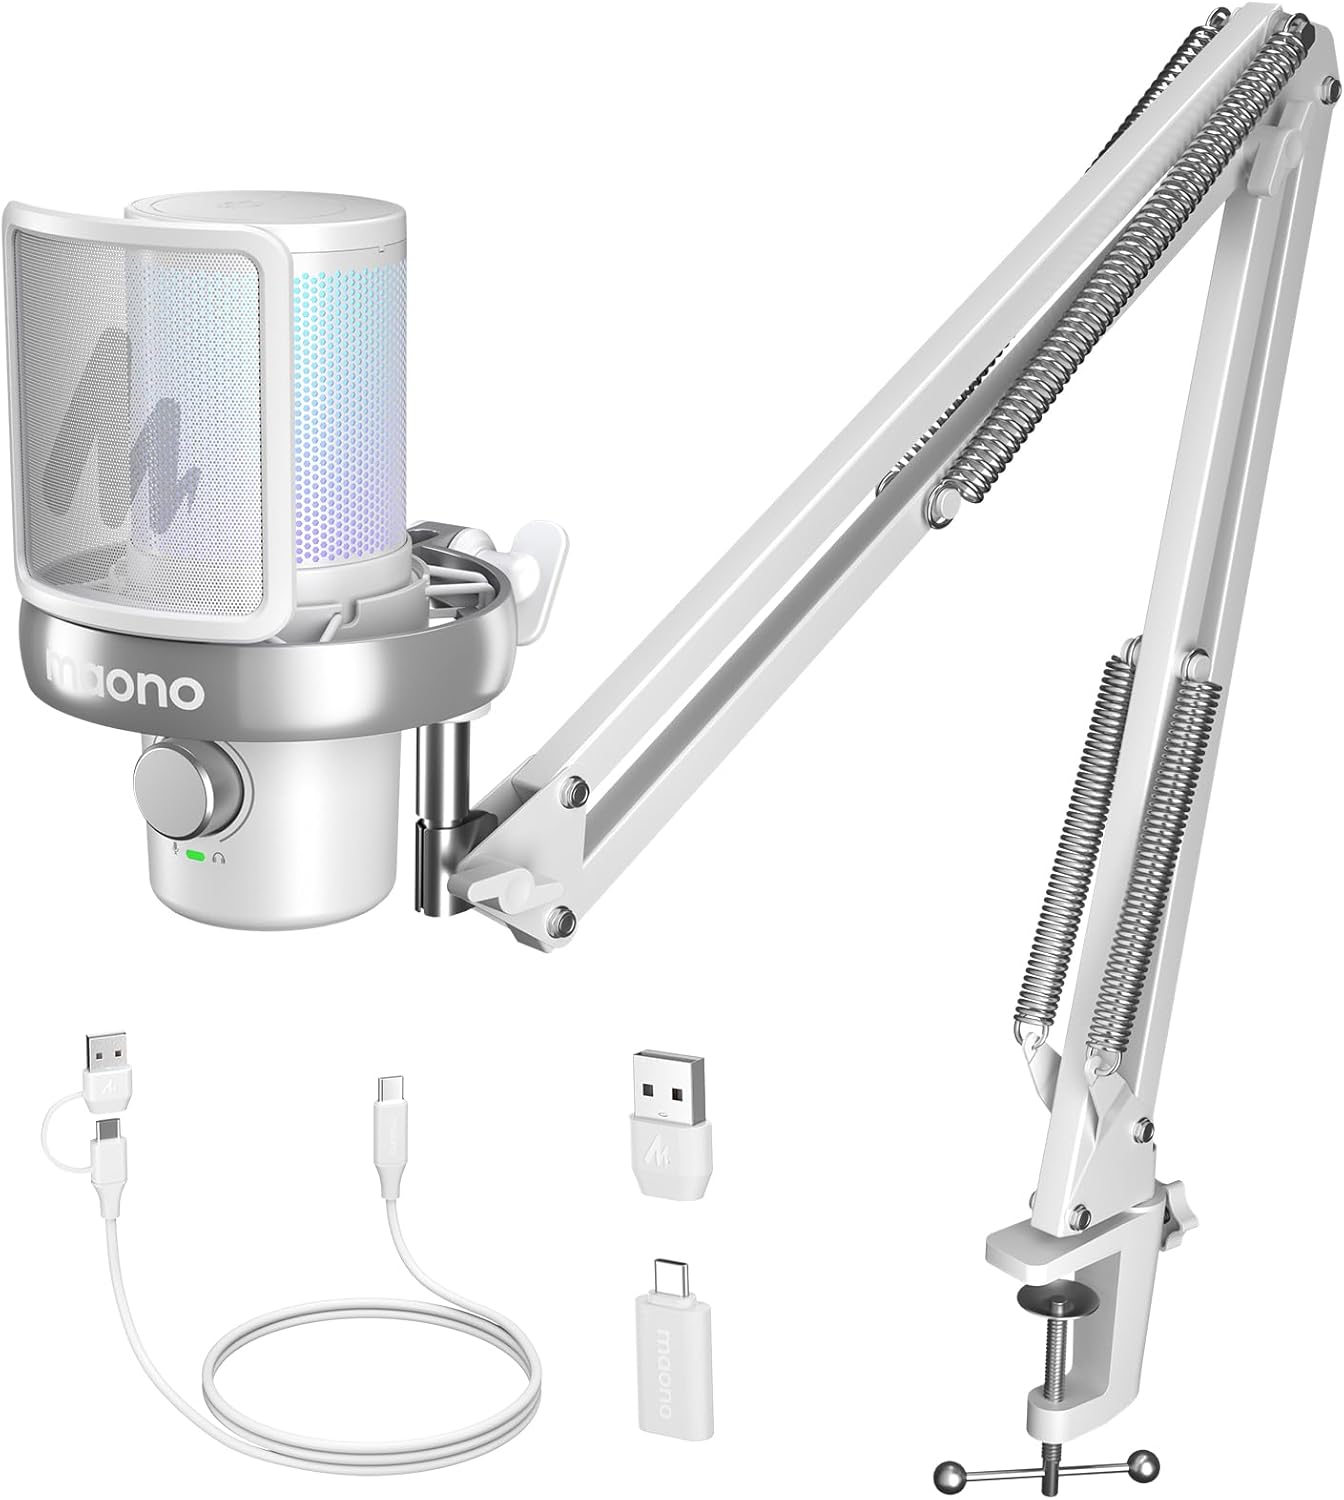
Image 1: Contents of the MAONO DM40 Pro package, including the microphone, boom arm, and various cables/receivers.
4. Product Overview
Familiarize yourself with the components of your MAONO DM40 Pro microphone system.
4.1 Microphone Components
- Microphone Capsule: Captures audio.
- Pop Filter: Reduces plosive sounds.
- Shock Mount: Isolates the microphone from vibrations.
- Gain/Volume Knob: Adjusts microphone input gain and headphone monitoring volume.
- Mute Button: Toggles microphone mute.
- Noise Cancellation Button: Activates and cycles through noise cancellation levels.
- RGB Lighting: Customizable LED lighting.
- USB-C Port: For wired connection and charging.
- 3.5mm Headphone Jack: For zero-latency monitoring.
4.2 Boom Arm (BA20)
- Desk Clamp: Secures the boom arm to a desk.
- Adjustable Arms: Allows for flexible positioning of the microphone.
- Springs: Provide tension for stable positioning.
- Microphone Thread: Connects the microphone to the boom arm.

Image 2: Illustration of the boom arm's adjustable features and dimensions, showing its flexibility for positioning.
5. Setup
5.1 Boom Arm Assembly and Installation
- Attach the desk clamp to the edge of your desk, ensuring it is securely tightened.
- Insert the base of the boom arm into the hole on the desk clamp.
- Adjust the boom arm to your desired position and tighten any locking knobs to secure it.
- Screw the MAONO DM40 Pro microphone onto the threaded end of the boom arm.

Image 3: The MAONO DM40 Pro microphone securely attached to the boom arm, ready for use.
5.2 Connecting the Microphone
The DM40 Pro offers both wireless and wired connectivity options.
5.2.1 Wireless Connection (Recommended for PC, PS4, PS5, Laptop)
- Choose the appropriate wireless receiver (USB-A or USB-C) for your device.
- Plug the wireless receiver into an available USB port on your computer, console, or laptop.
- Power on the MAONO DM40 Pro microphone. It should automatically pair with the receiver. A solid indicator light on the microphone will confirm a successful connection.
- Select "MAONO DM40 Pro" as your input device in your operating system's sound settings or your preferred application (e.g., Discord, OBS).
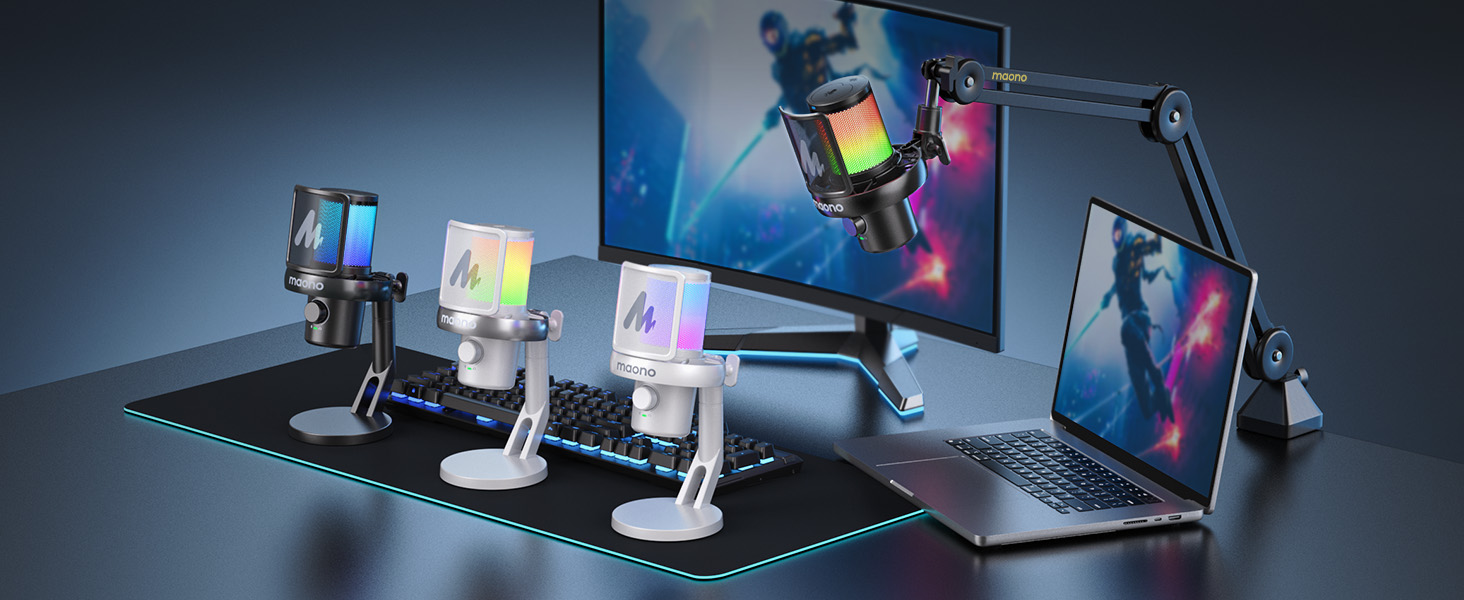
Image 4: Demonstrates the wireless and wired USB connection methods for the MAONO DM40 Pro microphone.
5.2.2 Wired USB Connection
- Connect the provided USB-A to USB-C cable to the USB-C port on the microphone.
- Plug the USB-A end of the cable into an available USB port on your computer, console, or laptop.
- The microphone will be recognized as a USB audio device. Select "MAONO DM40 Pro" as your input device in your system's sound settings or application.
6. Operating Instructions
6.1 Power On/Off and Charging
- Power On: Press and hold the power button (often integrated with the RGB button) for a few seconds until the indicator lights illuminate.
- Power Off: Press and hold the power button again until the lights turn off.
- Charging: Connect the microphone via the USB-C cable to a power source (e.g., computer USB port, USB wall adapter). The indicator light will show charging status. The microphone offers up to 75 hours of battery life (RGB off) or 40 hours (RGB on).
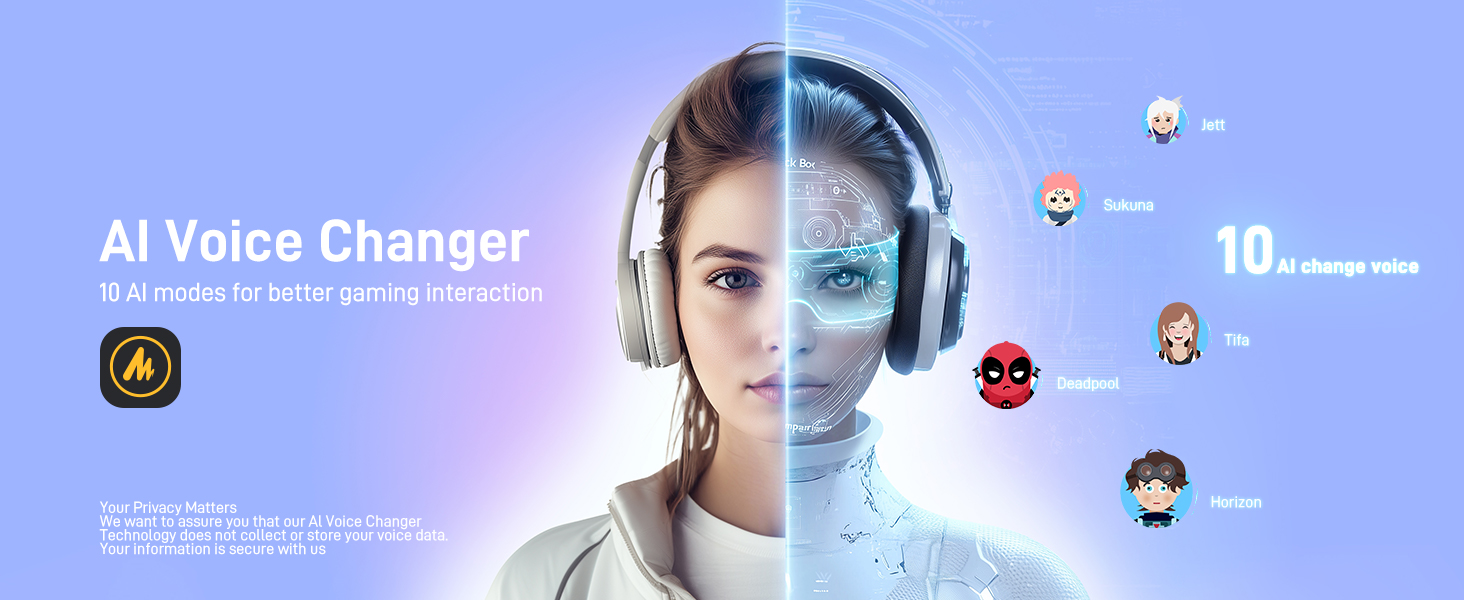
Image 5: Details on the MAONO DM40 Pro's ultra-long battery life, indicating usage hours with RGB lighting on and off.
6.2 Gain and Volume Control
- The main knob on the microphone controls both microphone gain and headphone monitoring volume.
- Adjusting Mic Gain: Rotate the knob to increase or decrease the microphone's input sensitivity. Monitor your audio levels to avoid clipping.
- Adjusting Headphone Volume: Short press the knob to switch to headphone volume control, then rotate.
6.3 One-tap Noise Cancellation
The DM40 Pro features a dedicated button for noise cancellation with multiple preset levels.
- Press the noise cancellation button to cycle through preset levels: Low, Medium, High.
- A customizable noise level can be set via the Maono Link software.
- This feature helps reduce ambient sounds like fans, air conditioners, and keyboard clicks.

Image 6: Visual representation of the one-tap noise cancellation feature, showing its effectiveness against common background noises.
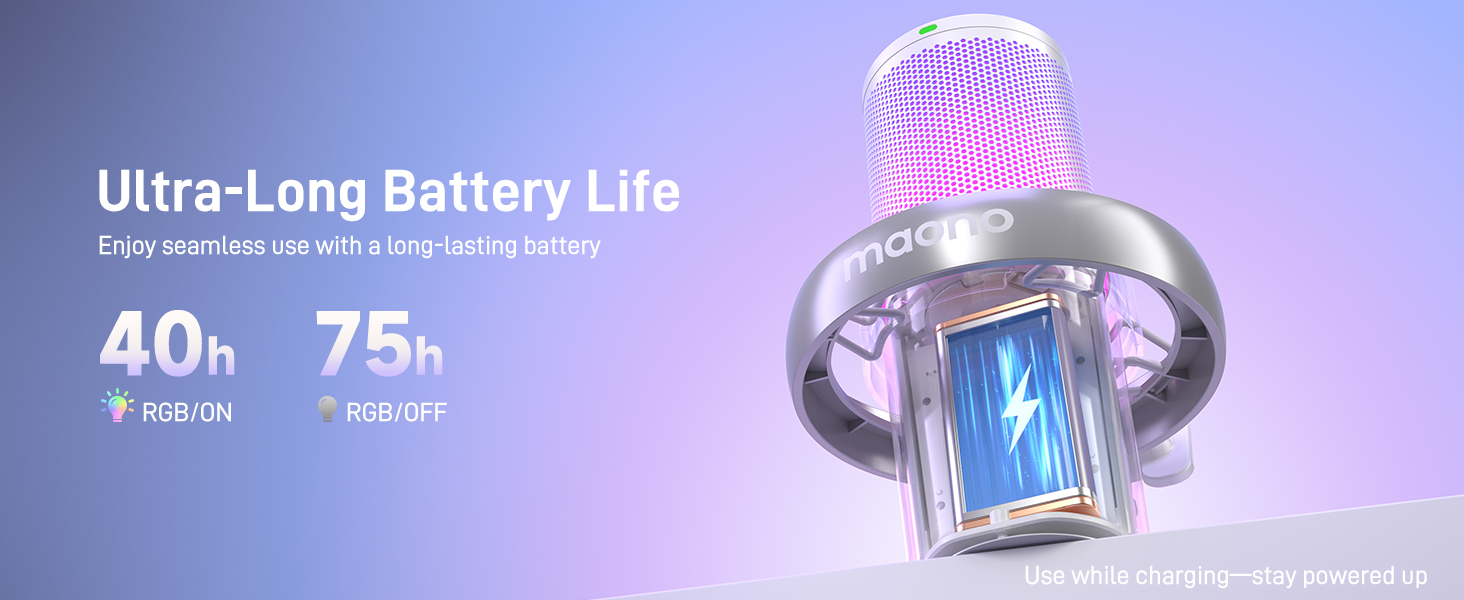
Image 7: Screenshot of the Maono Link software interface demonstrating custom noise cancellation adjustments.
6.4 AI Voice Changer
The DM40 Pro includes 10 AI voice-changing modes for creative audio effects.
- Access and select voice-changing modes through the Maono Link application.
- Experiment with different voices for gaming, streaming, or casual communication.

Image 8: A user wearing headphones, illustrating the AI voice changer feature with various character options.
6.5 Maono Link App Control (EQ, Presets, RGB)
The Maono Link application provides comprehensive control over your microphone's settings.
- Download: Install the Maono Link app from the official MAONO website.
- EQ Settings: Adjust the equalizer to tailor your audio output.
- Scene Presets: Switch between optimized audio profiles for different scenarios (e.g., gaming, streaming, voiceover).
- RGB Lighting: Customize the microphone's RGB lighting effects and colors.
- Other Controls: Manage gain, mute, and monitoring settings directly from the app.
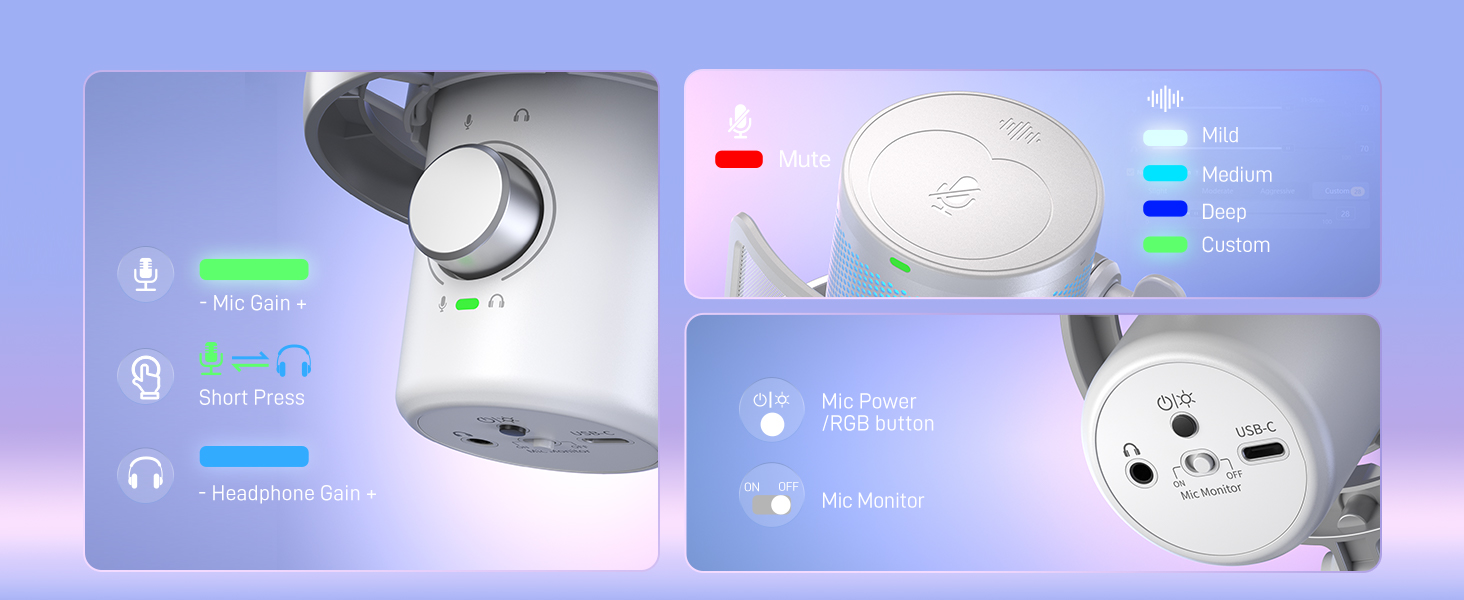
Image 9: The MAONO DM40 Pro microphone showcasing its configurable RGB lighting options.
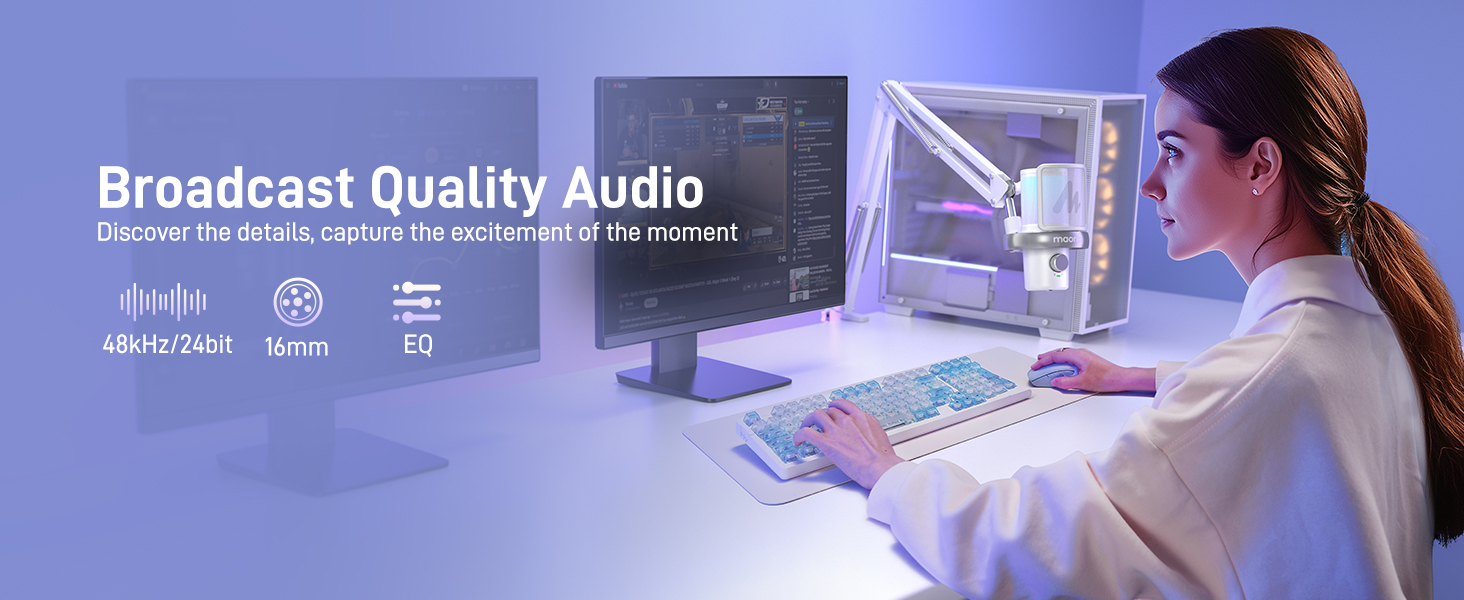
Image 10: Screenshot of the Maono Link application showing the equalizer adjustment interface for fine-tuning audio.
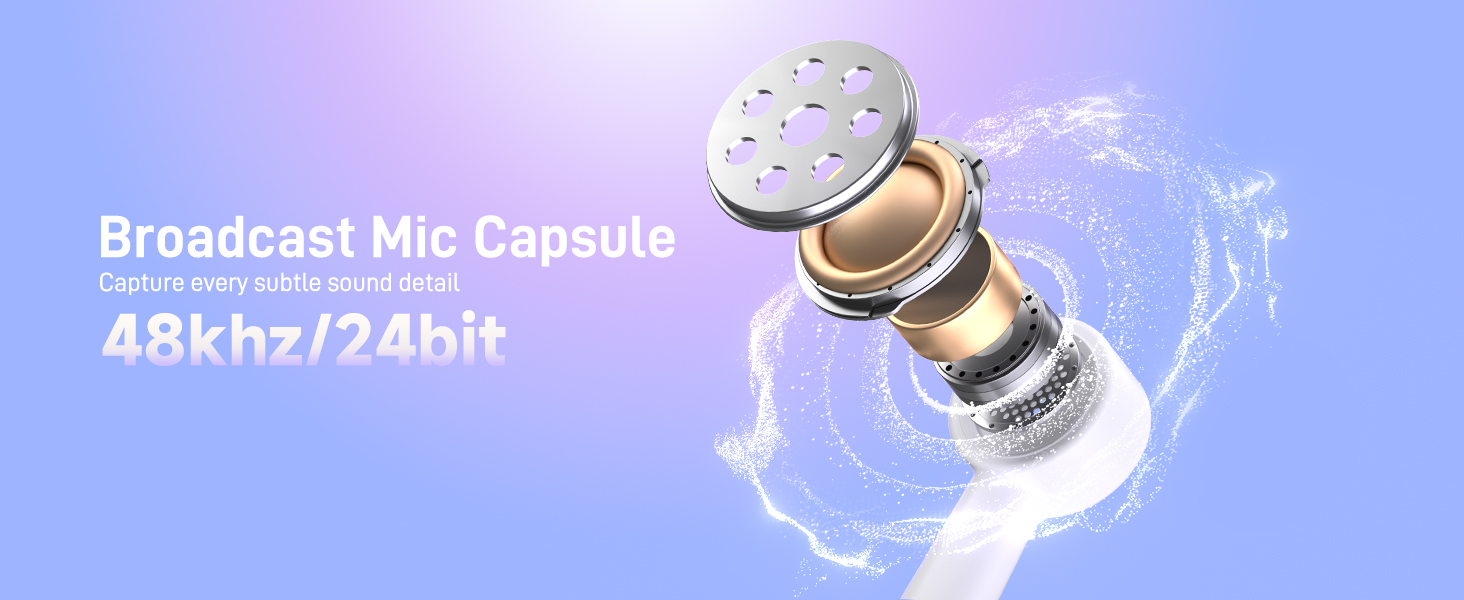
Image 11: Screenshot of the Maono Link application displaying various scene presets for quick audio profile switching.
6.6 Zero-Latency Monitoring
Plug your headphones into the 3.5mm jack on the microphone for direct, real-time monitoring of your audio without delay.
7. Maintenance
- Cleaning: Use a soft, dry cloth to wipe the microphone and boom arm. Do not use liquid cleaners or abrasive materials.
- Storage: When not in use, store the microphone in a clean, dry place away from direct sunlight and extreme temperatures.
- Cable Care: Avoid bending or crimping cables excessively to prevent damage.
8. Troubleshooting
| Problem | Possible Cause | Solution |
|---|---|---|
| No sound from microphone | Microphone not powered on; Incorrect input device selected; Loose connection; Muted. | Ensure microphone is powered on. Check system sound settings to select "MAONO DM40 Pro" as input. Reconnect cables/receiver. Unmute microphone. |
| Audio is distorted or too quiet | Gain too high/low; Microphone too far/close; Noise cancellation too aggressive. | Adjust microphone gain using the knob or Maono Link. Position microphone appropriately (5-10 cm from mouth). Adjust noise cancellation level. |
| Wireless connection issues | Receiver not properly plugged in; Interference; Out of range. | Ensure receiver is fully inserted. Move away from other wireless devices. Reduce distance between microphone and receiver. |
| Maono Link app not detecting microphone | Microphone not connected or powered on; App not updated. | Verify microphone is connected and powered on. Restart the app and microphone. Check for app updates. |
9. Specifications
- Model Name: DM40 Pro
- Brand: MAONO
- Connectivity Technology: Bluetooth, USB
- Connector Type: USB, USB-C
- Special Feature: Wireless, Bluetooth, AI Noise Reducing, AI Voice Changer, RGB Lighting
- Compatible Devices: Laptop, Personal Computer, PS4, PS5
- Included Components: Boom Arm Stand
- Microphone Form Factor: Gooseneck
- Power Source: Battery Powered
- Signal-to-Noise Ratio: 70 dB
- Number of Channels: 1
- First Available: April 19, 2025
10. Warranty and Support
MAONO products are designed and manufactured to the highest quality standards. For information regarding warranty coverage, technical support, or service inquiries, please visit the official MAONO website or contact their customer support directly. Keep your purchase receipt as proof of purchase.
Official MAONO Store: MAONO Store on Amazon
Related documentsDM40 Pro


Ask a question about this manual
Ask about setup, troubleshooting, compatibility, parts, safety, or missing instructions. Manuals+ will review the question and use this page’s manual context to help answer it.