1. Introduction
This manual provides essential instructions for the setup, operation, and maintenance of your Hello Kitty and Friends Sunrise Alarm Clock. Please read this manual thoroughly before using the product to ensure proper function and longevity.
The Hello Kitty and Friends Sunrise Alarm Clock is designed to provide a gentle awakening experience with its simulated sunrise feature. It includes a clear LED display for time, date, and temperature, along with customizable multicolor lights and a convenient USB charging port.
2. Product Overview
Familiarize yourself with the components of your Hello Kitty and Friends Sunrise Alarm Clock.

Image 1: Front view of the Hello Kitty and Friends Sunrise Alarm Clock. The clock features Hello Kitty, My Melody, Pompompurin, Badtz-Maru, Keroppi, Cinnamoroll, and Kuromi characters standing in front of a rainbow. The LED display shows "10:30" at the base, and the unit emits a warm, soft light.
Key Features:
- Sunrise Simulation: Gradually brightens to simulate a natural sunrise, promoting a gentle wake-up.
- Multicolor Lights: Offers various color modes to personalize your environment.
- LED Display: Shows time, date, and ambient temperature clearly.
- USB Power & Charging: Powered via USB and includes a port for charging other devices.
- Snooze Function: Allows for temporary delay of the alarm.
- Hello Kitty and Friends Design: Adorned with beloved characters for a cheerful aesthetic.
Note: Specific button functions and locations are typically detailed on the device itself or in a quick start guide. For this manual, general operational steps are provided.
3. Setup
- Unboxing: Carefully remove the alarm clock and all accessories from the packaging. Retain packaging for future storage or transport.
- Power Connection: Connect the provided USB power cable to the alarm clock's power input port. Plug the other end into a compatible USB power adapter (not always included) and then into a wall outlet. The LED display should illuminate.
- Initial Time Setting: Upon first power-up, the clock may display a default time or require manual setting. Refer to the device's physical buttons (e.g., "SET", "TIME", "UP", "DOWN") to adjust the current time.
- Date and Temperature: If applicable, use the control buttons to set the current date. The temperature display will typically calibrate automatically to the ambient room temperature.
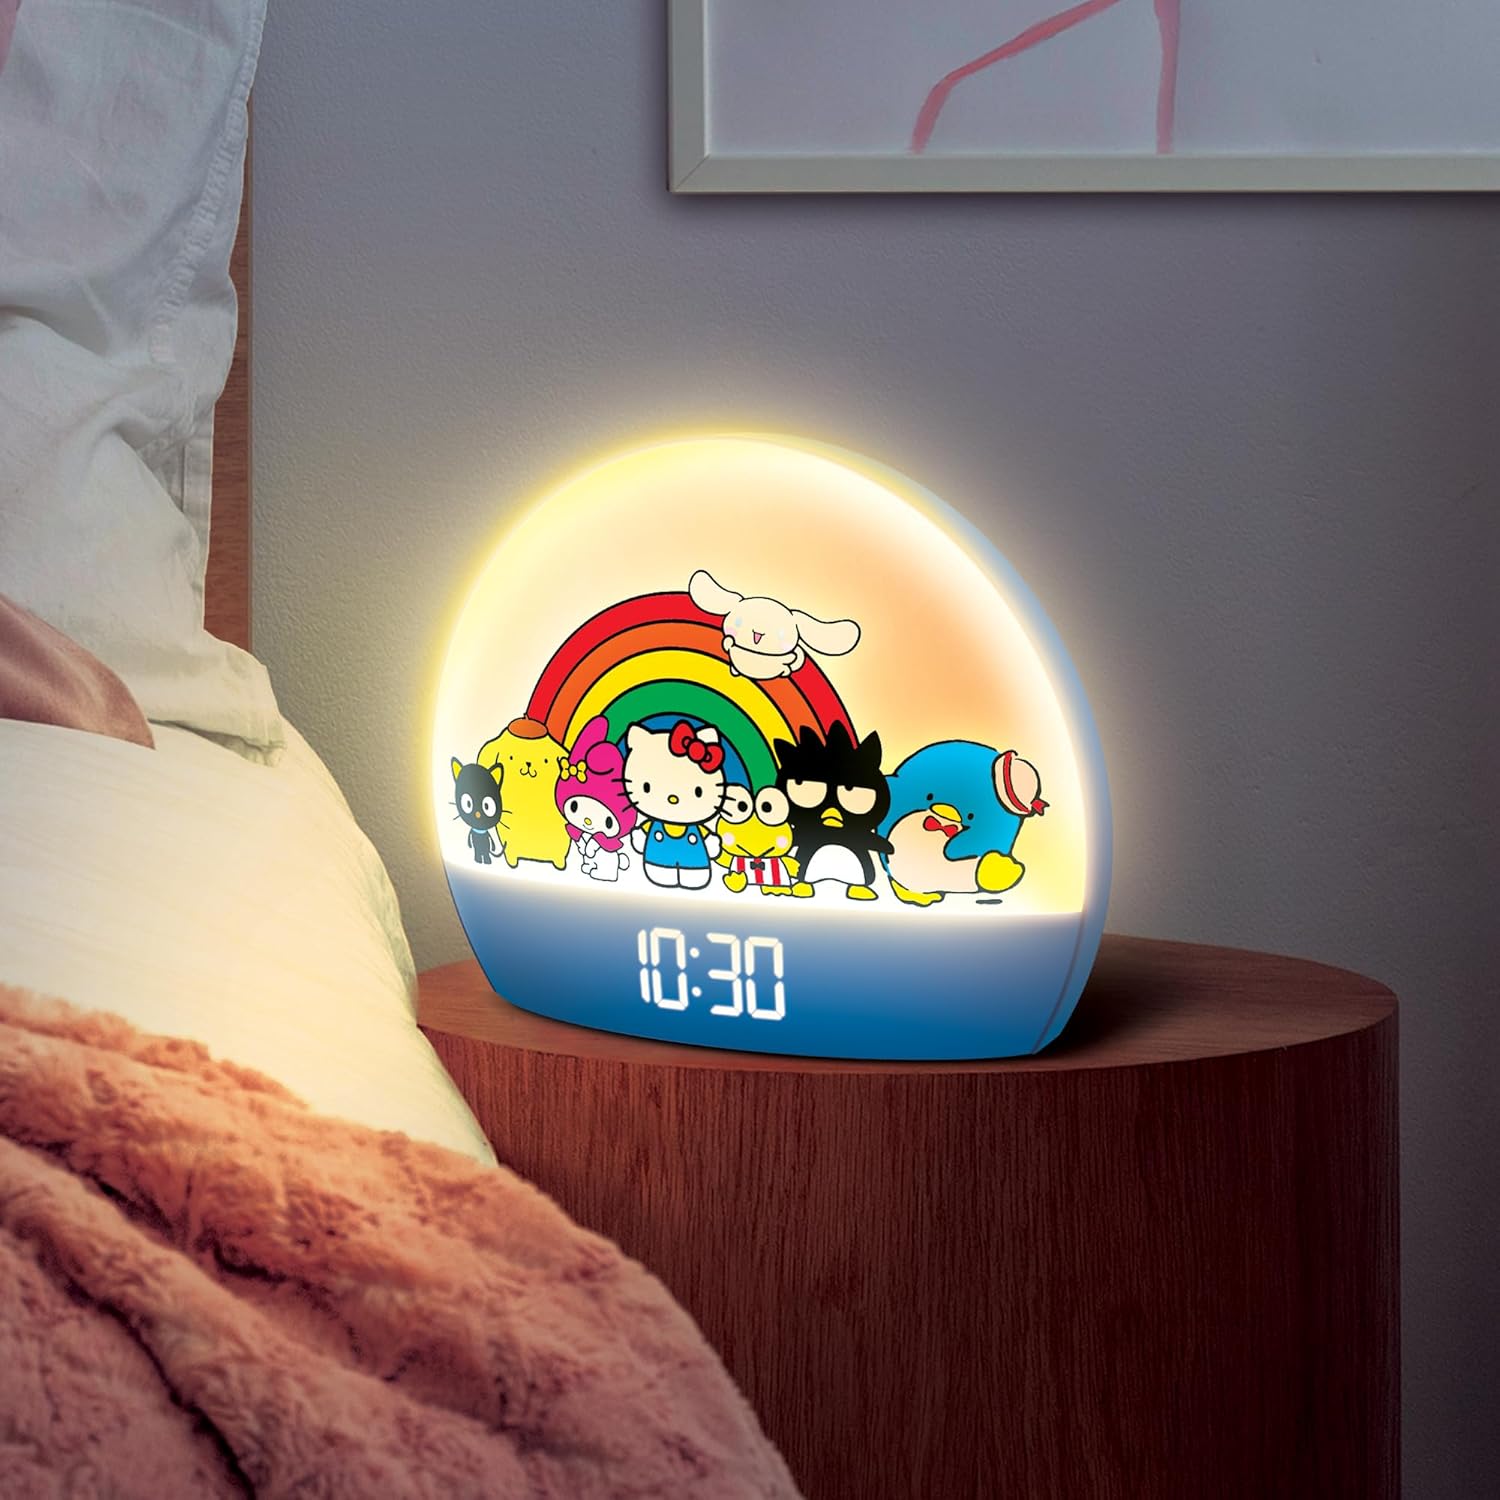
Image 2: The Hello Kitty and Friends Sunrise Alarm Clock placed on a wooden bedside table next to a bed. The clock is illuminated with a warm glow, indicating its sunrise simulation feature in a typical bedroom setting.
4. Operating Instructions
4.1 Setting the Alarm
- Locate the "ALARM" or "SET" button. Press and hold it until the alarm time display begins to flash.
- Use the "UP" and "DOWN" buttons to adjust the hour and minute.
- Press the "ALARM" or "SET" button again to confirm each setting and move to the next (e.g., hour, minute, alarm sound, volume).
- Ensure the alarm is activated (an alarm icon usually appears on the display).
4.2 Sunrise Simulation
The sunrise simulation feature gradually increases the light intensity before your set alarm time, typically 10-30 minutes prior. This is designed to wake you up naturally. This feature is usually activated automatically when an alarm is set, but some models may have a dedicated button to enable/disable it.
4.3 Multicolor Lights
To change the light color or mode:
- Locate the "LIGHT" or "COLOR" button.
- Press the button repeatedly to cycle through available colors or light modes (e.g., solid color, color cycle).
- Some models may allow brightness adjustment using separate "BRIGHTNESS" or "DIMMER" buttons.
4.4 Snooze Function
When the alarm sounds, press the large "SNOOZE" button (often located on top of the clock) to temporarily pause the alarm. The alarm will sound again after a preset interval (e.g., 5-10 minutes).
4.5 USB Charging Port
The integrated USB port allows you to charge compatible electronic devices. Connect your device's charging cable to the USB port on the alarm clock. Ensure the alarm clock is powered on for the charging function to work.
5. Maintenance
5.1 Cleaning
- Unplug the alarm clock from the power source before cleaning.
- Use a soft, dry, or slightly damp cloth to wipe the exterior surfaces.
- Do not use abrasive cleaners, solvents, or chemical sprays, as these can damage the finish.
- Avoid getting moisture into any openings.
5.2 Storage
If storing the alarm clock for an extended period, unplug it and keep it in a cool, dry place, away from direct sunlight and extreme temperatures. It is recommended to use the original packaging for protection.
6. Troubleshooting
| Problem | Possible Cause | Solution |
|---|---|---|
| Clock display is off or not working. | No power connection or power outage. | Ensure the USB cable is securely connected to both the clock and a working power adapter/outlet. Check the power source. |
| Alarm does not sound. | Alarm not set or deactivated. Volume too low. | Verify the alarm time is set correctly and the alarm function is enabled (look for an alarm icon on the display). Increase alarm volume if adjustable. |
| Time is inaccurate (running slow/fast). | Internal clock drift or power interruptions. | Reset the time manually. If the issue persists, try plugging the clock into a different power outlet or using a different USB power adapter. |
| Temperature display is incorrect. | Sensor interference or calibration issue. | Ensure the clock is not placed near heat sources or vents. Allow time for the sensor to adjust to the ambient temperature. If significantly off, a factory reset (if available) might be needed. |
| USB charging port not working. | Clock not powered, cable issue, or device incompatibility. | Ensure the alarm clock is powered on. Try a different USB cable or a different device to charge. |
7. Specifications
| Feature | Detail |
|---|---|
| Model Number | HKCLK01HKF-MFN |
| Brand | Hello Kitty |
| Product Dimensions | 17.78 x 3.81 x 15.24 cm (7 x 1.5 x 6 inches) |
| Item Weight | 453.59 grams (1 Pound) |
| Power Source | Corded Electric (USB Powered) |
| Batteries Required | No |
| Display Type | Digital LED |
| Material | Plastic |
| Special Features | Alarm, LED Display, Adjustable Brightness, USB Charging Port, Temperature Display, Multicolor Lights, Sunrise Simulation |
8. Warranty and Support
For warranty information and customer support, please refer to the documentation included with your purchase or contact the manufacturer directly. Keep your proof of purchase for warranty claims.
For further assistance, you may visit the official Hello Kitty brand store or contact their customer service department.


