
GODOX Godox TT520III
Contents
Godox TT520III Camera Flash Speedlite Instruction Manual
Model: TT520III | Brand: GODOX
1. Introduction
This manual provides detailed instructions for the safe and effective operation of your Godox TT520III Camera Flash Speedlite. Please read this manual thoroughly before use to ensure optimal performance and to prevent damage to the unit or injury to yourself.
What's in the Box
Upon unboxing, please verify that all the following items are included:
- 1x TT520III Camera Flash
- 1x RT Transmitter
- 1x Mini Stand
- 1x Storage Bag
- 1x HolaFoto Cleaning Cloth
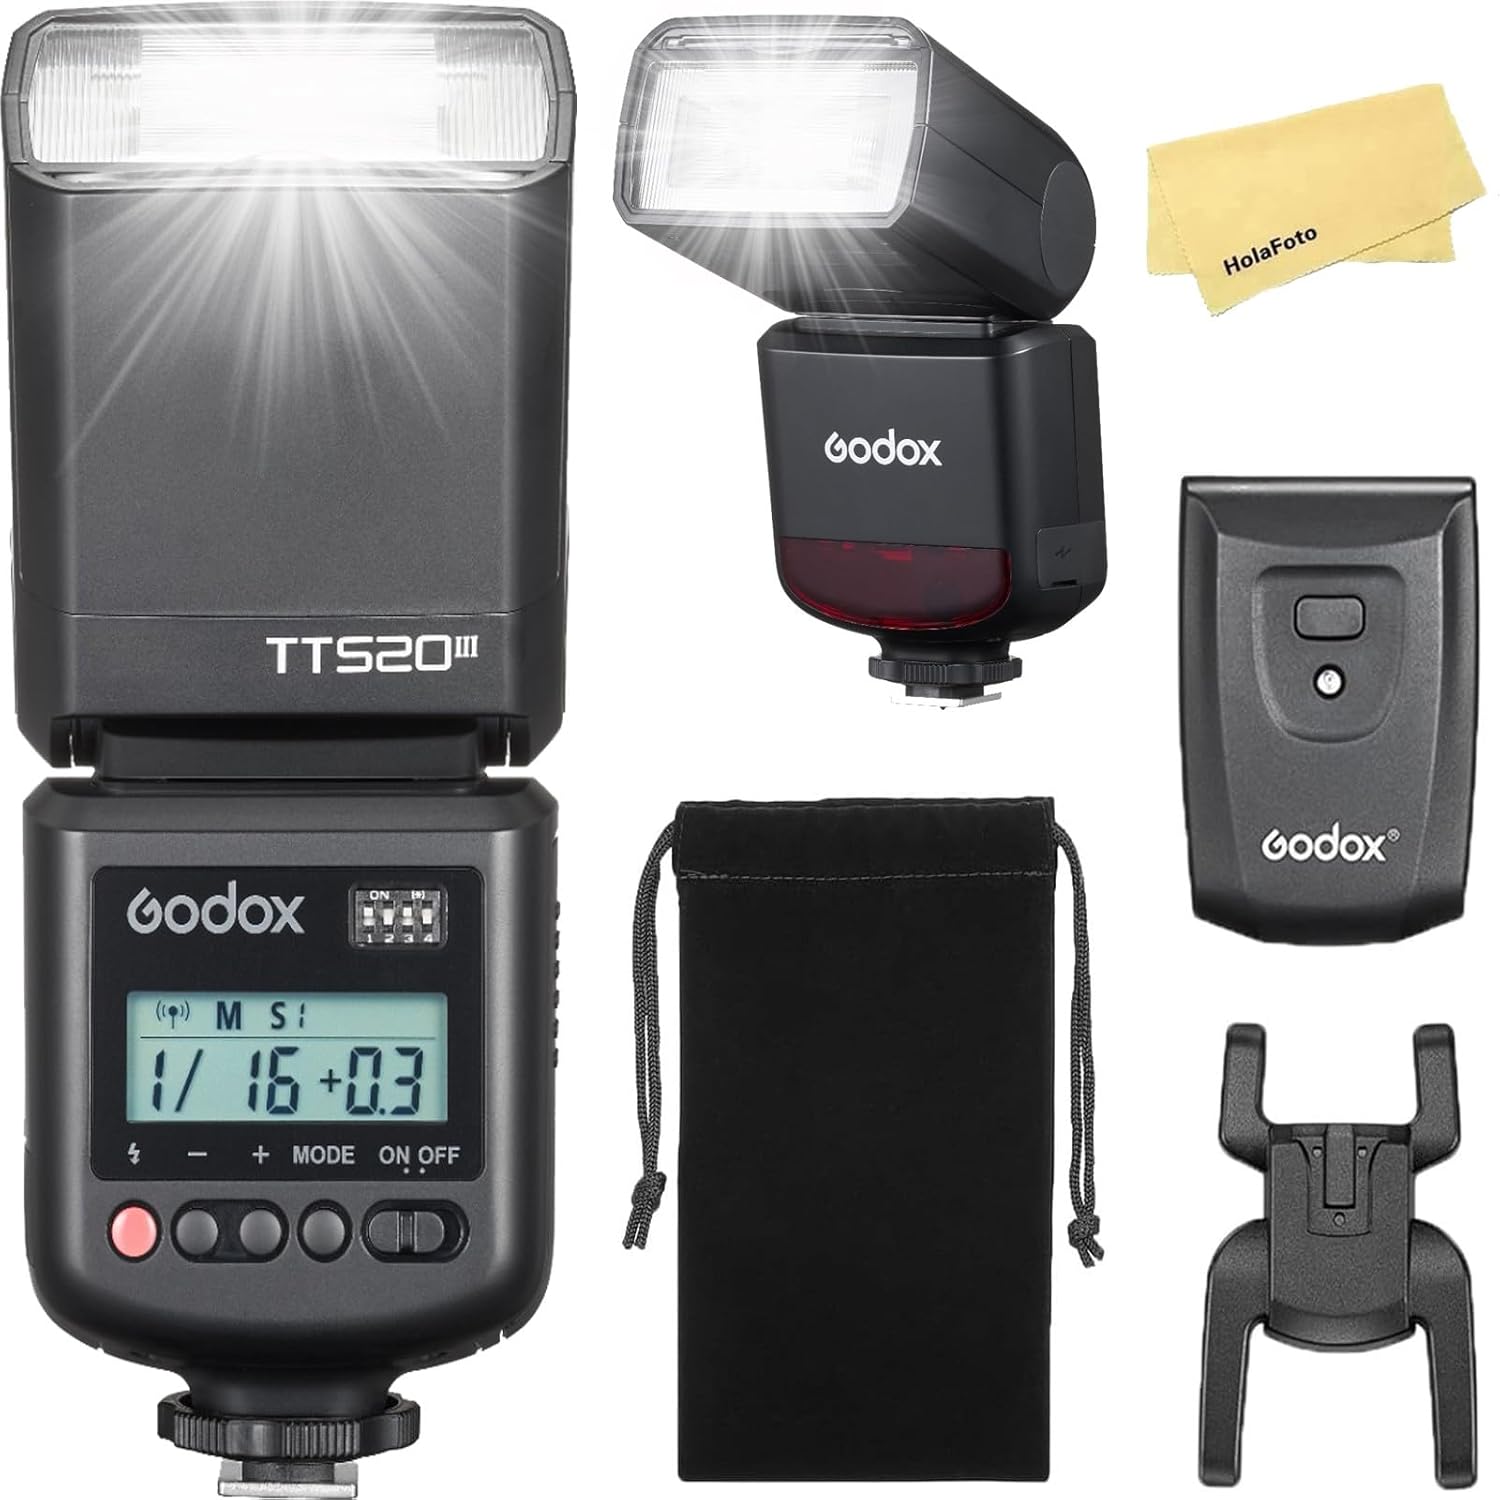
Figure 1: Included components of the Godox TT520III Camera Flash Speedlite kit.
Video 1: An overview of the Godox TT520III Camera Flash and its operation, including what's in the box, installation, key features, and accessory showcase.
2. Setup
2.1 Battery Installation
The TT520III flash unit is powered by 4 AA (LR6) or NiMH batteries. To install, open the battery compartment cover, insert the batteries according to the polarity indicators, and close the cover securely.

Figure 2: Proper battery installation for the TT520III flash unit.
2.2 Mounting on Camera
The TT520III features a universal single-contact hotshoe design, ensuring broad compatibility with most DSLR cameras from brands like Canon, Sony, Nikon, Fujifilm, Panasonic, and Olympus. Slide the flash onto your camera's hotshoe and secure it firmly.
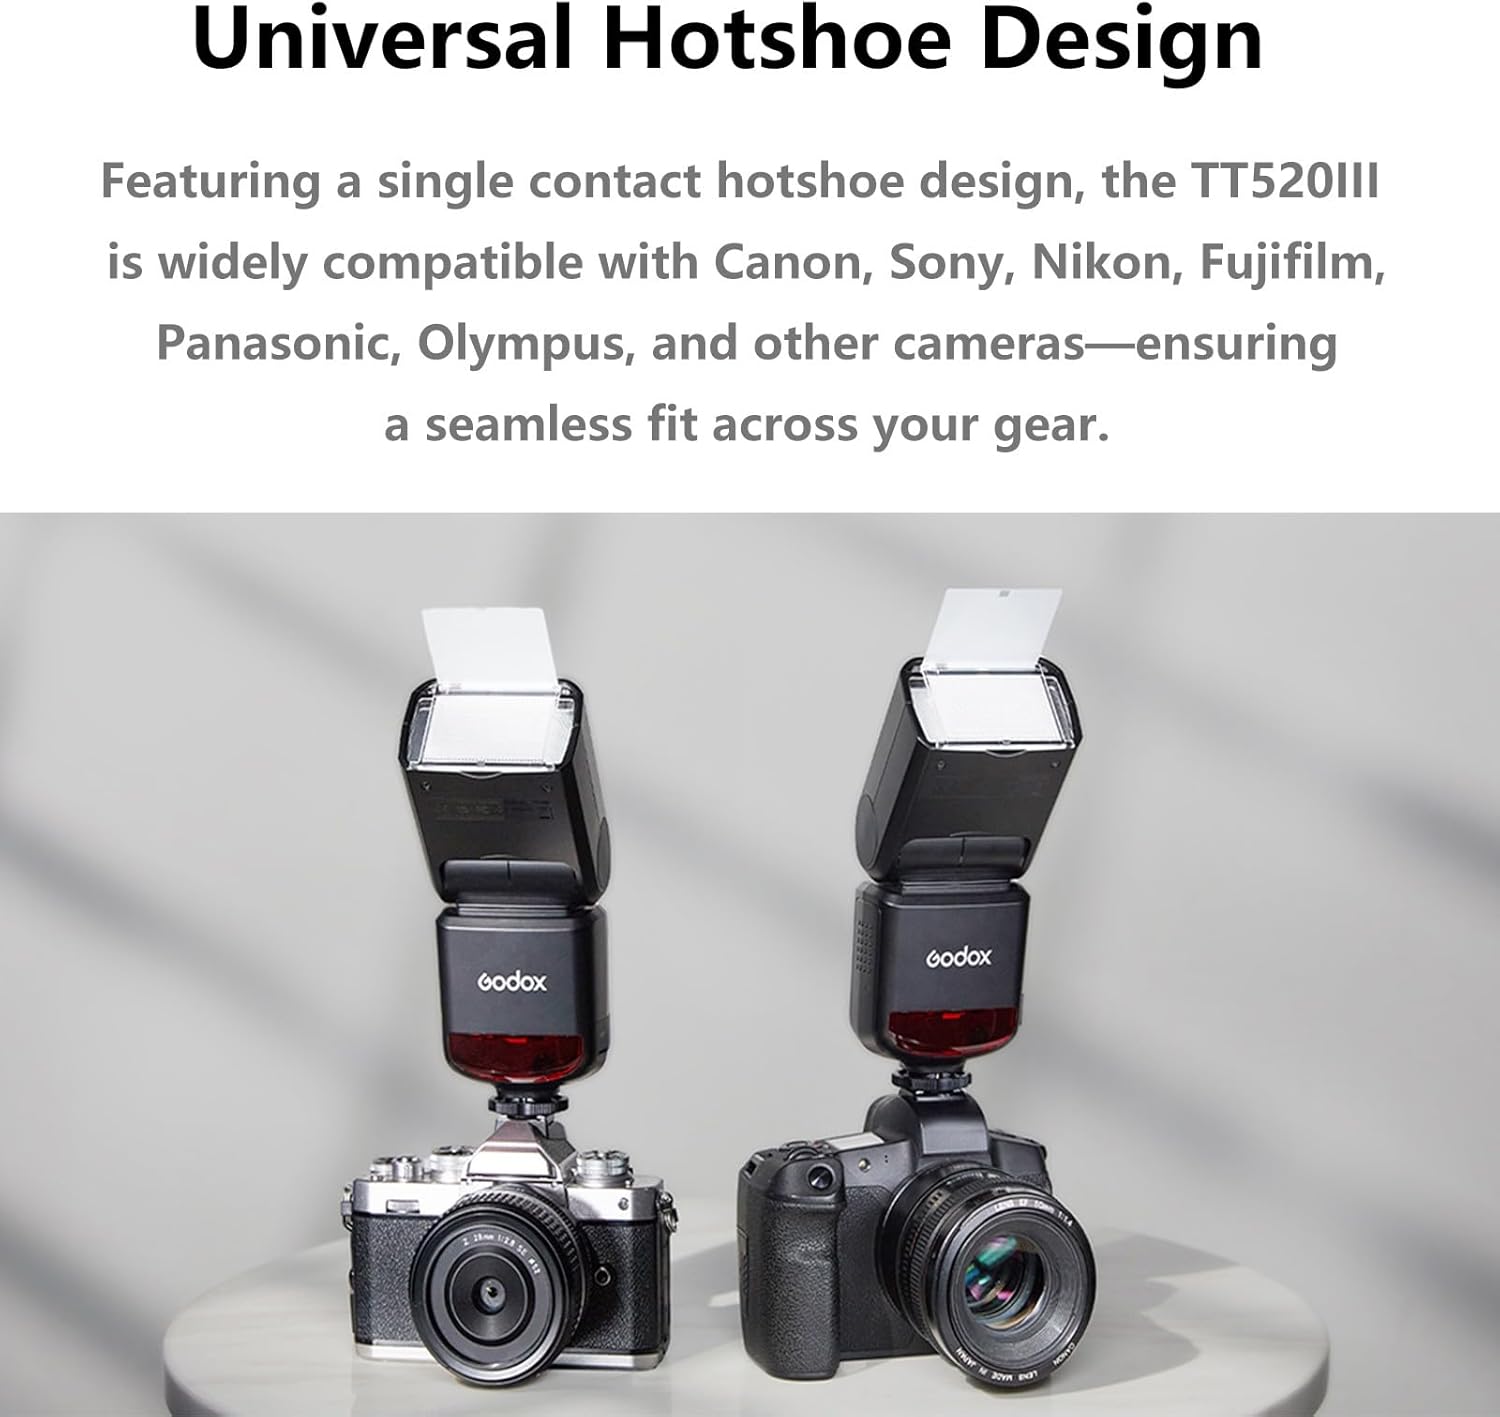
Figure 3: The TT520III flash mounted on a camera via its universal hotshoe.
3. Operating Instructions
3.1 Power Control (Manual Mode)
In Manual (M) mode, you can precisely control the flash output. The TT520III offers 8 power settings, adjustable from 1/128 to full power in ±1/3-stop increments. Use the '+' and '-' buttons to adjust the power level. The new display provides clear visibility of current settings.

Figure 4: Adjusting flash power in Manual (M) mode.
3.2 Flexible Flash Modes (S1/S2 Optical Sync)
The TT520III supports various triggering options. In addition to on-camera use and wireless triggering, it features S1 and S2 optical sync modes. Short-press the [MODE] button to cycle through these modes. S1 mode fires the flash when it detects another flash. S2 mode ignores the pre-flash of a master flash and fires on the main flash, ideal for cameras with pre-flash functions.

Figure 5: Utilizing the TT520III in flexible flash modes for diverse shooting scenarios.
3.3 433MHz Wireless Triggering
The TT520III has an integrated 433MHz receiver. For wireless triggering, long-press the [MODE] button to activate the wireless function. Ensure the RT transmitter's channel matches the flash unit's channel (set via DIP switches on both devices) for seamless synchronization. The RT transmitter offers 16 channels.

Figure 6: Setting up the 433MHz wireless triggering with the RT transmitter.
3.4 Adjustable Flash Head
The flash head can be rotated horizontally from 0° to 330° and tilted vertically from –7° to 120°. This allows for direct flash, bounce flash, and other creative lighting techniques to achieve desired effects and control light direction.

Figure 7: Flash head articulation for versatile lighting.
3.5 Integrated Reflector & Diffuser
The TT520III includes a built-in reflector for creating catchlights in portraiture and a wide-angle diffuser to soften and spread the light, providing more natural illumination.

Figure 8: Utilizing the built-in reflector and diffuser for enhanced lighting.
4. Advanced Features & Accessories
4.1 External Power & PC Sync
For extended use and faster recycle times, the TT520III features a quick-charge port compatible with the optional PB960 power box (sold separately). Additionally, a PC sync port is available for wired camera-to-flash synchronization, offering a reliable alternative to wireless triggering.

Figure 9: Connecting the TT520III to the optional PB960 external power box.
The PC sync port allows for wired synchronization with cameras that support this connection, ensuring reliable flash triggering without relying on wireless signals.
4.2 Versatile Accessories
The TT520III can be expanded with various optional accessories to enhance your lighting capabilities:
- S-R1/S-R2 Round Head Adapters: These adapters allow the TT520III to work seamlessly with Godox AK-R1 magnetic accessories, offering quick attachment of diffusers, grids, snoots, and more.
- S/S2 Flash Bracket: This optional bracket enables you to attach a wide range of Bowens-mount modifiers, such as softboxes, reflectors, and snoots, providing extensive creative lighting effects.

Figure 10: Compatibility with Godox AK-R1 magnetic accessories via S-R1/S-R2 adapters.

Figure 11: Attaching Bowens-mount modifiers using the optional S/S2 flash bracket.
5. Specifications
| Feature | Detail |
|---|---|
| Guide Number | GN33 (ISO 100, in meters) |
| Wireless Triggering | 433MHz, 16 channels (with RT transmitter) |
| Power Settings | 8 levels (1/128 to 1/1) in ±1/3-stop increments |
| Recycle Time | Approx. 1.8 seconds (NiMH batteries) |
| Full-Power Flashes | Up to 400 (NiMH batteries) |
| Flash Duration | 1/510 to 1/31000 seconds |
| Flash Modes | Manual (M), S1, S2 Optical Sync |
| Flash Head Rotation | Horizontal: 0° to 330°, Vertical: –7° to 120° |
| Power Source | 4x AA (LR6) or NiMH batteries |
| Sync Port | PC Sync Port |
| External Power Port | Compatible with PB960 power box (optional) |
| Dimensions | 8.66 x 3.54 x 2.95 inches (Package) |
| Weight | 12 ounces (Item) |
6. Troubleshooting
If you encounter issues with your Godox TT520III, please refer to the following common troubleshooting steps:
- Flash not firing:
- Check battery levels and ensure they are correctly inserted.
- Verify the flash is securely mounted on the camera hotshoe or that the PC sync cable is properly connected.
- If using wireless triggering, ensure the RT transmitter is powered on and its channel matches the flash unit's channel.
- Confirm the camera's flash settings are appropriate (e.g., external flash enabled).
- Inconsistent flash output:
- Ensure batteries are fully charged or replaced.
- Check for obstructions between the flash and subject, or between the flash and transmitter in wireless mode.
- Verify flash power settings are appropriate for your shooting conditions.
- Flash overheating:
- Allow the flash to cool down if used for rapid consecutive flashes.
- Reduce flash power output or increase the interval between shots.
For further assistance, please contact Godox customer support.
7. Warranty and Support
Godox products are designed for reliability and performance. For warranty information and technical support, please refer to the official Godox website or contact your local distributor. Keep your purchase receipt as proof of purchase for warranty claims.
For additional support and resources, visit the official GODOX Store: GODOX Amazon Store
Ask a question about this manual
Ask about setup, troubleshooting, compatibility, parts, safety, or missing instructions. Manuals+ will review the question and use this page’s manual context to help answer it.