1. Introduction
Welcome to the user manual for your AZDOME PG17 Max Mirror Dash Cam. This manual provides detailed instructions on the installation, operation, and maintenance of your device. Please read this manual thoroughly before using the product to ensure proper functionality and safety.

Figure 1.1: AZDOME PG17 Max Mirror Dash Cam and its components, including the main mirror unit, rear camera, GPS module, and memory card.
2. Package Contents
Please verify that all items listed below are present in your package:
- AZDOME PG17 Max Mirror Dash Cam Unit
- Rear Camera
- GPS Module
- Power Cable
- 20ft 4 Pin Extension Cable for Rear Camera
- User Manual (this document)
- Mounting Straps/Accessories
- WiFi Module (integrated or separate, as per specifications)

Figure 2.1: The included 20ft 4 Pin Extension Cable, essential for connecting the rear camera to the main mirror unit.
3. Product Overview
The AZDOME PG17 Max is a high-performance mirror dash cam designed to enhance driving safety and record road events. It features dual cameras for front and rear recording, advanced driver assistance systems, and smart connectivity options.
Key Features:
- Front 4K (3840x2160) and Rear 2.5K (2560x1440) Recording: Captures high-resolution video from both front and rear perspectives at 30fps.
- Advanced ADAS Technology: Provides alerts for forward collision, pedestrian collision, lane departure, front vehicle start, and distance monitoring.
- Enhanced BSD & LCA: Blind Spot Detection and Lane Change Assist monitor blind spots and alert for potential rear-end collision risks during lane changes.
- 5.8GHz WiFi Connectivity: Enables seamless connection to the AZDOME app for video downloads and sharing.
- Smart Voice Control: Supports 10 convenient voice commands for hands-free operation.
- Built-in GPS & Route Tracking: Accurately records driving routes, locations, and speed data.
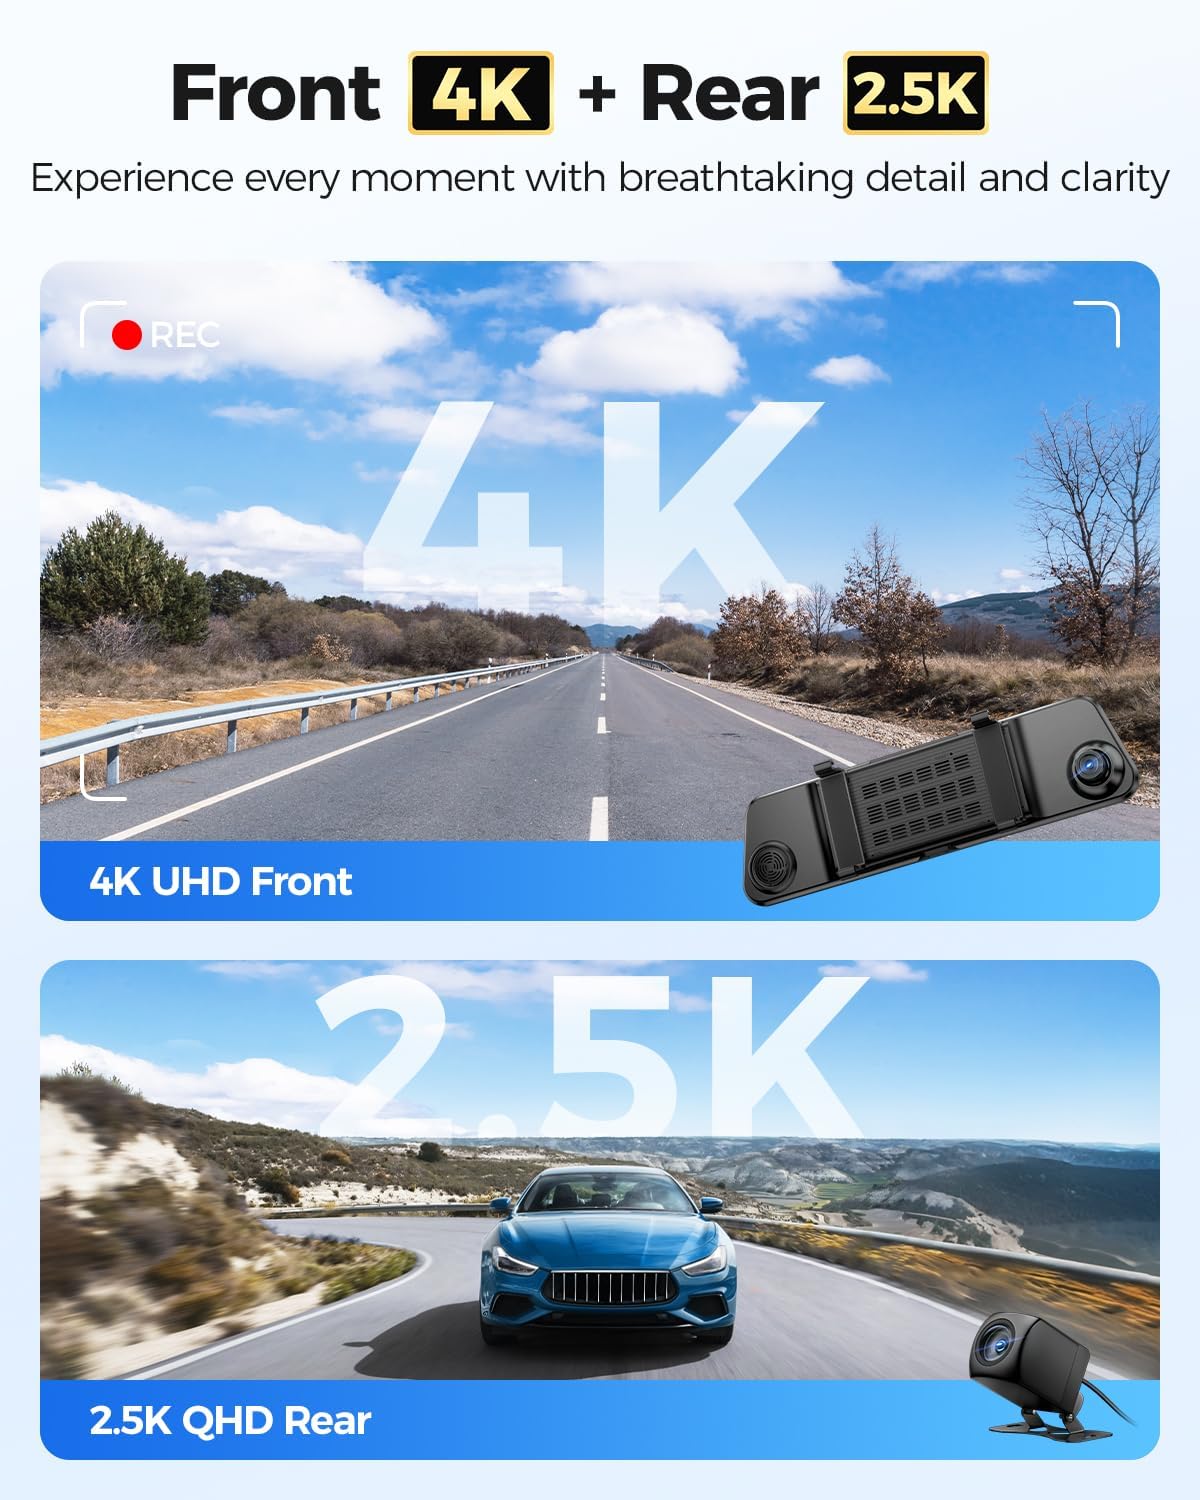
Figure 3.1: Visual representation of the dash cam's dual recording capabilities, highlighting 4K resolution for the front camera and 2.5K for the rear camera.
4. Installation
Proper installation is crucial for the optimal performance of your dash cam. Follow these steps carefully:
4.1 Mounting the Mirror Dash Cam
- Secure the AZDOME PG17 Max unit over your existing rearview mirror using the provided rubber straps. Ensure it is firmly attached and does not obstruct your view.
- Adjust the angle of the front camera lens to capture the road ahead clearly.
4.2 Installing the Rear Camera
- Choose a suitable location for the rear camera, typically above the license plate or inside the rear window. Ensure it has a clear view of the road behind.
- Clean the mounting surface thoroughly before attaching the camera.
- Route the 20ft 4 Pin extension cable from the rear camera to the main mirror unit. Conceal the cable along the vehicle's trim for a neat installation.
- Connect the 4 Pin connector of the extension cable to the corresponding port on the main mirror unit.
4.3 Power Connection
- Connect the power cable to the main mirror unit.
- Plug the other end of the power cable into your vehicle's 12V power outlet (cigarette lighter socket).
- For continuous parking monitoring, consider hardwiring the dash cam (professional installation recommended).
4.4 GPS Module Installation
- Connect the GPS module to the designated port on the main mirror unit.
- Mount the GPS module on your dashboard or windshield in a location with a clear view of the sky to ensure optimal satellite reception.
5. Operation
5.1 Basic Functions
- Power On/Off: The dash cam will automatically power on and begin recording when the vehicle's ignition is turned on. It will power off automatically when the ignition is turned off. You can also manually power it on/off using the power button.
- Recording: Loop recording is enabled by default. Videos are saved in segments (e.g., 1, 3, or 5 minutes) and older files are overwritten when the memory card is full, unless they are locked.
- Emergency Recording: The G-sensor detects sudden impacts or collisions and automatically locks the current video file to prevent it from being overwritten. You can also manually lock a video by pressing the designated button.
- Display Modes: Switch between front camera view, rear camera view, or split-screen view (front and rear) by swiping on the screen or using the display mode button.
5.2 Advanced Driver Assistance System (ADAS)
The ADAS feature provides real-time alerts to enhance driving safety. These include:
- Forward Collision Warning (FCW): Alerts you if you are approaching a vehicle too quickly.
- Pedestrian Collision Warning (PCW): Warns of potential collisions with pedestrians.
- Lane Departure Warning (LDW): Alerts if your vehicle drifts out of its lane without signaling.
- Front Vehicle Start Warning (FVSW): Notifies you when the vehicle in front starts moving from a stop.
- Distance Monitoring: Helps maintain a safe following distance.

Figure 5.1: Visual explanation of the Advanced Driver Assistance System (ADAS) features, showing how the dash cam detects and alerts for potential road hazards.
5.3 Blind Spot Detection (BSD) & Lane Change Assist (LCA)
These features actively monitor your vehicle's blind spots to prevent accidents during lane changes or when vehicles are in your blind zone.
- Rear Collision Warning: Alerts if a vehicle is rapidly approaching from behind in your blind spot.
- Lane Change Assist: Provides warnings when changing lanes if a vehicle is detected in the blind spot.

Figure 5.2: Depiction of the Blind Spot Detection (BSD) and Lane Change Assist (LCA) functionalities, showing how the system identifies and warns of vehicles in blind spots.
5.4 5.8GHz WiFi Connectivity & App Control
Connect your dash cam to the AZDOME app on your smartphone for easy access to recordings and settings.
- Download the AZDOME app from the Google Play Store or Apple App Store.
- Enable WiFi on your dash cam (if not already active).
- On your smartphone, connect to the dash cam's WiFi network (SSID and password usually displayed on the dash cam screen or in settings).
- Open the AZDOME app to view live footage, download recorded videos, change settings, and share content. The 5.8GHz WiFi offers faster transfer speeds compared to 2.4GHz.

Figure 5.3: The AZDOME mobile application interface, demonstrating how users can connect via 5.8GHz WiFi to manage dash cam settings and review footage.
5.5 Smart Voice Control
Operate your dash cam hands-free using voice commands. The device supports 10 specific commands for common actions.
- "Turn off recording"
- "Turn off display"
- "Lock the video"
- "Take picture"
- "Show front camera"
- "Open recording"
- "Turn on WiFi"
- "Show rear camera"
- "Open screen"
- (Additional command, refer to on-screen prompts or specific product documentation if available)

Figure 5.4: A visual guide to the smart voice control feature, showing various commands that can be used to operate the dash cam hands-free.
5.6 Built-in GPS & Route Tracking
The integrated GPS module records your driving data, which can be reviewed later.
- Route Tracking: Records your vehicle's path on a map.
- Location Data: Stores precise coordinates.
- Speed Data: Records vehicle speed.
- This data is embedded directly into the video files and can be viewed using the dedicated AZDOME GPS Player software on a computer or via the mobile app.

Figure 5.5: An example of the built-in GPS and route tracking functionality, displaying altitude, speed, and a map of the recorded driving route.
6. Settings Menu
Access the settings menu on the dash cam screen to customize various parameters. Use the touch screen or physical buttons (if available) to navigate.
Common Settings:
- Video Resolution: Adjust front and rear camera resolutions (e.g., 4K/2.5K, 1080P).
- Loop Recording: Set video segment length (e.g., 1, 3, 5 minutes).
- G-Sensor Sensitivity: Adjust sensitivity for emergency recording trigger.
- Parking Monitor: Enable/disable and configure parking surveillance modes (requires hardwire kit).
- ADAS/BSD/LCA: Turn these safety features on or off.
- Exposure: Adjust brightness levels.
- Time Zone: Set the correct time zone for accurate timestamps.
- Language: Select your preferred language.
- Format SD Card: Format the memory card to ensure optimal performance and clear old data.
7. Maintenance
Regular maintenance ensures the longevity and optimal performance of your AZDOME PG17 Max dash cam.
7.1 Cleaning the Device
- Use a soft, dry cloth to clean the dash cam unit and lenses.
- Do not use abrasive cleaners or solvents, as they may damage the surface or lens coatings.
- Ensure lenses are free of dust and smudges for clear recordings.
7.2 Memory Card Management
- Regularly format the memory card (e.g., once a month) to prevent data corruption and ensure smooth recording.
- Use a high-quality, high-speed (Class 10 or U3 recommended) microSD card.
- Replace the memory card if you experience frequent errors or recording issues.
7.3 Firmware Updates
- Check the official AZDOME website for available firmware updates.
- Firmware updates can improve performance, add new features, or fix bugs. Follow the instructions provided with the firmware update carefully.
8. Troubleshooting
If you encounter issues with your dash cam, refer to the following common problems and solutions:
| Problem | Possible Cause / Solution |
|---|---|
| Dash cam does not power on. |
|
| Recording stops unexpectedly. |
|
| Video footage is blurry or unclear. |
|
| GPS signal is weak or not found. |
|
| WiFi connection issues. |
|
9. Specifications
| Feature | Detail |
|---|---|
| Model Name | PG17 Max |
| Brand | AZDOME |
| Front Video Resolution | 4K (3840 x 2160) @ 30fps |
| Rear Video Resolution | 2.5K (2560 x 1440) @ 30fps |
| Connectivity Technology | 5.8GHz Wi-Fi |
| Included Components | Mirror Dash Cam Unit, Rear Camera, GPS Module, Power Cable, 20ft 4 Pin Extension Cable |
| Mounting Type | Rearview Mirror Mount |
| Special Features | ADAS (Forward Collision, Pedestrian Collision, Lane Departure, Front Vehicle Start, Distance Monitoring), BSD (Blind Spot Detection), LCA (Lane Change Assist), Smart Voice Control, Built-in GPS, Loop Recording, G-Sensor, Parking Monitor (with optional hardwire kit) |
| Color | Black |
| Vehicle Service Type | Car |
10. Warranty and Support
AZDOME products are designed and manufactured to the highest quality standards. For warranty information, technical support, or customer service inquiries, please visit the official AZDOME website or contact their customer support team directly.
Official AZDOME Website: www.azdome.com
Please have your product model (PG17 Max) and purchase details ready when contacting support.


