
1. Introduction
This manual provides detailed instructions for the assembly, usage, and maintenance of your ChooChoo SC2503-WH Tall Storage Cabinet. Designed for optimal vertical storage, this versatile cabinet features six doors and adjustable shelves, making it suitable for various rooms such as bathrooms, kitchens, and laundry rooms. Please read all instructions carefully before beginning assembly and retain this manual for future reference.
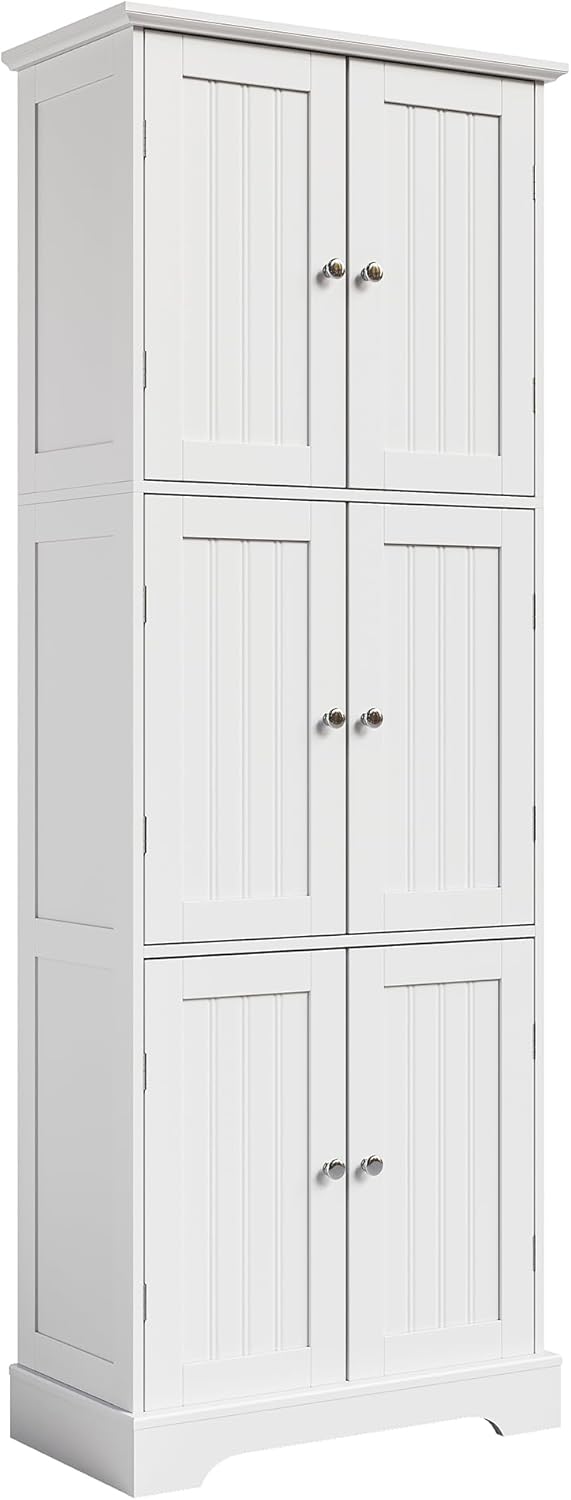
Image 1.1: The ChooChoo SC2503-WH Tall Storage Cabinet in white.
2. Safety Information
- Anti-Tip Design: Always secure the cabinet to the wall using the provided wall-anchoring kit. This is crucial to prevent tipping, especially in households with children or pets.
- Weight Distribution: Do not overload the cabinet. Distribute items evenly across shelves to maintain stability.
- Assembly: Assembly should ideally be performed by two adults to ensure safety and proper construction.
- Placement: Place the cabinet on a flat, level surface to prevent wobbling.
- Chemical Odors: If a slight chemical odor is present upon unboxing, air out the cabinet in a well-ventilated area for a few days.

Image 2.1: Detail of the anti-tip kit for wall securing.
3. Package Contents
Before assembly, verify that all parts and hardware are present and undamaged. Refer to the included parts list for identification.
3.1. Boards
The cabinet consists of various engineered wood panels, typically numbered for easy identification during assembly. These include side panels, top and bottom panels, back panels, and door panels.

Image 3.1: All cabinet panels laid out and numbered for assembly.
3.2. Hardware
The hardware package includes various screws, dowels, cam locks, hinges, magnetic catches, and the anti-tip kit. Each type of hardware is typically labeled with a letter for easy reference in the assembly steps.
Image 3.2: Assorted hardware components for cabinet assembly.
4. Assembly Instructions
Follow these steps carefully for proper assembly. An assembly video is provided below for visual guidance. It is recommended to have two people for certain steps.
Video 4.1: Official assembly instructions for the ChooChoo SC2503-WH cabinet.
Step-by-Step Guide:
- Prepare Panels: Lay out panels 7, 12, and 13. Insert dowels (C) into the designated holes on panels 12 and 13. Attach cam bolts (A) to panels 12 and 13. Secure magnetic catches (F) to panel 7 using screws (E).
- Assemble Base Section: Connect panel 7 to panels 12 and 13 using cam locks (B). Ensure the grooves for the back panel are aligned.
- Attach Side Panels: Insert dowels (C) into the side panels.
- Connect Base to Side Panels: Attach the assembled base section to the side panels using cam bolts (D). Ensure the indicator arrow on the cam bolts points downward.
- Secure Top Panel: Attach the top panel to the side panels using cam bolts (A).
- Assemble Legs: Insert dowels (C) into the leg pieces (9 and 10). Attach cam bolts (A) to the leg pieces.
- Connect Legs: Connect the leg pieces (9 and 10) to the bottom panel (11) using cam locks (B).
- Attach Legs to Cabinet: Secure the assembled leg structure to the bottom of the cabinet using cam locks (B).
- Insert Dowels for Shelves: Insert dowels (C) into the pre-drilled holes on the interior side panels where shelves will be placed.
- Prepare Middle Panel: Insert dowels (C) and cam bolts (A) into panel 3. Attach magnetic catches (F) and brackets (M) using screws (O).
- Attach Middle Panel: Connect panel 3 to the cabinet structure using cam locks (B). This step is recommended to be completed by two people.
- Prepare Top Panel: Insert dowels (C) into the top panel.
- Prepare Back Panel: Insert cam bolts (A) into panel 17. Attach magnetic catches (F) using screws (E).
- Attach Back Panel: Connect panel 17 to the cabinet structure using cam locks (D).
- Attach Back Panels: Slide the back panels (4, 5, 6) into the grooves on the cabinet. Secure them with screws (K).
- Install Hinges on Doors: Attach hinges (G) to the cabinet doors (1 and 2) using screws (L).
- Install Door Knobs: Attach door knobs (H) to the doors using screws (I).
- Attach Doors to Cabinet: Mount the doors to the cabinet by securing the hinges to the cabinet frame using screws (L).
- Insert Shelf Pins: Insert shelf pins (P) into the desired height holes on the interior side panels.
- Place Adjustable Shelves: Carefully place the adjustable shelves (14) onto the shelf pins.
5. Usage
The ChooChoo Tall Storage Cabinet is designed for versatile use across various rooms, offering ample storage while maintaining a compact footprint.
5.1. Adjustable Shelves
Each section of the cabinet features adjustable shelves, allowing you to customize the storage height to fit items of different sizes. Simply remove the shelf pins, reposition them to the desired height, and place the shelf back on the pins.

Image 5.1: Adjustable shelf pins for customizable storage.
5.2. Versatile Storage
Utilize the six compartments to store a variety of items:
- Bathroom: Store toiletries, towels, cleaning supplies, and personal care products.
- Kitchen: Organize pantry items, small appliances, spices, and cookware.
- Laundry Room: Keep detergents, fabric softeners, and other laundry essentials neatly tucked away.
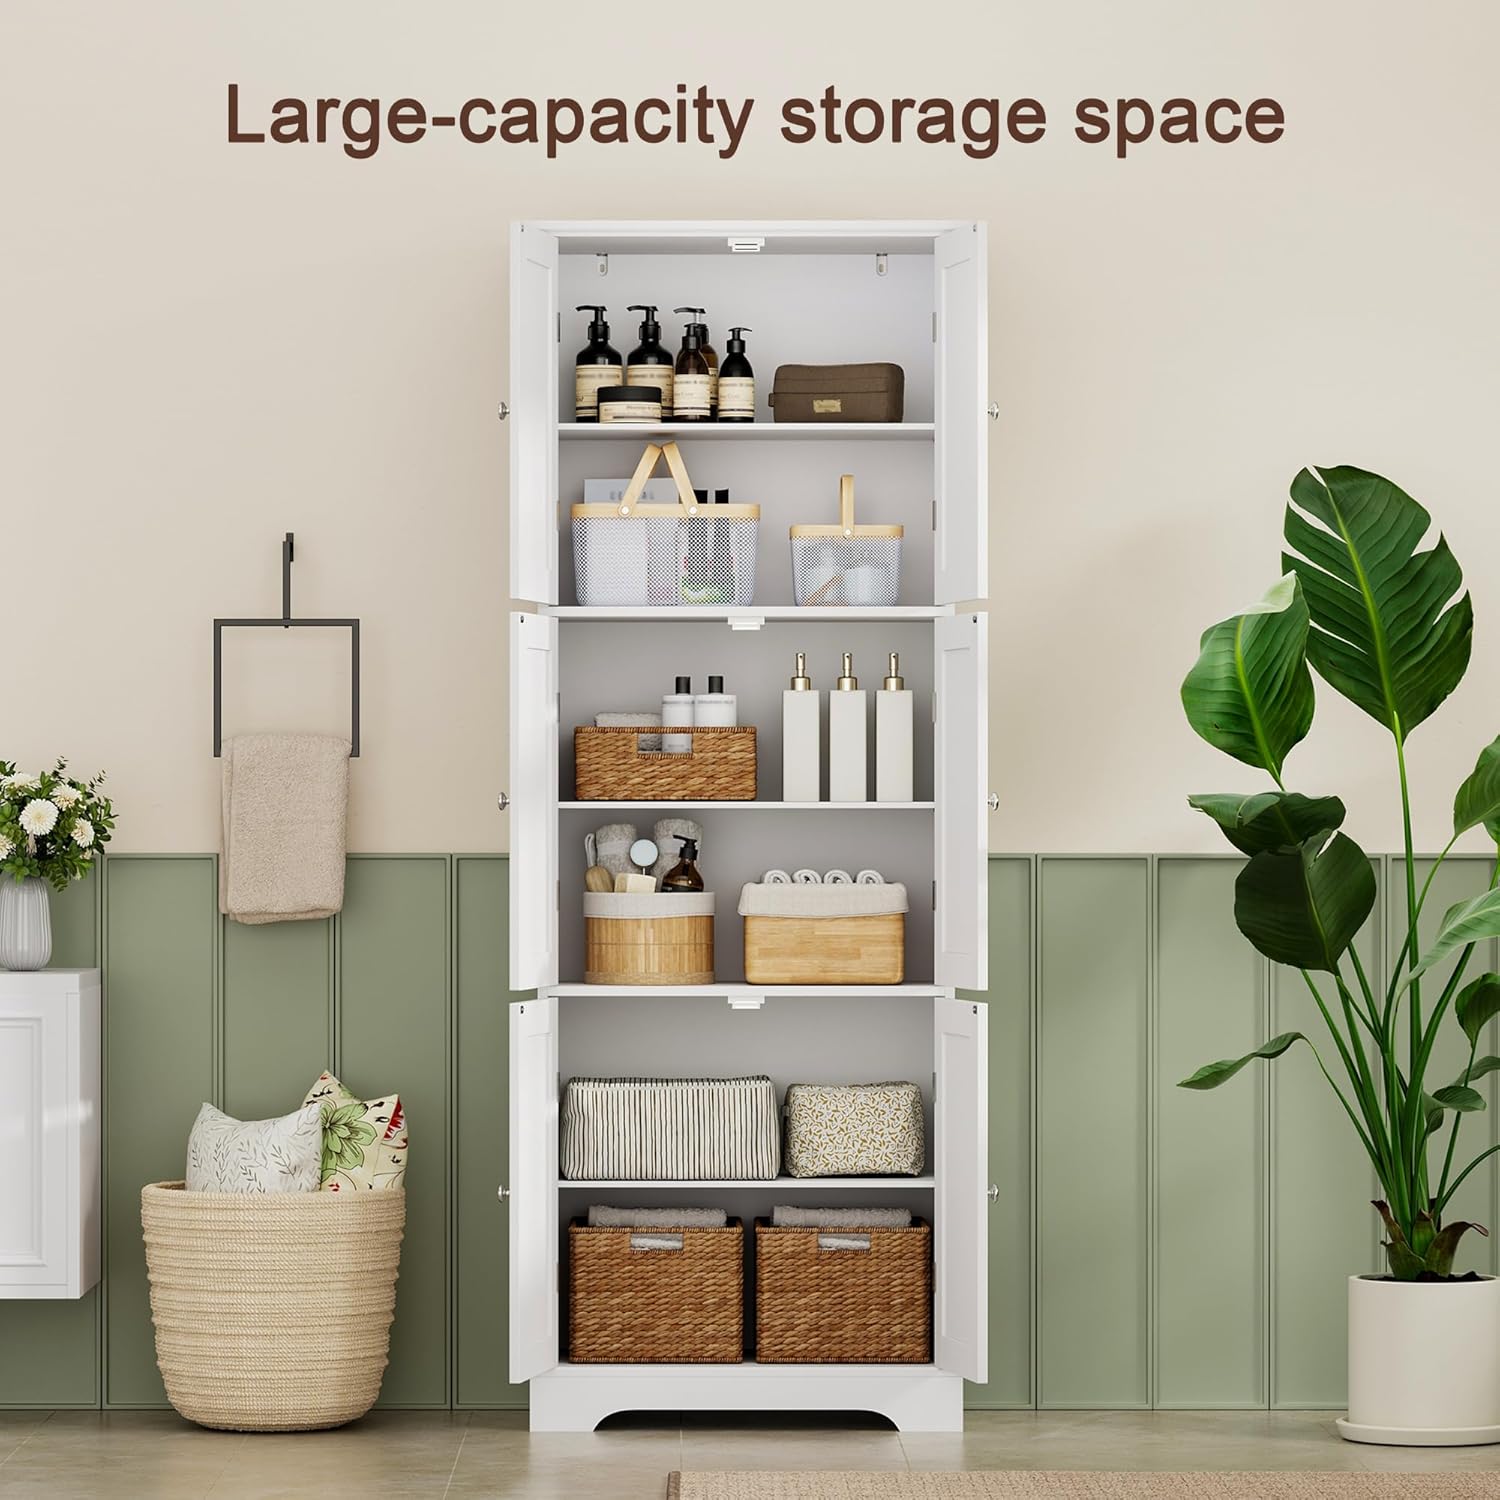
Image 5.2: Cabinet in a bathroom setting, showcasing organized storage.
Video 5.3: Overview of the ChooChoo Bathroom Cabinet's features and storage capacity.
6. Maintenance
Proper care will ensure the longevity and appearance of your cabinet.
- Cleaning: Wipe surfaces with a soft, damp cloth. Avoid using harsh chemicals, abrasive cleaners, or excessive moisture, as these can damage the finish.
- Spills: Promptly wipe up any spills to prevent water damage or staining.
- Hardware: Periodically check all screws and fasteners to ensure they remain tight. Retighten if necessary.
- Wall Anchors: Regularly inspect the wall-anchoring kit to confirm it is securely attached and functioning correctly.
7. Troubleshooting
- Cabinet feels unstable or wobbly:
a. Ensure the cabinet is placed on a completely flat and level surface.
b. Verify that all cam locks and screws are fully tightened.
c. Confirm the wall-anchoring kit is correctly installed and securely fastened to the wall. - Doors do not close properly or are misaligned:
a. Check that the hinges are securely attached to both the doors and the cabinet frame.
b. Ensure the magnetic catches are properly aligned and installed.
c. Verify that the cabinet itself is level. - Chemical odor present:
a. This can sometimes occur with new furniture. Place the cabinet in a well-ventilated room with open windows for several days to allow the odor to dissipate.
8. Specifications
| Brand | ChooChoo |
| Model Name | SC2503-WH |
| Color | White |
| Product Dimensions | 11.8"D x 23.6"W x 63"H |
| Item Weight | 45.8 pounds (20.8 Kilograms) |
| Material | Engineered Wood |
| Mounting Type | Freestanding |
| Number of Doors | 6 |
| Number of Shelves | 6 (Adjustable) |
| Assembly Required | Yes |
9. Warranty & Support
For specific warranty information, please refer to the documentation included with your purchase or contact ChooChoo customer support. If you encounter any issues or require assistance with your product, please reach out to our customer service team. Contact details can typically be found on the product packaging or the official ChooChoo website.