Introduction
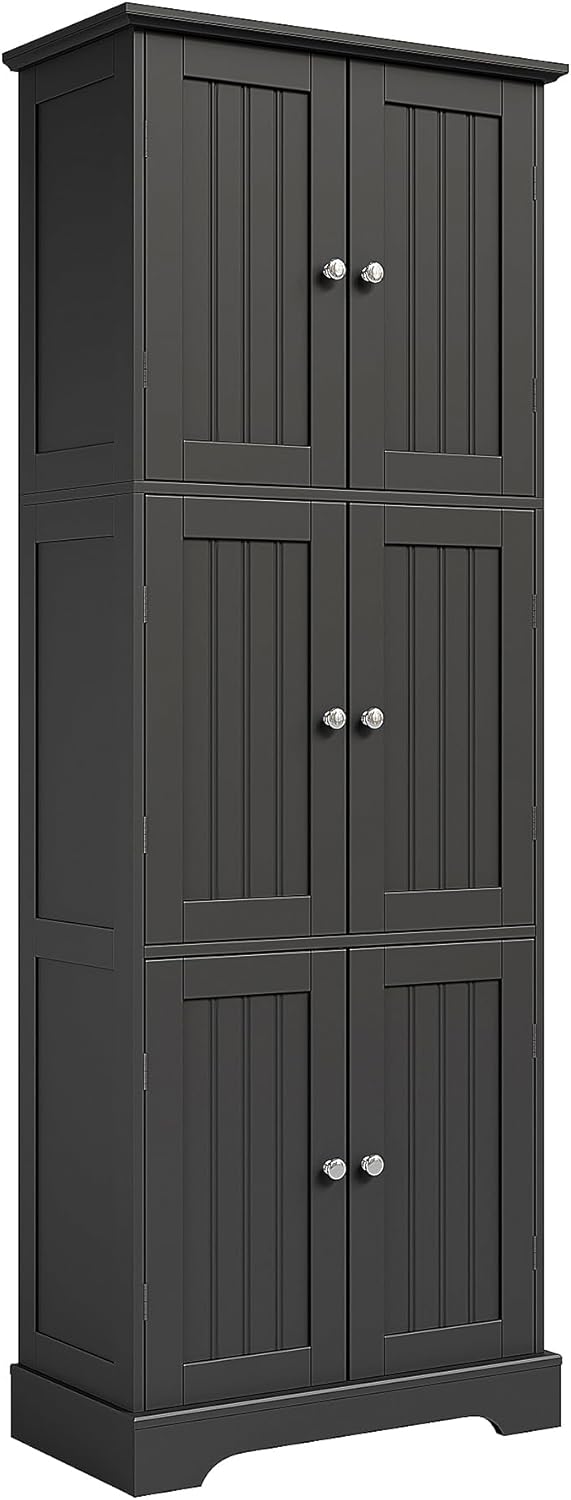
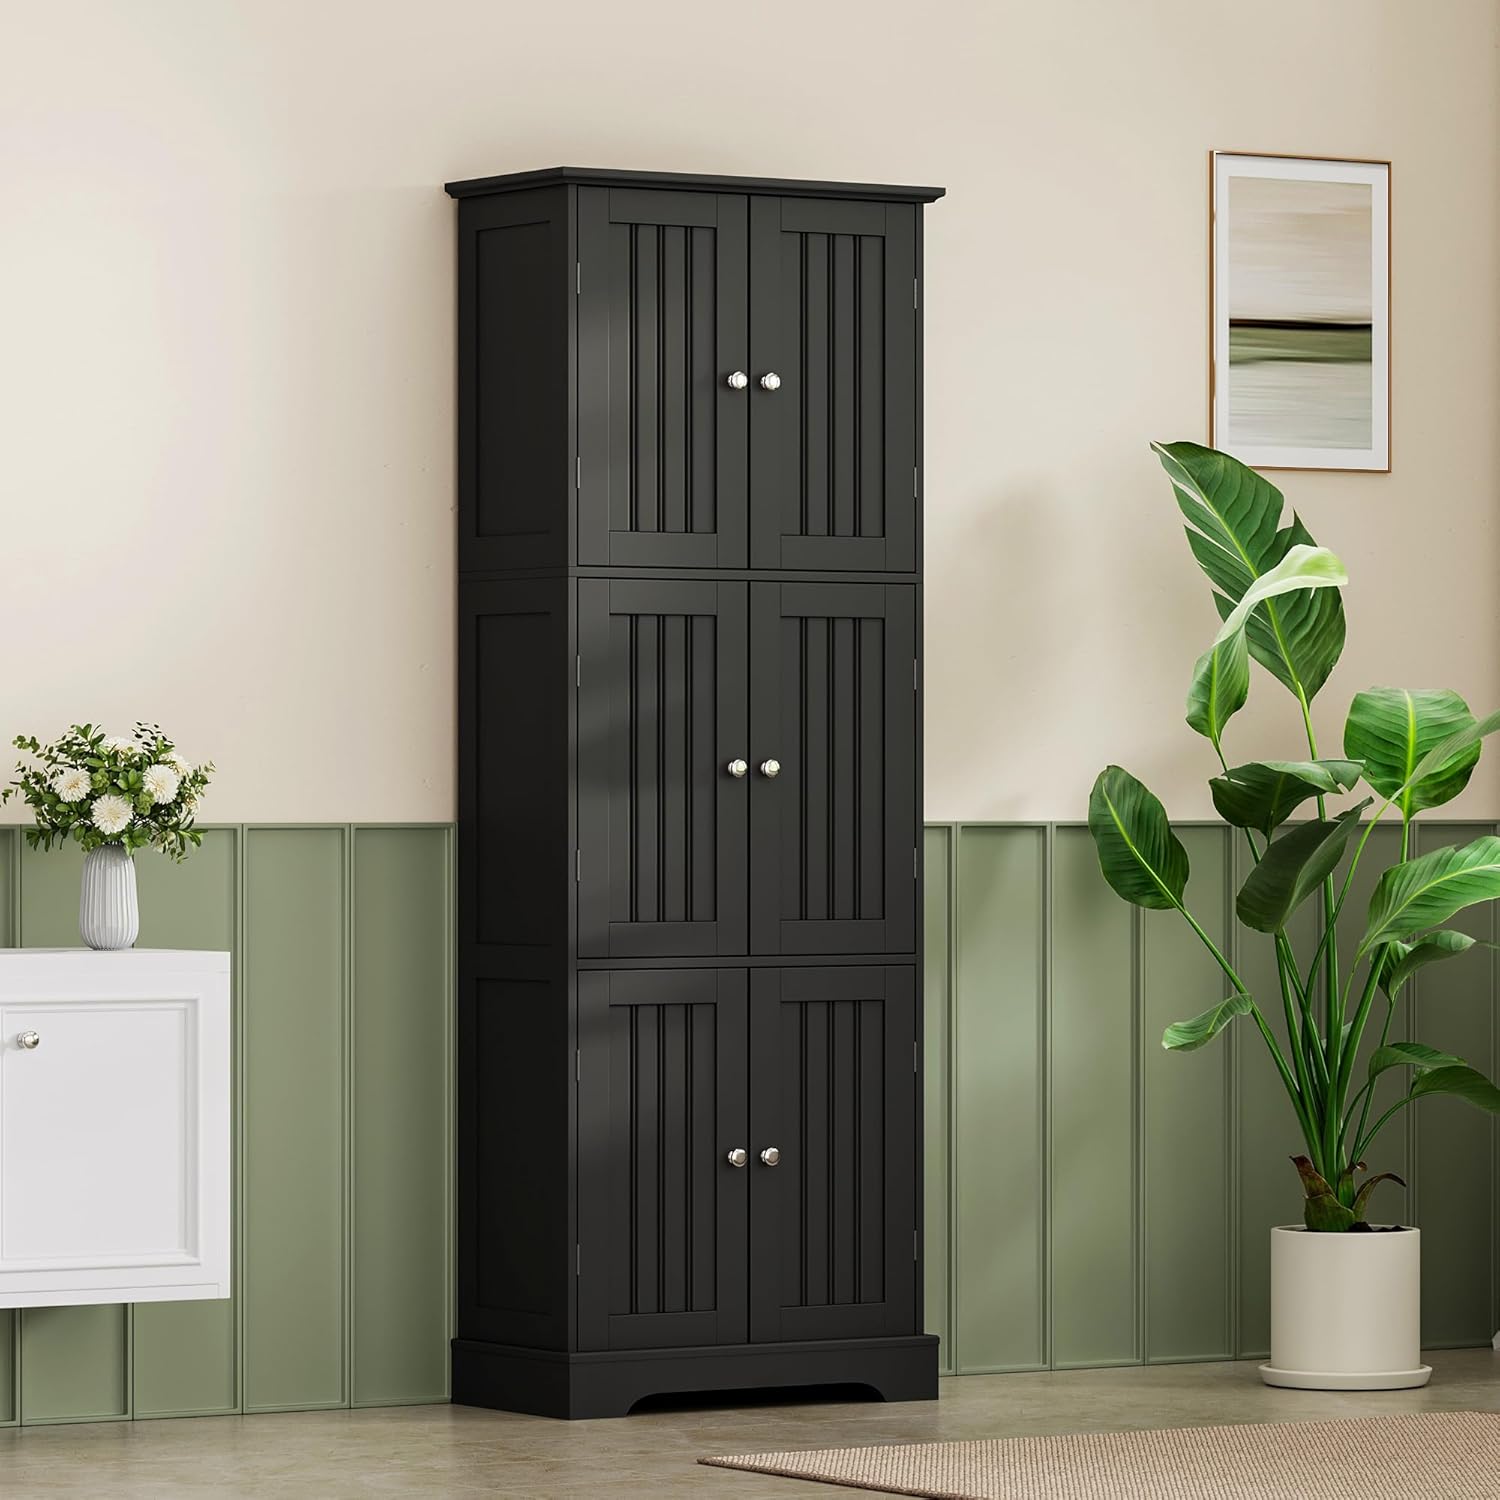
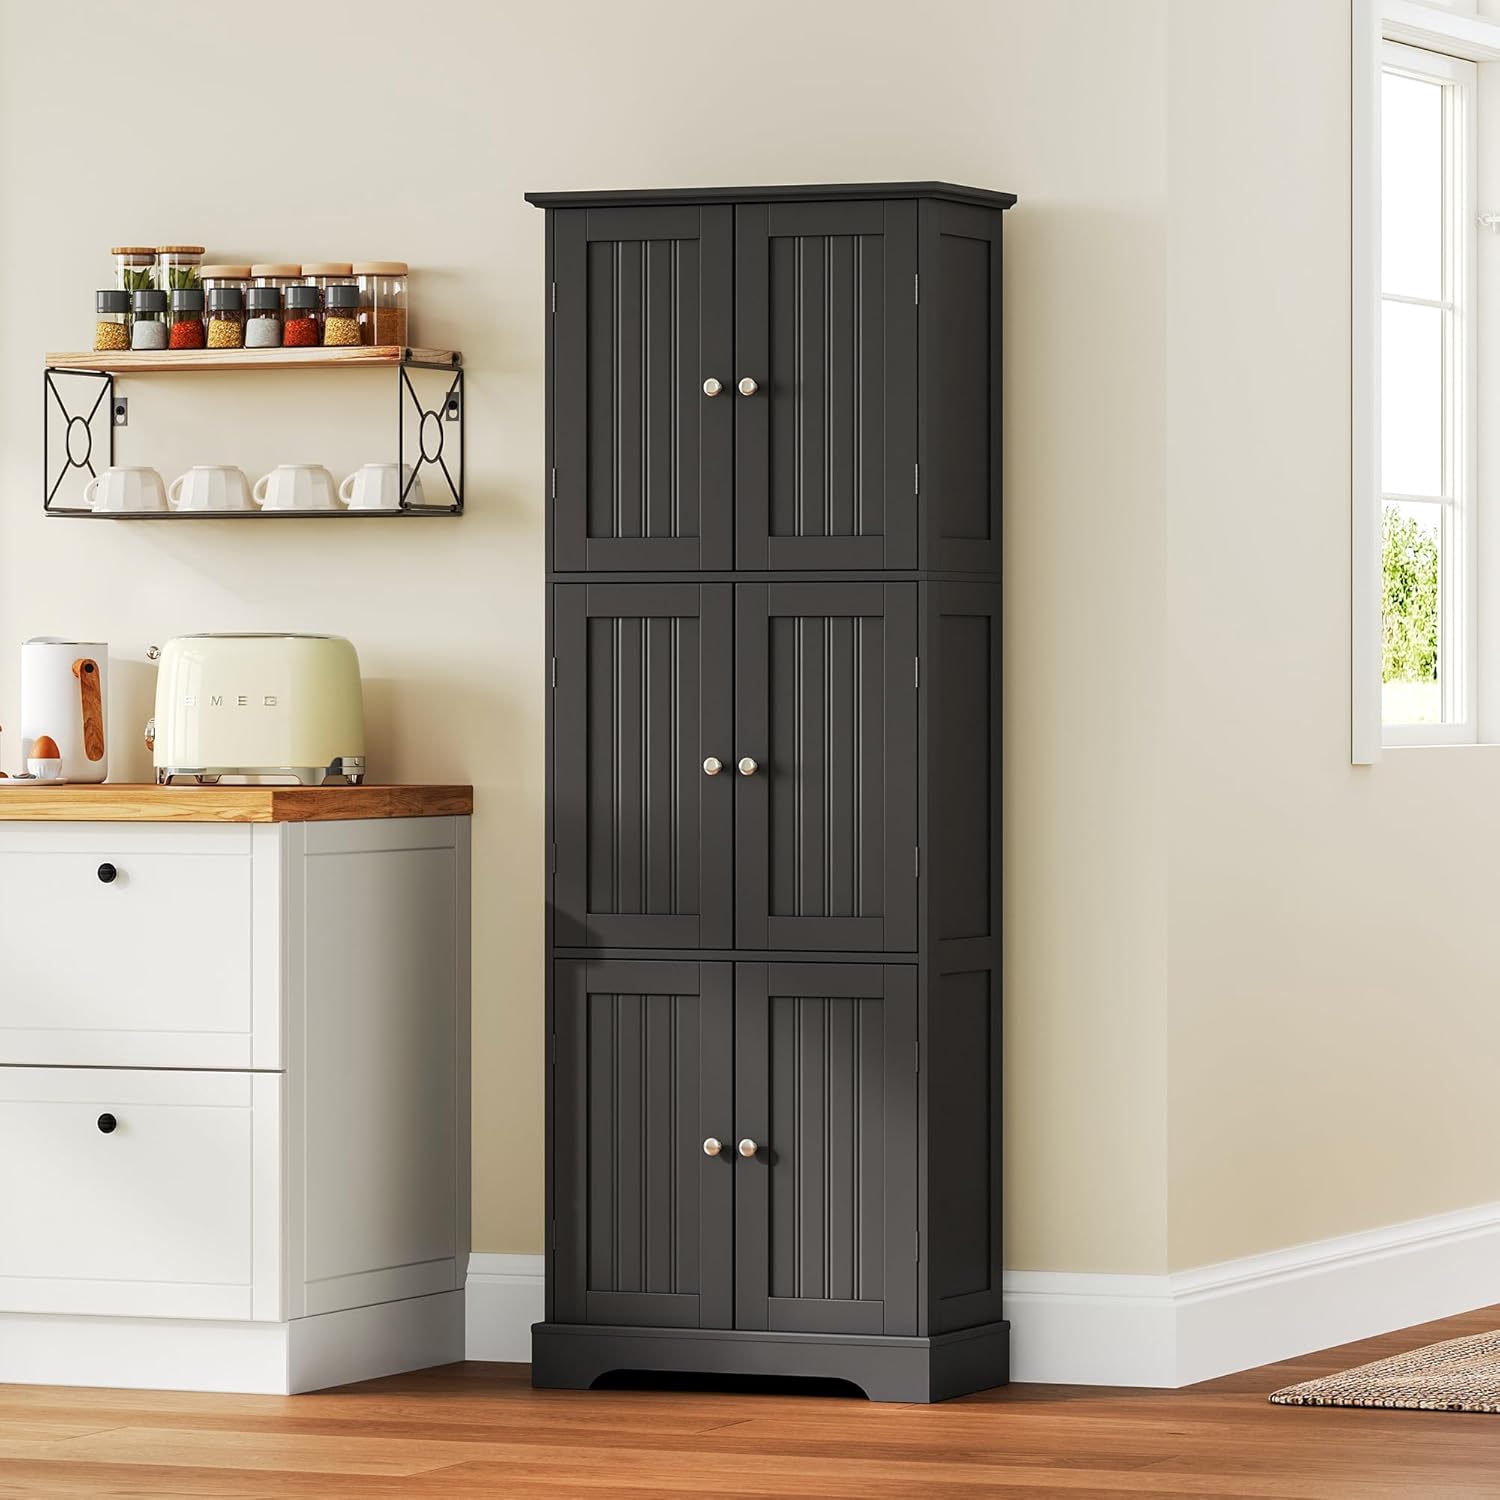
Thank you for purchasing the ChooChoo SC2503 Tall Storage Cabinet. This manual provides detailed instructions for assembly, operation, and maintenance to ensure safe and proper use of your new cabinet. This versatile freestanding unit features six doors and adjustable shelves, designed to enhance storage in various rooms such as bathrooms, kitchens, and laundry rooms.
Important Safety Information
WARNING:
- Always secure the cabinet to the wall using the provided wall-anchoring kit to prevent tipping. Do not use the cabinet if it is not properly secured.
- Ensure all screws and fasteners are tightened securely before use. Periodically check and re-tighten as necessary.
- Do not overload shelves. Distribute weight evenly to maintain stability.
- Keep small parts away from children during assembly.
Package Contents
Please verify that all components are present before beginning assembly. If any parts are missing or damaged, please contact customer support.
Hardware (Example from video, actual count may vary):
- Various screws (A, B, D, E, L, O)
- Wooden dowels (C)
- Magnetic catches (F)
- Hinges (G)
- Knobs (H) and corresponding screws (I)
- Corner brackets (J)
- Shelf pins (P)
- Wall-anchoring kit (M, O)
Panels:
- Numbered panels for main structure, back panels, and doors.
Tools Required (Not Included):
- Phillips head screwdriver
- Hammer (for dowels)
- Drill (optional, for screws)
Assembly Instructions
Follow these steps carefully for proper assembly. It is recommended to have two people for certain steps.
Official assembly video for the ChooChoo SC2503 Tall Storage Cabinet. This video demonstrates the step-by-step process of putting the cabinet together, including hardware installation and panel alignment.
- Step 1: Prepare Side Panels. Insert wooden dowels (C) into the designated holes on panels 12 and 13. Attach cam bolts (A) into the pre-drilled holes. Secure magnetic catches (F) to panel 7 using screws (E).
- Step 2: Assemble First Section. Connect panel 7 to panels 12 and 13 using cam locks (B). Ensure the grooves align.
- Step 3: Attach Base Dowels. Insert wooden dowels (C) into the bottom edges of the side panels (12, 13).
- Step 4: Attach Base Panel. Connect panel 8 to the assembled section using cam bolts (D). Ensure the indicator arrow on panel 8 points downward.
- Step 5: Secure Top Panel. Attach cam bolts (A) to the top panel.
- Step 6: Prepare Top Frame. Insert wooden dowels (C) and cam bolts (A) into panels 9 and 10.
- Step 7: Assemble Top Frame. Connect panels 11 to panels 9 and 10 using cam locks (B).
- Step 8: Attach Top Frame to Cabinet. Secure the assembled top frame (from step 7) to the main cabinet structure (from step 5) using cam locks (B).
- Step 9: Prepare Middle Section Dowels. Insert wooden dowels (C) into the side panels for the middle section (panels 15, 16).
- Step 10: Prepare Middle Panel. Insert wooden dowels (C) and cam bolts (A) into panel 3. Attach magnetic catches (F) and corner brackets (M) using screws (O).
- Step 11: Assemble Middle Section. Connect panel 3 to the side panels (15, 16) using cam locks (B). Ensure the groove on Board No.16 aligns with that on Board No.3.
- Step 12: Prepare Upper Section Dowels. Insert wooden dowels (C) into the side panels for the upper section (panels 15, 16).
- Step 13: Prepare Upper Panel. Attach magnetic catches (F) and cam bolts (A) to panel 17 using screws (E).
- Step 14: Assemble Upper Section. Connect panel 17 to the side panels (15, 16) using cam bolts (D). This step is recommended to be completed by two people.
- Step 15: Secure Upper Section. Use cam locks (B) to secure the upper section to the middle section.
- Step 16: Attach Back Panels. Align and secure back panels (4, 5, 6) to the rear of the cabinet using screws (K).
- Step 17: Install Door Hinges. Attach hinges (G) to the six doors (panels 1 and 2) using screws (L).
- Step 18: Install Door Knobs. Attach corner brackets (J) to the doors using screws (L). Attach knobs (H) to the doors using screws (I).
- Step 19: Attach Doors to Cabinet. Secure the doors to the cabinet frame by attaching the hinges to the pre-drilled holes using screws (L).
- Step 20: Install Adjustable Shelf Pins. Insert shelf pins (P) into the desired holes inside the cabinet.
- Step 21: Place Adjustable Shelves. Carefully place the adjustable shelves (panels 14) onto the installed shelf pins.
- Final Step: Wall Anchoring. Secure the cabinet to the wall using the provided anti-tip kit (M, O) to prevent accidental tipping.
Operating Instructions
- Opening/Closing Doors: Gently pull the knobs to open the doors. Push firmly to close, ensuring the magnetic catches engage.
- Adjusting Shelves: To adjust shelf height, remove items from the shelf. Carefully lift the shelf and remove the shelf pins. Reinsert the pins into the desired holes at the same level on both sides, then place the shelf back.
- Weight Distribution: Distribute items evenly across shelves. Avoid placing heavy items exclusively on upper shelves to maintain stability.
Video demonstrating the ChooChoo Bathroom Cabinet in use, showcasing its storage capacity and design. This video highlights how the cabinet can organize various items in a bathroom setting.
Care and Maintenance
- Cleaning: Wipe surfaces with a soft, damp cloth. Avoid harsh chemicals or abrasive cleaners that may damage the finish.
- Spills: Clean up spills immediately to prevent moisture damage.
- Inspection: Periodically inspect all hardware and connections to ensure they remain tight. Re-tighten as needed.
- Environment: Avoid placing the cabinet in direct sunlight or near heat sources to prevent warping or discoloration.
Troubleshooting
- Wobbly Cabinet: Ensure all cam locks and screws are fully tightened. Verify the cabinet is placed on a level surface.
- Doors Not Closing Properly: Check hinge alignment and tightness. Ensure magnetic catches are correctly installed and aligned.
- Difficulty with Screw Alignment: Refer to the assembly video for visual guidance. Ensure panels are correctly oriented before tightening screws.
Product Specifications
| Feature | Detail |
|---|---|
| Brand | ChooChoo |
| Model Name | SC2503-BK |
| Color | Black |
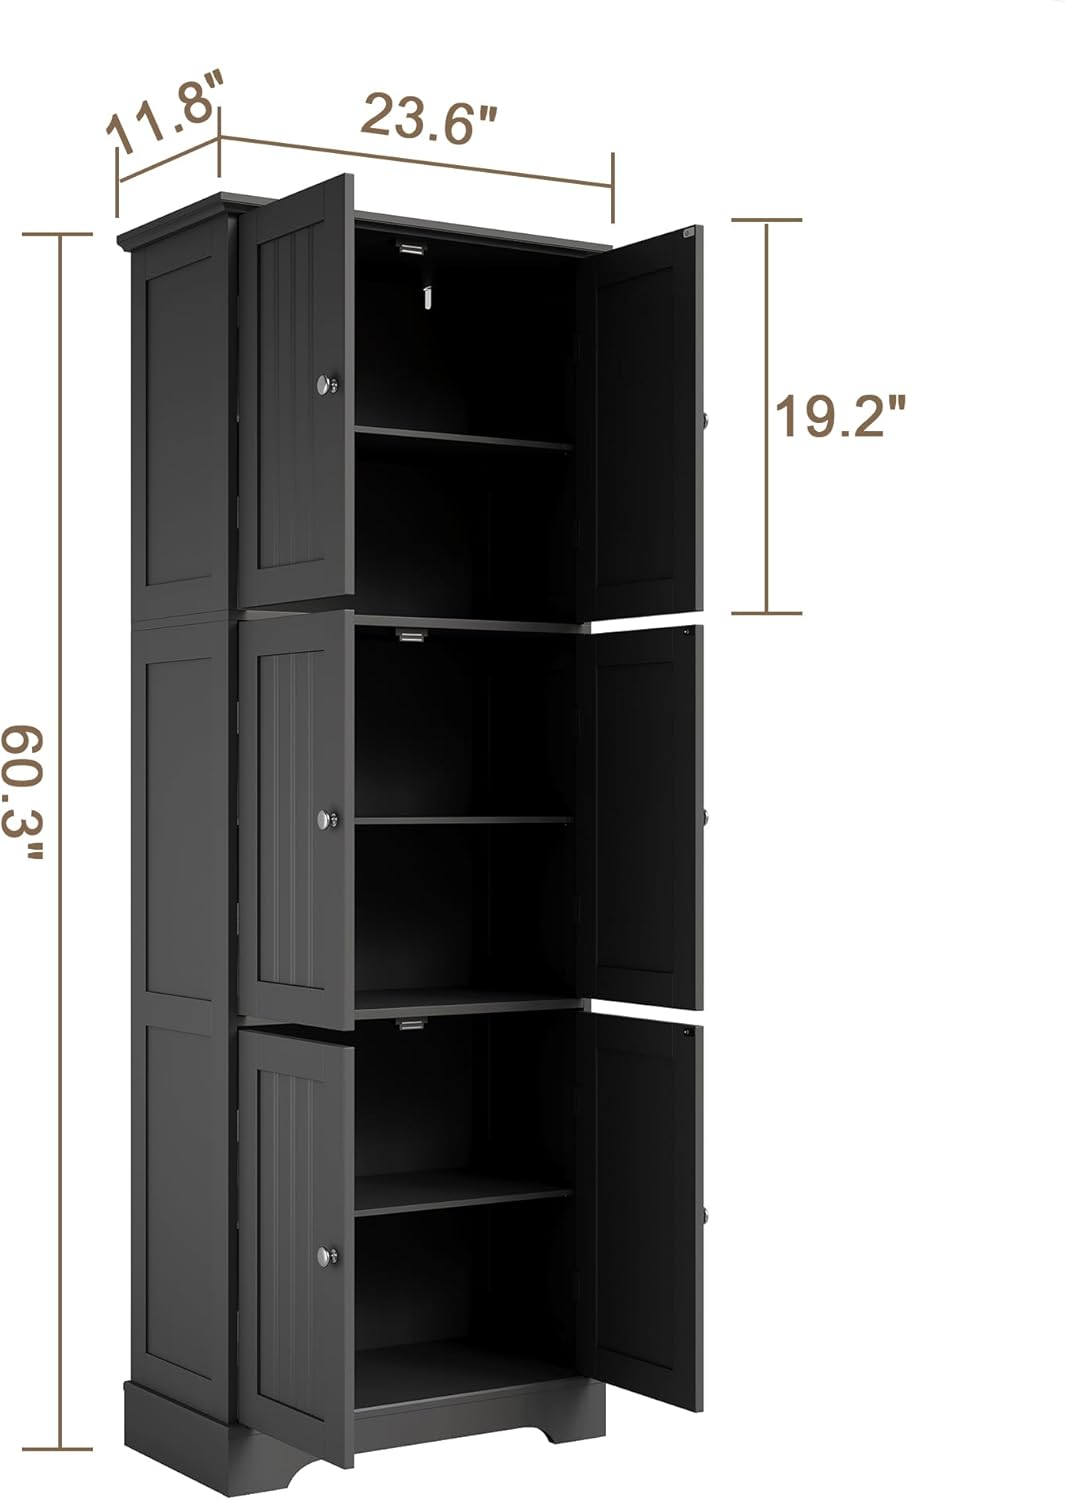
| Product Dimensions | 11.79"D x 23.6"W x 63"H |
| Material | Engineered Wood |
| Mounting Type | Freestanding |
| Number of Doors | 6 |
| Adjustable Shelves | Yes |
| Assembly Required | Yes |
| Item Weight | 45 pounds |
Warranty and Customer Support
For warranty information or assistance with your ChooChoo SC2503 Tall Storage Cabinet, please refer to the product packaging or contact ChooChoo customer support directly. Contact details can typically be found on the manufacturer's website or through your retailer.
For further inquiries, visit the official ChooChoo Store on Amazon.
Product Visuals