1. Safety Information
Please read and understand all instructions before assembly and use. Failure to follow these instructions may result in injury or damage to the product.
- Do not use the canopy in extreme weather conditions such as heavy wind, rain, or snow.
- For added stability, place weights inside the base of the pergola posts.
- Do not use the canopy to support heavy loads or for activities that may cause excessive stress on the structure.
- Always follow the provided instructions for safe installation and use.
- Ensure all connections are secure before and during use.
2. Product Overview
The Hipicute 10x10FT Outdoor Pergola with Retractable Canopy is designed to enhance your outdoor living space, providing adjustable shade and a stylish aesthetic. It features a robust aluminum frame with a faux wood finish and a durable polyester canopy.
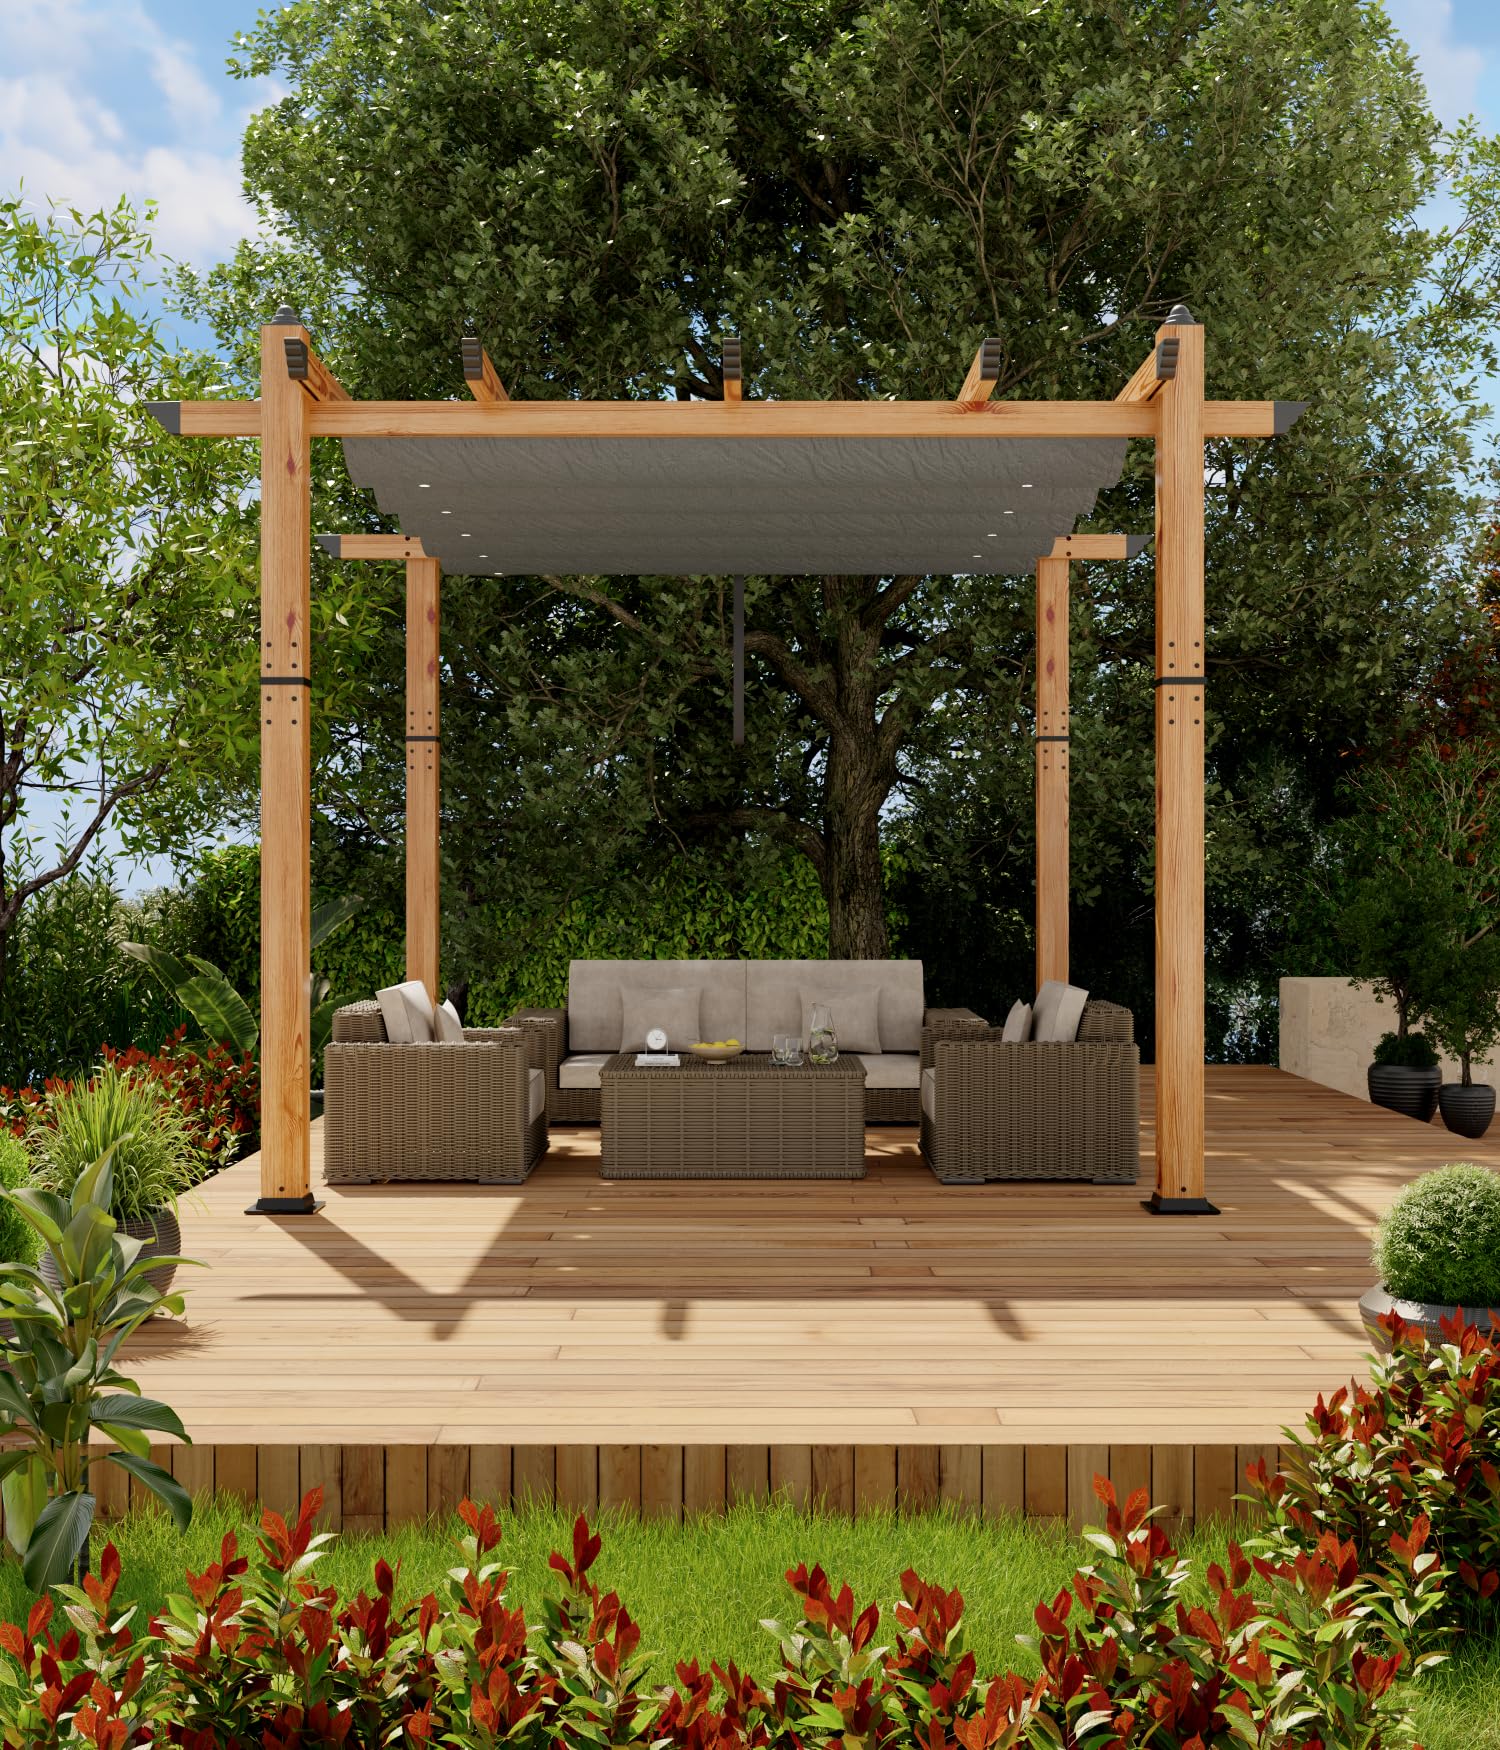
Image 2.1: The Hipicute 10x10FT Outdoor Pergola with its retractable canopy fully extended.
Key Features:
- Exceptional Quality: Crafted with a 3.55-inch powder-coated aluminum frame for unmatched stability and durability.
- Retractable Canopy: Features a retractable design with built-in sliding tracks and spring locks, allowing easy adjustment of the shade area.
- Durable Canopy Material: Made of thickened polyester with a 5+ PA coating, ensuring excellent waterproofing, UV resistance, and anti-fading performance.
- Modern Wood-Look Design: The wood-grain finish seamlessly blends into various outdoor settings.
- Functional Design: Equipped with drainage holes to prevent water buildup and can serve as a sturdy support for climbing plants.
3. Package Contents
Before beginning assembly, ensure all parts listed in the included instruction booklet are present and undamaged. All hardware components are individually packaged and labeled for easy identification.

Image 3.1: Example of labeled hardware bags and instruction manual.
4. Assembly Instructions
Assembly is designed to be straightforward with clear, concise instructions provided in the manual. It is recommended to have at least two people for assembly.
Step-by-Step Assembly:
- Unpack and Organize: Carefully unpack all components and lay them out. Refer to the parts list in your manual to ensure all pieces are accounted for.
- Assemble Posts: Follow the detailed diagrams in the instruction booklet to assemble the vertical posts. Ensure all screws are tightened securely.
- Install Base Plates: Attach the upgraded base plates to the bottom of each post. These bases are designed for enhanced stability.
- Assemble Horizontal Beams: Connect the horizontal beams according to the manual's diagrams. Pay attention to the orientation of the beams for proper canopy track installation.
- Attach Canopy Tracks: Secure the canopy sliding tracks to the horizontal beams.
- Install Canopy Fabric: Carefully slide the retractable canopy fabric onto the tracks. Ensure the spring locks are properly engaged to hold the canopy in place when extended or retracted.
- Secure the Pergola: For optimal stability, especially in windy conditions, it is recommended to secure the pergola. Options include drilling the base plates into a concrete patio or placing the posts into large pots filled with gravel or concrete.
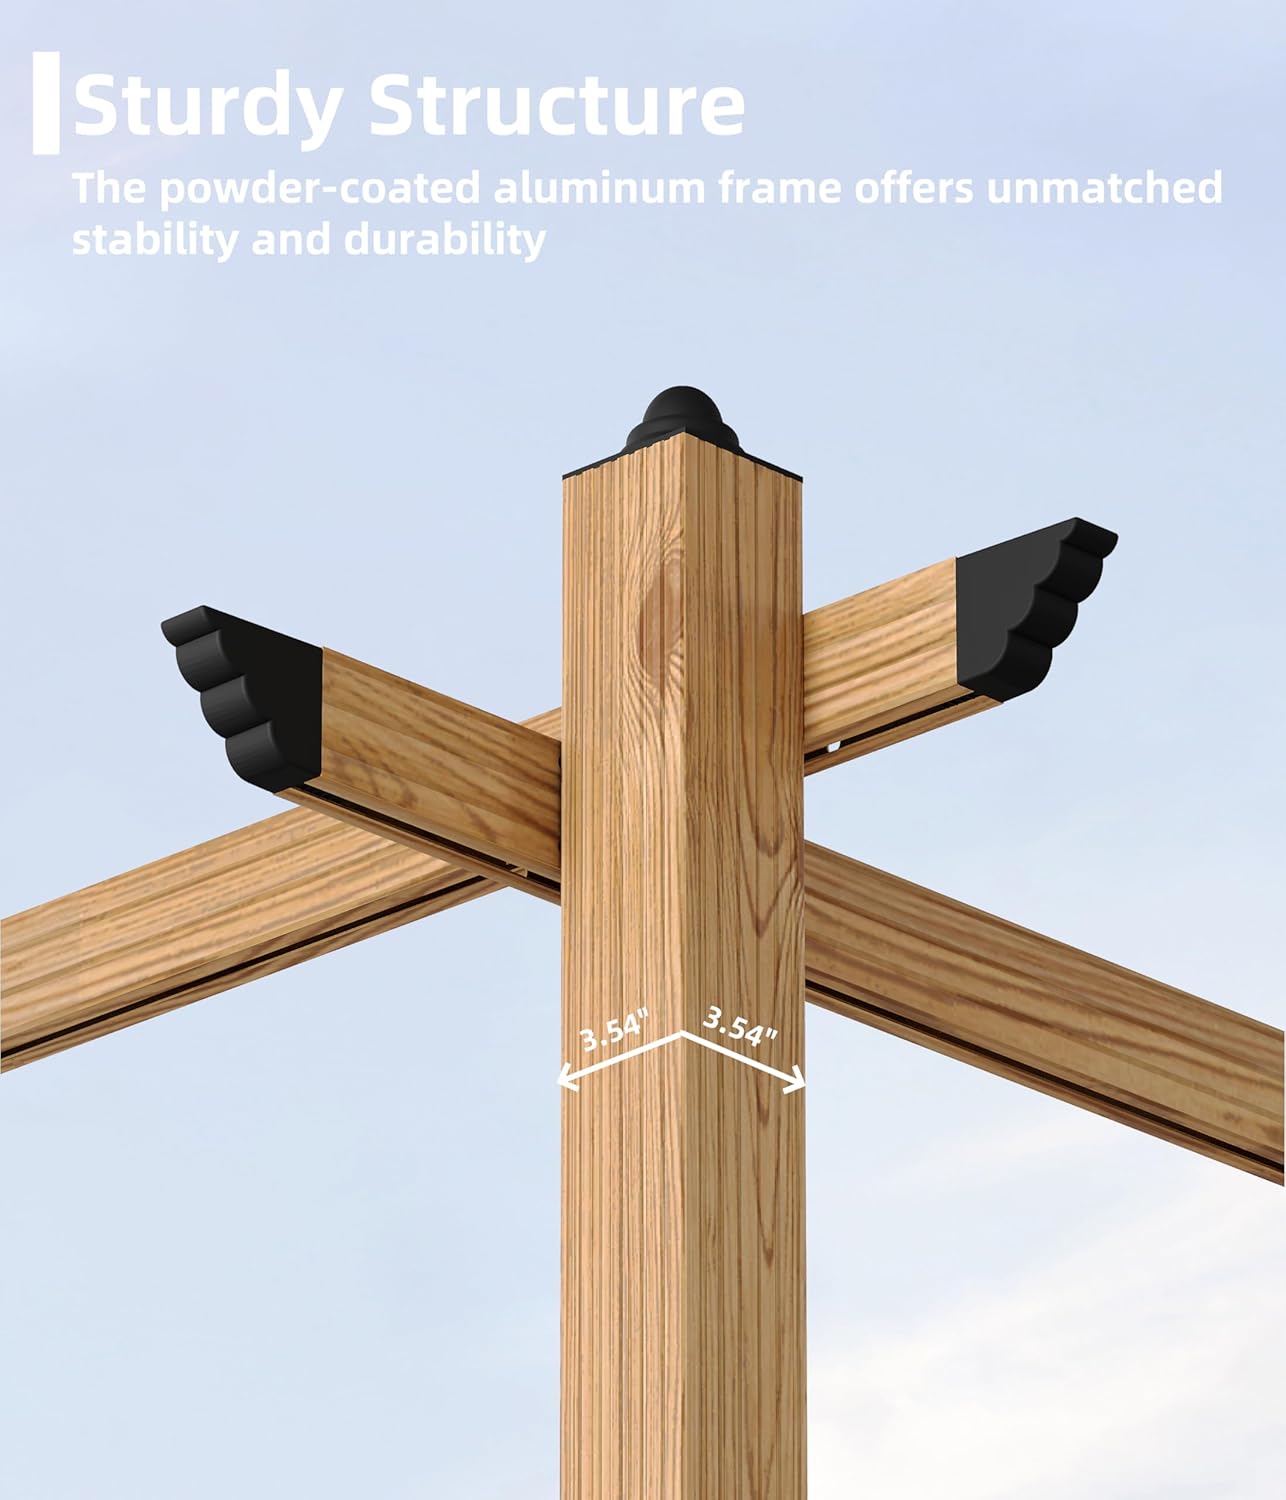
Image 4.1: Close-up of the sturdy aluminum frame construction with faux wood finish.

Image 4.2: The upgraded base design provides increased stability for the pergola posts.

Image 4.3: The retractable canopy mechanism allows for easy adjustment of shade.
5. Operating Instructions
The retractable canopy allows you to control the amount of sun and shade. To operate:
- To Extend the Canopy: Gently pull the canopy fabric along the sliding tracks until it reaches the desired extension. Secure it in place using the integrated spring locks.
- To Retract the Canopy: Release the spring locks and gently push the canopy fabric back along the tracks until it is fully retracted.
Note: Always retract the canopy during strong winds, heavy rain, or snow to prevent damage to the fabric and structure.
6. Maintenance
Regular maintenance will prolong the life and appearance of your pergola.
- Canopy Cleaning: Clean the polyester canopy fabric periodically with mild soap and water. Rinse thoroughly and allow to air dry completely before retracting for storage.
- Frame Cleaning: Wipe down the aluminum frame with a damp cloth to remove dirt and debris. Avoid abrasive cleaners that could damage the powder-coated finish.
- Water Drainage: After rain, check the canopy for any pooled water. Gently push up on the underside of the canopy to release accumulated water and ensure proper drainage through the built-in holes.
- Seasonal Storage: For prolonged periods of non-use or during harsh weather seasons, it is recommended to fully retract and secure the canopy, or remove it for indoor storage.
7. Troubleshooting
Common Issues and Solutions:
- Canopy not retracting/extending smoothly:
- Check the sliding tracks for obstructions or debris. Clean if necessary.
- Ensure the spring locks are fully disengaged/engaged. - Water pooling on canopy:
- This can occur after heavy rain. Gently push up on the underside of the canopy to release the water. Ensure the canopy is properly tensioned to minimize pooling. - Pergola feels unstable:
- Verify all bolts and screws are securely tightened.
- Ensure the base is adequately weighted or anchored to the ground.
8. Specifications
| Brand | Hipicute |
| Model Number | QY-MuWenHuaJia-10x10-Hui-ibZ |
| Material | Aluminum frame, Polyester canopy |
| Color | Gray |
| Product Dimensions (L x W x H) | 118.07 in (299.9 cm) x 118.07 in (299.9 cm) x 99.15 in (251.6 cm) |
| Floor Area | 100 Square Feet |
| Item Weight | 88.8 pounds |
| Water Resistance Level | Waterproof |
| Ultraviolet Light Protection | UV |
| Assembly Required | Yes |

Image 8.1: Diagram showing the overall dimensions of the 10x10FT pergola.
9. Warranty and Support
For any questions, concerns, or support regarding your Hipicute pergola, please contact our customer service team.
- US Telephone: +1 (888) 857-8979
- Email (US & Other Countries): info@garvee.com
Please retain your purchase receipt for warranty claims. Specific warranty details are typically included with your product documentation.


