
Introduction
Thank you for choosing the HSZTJJYP AC1P 4K 64MP Digital Camera. This compact and user-friendly camera is designed to capture high-quality photos and videos with ease. Featuring 4K video recording, 64MP photo resolution, and 18X digital zoom, it's suitable for various photography needs. Please read this manual carefully to ensure proper use and to maximize your camera's potential.
What's in the Box
- 1 x HSZTJJYP AC1P 4K 64MP Digital Camera
- 1 x 64GB TF Card
- 2 x 1200mAh Rechargeable Batteries
- 1 x Camera Bag
- 1 x Lanyard
- 1 x Type-C USB Cable
- 1 x Cleaning Cloth
- 1 x User Manual

Image: All items included in the HSZTJJYP AC1P Digital Camera package.
Setup
1. Battery and TF Card Installation
- Open the battery compartment cover on the side of the camera.
- Insert the TF card with the metal contacts facing up, pushing until it locks into place with a click.
- Insert the battery with the positive and negative symbols facing up, pushing it in until it locks.
- Close the battery compartment cover securely.
Video: Step-by-step guide on installing the TF card and battery.
2. Charging the Camera
Before first use, fully charge the camera. Connect the camera to a power source (e.g., computer USB port or USB wall adapter) using the provided Type-C USB cable. The charging indicator light will illuminate during charging and turn off when fully charged.
3. Attaching the Lanyard
Thread the thin loop of the lanyard through the small eyelet on the side of the camera. Pass the larger end of the lanyard through the thin loop and pull to secure it. This helps prevent accidental drops.
Video: Instructions for attaching the camera lanyard.
Operating Instructions
1. Power On/Off
Press and hold the power button (usually located on the top or side) for approximately 3-5 seconds until the screen illuminates or turns off.
2. Basic Photo Capture
- Turn on the camera.
- Frame your shot using the LCD screen.
- Press the shutter button halfway to focus (a green square will appear).
- Press the shutter button completely to take the photo.
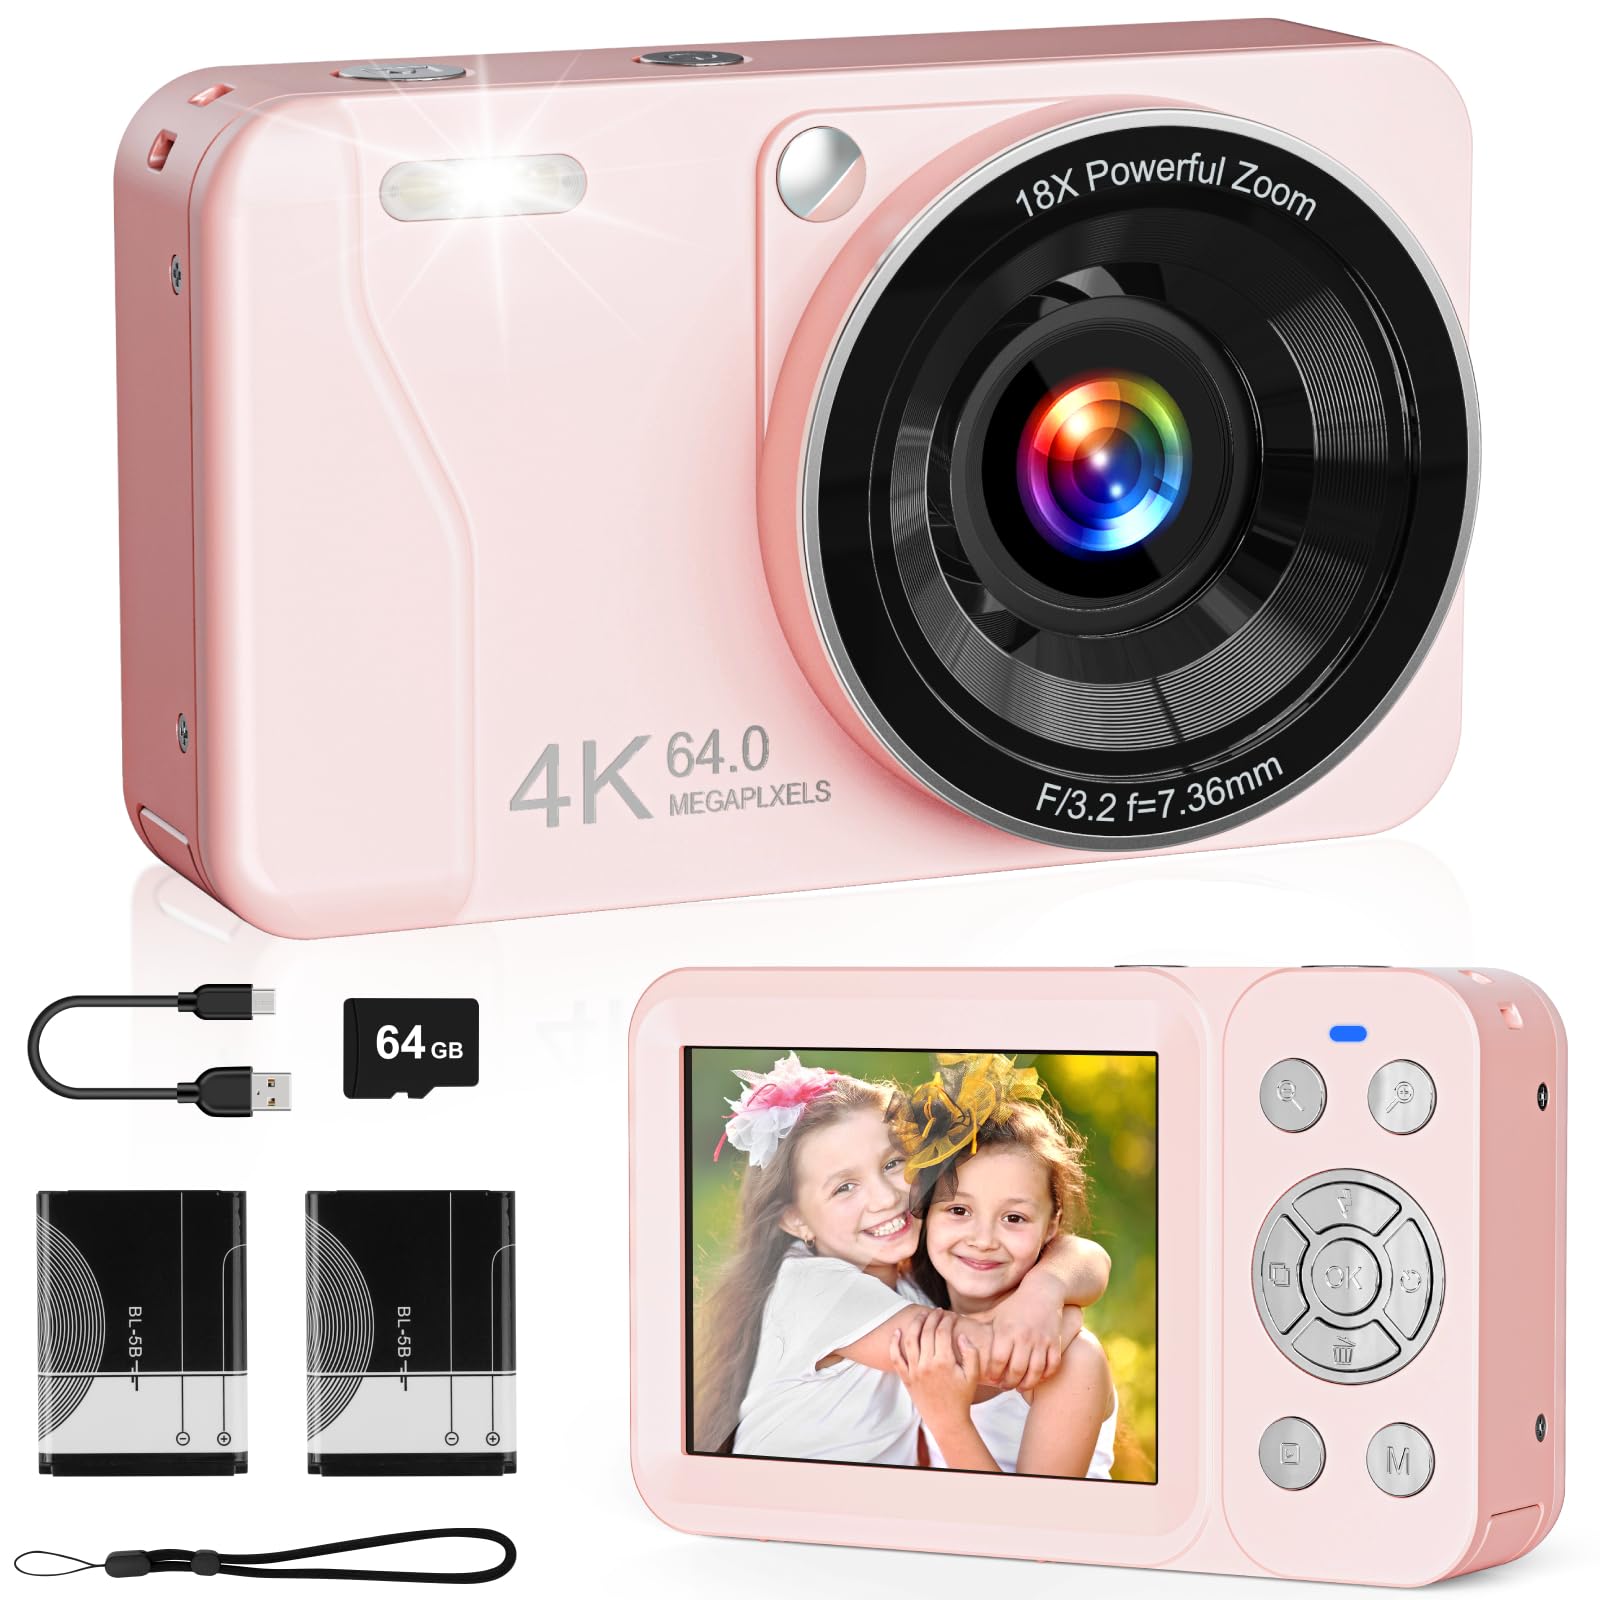
Image: The pink HSZTJJYP AC1P Digital Camera, showcasing its compact design.
3. Zoom Function
Use the zoom in/out buttons (often marked with '+' and '-') to adjust the 18X digital zoom. This allows you to get closer to your subject without moving.
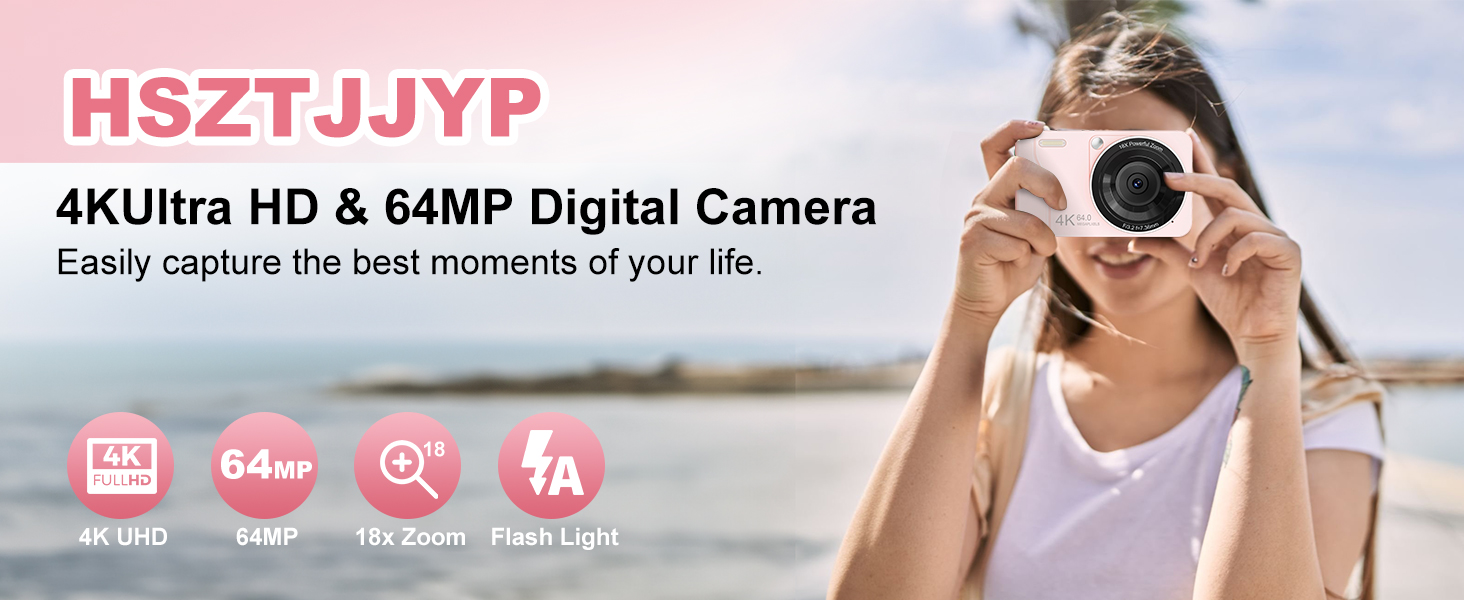
Image: Visual representation of the 18X digital zoom capability.
4. Flashlight Function
The camera features a built-in flashlight. Press the dedicated flashlight button (or navigate through the menu) to activate or deactivate it for low-light conditions.
5. Mode Selection
Press the 'M' (Mode) button to access different shooting modes. Use the directional buttons to navigate and the 'OK' button to select:
- Photo Mode: For taking still images.
- Record Mode: For shooting videos (up to 4K resolution).
- Time-lapse: Captures a series of photos over time to create a sped-up video.
- Slow Motion: Records video at a higher frame rate for slow-motion playback.
- Photo Timer: Sets a delay before taking a photo, useful for selfies or group shots.
- Playback: Views captured photos and videos.

Image: Display of the camera's mode selection menu.
6. Selfie Mirror
The camera features a small mirror on the front, next to the lens. This allows you to frame yourself accurately when taking selfies.

Image: A user utilizing the front mirror for taking a selfie.
7. Connecting to a Computer (Mass Storage Mode)
- Turn on the camera.
- Connect the camera to your computer using the provided USB-C cable.
- On the camera screen, select "Mass Storage Mode" from the pop-up menu and press OK to confirm.
- Your computer will recognize the camera as a removable disk, allowing you to transfer files.
Video: Guide on setting up the camera for mass storage with a computer.
Maintenance
- Keep the camera clean using the provided cleaning cloth. Avoid abrasive materials.
- Store the camera in its bag when not in use to protect it from dust and scratches.
- Avoid exposing the camera to extreme temperatures, humidity, or direct sunlight for prolonged periods.
- Ensure the battery compartment is always closed to prevent dust or moisture from entering.
Troubleshooting
| Problem | Solution |
|---|---|
| Camera does not turn on | Ensure batteries are correctly inserted and fully charged. |
| Cannot take photos/videos | Check if the TF card is inserted correctly and has sufficient storage space. |
| Poor image quality | Ensure the lens is clean. Adjust photo resolution settings in the menu. |
| Computer does not recognize camera | Ensure the USB cable is securely connected and "Mass Storage Mode" is selected on the camera. |
Specifications
| Feature | Detail |
|---|---|
| Model Name | AC1P |
| Maximum Webcam Image Resolution | 64 MP |
| Video Resolution | 3840p (4K) |
| Optical Zoom | 18 x |
| Photo Sensor Technology | CMOS |
| Screen Size | 2.75 Inches |
| Battery Type | Lithium Ion (1200mAh) |
| Memory Storage Capacity | 64 GB (TF Card included) |
| Connectivity Technology | USB |
| Item Weight | 0.24 Kilograms |
| Color | Pink |
Warranty and Support
The HSZTJJYP AC1P Digital Camera comes with a 1-year manufacturer's warranty. For any support inquiries, troubleshooting assistance, or warranty claims, please refer to the contact information provided in the packaging or visit the official HSZTJJYP store on Amazon.
Amazon Store: HSZTJJYP Store