
1. Safety Instructions
Please read all instructions carefully before using the Morpilot Electric Milk Frother and Steamer. Retain this manual for future reference.
- Do not immerse the electrical base in water or any other liquid.
- Ensure the power cord is not damaged and is kept away from hot surfaces.
- Always operate the appliance on a stable, flat, and dry surface.
- Keep out of reach of children. This appliance is not intended for use by persons with reduced physical, sensory, or mental capabilities.
- Do not touch hot surfaces. Use handles or knobs.
- Unplug from outlet when not in use and before cleaning. Allow to cool before putting on or taking off parts, and before cleaning the appliance.
- Do not operate any appliance with a damaged cord or plug, or after the appliance malfunctions or has been damaged in any manner.
- Use only attachments recommended or sold by the manufacturer.
- Do not use outdoors.
2. Product Overview
The Morpilot Large Electric Milk Frother and Steamer is designed to create various milk-based beverages with ease. Its generous 16.9oz (500ml) capacity allows for multiple servings, making it suitable for families or entertaining guests.
Components:
- Frother Base: The main unit containing the heating element and control panel.
- Glass Jug: Detachable, transparent jug for milk, featuring measurement lines.
- Frothing Whisk: Used for creating dense or airy foam.
- Heating Whisk: Used for heating milk without frothing.
- Lid: Transparent lid for the glass jug.
- Cleaning Brush: For easy cleaning of the whisk and jug interior.
Key Features:
- Large Capacity: 16.9oz (500ml) for heating milk, 8.5oz (250ml) for frothing milk.
- 6 Functions: Offers hot dense milk foam, cold milk foam, warm milk, hot airy milk foam, hot chocolate, and hot milk.
- Dishwasher Safe Jug: The detachable glass jug is safe for dishwasher cleaning.
- Split Design: Separates the jug from the electrical base for safety and easy cleaning.
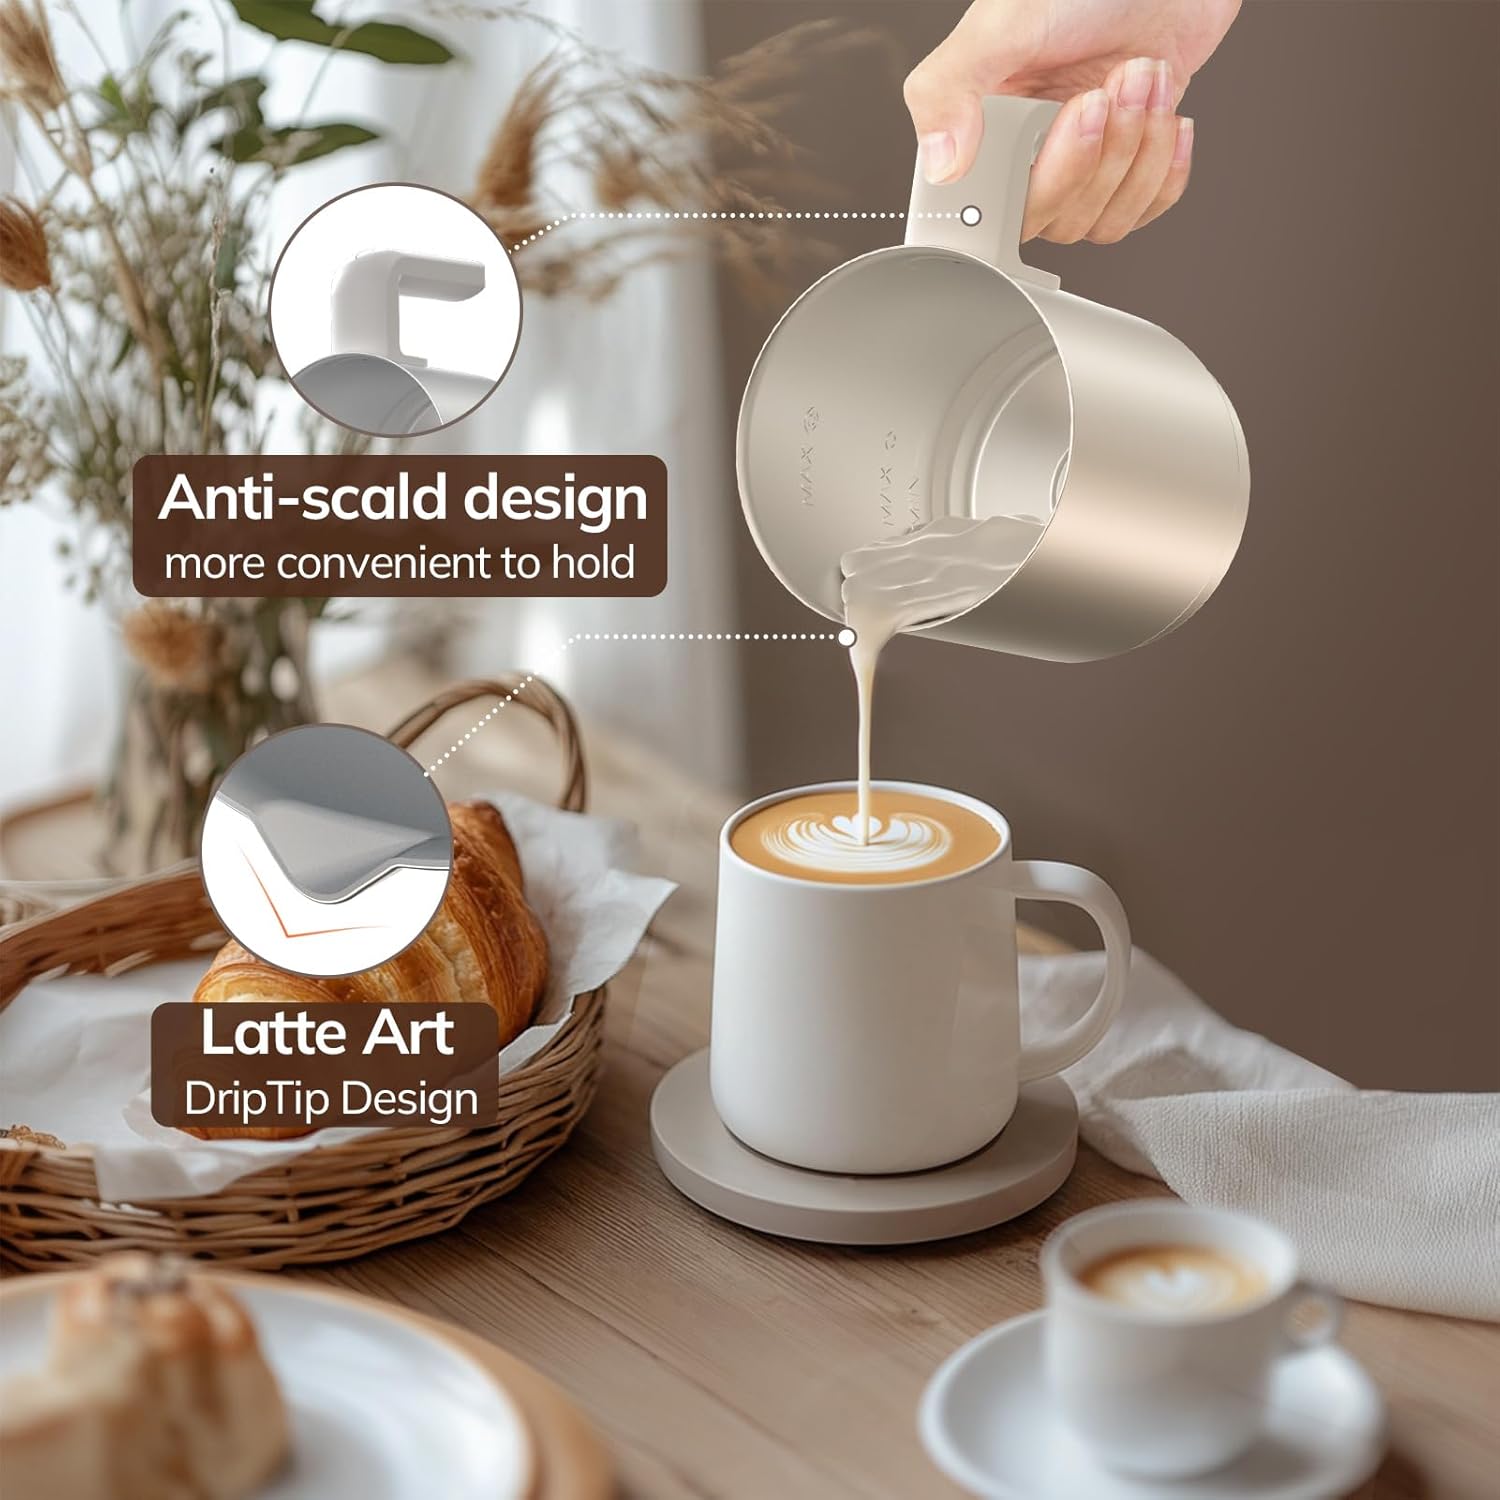
- Anti-Scald Handle: Ergonomically designed handle for comfortable and safe pouring.
- Latte Art Drip Tip: Designed for precise pouring to create latte art.


3. Setup
- Unpack: Carefully remove all components from the packaging.
- Initial Cleaning: Before first use, wash the glass jug, lid, and whisk attachments with warm soapy water. Rinse thoroughly and dry. Wipe the frother base with a damp cloth. Do not immerse the base in water.
- Placement: Place the frother base on a clean, dry, and stable surface away from heat sources.
- Attach Whisk: Select the desired whisk (frothing or heating) and place it securely onto the spindle at the bottom of the glass jug.
- Connect Power: Plug the power cord into a standard electrical outlet. The indicator lights on the base will briefly illuminate.
4. Operating Instructions
The Morpilot Milk Frother offers 6 functions, easily selected with a single button. Each function is indicated by a specific color light on the base.
General Operation Steps:
- Ensure the correct whisk is installed in the glass jug.
- Pour cold, fresh milk into the glass jug. Observe the MIN and MAX fill lines. For frothing, do not exceed the lower MAX line (250ml). For heating without frothing, do not exceed the upper MAX line (500ml).
- Place the lid on the glass jug and then place the jug onto the frother base.
- Press the power button repeatedly to cycle through the desired function modes. The indicator light will change color to show the selected mode.
- The frother will start automatically and stop when the process is complete (approximately 2 minutes).
- Carefully remove the jug from the base using the anti-scald handle and pour your prepared milk.
Function Modes:

- Hot Dense Milk Foam (Red Indicator): Ideal for rich lattes and cappuccinos. Use the frothing whisk and fill milk up to the lower MAX line (250ml).
- Cold Milk Foam (Blue Indicator): Perfect for iced coffees and cold beverages. Use the frothing whisk and fill milk up to the lower MAX line (250ml).
- Warm Milk (Purple Indicator): Heats milk without frothing. Use the heating whisk and fill milk up to the upper MAX line (500ml).
- Hot Airy Milk Foam (Green Indicator): Creates light and fluffy foam, great for macchiatos. Use the frothing whisk and fill milk up to the lower MAX line (250ml).
- Hot Chocolate: Combine hot milk with chocolate powder or syrup. Use the heating whisk and fill milk up to the upper MAX line (500ml). Add chocolate after heating.
- Hot Milk: Heats milk to a warm temperature without frothing. Use the heating whisk and fill milk up to the upper MAX line (500ml).
5. Maintenance and Cleaning
Regular cleaning ensures optimal performance and longevity of your Morpilot Milk Frother.
Cleaning Steps:
- Unplug: Always unplug the appliance from the power outlet before cleaning.
- Separate Components: Remove the glass jug from the frother base. Detach the whisk from the jug.
- Glass Jug & Whisk: The glass jug and whisk attachments are dishwasher safe. Alternatively, they can be hand-washed with warm soapy water and the provided cleaning brush. Rinse thoroughly and dry completely.
- Frother Base: Wipe the exterior of the frother base with a soft, damp cloth. Do not immerse the base in water or any other liquid. Ensure the electrical contacts are dry before re-use.
- Storage: Store the clean and dry frother in a cool, dry place.


6. Troubleshooting
If you encounter any issues with your Morpilot Milk Frother, please refer to the following troubleshooting guide before contacting customer support.
| Problem | Possible Cause | Solution |
|---|---|---|
| Frother does not start. | Not plugged in; power outage; jug not correctly placed on base. | Ensure the frother is securely plugged in. Check the power outlet. Re-seat the jug firmly on the base. |
| Milk is not frothing or foam is weak. | Incorrect whisk used; milk level too high/low; type of milk used. | Ensure the frothing whisk is installed. Check milk levels against MAX/MIN lines. Use cold, fresh full-fat or semi-skimmed milk for best results. |
| Milk is burning or sticking to the bottom. | Jug not clean; milk type. | Ensure the jug is thoroughly cleaned after each use. Some milk types (e.g., high sugar content) may be more prone to sticking. Try a different milk type. |
| Indicator lights are not working. | Power issue; internal malfunction. | Check power connection. If the issue persists, contact customer support. |
7. Specifications
- Model: HS010-S
- Brand: Morpilot
- Capacity: 16.9oz (500ml) for heating, 8.5oz (250ml) for frothing
- Product Dimensions: 5.98 x 5.98 x 7.55 inches
- Item Weight: 2.18 pounds
- Material: Stainless Steel, Glass
- UPC: 810142349215
- Power: [Insert Power Specification if available, e.g., 120V, 60Hz, 500W]

8. Warranty and Support
Morpilot products are manufactured to the highest quality standards. This product is covered by a limited warranty from the date of purchase. For specific warranty details, please refer to the warranty card included with your product or visit the official Morpilot website.
For technical support, troubleshooting assistance, or to inquire about replacement parts, please contact Morpilot Customer Service:
- Website: Visit the Morpilot Store on Amazon
- Email: [Insert Customer Service Email if available]
- Phone: [Insert Customer Service Phone Number if available]
Please have your model number (HS010-S) and proof of purchase ready when contacting support.


