1. Introduction
Thank you for choosing the CAMECHO Qualcomm 8-Core Car Stereo. This manual provides detailed instructions for installation, operation, and maintenance of your new head unit. Please read this manual thoroughly before use to ensure proper functionality and safety.
2. Safety Information
- Always ensure the vehicle is turned off and the battery is disconnected before performing any installation or maintenance.
- Professional installation is recommended for optimal performance and to avoid damage to your vehicle or the unit.
- Do not operate the unit in a manner that distracts you from driving. Always prioritize road safety.
- Keep the unit away from water, moisture, and extreme temperatures.
3. What's in the Box
Verify that all components are present before beginning installation:
- 1 x Android Head Unit
- 1 x AHD Backup Camera
- 1 x External Microphone
- 1 x GPS Antenna
- 1 x Power Cable
- 1 x RCA Cable
- 2 x USB Cable
- 1 x Rear Camera Input Cable
- 1 x Installation Tool
- 1 x Instruction Manual
4. Installation Guide
4.1 Vehicle Compatibility
This head unit is compatible with 2007-2011 Honda CRV models (Low-End Version, without Canbus). It is not suitable for original cars with a large navigation screen.

4.2 Removing the Factory Radio
Carefully remove the existing factory radio unit from your Honda CRV dashboard. Use appropriate trim removal tools to avoid damaging the dashboard. The process typically involves prying off trim panels, unscrewing the radio, and disconnecting wiring harnesses.
Video: This video demonstrates the process of removing a factory car stereo, which can be used as a general guide for similar installations. Note that the vehicle shown in the video is a Ford Transit, not a Honda CRV, but the general principles of panel removal and wiring disconnection are similar.
4.3 Wiring Connections
Connect the provided wiring harnesses to the new Android head unit and the vehicle's existing wiring. Ensure all connections are secure. The main power cable, RCA cables, USB cables, and GPS antenna should be connected as per the included wiring diagram.

4.4 Backup Camera Installation
The AHD backup camera provides a clear image for reversing. Connect the camera to the rear camera input cable on the head unit. Ensure the camera is mounted securely at the rear of the vehicle and wired correctly to the reverse light power source.
- Connect the red wire of the camera to the positive pole of the car's reversing light.
- Connect the black wire of the camera to the negative pole of the car's reversing light.
- The reversing trigger is controlled by the stereo, so no additional connection is needed for the trigger wire.
- After installation, set the camera resolution via: Car Settings > Factory settings (Password: 8888) > Protocol parameter settings > Reversing settings > Reverse video resolution (NTSC/PAL or AHD25), then restart your car.

5. Setup and Configuration
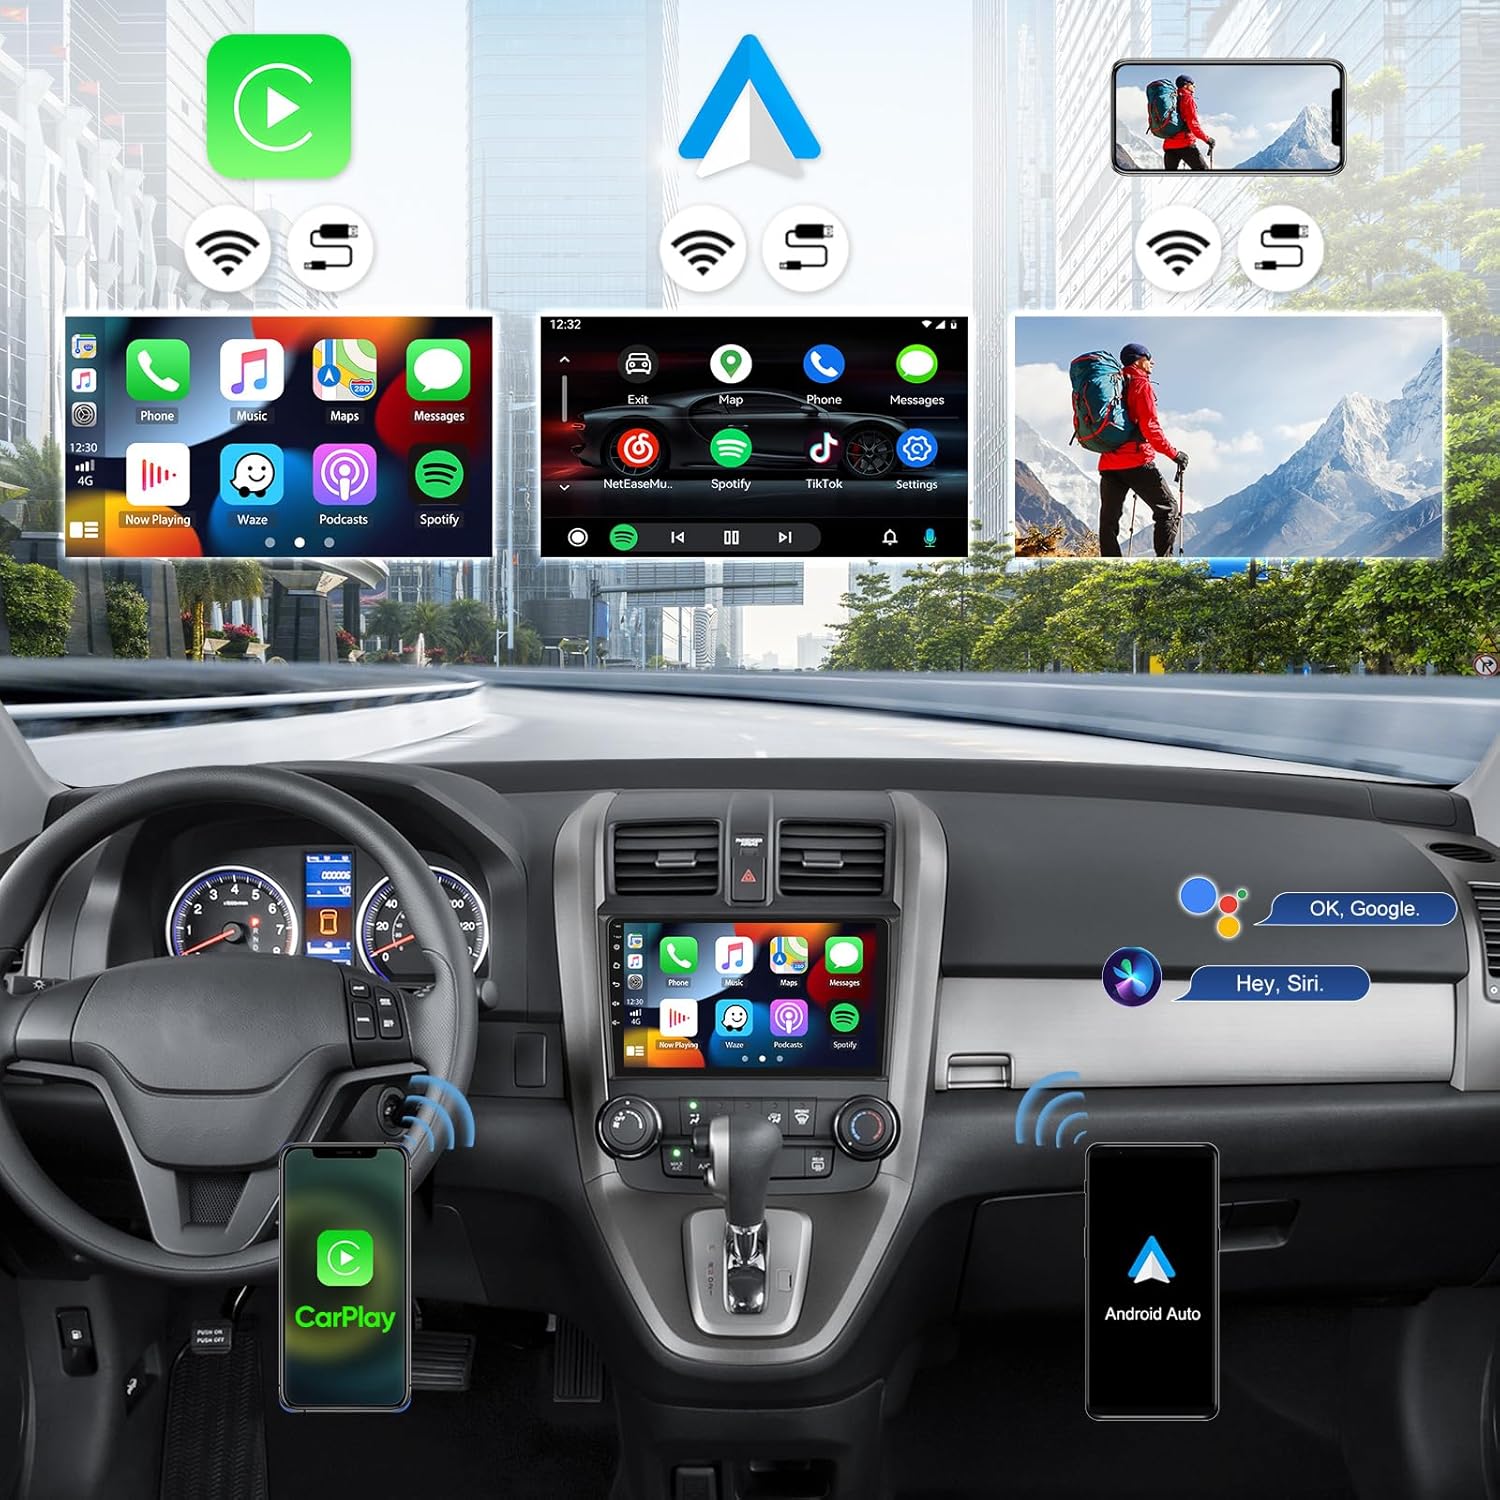
5.1 Wireless Apple CarPlay & Android Auto
Connect your smartphone wirelessly for seamless integration:
- For Apple CarPlay: Enable Bluetooth on your iPhone and pair with the car radio. Open the "ZLINK" app on the head unit. If connection fails, connect your phone to the head unit's hotspot and try the "ZLINK" app again. Keep Bluetooth and hotspot connected.
- For Android Auto: Ensure the "Android Auto" app is installed on your phone. Enable Bluetooth on your Android phone and pair with the car radio. Open the "ZLINK" app on the head unit.

5.2 GPS Navigation & Wi-Fi Connection
The unit features built-in GPS for both online and offline navigation. Connect to Wi-Fi or a mobile hotspot to download maps and other applications.
- To use online navigation, connect the head unit to your phone's mobile hotspot.
- Download various third-party free apps from the Google Play Store for enhanced functionality.

5.3 Bluetooth 5.1 & FM RDS Radio
Pair your phone via Bluetooth for hands-free calling and wireless audio streaming. Tune into FM/RDS radio for live broadcasts.
- Go to the Bluetooth menu on the head unit to pair your device.
- Access the FM/RDS radio application to scan for stations and save presets.

5.4 Steering Wheel Control (SWC)
The unit supports factory steering wheel control functions. After connecting the power cable, you may need to program the SWC buttons:
- Navigate to Car Settings > Steering Learn.
- Follow the on-screen instructions to assign functions to your steering wheel buttons.
- If programming fails, ensure all wiring is correct and try again.

6. Operating Instructions
6.1 Touch Screen Interface
The 9-inch IPS touch screen offers a responsive and intuitive user experience. Navigate through menus and applications by tapping, swiping, and pinching.

6.2 DSP Hi-Res Audio
Customize your audio experience with the built-in DSP (Digital Signal Processor) and Hi-Res audio support. Access the DSP equalizer settings to fine-tune sound output.

6.3 Mirror Link Function
Cast your smartphone's screen directly to the car radio touchscreen for convenient viewing of apps and content.

7. Maintenance
- Keep the screen clean using a soft, dry cloth. Avoid abrasive cleaners.
- Ensure proper ventilation around the unit to prevent overheating. The unit features a fan cooling system for long-lasting heat dissipation.
- Regularly check wiring connections for any signs of wear or looseness.

8. Troubleshooting
- No Power: Check all power connections and ensure the vehicle's ignition is on. Verify fuses are intact.
- No Sound: Check speaker connections and volume settings. Ensure the correct audio source is selected.
- Steering Wheel Controls Not Working: Re-check wiring for KEY1/KEY2 connections. Perform the "Steering Learn" process in Car Settings. Note that some vehicles may require a CANBUS decoder for full functionality, though this unit is designed for models without a factory CANBUS.
- GPS Signal Issues: Ensure the GPS antenna is properly installed and has a clear view of the sky.
- Wireless CarPlay/Android Auto Connection Issues: Ensure Bluetooth and Wi-Fi are enabled on both the phone and the head unit. Try restarting both devices.
9. Specifications
| Feature | Description |
|---|---|
| Processor | Qualcomm Snapdragon 8-Core CPU |
| Operating System | Android 15 |
| RAM | 4GB |
| ROM | 64GB |
| Display | 9-inch IPS Touch Screen (1280*720 resolution) |
| Connectivity | Wireless Apple CarPlay, Android Auto, Bluetooth 5.1, Wi-Fi, GPS |
| Audio | Hi-Res DSP, MOSFET 4*50W Power Output |
| Camera Support | AHD Backup Camera (included) |
| Radio | FM/RDS Radio with 10-station presets |
| Dimensions | 9.7"L x 1.4"W x 6"H |
| Item Weight | 3.19 pounds |
10. Warranty
This product comes with a 1-Year Warranty. Please refer to the warranty card included in your package for detailed terms and conditions.
11. Support
For technical assistance, troubleshooting, or any inquiries, please contact CAMECHO customer support at: CAMECHOVIP@126.com


