1. Introduction
The Rain Bird FG100 1-Inch Wired Flow Sensor is designed to provide accurate, real-time flow monitoring for your irrigation system. This device helps detect leaks, breaks, and other issues by continuously measuring water flow, enabling efficient water management and system protection. It features a durable plastic body with NPT threaded unions for straightforward installation into 1-inch piping.
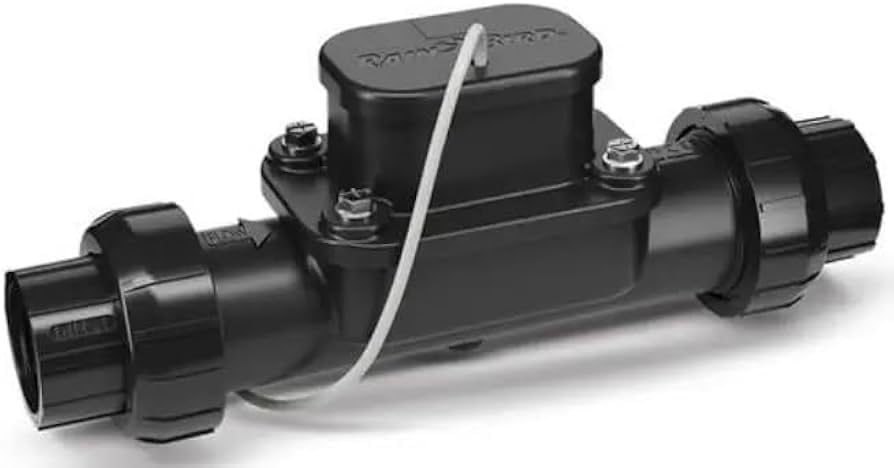
Figure 1: Rain Bird FG100 1-Inch Wired Flow Sensor. This image shows the compact design of the flow sensor with its threaded connections.
2. Safety Information
Please read and understand all safety instructions before installing or operating the Rain Bird FG100 Flow Sensor. Failure to follow these instructions may result in property damage, injury, or death.
- Electrical Safety: Ensure all power to the irrigation controller and associated components is turned OFF before performing any wiring.
- Water Pressure: Always relieve water pressure from the irrigation system before installing or servicing the flow sensor.
- Proper Installation: Install the sensor according to local plumbing and electrical codes.
- Children and Pets: Keep the product and its components out of reach of children and pets.
- Intended Use: Use this product only for its intended purpose of monitoring water flow in irrigation systems. Do not use for potable water applications unless specifically approved.
3. Package Contents
Verify that all items are present in the package before beginning installation:
- Rain Bird FG100 1-Inch Wired Flow Sensor (Model: XCZPGA100PRF)
- Installation Guide / User Manual (this document)
Note: Additional plumbing fittings, wiring, and irrigation controller are sold separately.
4. Setup and Installation
Proper installation is crucial for accurate flow monitoring. Follow these steps carefully:
- Plan Location: Select a suitable location in your main irrigation line, typically after the master valve and backflow preventer, but before any zone valves. Ensure there is sufficient straight pipe run (e.g., 10 pipe diameters upstream and 5 pipe diameters downstream) for accurate readings. The sensor is designed for wall mount if needed for support.
- Turn Off Water and Power: Close the main water supply to the irrigation system and turn off all power to the irrigation controller.
- Cut Pipe: Carefully cut a section of the 1-inch irrigation pipe to accommodate the flow sensor. Ensure clean cuts.
- Install Sensor: Thread the Rain Bird FG100 Flow Sensor into the cut pipe section using the NPT threaded unions. Ensure the flow arrow on the sensor body points in the direction of water flow. Use appropriate thread sealant (e.g., PTFE tape or pipe dope) to ensure a watertight seal. Do not overtighten.
- Wiring: Connect the sensor's wires to your compatible irrigation controller's flow sensor input terminals. Refer to your irrigation controller's manual for specific wiring instructions. Typically, flow sensors use two wires for signal and a third for ground, but consult your controller's documentation. Ensure all connections are secure and waterproof.
- Restore Water and Power: Slowly open the main water supply, checking for leaks. Once confirmed leak-free, restore power to the irrigation controller.
- Configure Controller: Access your irrigation controller's settings (via the controller interface or a compatible app on your smartphone/tablet) to enable and calibrate the flow sensor. Follow the controller's instructions for flow sensor setup and calibration.
5. Operating Instructions
Once installed and configured with your irrigation controller, the Rain Bird FG100 Flow Sensor operates automatically to monitor water flow.
- Real-Time Monitoring: The sensor continuously measures the rate of water flowing through your irrigation system. This data is transmitted to your connected irrigation controller.
- Leak Detection: Your irrigation controller, using data from the flow sensor, can detect abnormal flow rates (e.g., flow when all zones are off, or excessively high flow during a zone's operation).
- Alerts and Shutdown: Upon detecting an anomaly, the controller can trigger alerts (e.g., via a smartphone app) and, if configured, automatically shut down the irrigation system to prevent water waste and property damage.
- Water Usage Reporting: Many compatible controllers and apps provide detailed reports on water usage, allowing you to track consumption and identify trends.
Refer to your irrigation controller's user manual for specific instructions on how to view flow data, set up alerts, and manage your system using the flow sensor input.
6. Maintenance
The Rain Bird FG100 Flow Sensor is designed for minimal maintenance. However, periodic checks can ensure optimal performance and longevity.
- Visual Inspection: Periodically inspect the sensor and its connections for any signs of leaks, physical damage, or debris accumulation.
- Cleanliness: If the sensor is exposed to the elements, ensure it remains free of excessive dirt or plant growth that could impede its function or damage wiring.
- Winterization: In regions subject to freezing temperatures, ensure the irrigation system, including the flow sensor, is properly winterized to prevent freeze damage. This typically involves draining water from the system.
- Recalibration: If you suspect inaccurate readings, consult your irrigation controller's manual for instructions on how to recalibrate the flow sensor.
7. Troubleshooting
If you encounter issues with your Rain Bird FG100 Flow Sensor, refer to the following common problems and solutions:
| Problem | Possible Cause | Solution |
|---|---|---|
| No flow detected / Inaccurate readings |
|
|
| System reports a leak, but none is visible |
|
|
| Sensor not communicating with controller |
|
|
If problems persist, contact Rain Bird customer support or a qualified irrigation professional.
8. Specifications
| Feature | Detail |
|---|---|
| Model Number | XCZPGA100PRF |
| Pipe Size | 1-Inch |
| Connection Type | NPT Threaded Unions |
| Body Material | Plastic |
| Mounting Type | Wall Mount (optional support) |
| Sensor Technology | Photoelectric Sensor |
| Item Weight | 0.64 Kilograms (1.41 pounds) |
| Product Dimensions | 11 x 3 x 4 inches |
| Batteries Required | No |
| Compatible Devices | Smartphone, Tablet (via compatible controller) |
| Control Method | App (via compatible controller) |
9. Warranty and Support
Warranty Information:
Rain Bird products are manufactured to high quality standards. Specific warranty terms and conditions for the FG100 Flow Sensor are typically provided with the product at the time of purchase or can be found on the official Rain Bird website. Please retain your proof of purchase for warranty claims.
Customer Support:
For technical assistance, troubleshooting beyond this manual, or warranty inquiries, please contact Rain Bird customer support:
- Visit the official Rain Bird website for contact information, FAQs, and additional resources.
- Refer to the contact details provided on your product packaging or warranty card.