
SUPERJARE B0F546YMGZ
Contents
SUPERJARE 39.4-inch Bakers Rack with Power Outlets (Model B0F546YMGZ) Instruction Manual
Brand: SUPERJARE | Model: B0F546YMGZ
1. Product Overview
The SUPERJARE Bakers Rack is a versatile kitchen storage solution designed to optimize space and provide convenient power access for various appliances. This unit features a spacious desktop, adjustable shelving, and integrated power outlets, making it suitable for use as a microwave stand, coffee bar, or general kitchen organizer.
Key Features:
- Integrated Power Outlets: Includes 3 AC outlets and 1 safe switch for convenient appliance use.
- Extended Desktop: A 39.4 x 14.3 inch surface provides ample working or storage space.
- Adjustable Middle Shelf: Offers 2-level height adjustments to accommodate items of various sizes.
- Storage Hooks: Comes with 6 S-shaped hooks for hanging kitchen tools.
- Sturdy Construction: Built with durable particleboard and a robust steel frame for stability.
- Safety Features: Equipped with an anti-tip device and adjustable feet for enhanced stability.
2. Safety Instructions
- Always ensure the rack is placed on a flat, stable surface.
- Install the anti-tip device as instructed to prevent accidental tipping.
- Do not overload shelves beyond their recommended weight capacity.
- Ensure all electrical appliances plugged into the integrated outlets are in good working condition and do not exceed the rack's maximum power rating (1800W).
- Keep liquids away from electrical outlets to prevent electric shock.
- Keep children away from the rack during assembly and ensure it is securely installed before use.
- Avoid placing hot items directly on the wooden surfaces without protective mats.
3. Package Contents
Please verify that all components are present before beginning assembly. If any parts are missing or damaged, please contact customer support.
| Part | Description | Quantity |
|---|---|---|
| A | Top Shelf | 1 |
| B | Main Desktop | 1 |
| C | Adjustable Middle Shelf | 1 |
| D | Bottom Shelf | 1 |
| E | Steel Frame (Left) | 1 |
| F | Steel Frame (Right) | 1 |
| G | Power Outlet Unit | 1 |
| H | S-shaped Hooks | 6 |
| I | Anti-tip Device | 1 set |
| J | Adjustable Feet | 4 |
| K | Assembly Hardware (Screws, Allen Wrench) | 1 set |
4. Assembly Instructions
Follow these steps carefully for a smooth assembly process. It is recommended to assemble the rack on a soft, clean surface to prevent scratches.
- Unpack and Identify Parts: Carefully unpack all components and compare them with the "Package Contents" list. Ensure all parts are present and undamaged.
- Assemble the Frame: Attach the steel frames (E and F) to the main desktop (B) and bottom shelf (D) using the provided hardware (K). Do not fully tighten screws until all parts are aligned.
- Install Power Outlet Unit: Secure the power outlet unit (G) to the designated area on the back panel of the rack. Ensure the power cord is routed safely and not pinched.
- Attach Top Shelf: Mount the top shelf (A) to the upper part of the steel frame.
- Insert Adjustable Middle Shelf: Place the adjustable middle shelf (C) into your desired height position. The frame includes multiple holes for adjustment.
- Attach S-shaped Hooks: Hang the S-shaped hooks (H) onto the side bars as desired for utensil storage.
- Install Adjustable Feet: Screw the adjustable feet (J) into the bottom of the steel frames. Adjust them to level the rack on uneven surfaces.
- Secure Anti-tip Device: Attach the anti-tip device (I) to the top rear of the rack and secure it to the wall according to the instructions provided with the device. This is crucial for safety.
- Final Tightening: Once all components are in place and aligned, fully tighten all screws.
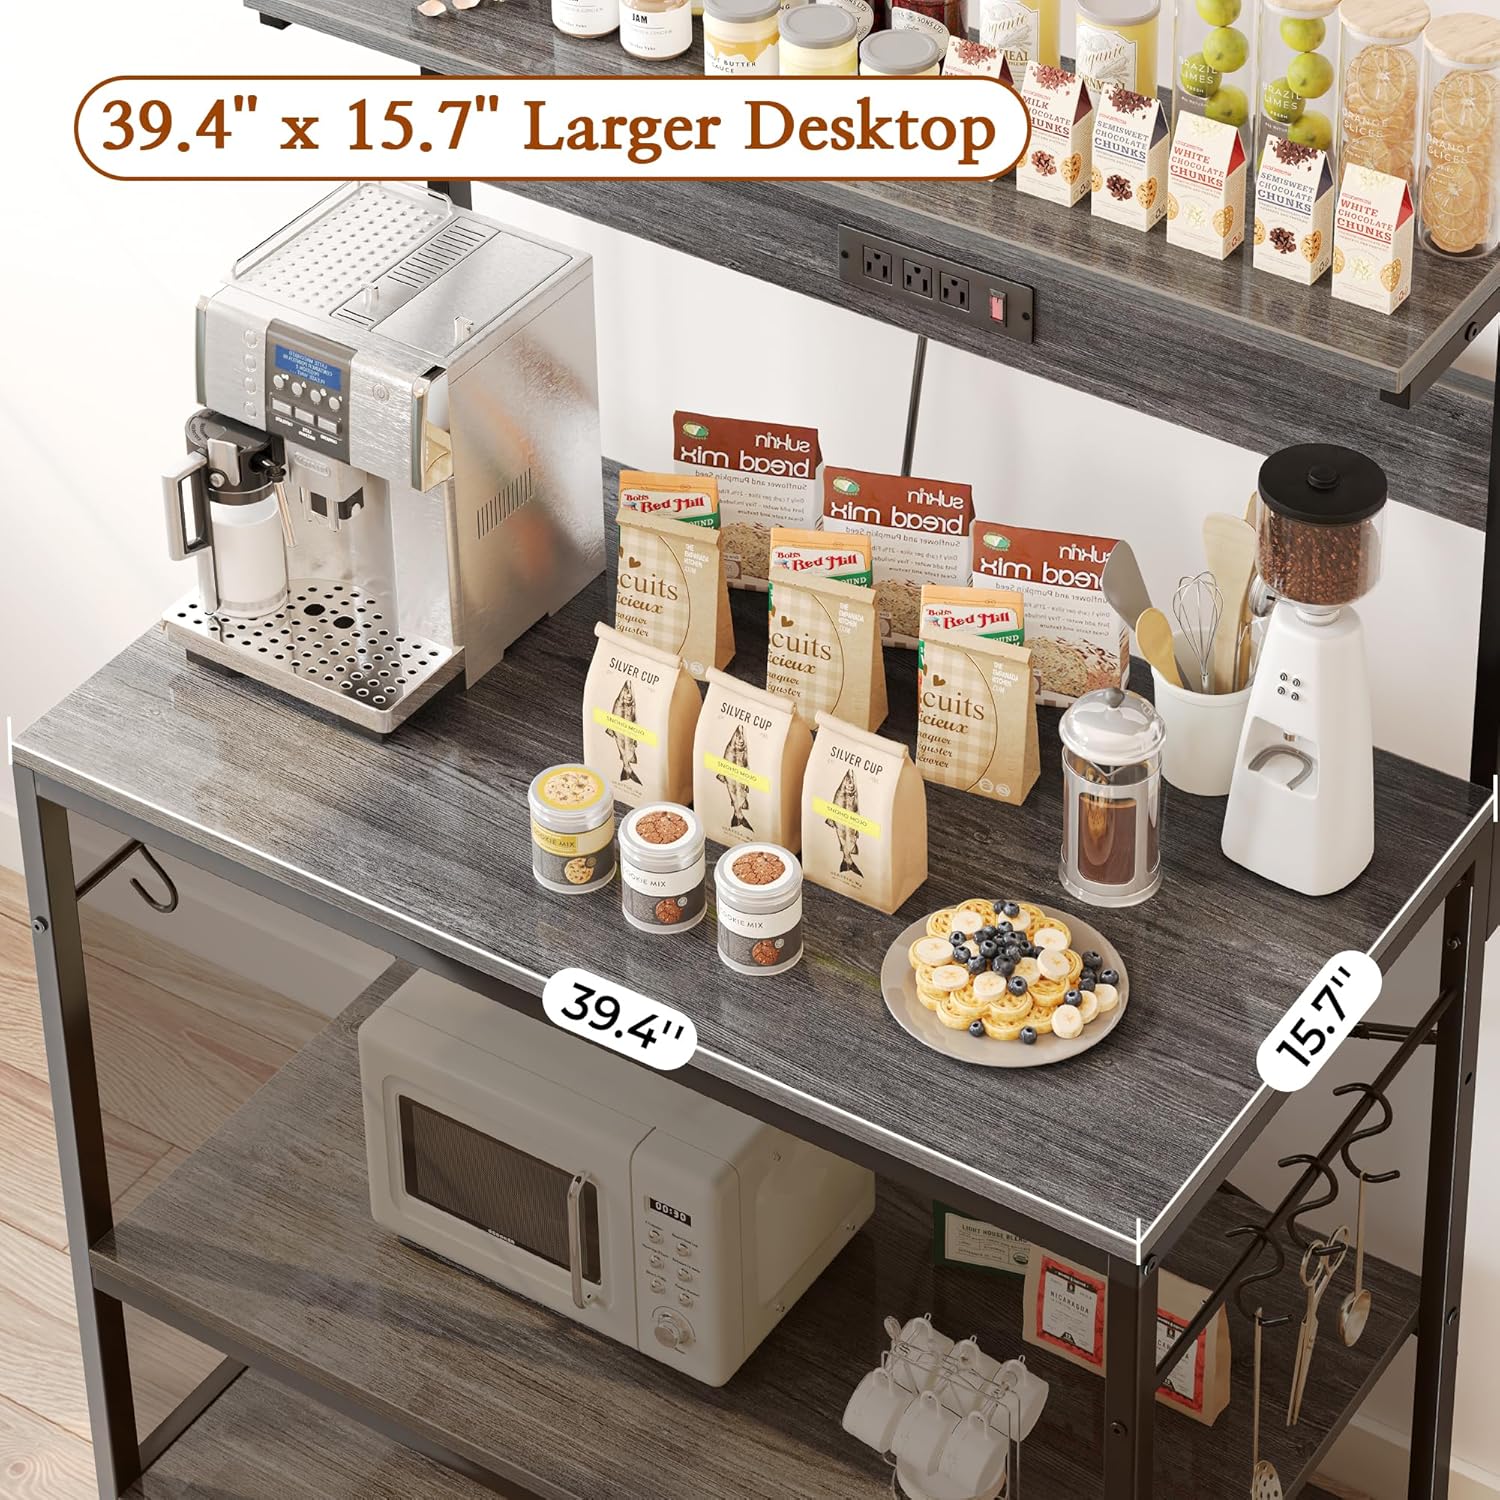
Image: Detailed dimensions of the assembled bakers rack, highlighting the 39.4" width and 53.1" height.

Image: Close-up view illustrating the anti-tip device for wall attachment, the six S-shaped hooks for hanging items, and the adjustable feet for leveling.
5. Setup and Usage
5.1 Placement
Choose a suitable location in your kitchen, pantry, or dining area. Ensure there is enough space around the rack for easy access and proper ventilation for any appliances placed on it. The rack's dimensions are approximately 16.5"D x 39.4"W x 53.1"H.
5.2 Utilizing Power Outlets
The integrated power strip features 3 AC outlets and a single safety switch. Plug the rack's main power cord into a grounded wall outlet. Use the switch to power on or off all connected appliances simultaneously. This is ideal for coffee makers, blenders, microwaves, or other small kitchen electronics.

Image: A detailed view of the integrated power strip with three AC outlets and a red power switch, indicating active power.
5.3 Adjustable Shelf
The middle shelf can be adjusted to two different height levels. To adjust, remove any items from the shelf, unscrew the fasteners holding it in place, reposition it to the desired height, and re-secure the fasteners. This allows for flexible storage of taller or shorter items.

Image: Visual representation of the adjustable middle shelf, showing two possible height configurations to accommodate various kitchen appliances like a coffee machine or a microwave.
5.4 Using S-shaped Hooks
The included S-shaped hooks can be hung on the side bars of the rack. These are useful for hanging mugs, spatulas, oven mitts, or other small kitchen accessories, keeping them within easy reach.
6. Maintenance
- Cleaning: Wipe down the wooden surfaces with a soft, damp cloth. Avoid harsh chemicals or abrasive cleaners that could damage the finish. For the steel frame, use a mild soap solution if necessary.
- Dusting: Regularly dust all surfaces to prevent buildup.
- Inspecting Connections: Periodically check all screws and fasteners to ensure they remain tight. Re-tighten if necessary.
- Electrical Safety: Inspect the power cord and outlets for any signs of wear or damage. Discontinue use and replace if any damage is found.
7. Troubleshooting
- Rack is Wobbly:
- Ensure all screws are fully tightened.
- Adjust the leveling feet at the bottom of the rack to compensate for uneven floors.
- Appliances Not Receiving Power:
- Check if the main power cord of the rack is securely plugged into a working wall outlet.
- Ensure the safety switch on the integrated power outlet unit is in the "ON" position.
- Verify that the appliance itself is functioning correctly by plugging it directly into a wall outlet.
- Difficulty Assembling:
- Refer to the numbered parts and diagrams in the assembly instructions.
- Ensure screws are only hand-tightened initially, then fully tightened once all parts are in place.
8. Specifications
| Feature | Detail |
|---|---|
| Product Dimensions | 16.5"D x 39.4"W x 53.1"H |
| Material | Engineered Wood, Steel |
| Color | Charcoal Gray |
| Number of Shelves | 4 (1 top, 1 main desktop, 1 adjustable middle, 1 bottom) |
| Power Outlets | 3 AC Outlets, 1 Safety Switch (1800W max) |
| Special Features | Adjustable Middle Shelf, 6 S-shaped Hooks, Anti-tip Device, Adjustable Feet |
| Mounting Type | Floor Mount |
| Recommended Uses | Cookware, Food, Kitchenware, Microwave Stand, Coffee Bar |
9. Warranty and Support
For warranty information, product support, or to order replacement parts, please visit the official SUPERJARE website or contact their customer service department. Keep your purchase receipt for warranty claims.
Online Support: Visit the SUPERJARE Store on Amazon
Ask a question about this manual
Ask about setup, troubleshooting, compatibility, parts, safety, or missing instructions. Manuals+ will review the question and use this page’s manual context to help answer it.