
1. Introduction
Thank you for choosing the Generic XWT013 8x10ft Resin Plastic Storage Shed. This manual provides essential information for the safe and efficient assembly, operation, and maintenance of your new storage shed. Please read all instructions carefully before beginning assembly and retain this manual for future reference.
This shed is designed for outdoor storage of tools, garden equipment, and other items, offering protection from weather elements. Its durable resin construction ensures longevity and minimal maintenance.
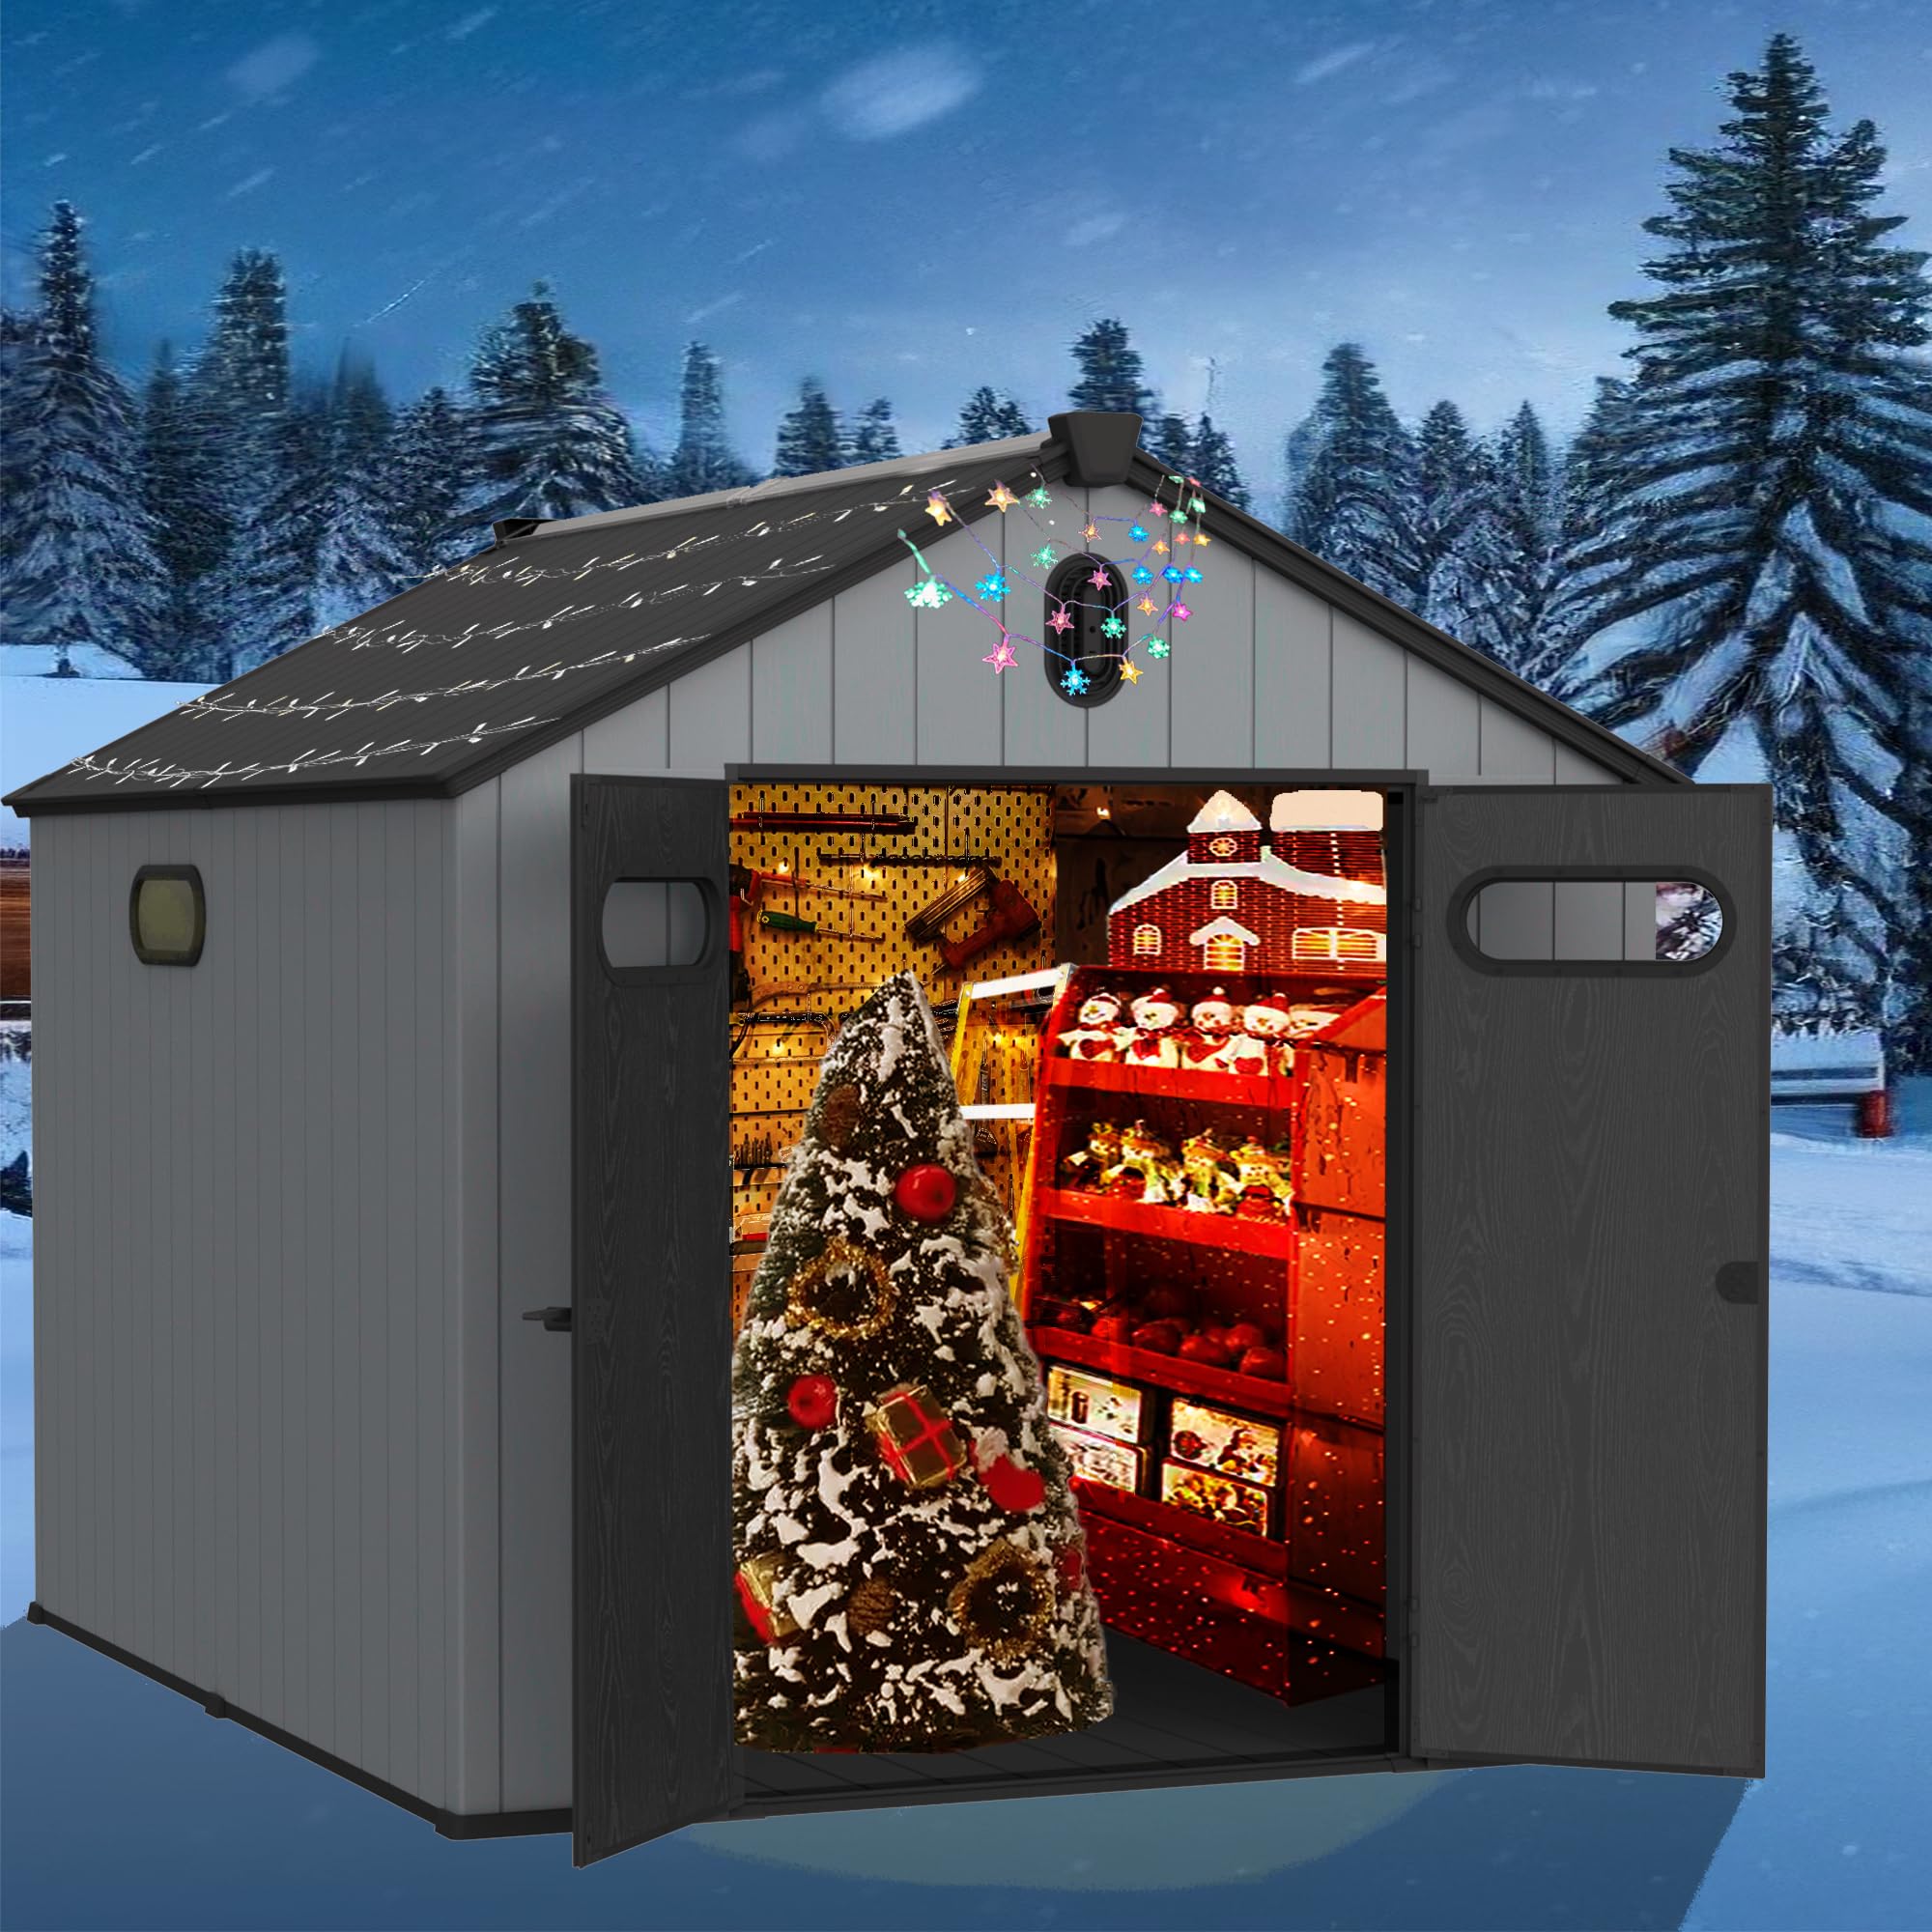
Image: The XWT013 storage shed in a typical backyard environment, showcasing its size and potential use for storing various items.
2. Safety Information
- Site Preparation: Ensure the assembly site is level, firm, and free of debris. A concrete slab or treated timber foundation is recommended for optimal stability.
- Tools: Use appropriate tools for assembly. Wear gloves to protect hands from sharp edges.
- Assembly Team: Assembly typically requires two or more adults. Do not attempt to assemble alone.
- Weather Conditions: Avoid assembly during strong winds or adverse weather conditions.
- Ventilation: Ensure proper ventilation during and after assembly, especially if using adhesives or sealants.
- Anchoring: Securely anchor the shed to the ground immediately after assembly to prevent wind damage.
- Children and Pets: Keep children and pets away from the assembly area to prevent injury.
- Weight Distribution: Do not store excessively heavy items on shelves or against walls in a manner that could compromise the shed's structural integrity.
3. Package Contents
Before beginning assembly, unpack all components and verify that all parts are present and undamaged. Refer to the parts list provided in your packaging. If any parts are missing or damaged, contact customer support immediately.
The shed features a double-layer structure for enhanced durability and insulation.

Image: An illustration highlighting the 16mm thick double-layer resin wall construction of the shed, emphasizing its robust design.
4. Setup and Assembly Instructions
Follow the step-by-step instructions provided in the separate assembly guide included with your product. The general steps are outlined below:
- Prepare the Foundation: Ensure your chosen site has a solid, level foundation. The shed includes a floor, but a stable base is crucial for long-term stability.
- Assemble the Floor Panels: Connect the floor panels according to the guide.
- Install Wall Panels: Attach the side and back wall panels to the floor, ensuring they are securely interlocked or fastened.
- Install Front Panels and Door Frame: Mount the front wall panels and assemble the door frame.
- Attach Doors: Install the double doors, ensuring they swing freely and the gate lock mechanism functions correctly.
- Assemble and Install Roof: Construct the roof sections, including the transparent roof panel for natural light, and attach them to the wall structure.
- Install Ventilation and Window: Secure the ventilation opening and window panels.
- Final Checks and Anchoring: Verify all connections are tight and the shed is square. Anchor the shed to the ground using appropriate hardware (not always included, check packaging).

Image: Close-up details of the shed's construction, showing the transparent roof for interior lighting, the secure gate lock, the integrated floor, a functional window, and a ventilation opening for air circulation.
5. Operating Instructions
- Door Operation: To open, unlatch the gate lock and pull the doors outwards. To close, push the doors shut and secure the gate lock.
- Ventilation: The integrated ventilation opening helps reduce condensation and maintain air circulation. Ensure it is not blocked by stored items.
- Natural Light: The transparent roof panel allows natural light into the shed, reducing the need for artificial lighting during the day.
- Multi-Purpose Use: This shed is suitable for various storage needs, including garden tools, outdoor equipment, or as a dedicated space for hobbies.

Image: Examples of the shed's versatility, demonstrating its potential as a pet house, a dedicated tool storage area, or a general storage unit for various household items.
6. Maintenance
- Cleaning: Clean the shed periodically with mild soap and water. Avoid abrasive cleaners or harsh chemicals that could damage the resin material.
- Inspection: Regularly inspect the shed for any loose fasteners, cracks, or damage. Address any issues promptly to maintain structural integrity.
- Weather Protection: The shed is designed to be waterproof and sunscreen resistant. However, ensure proper drainage around the base to prevent water accumulation.
- Door Hinges and Lock: Lubricate door hinges and the gate lock mechanism annually to ensure smooth operation.

Image: The shed demonstrating its waterproof capabilities, with water beading on its surface, highlighting its design for protection against rain and sunlight.
7. Troubleshooting
- Doors not closing properly: Check if the shed is level. Ensure hinges are not bent or obstructed. Adjust door alignment if necessary.
- Water leakage: Verify all panels are securely fastened and sealed. Check the roof for any gaps or damage. Ensure the foundation provides adequate drainage.
- Condensation inside: Ensure the ventilation opening is clear and unobstructed. Consider adding a dehumidifier if the problem persists in humid climates.
- Shed feels unstable: Re-check all connections and ensure the shed is properly anchored to a solid foundation.
8. Specifications
| Feature | Detail |
|---|---|
| Model | XWT013 |
| Brand | Generic |
| Material | Plastic, Resin |
| Color | Black+Grey |
| Approximate Dimensions (L x W x H) | 118.90" x 94.10" x 94.10" (302cm x 239cm x 239cm) |
| Structure | Double Layer |
| Roof Type | Transparent Panel for Natural Light |
| Features | Integrated Floor, Gate Lock, Window, Ventilation Opening, Waterproof, Sunscreen |

Image: A clear diagram illustrating the external dimensions of the XWT013 shed, providing measurements for width, depth, and height.
9. Warranty and Support
For warranty information or technical support, please refer to the documentation included with your purchase or contact the retailer where the product was acquired. Keep your proof of purchase for any warranty claims.
If you encounter any issues not covered in this manual, please reach out to customer service for assistance.