
Aspes AL6203AIDV
Contents
Aspes AL6203AIDV 6kg Front-Load Washing Machine User Manual
Model: AL6203AIDV | Brand: Aspes
1. Introduction
This manual provides essential information for the safe and efficient operation of your new Aspes AL6203AIDV 6kg front-load washing machine. Please read these instructions carefully before installation and use, and keep them for future reference. The product package includes the washing machine and this instruction manual.

Image 1.1: Front view of the Aspes AL6203AIDV 6kg washing machine. It features a white body with a large black door and a control panel at the top.
2. Safety Instructions
Always follow basic safety precautions when using electrical appliances to reduce the risk of fire, electric shock, and injury to persons.
- Ensure the appliance is properly grounded.
- Do not allow children to play on or in the appliance.
- Do not install or store this appliance where it will be exposed to the weather or to freezing temperatures.
- Do not repair or replace any part of the appliance or attempt any servicing unless specifically recommended in this manual or in published user-repair instructions that you understand and have the skills to carry out.
- Always unplug the appliance from the power supply before cleaning or performing any maintenance.
3. Installation and Setup
3.1 Unpacking
Carefully remove all packaging materials. Check for any damage during transit. Keep packaging materials out of reach of children.
3.2 Removing Transit Bolts
Before using the washing machine, it is crucial to remove the transit bolts located at the rear of the appliance. These bolts secure the drum during transport and must be removed to prevent damage during operation. Refer to the diagram for bolt locations.

Image 3.1: Diagram showing the dimensions of the washing machine (845mm height, 598mm width, 423mm depth) and indicating the rear panel where transit bolts are typically located.
3.3 Placement and Leveling
Place the washing machine on a firm, level floor. Adjust the leveling feet to ensure the appliance is stable and does not wobble. Proper leveling reduces noise and vibration during operation.
3.4 Water and Drain Connection
Connect the water inlet hose to a cold water tap. Ensure all connections are tight to prevent leaks. Position the drain hose into a standpipe or over the edge of a sink, ensuring it is securely fastened to prevent displacement during draining.
3.5 Electrical Connection
Plug the power cord into a grounded electrical outlet. Ensure the voltage and frequency match the specifications of your appliance.
4. Operating Instructions
4.1 Control Panel Overview
The control panel features a program selector knob, an LED display, and various function buttons for customizing your wash cycle.

Image 4.1: Close-up of the washing machine's LED display and control buttons, including options for Speed, Temperature, Rinse+, Delay, and Smart functions, along with Start/Pause and Power buttons.
4.2 Loading Laundry
Open the washing machine door and load your laundry. Do not overload the machine; ensure there is enough space for clothes to tumble freely. The maximum capacity for this model is 6 kg.
4.3 Adding Detergent and Softener
Pull out the detergent dispenser drawer. Add the appropriate amount of detergent to the main wash compartment and fabric softener to its designated compartment. Do not exceed the maximum fill lines.
4.4 Program Selection
Turn the program selector knob to choose your desired wash program. The LED display will show the default settings for the selected program.
4.5 Customizing the Wash Cycle
Use the function buttons to adjust settings such as:
- Speed: Adjust spin speed (up to 1200 rpm).
- Temperature: Select wash water temperature.
- Rinse+: Add an extra rinse cycle.
- Delay: Set a delayed start time for the wash cycle.
- Smart: Activate smart functions (refer to specific program details).
4.6 Stop&Go Function
The Stop&Go function allows you to pause the wash cycle to add or remove items of clothing. Press the Start/Pause button to activate. The machine will pause, and the door will unlock if conditions are safe (e.g., water level and temperature are low). Press Start/Pause again to resume the cycle.

Image 4.2: A hand reaching into the washing machine drum, illustrating the Stop&Go function which allows pausing the cycle to add or remove laundry.
4.7 Starting and Ending a Cycle
Press the Start/Pause button to begin the selected wash cycle. The machine will automatically proceed through the wash, rinse, and spin phases. Once the cycle is complete, the machine will signal, and the door will unlock. Remove your laundry promptly.
5. Wash Programs
Your Aspes AL6203AIDV washing machine offers 11 programs designed for various fabric types and soil levels:
- Mixed: For mixed loads of cotton and synthetics.
- Eco 40-60: Standard program for normally soiled cotton laundry declared to be washable at 40°C or 60°C, together in the same cycle.
- 20°C: For lightly soiled items that require a cold wash.
- Cotton: For durable cotton items.
- Delicate: For delicate fabrics requiring gentle care.
- Wool: Specific program for wool garments.
- Anti-bacterial: For enhanced hygiene.
- Quick 30': A fast wash for lightly soiled items.
- Quick 15': An even faster wash for very small, lightly soiled loads.
- Drum Clean: A self-cleaning program for the washing machine drum.
- Spin: For draining water and spinning laundry only.
6. Maintenance and Care
Regular maintenance ensures optimal performance and extends the lifespan of your washing machine.
6.1 Cleaning the Detergent Dispenser
Remove the detergent dispenser drawer and rinse it under running water to remove any detergent residue. Clean the housing of the dispenser with a brush.
6.2 Cleaning the Drum
Use the 'Drum Clean' program periodically to prevent odors and maintain hygiene. You can also wipe the drum interior with a damp cloth after each wash.
6.3 Cleaning the Filter
The drain pump filter should be cleaned regularly to prevent blockages. Locate the filter cover at the bottom front of the machine, open it, and carefully remove the filter. Clean it under running water and reinsert it securely.
6.4 Cleaning the Exterior
Wipe the exterior surfaces of the washing machine with a soft, damp cloth. Do not use abrasive cleaners or solvents.
7. Troubleshooting
Before contacting customer service, please refer to the following table for common issues and their solutions.
| Problem | Possible Cause | Solution |
|---|---|---|
| Machine does not start | Power cord not plugged in; door not closed properly; Start/Pause button not pressed. | Check power connection;ensure door is latched;press Start/Pause. |
| No water intake | Water tap closed;inlet hose kinked;water supply cut off. | Open water tap;straighten hose;check household water supply. |
| Water not draining | Drain hose kinked or blocked;pump filter blocked. | Check and clear drain hose;clean pump filter. |
| Excessive vibration/noise | Transit bolts not removed;machine not level;uneven load. | Remove transit bolts;adjust leveling feet;redistribute laundry. |
| Detergent residue in dispenser | Insufficient water pressure;dispenser blocked. | Check water pressure;clean dispenser drawer. |
8. Technical Specifications
| Feature | Specification |
|---|---|
| Model Number | AL6203AIDV |
| Capacity | 6 kg |
| Maximum Spin Speed | 1200 rpm |
| Motor Type | Inverter Motor |
| Energy Efficiency Class | A |
| Noise Level (Spin) | 72 dB |
| Dimensions (H x W x D) | 84.5 x 59.8 x 42.3 cm |
| Weight | 50 kg |
| Power | 1600W |
| Programs | 11 |
8.1 Energy Information

Image 8.1: The energy label for the Aspes AL6203AIDV washing machine, indicating an energy efficiency class A, 37 kWh/100 cycles, 6.0 kg capacity, 3:18 cycle duration, 36 L water consumption, and 72 dB spin noise level. For detailed information, refer to the EPREL database.
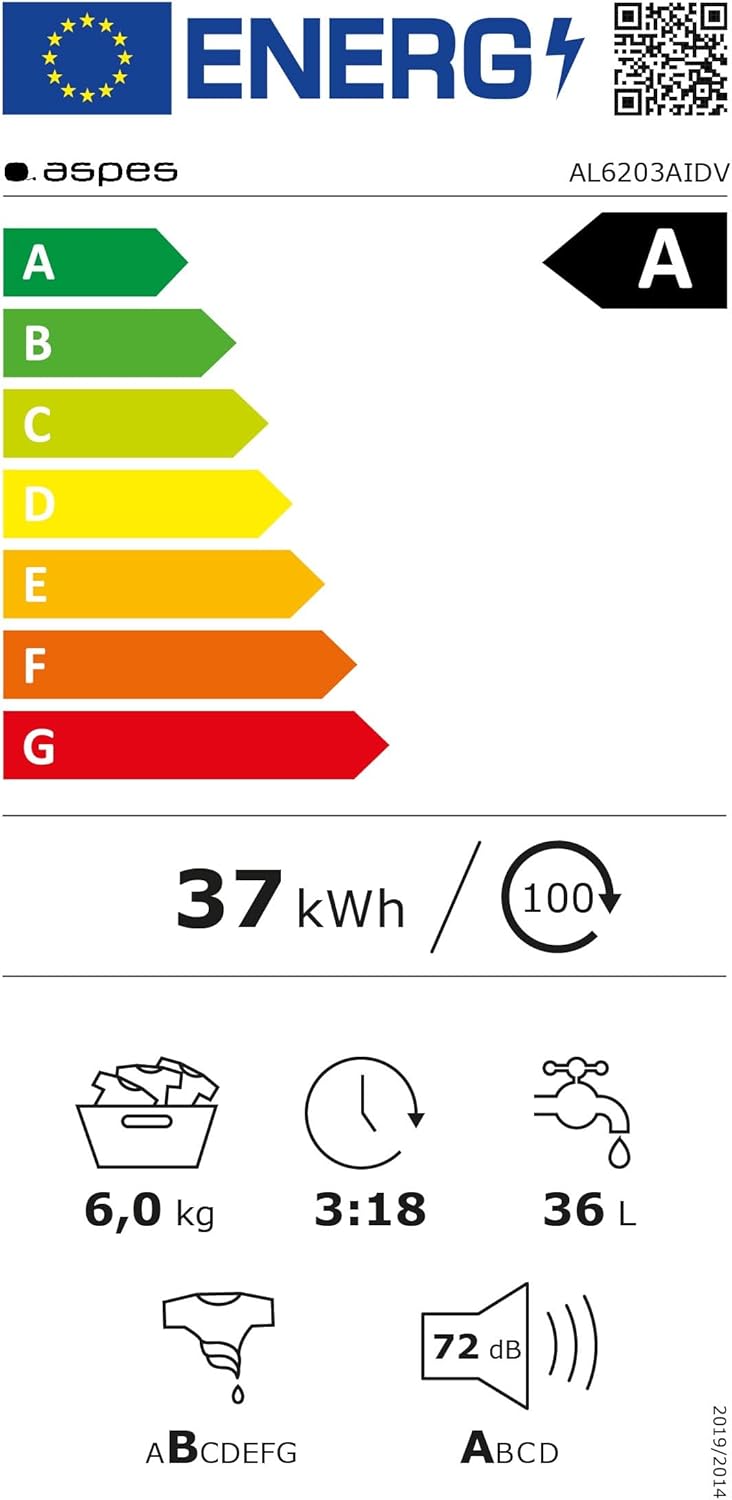
Image 8.2: The product information sheet for the Aspes AL6203AIDV washing machine, detailing regulatory information and performance parameters. More information is available on the EPREL database.
9. Warranty and Support
9.1 Warranty Information
Your Aspes AL6203AIDV washing machine comes with a comprehensive warranty. The Inverter Motor is covered by a 10-year warranty, ensuring its high functionality and durability. For other components, please refer to the standard warranty terms provided at the time of purchase.
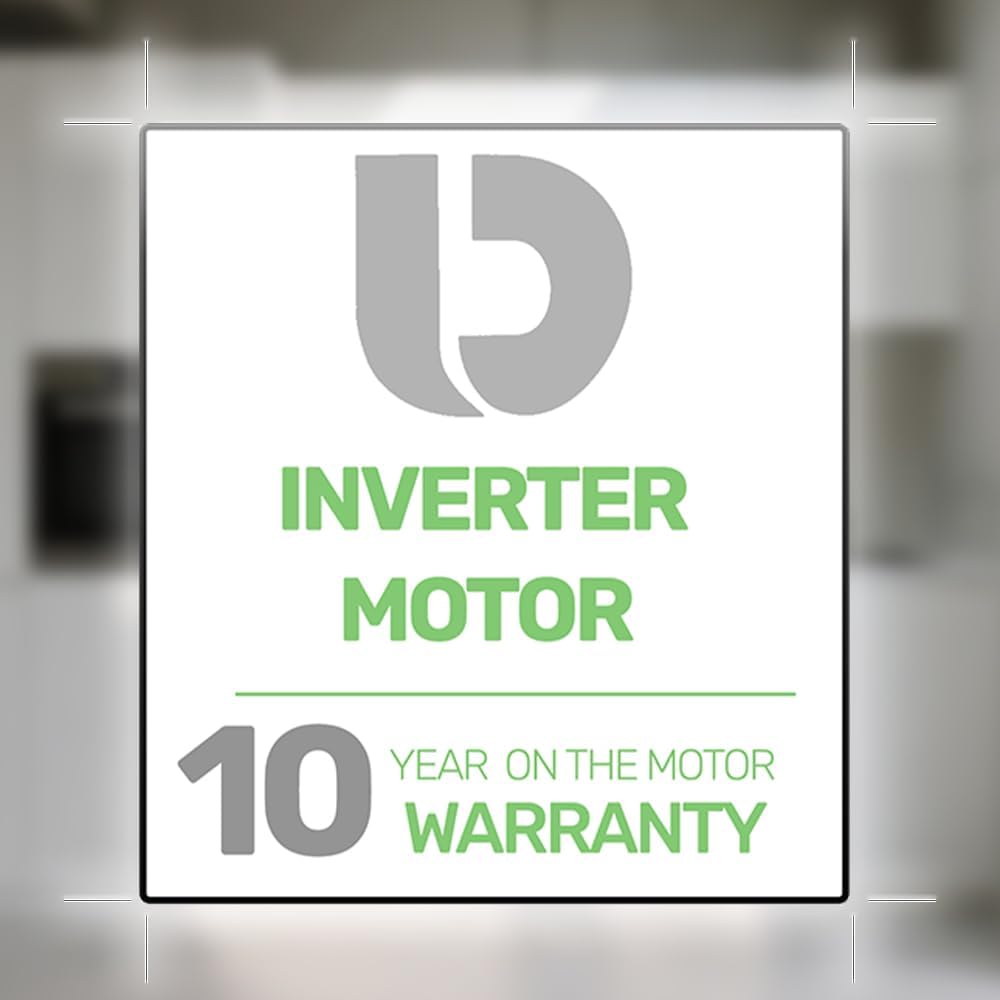
Image 9.1: Graphic indicating the 10-year warranty for the Inverter Motor, highlighting its efficiency and durability.
9.2 Customer Support
For technical assistance, spare parts, or any inquiries regarding your appliance, please contact Aspes customer service:
- Manufacturer: Aspes
- Service Email: info@aspes.es
- Service Phone: 960 600 034
- Website: www.aspes.es
Documents and downloads
Ask a question about this manual
Ask about setup, troubleshooting, compatibility, parts, safety, or missing instructions. Manuals+ will review the question and use this page’s manual context to help answer it.