1. Introduction
This manual provides comprehensive instructions for the setup, operation, maintenance, and troubleshooting of your HUAYU K-MS1859 Universal Smart Air Conditioner Remote Control. Please read this manual thoroughly before using the remote control to ensure proper function and to extend the product's lifespan. Keep this manual for future reference.
2. Safety Information
- Do not expose the remote control to direct sunlight, high temperatures, or high humidity.
- Avoid dropping the remote control or subjecting it to strong impacts.
- Do not mix old and new batteries, or different types of batteries.
- Remove batteries if the remote control will not be used for an extended period to prevent leakage.
- Keep batteries out of reach of children.
- Do not attempt to disassemble or modify the remote control.
3. Product Overview
The HUAYU K-MS1859 is a universal smart remote control designed for various MITSUBISHI air conditioner models. It features a clear LCD display and intuitive buttons for easy operation.
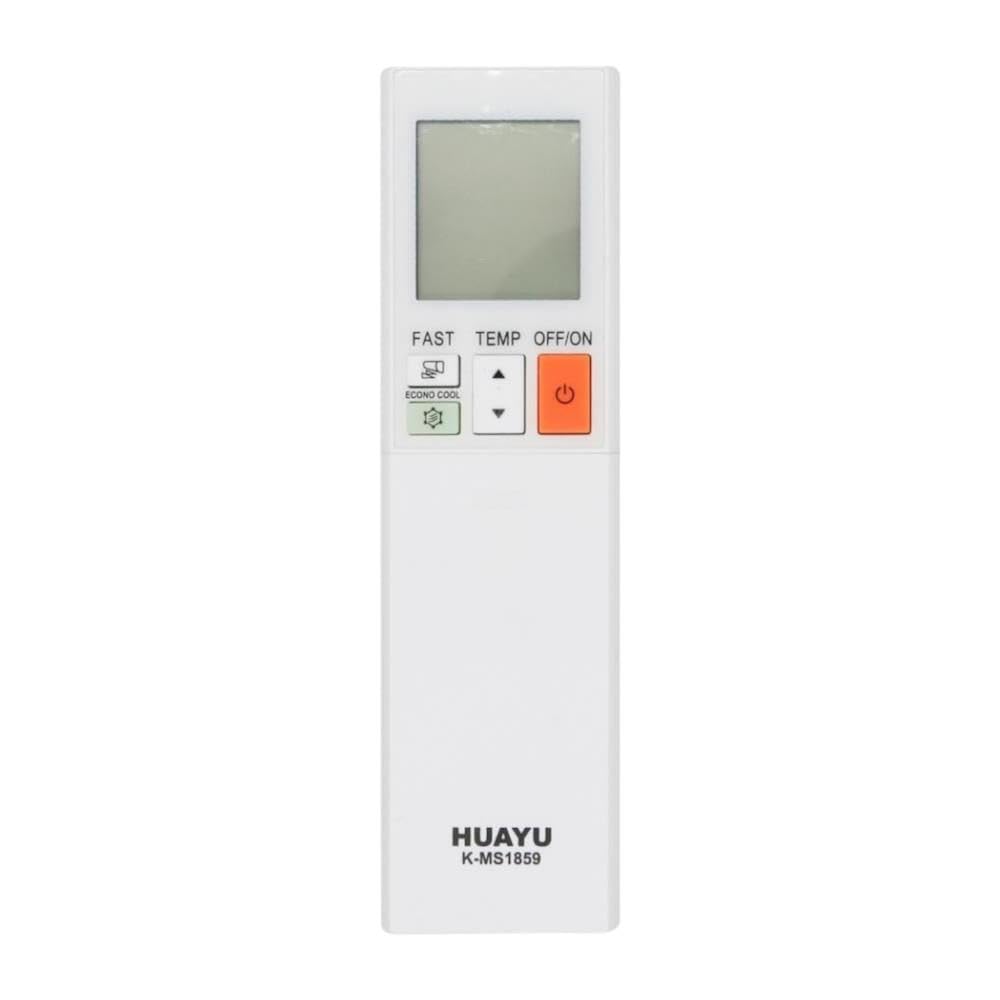
Figure 3.1: Front, side, and back views of the HUAYU K-MS1859 Universal Smart Air Conditioner Remote Control. The front shows the LCD screen, power button, temperature controls, and special function buttons like FAST and ECONO COOL. The side view shows the slim profile, and the back view shows the battery compartment and a wall-mount slot.
3.1. Button Functions
- OFF/ON (Power Button): Turns the air conditioner on or off.
- TEMP ▲ / ▼ (Temperature Control): Adjusts the desired temperature up or down.
- FAST: Activates a rapid cooling or heating function (specific function may vary by AC model).
- ECONO COOL: Engages an energy-saving cooling mode (specific function may vary by AC model).
- Other buttons (not explicitly visible but common): Mode selection (Cool, Heat, Fan, Dry, Auto), Fan Speed, Swing/Vane control, Timer functions.
4. Setup
4.1. Battery Installation
- Open the battery compartment cover on the back of the remote control.
- Insert two AAA batteries (not included), ensuring the correct polarity (+ and -) as indicated inside the compartment.
- Close the battery compartment cover securely.
4.2. Programming the Remote Control (Auto Search)
This universal remote control typically requires programming to match your specific air conditioner model. Follow these general steps for auto-search programming:
- Ensure your air conditioner is powered on.
- Point the remote control towards the air conditioner's receiver.
- Press and hold the "SET" button (or a similar button, if available, otherwise proceed to step 4) for approximately 3-5 seconds until a code starts flashing on the remote's LCD display.
- If no "SET" button, press and hold the "POWER" button for 5 seconds, then release. The remote will begin cycling through codes.
- The remote will automatically search for compatible codes. Observe your air conditioner. When the air conditioner responds (e.g., turns on/off, beeps, changes mode), immediately press any button (e.g., "OK" or "POWER") to confirm the code.
- Test all functions (Power, Temperature, Mode, Fan Speed) to ensure proper operation. If some functions do not work, repeat the auto-search process to find a more compatible code.
Note: Specific programming steps may vary slightly. Refer to the original air conditioner manual for its remote control code if manual code entry is an option on this universal remote.
5. Operating Instructions
Once the remote control is programmed, you can operate your air conditioner using the following functions:
- Power ON/OFF: Press the OFF/ON button to turn the air conditioner on or off.
- Temperature Adjustment: Use the TEMP ▲ and ▼ buttons to set your desired room temperature.
- Mode Selection: (Assumed button, not visible in image) Press the "MODE" button repeatedly to cycle through available modes: Cool, Heat, Fan, Dry, Auto.
- Fan Speed: (Assumed button, not visible in image) Press the "FAN" button to adjust the fan speed (e.g., Low, Medium, High, Auto).
- FAST Function: Press the FAST button for quick cooling or heating.
- ECONO COOL Function: Press the ECONO COOL button to activate energy-saving cooling.
- Swing/Vane Control: (Assumed button, not visible in image) Use the "SWING" button to adjust the airflow direction.
- Timer Functions: (Assumed button, not visible in image) If available, use the "TIMER" button to set auto-on or auto-off times.
Ensure the remote control is pointed directly at the air conditioner's receiver for optimal signal transmission.
6. Maintenance
6.1. Cleaning
Wipe the remote control with a soft, dry cloth. Do not use liquid cleaners, abrasive cleaners, or chemical solvents, as these may damage the surface or internal components.
6.2. Battery Replacement
Replace batteries when the remote control's display becomes dim or its range decreases. Follow the battery installation steps in Section 4.1. Always replace both batteries at the same time with new ones of the same type (AAA).
7. Troubleshooting
| Problem | Possible Cause | Solution |
|---|---|---|
| Remote control not working. |
|
|
| Air conditioner does not respond to all commands. |
|
|
| LCD display is dim or blank. |
|
|
8. Specifications
| Feature | Detail |
|---|---|
| Brand | HUAYU |
| Model | K-MS1859 |
| Compatibility | Universal for MITSUBISHI Air Conditioners |
| Power Source | 2 x AAA Batteries (not included) |
| Material | ABS Plastic |
| Part Number | 06931956807884 |
| ASIN | B0F4YZ41NT |
9. Warranty & Support
9.1. Warranty Information
This product is covered by a standard manufacturer's warranty against defects in materials and workmanship. The warranty period typically begins from the date of purchase. Please retain your proof of purchase for warranty claims. For specific warranty terms and conditions, refer to the documentation provided with your purchase or contact the retailer.
9.2. Customer Support
If you encounter any issues or have questions regarding your HUAYU K-MS1859 Universal Smart Air Conditioner Remote Control that are not addressed in this manual, please contact your retailer or the manufacturer's customer support. Provide your product model number (K-MS1859) and ASIN (B0F4YZ41NT) when seeking assistance.


