
elecci E99
E99 Drone User Manual
Model: E99 | Brand: elecci
Introduction
Introducing the elecci E99 Drone, designed for stunning aerial photography and seamless flight experiences. This state-of-the-art drone features a high-resolution 1080P HD camera, robust brushless motors, and an innovative screen controller for real-time footage and precise control. Ideal for both beginners and seasoned pilots, the E99 Drone offers extended flight times with its included batteries and incorporates advanced features like Waypoint Fly, Optical Flow Localization, and Active Obstacle Avoidance for a safe and smooth journey. Its One Key Take Off/Landing functionality simplifies operation, making it easier than ever to start and end your flight. Elevate your aerial adventures with cutting-edge technology and user-friendly design.
What's in the Box
- E99 Drone (Black - 2 batteries)
- Screen Controller
- 2 Lithium Ion Batteries
- Camera
- Handbag
- SD Card

Setup Guide
Battery Installation and Charging
Ensure both drone and controller batteries are fully charged before first use. The E99 Drone comes with two Lithium Ion batteries. Insert the charged battery into the drone's designated compartment. The screen controller also has a rechargeable battery.

Figure 2: Proper insertion of the 3.7V high-capacity battery into the E99 Drone. Propeller Installation
Attach propellers securely to the motor shafts. Ensure correct propeller orientation (A and B) as indicated on the drone arms and propellers to prevent flight instability.
Controller Pairing
Power on the drone, then power on the screen controller. The drone and controller should automatically pair. Refer to the controller's screen for pairing status. If pairing fails, power cycle both devices and try again.

Figure 3: The E99 Drone and its screen controller, ready for operation. Pre-Flight Check
Before each flight, ensure all propellers are free from damage, batteries are charged, and the flight area is clear of obstacles. Perform a quick calibration if necessary (refer to operating instructions).
Operating Instructions
Controller Overview

- LCD Screen: Displays real-time video feed and flight information.
- Steering Bars/Sticks: Control drone movement (throttle, yaw, pitch, roll).
- Obstacle Avoidance Switch: Activates/deactivates active obstacle avoidance.
- Speed Switching: Adjusts flight speed (multiple modes available).
- Power Switch: Turns the controller on/off.
- Headless Mode: Simplifies control by orienting the drone relative to the pilot.
- Emergency Stop: Immediately stops all motors. Use in critical situations only.
- 360° Tumbling: Executes an acrobatic flip.
- One-Click Take-Off and Landing: Simplifies launching and landing.
- Gyro/Geomagnetic: Button for calibration or mode switching.
- Photograph/View Photos: Captures still images or accesses photo gallery.
- Video/Play the Video: Starts/stops video recording or plays recorded videos.
- Focus/Select Up/Down: Adjusts camera focus or navigates menus.
- Pause Playback/Return: Pauses video playback or initiates return-to-home function.
Basic Flight Operations
One Key Take-Off
Place the drone on a flat, level surface. Press the One-Click Take-Off button on the controller. The drone will automatically ascend to a stable hovering altitude.
Video 1: Demonstrates the one-click take-off feature of the E99 Drone, showing the drone ascending smoothly from a flat surface.
Controlling Flight
Use the left joystick for altitude (up/down) and yaw (rotate left/right). Use the right joystick for forward/backward and left/right strafing movements. Adjust speed using the speed switching button.
Optical Flow Localization
The drone utilizes optical flow localization for stable hovering, especially useful indoors or in areas with minimal GPS signal. This feature helps maintain a consistent position.
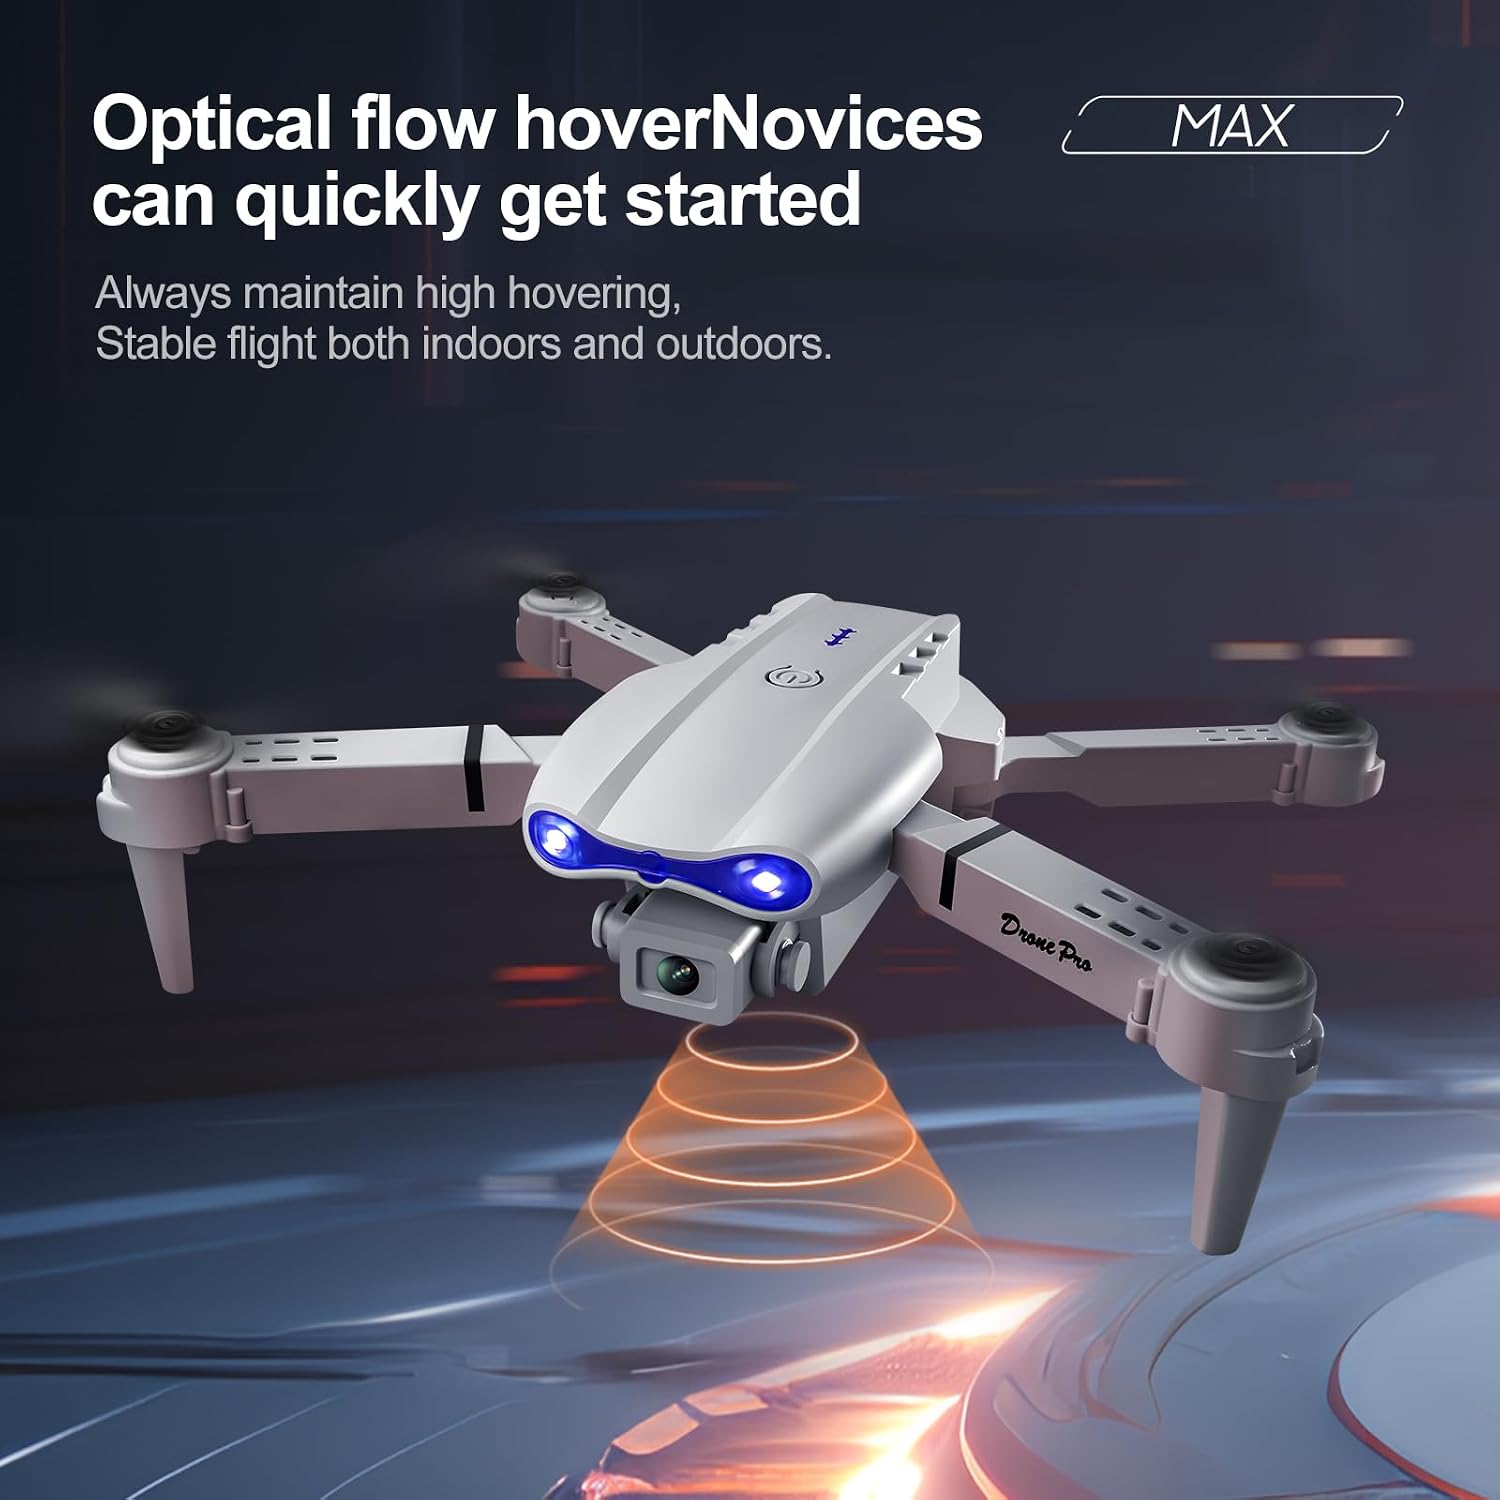
Figure 5: The E99 Drone's optical flow positioning system ensures stable hovering. Active Obstacle Avoidance
The E99 Drone is equipped with active obstacle avoidance sensors to help prevent collisions. This feature enhances safety, particularly for new pilots. Always maintain visual line of sight and be prepared to take manual control.
360° Rolling (Flips)
To perform a 360° flip, press the 360° Tumbling button and then push the right joystick in the desired direction of the flip. Ensure sufficient altitude and clear space before attempting.
One Key Landing
Press the One-Click Landing button. The drone will automatically descend and land gently. Ensure the landing area is clear.
Camera and Recording
1080P HD Camera
The E99 Drone features a 1080P HD camera for capturing high-quality photos and videos. The camera can be controlled via the screen controller.
Image Transmission Modes
The drone supports image transmission directly to the screen controller, providing real-time footage for an immersive flying experience.
Recording to SD Card
Insert the provided SD card into the drone's slot to store photos and videos. Use the dedicated buttons on the controller to start/stop recording or take photos.
Maintenance
Battery Care
Always use the original charger. Do not overcharge or over-discharge batteries. Store batteries in a cool, dry place away from direct sunlight. If not used for extended periods, charge batteries to approximately 50% capacity.
Propeller Inspection
Regularly inspect propellers for cracks, bends, or damage. Replace any damaged propellers immediately to ensure safe and stable flight. Spare propellers are typically included.
Cleaning
Gently wipe the drone and controller with a soft, dry cloth. Avoid using harsh chemicals or solvents. Keep the camera lens clean for optimal image quality.
Storage
When not in use, store the E99 Drone and its accessories in the provided carrying case to protect them from dust and physical damage. The foldable design allows for compact storage.

Figure 6: The E99 Drone in its folded state, alongside the controller, ready for storage or transport.
Troubleshooting
| Problem | Possible Cause | Solution |
|---|---|---|
| Drone does not power on. | Low or uncharged battery; Battery not properly inserted. | Charge the drone battery fully. Ensure the battery is securely inserted. |
| Controller does not power on. | Controller battery is low or uncharged. | Charge the controller battery. |
| Drone does not respond to controller. | Not paired; Interference; Out of range. | Re-pair the drone and controller. Move to an area with less interference. Ensure drone is within operating range. |
| Unstable flight/Drifting. | Improper calibration; Damaged propellers; Wind interference. | Perform flight calibration. Inspect and replace damaged propellers. Fly in calm conditions. |
| Poor camera image/video quality. | Dirty lens; Insufficient lighting; SD card issues. | Clean the camera lens. Ensure adequate lighting. Check SD card for proper insertion and sufficient space. |
| Drone gets lost/uncontrollable. | Loss of signal; Environmental factors (e.g., strong winds, magnetic interference). | Immediately press Emergency Stop if safe to do so. Fly in open areas away from strong interference. Maintain visual line of sight. |
Specifications
- Brand: elecci
- Model Name: E99
- Color: Black - 2 batteries
- Video Capture Resolution: 1080p
- Connectivity Technology: Bluetooth, Wi-Fi
- Item Weight: 6.4 ounces
- Product Dimensions: 3.2"L x 1.9"W x 5"H
- Battery Cell Composition: Lithium Ion
- Batteries Included: Yes (2 Lithium Ion batteries required)
- Special Features: 360 Degree Flip, Auto Follow, One Button Return, One Key Rotation, Altitude Hold, Active Obstacle Avoidance, Optical Flow Localization, Screen Controller.
- Manufacturer Part Number: E88
- UPC: 762849281711
Warranty and Support
For warranty information and customer support, please refer to the contact details provided with your product packaging or visit the official elecci website. You may also contact the seller directly through the Amazon platform for assistance.
Consider purchasing an extended protection plan for additional coverage:
Related documentsE99


Ask a question about this manual
Ask about setup, troubleshooting, compatibility, parts, safety, or missing instructions. Manuals+ will review the question and use this page’s manual context to help answer it.