1. Product Overview
The Keenso RPM Pointer Tachometer is a high-precision instrument designed to measure engine revolutions per minute (RPM). It features a clear pointer display and is suitable for various vehicles, including automobiles, trucks, and boats. Constructed from durable ABS and stainless steel, this tachometer offers reliability and longevity.
Key Features:
- Precise Readings: Provides accurate RPM measurements with a clear pointer display.
- Durable Construction: Made from premium ABS and stainless steel for enhanced durability and a long service life.
- Night Vision Capability: Features a red backlight for easy readability in dark or low-light conditions.
- Universal Application: Compatible with a wide range of vehicles, including cars, boats, and trucks.
- Waterproof and Dustproof: Rated IP67 for protection against water and dust ingress.
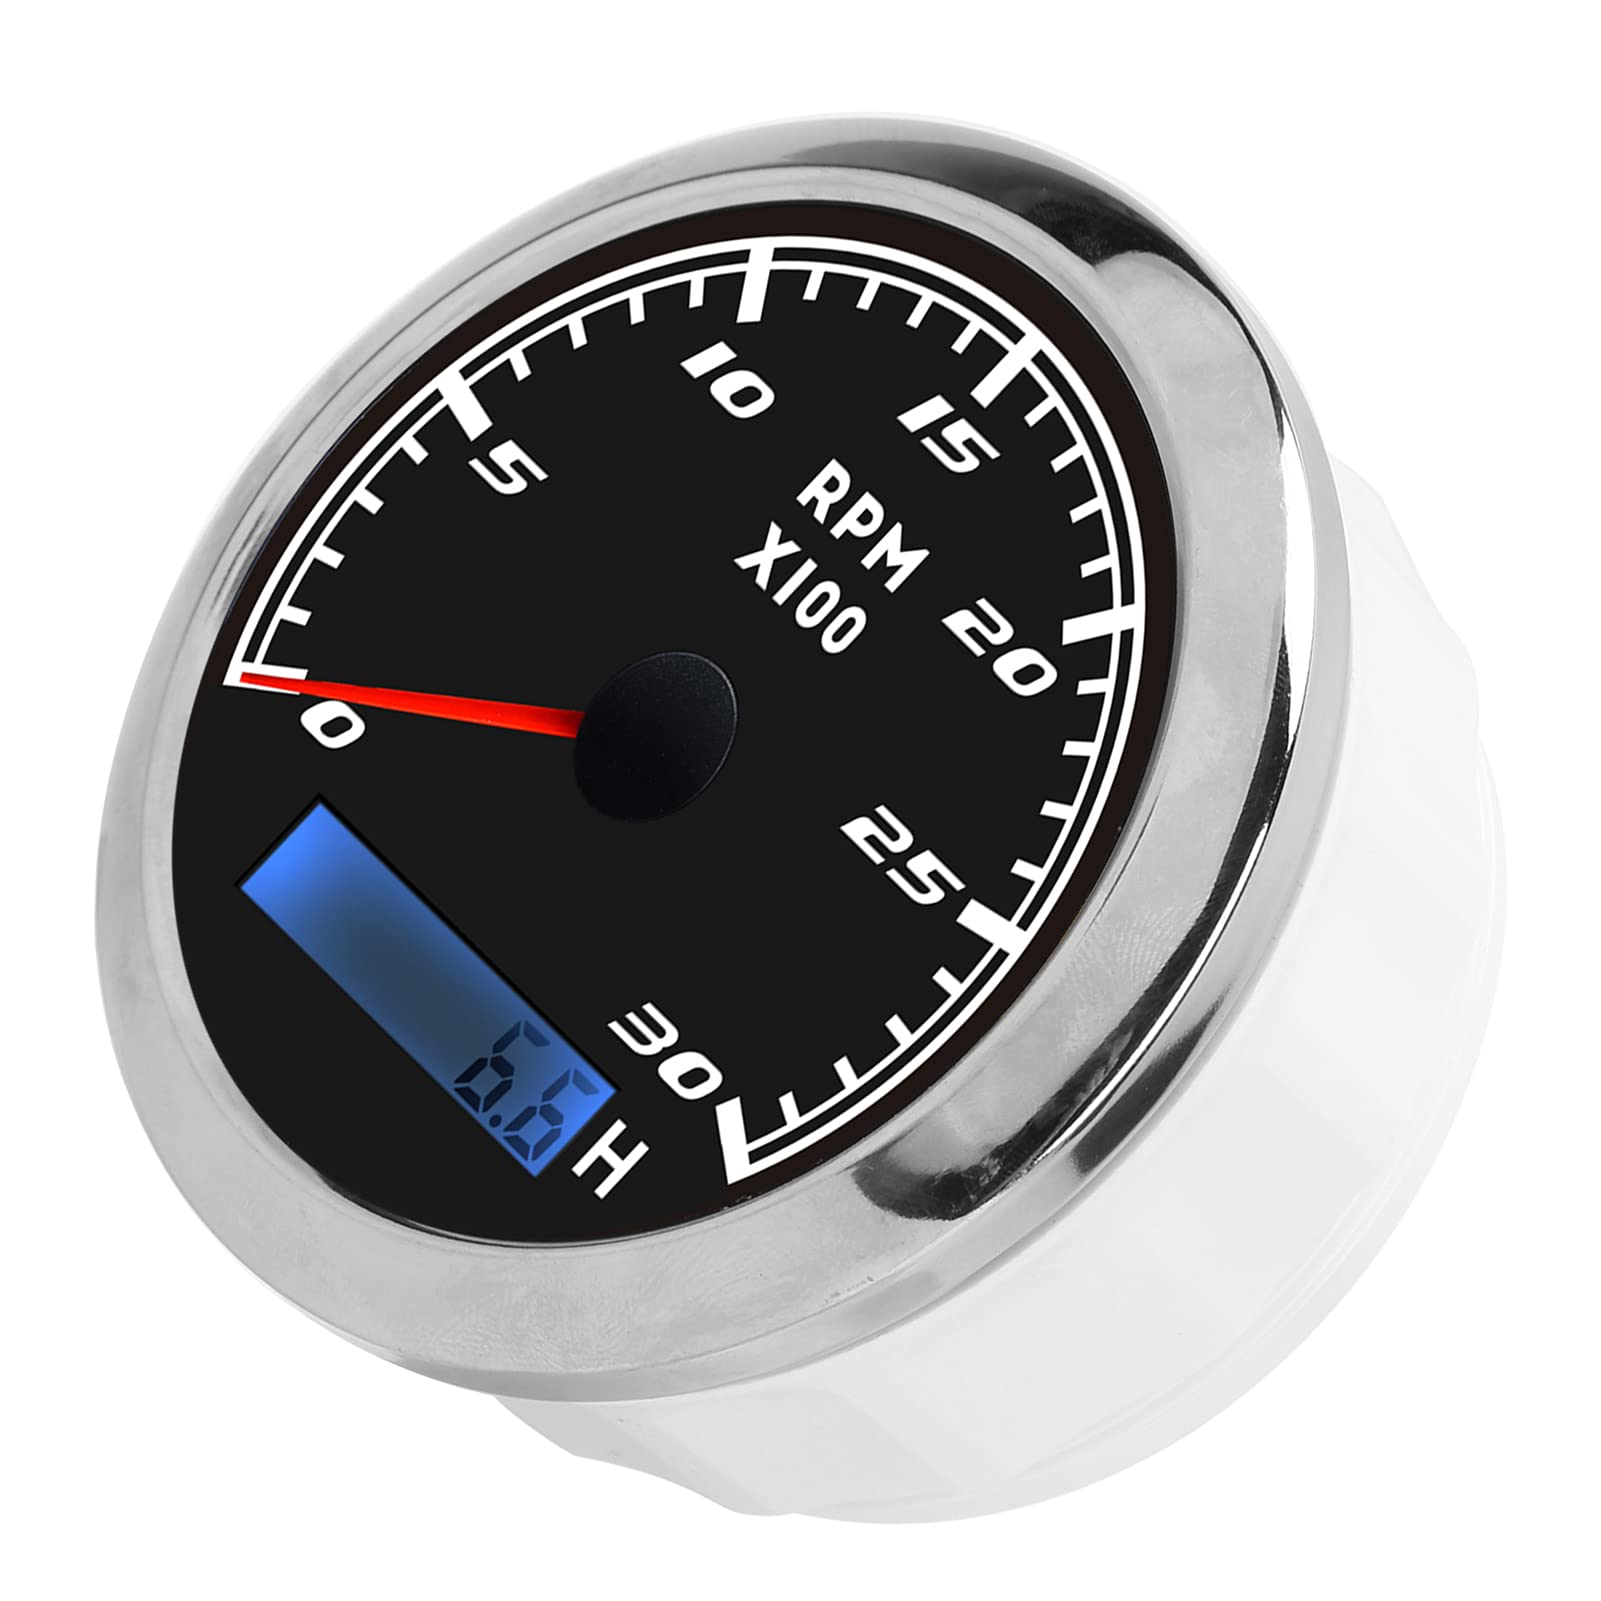
Figure 1.1: Front view of the Keenso RPM Pointer Tachometer, showcasing its black dial, white markings, red pointer, and digital display.
2. Specifications
| Feature | Specification |
|---|---|
| Product Type | Pointer Tachometer |
| Material | ABS + Stainless Steel |
| Diameter | Approx. 85 mm (3.35 inches) |
| Voltage | 9-32VDC |
| Waterproof & Dustproof Rating | IP67 |
| Applicable Vehicles | Automobiles, Trucks, Boats, Gasoline Motor Engines |
| Item Weight | 8.9 ounces |
| Model Number | Keensodcyg2ipm60-11 |
3. Installation
Proper installation is crucial for the accurate operation and longevity of your tachometer. Professional installation is highly recommended.
- Prepare Mounting Hole: Open a circular hole with a diameter of approximately 85 mm (3.35 inches) on your instrument assembly panel. Ensure there is at least 55 mm (2.17 inches) of clear space behind the panel for the tachometer's body and wiring.
- Insert Tachometer: Carefully place the tachometer into the prepared hole.
- Secure Device: Adjust the position of the tachometer as needed, then tighten the posterior cover or mounting bracket to secure it firmly in place.
- Wiring: Connect the wiring according to your vehicle's electrical system and the tachometer's wiring diagram (not provided in this manual, refer to product packaging or professional installer). Ensure all connections are secure and insulated.

Figure 3.1: Side view of the tachometer, illustrating its depth for installation into a panel.
4. Operation and Settings
Once installed and powered, the tachometer will display the engine's RPM. The digital display at the bottom shows additional information, such as hours of operation.
Adjusting Speed Ratio (Configuration Mode):
The tachometer allows for adjustment of the speed ratio to match your engine's specific requirements (e.g., number of flywheel teeth). This setting is crucial for accurate RPM readings.
- Enter Configuration Mode: Press and hold the rubber button located on the back of the meter for 3 seconds. Releasing the button before 3 seconds or holding it for more than 3 seconds will exit the configuration mode.
- Adjust Value: While in configuration mode, press and hold the button to increase the value. Release the button and press it again to decrease the value. The longer the button is held, the faster the value changes. The minimum step value is 0.1, and the adjustable range is 1.0-360.
- Save Settings: Once the desired speed ratio (corresponding to the number of flywheel teeth) is set, release the button. After 3 seconds, the tachometer will automatically save the new configuration. If the setting does not meet your requirements, repeat the process.

Figure 4.1: The tachometer displaying its red backlight, indicating operational status and enhancing visibility in low-light conditions.
5. Maintenance
The Keenso RPM Pointer Tachometer is designed for durability and requires minimal maintenance. Follow these guidelines to ensure its continued performance:
- Cleaning: Use a soft, damp cloth to clean the surface of the tachometer. Avoid abrasive cleaners or solvents that could damage the display or housing.
- Environmental Protection: The IP67 rating ensures protection against dust and temporary immersion in water. However, avoid prolonged submersion or exposure to high-pressure water jets.
- Regular Checks: Periodically inspect the wiring connections to ensure they remain secure and free from corrosion.
6. Troubleshooting
If you encounter issues with your Keenso RPM Pointer Tachometer, consider the following basic troubleshooting steps:
- No Power/Display: Check all power connections and ensure the voltage supply is within the 9-32VDC range. Verify that the fuse (if applicable) is intact.
- Inaccurate Readings: Ensure the speed ratio setting is correctly configured for your engine (refer to Section 4). Check the signal wire connection from the engine to the tachometer for any damage or loose connections.
- Intermittent Operation: Inspect all wiring for loose connections, corrosion, or damage. Ensure the tachometer is securely mounted and not subject to excessive vibration.
If problems persist after performing these checks, contact customer support for further assistance.
7. Warranty and Support
For information regarding warranty coverage, technical support, or replacement parts, please refer to the product packaging or contact Keenso customer service directly. Keep your purchase receipt as proof of purchase.


