
1. Introduction and Overview
This manual provides detailed instructions for the installation, operation, and maintenance of your Zunate ITX H110 Motherboard. Designed for compact systems, this motherboard supports LGA 1151 CPUs (6th, 7th, 8th, and 9th Gen Intel Celeron, Pentium, and Core processors) and features DDR4 SO DIMM slots, an M.2 slot for high-speed storage, and integrated 1080P HD video output capabilities.
Please read this manual thoroughly before proceeding with installation to ensure proper setup and to maximize the performance and longevity of your system.
Video 1.1: Overview of a Mini ITX Desktop PC Motherboard. This video provides a general visual introduction to the form factor and common components of a mini ITX motherboard.
Video 1.2: Product Overview. This video offers a detailed look at the features and design of the motherboard.
Video 1.3: Product Demonstration. This video illustrates the motherboard's functionality and key components in action.
2. Specifications
| Feature | Detail |
|---|---|
| Item Type | Computer Motherboard |
| Material | Metal, PCB |
| Mainboard Architecture | ITX (Mini-ITX) |
| Chipset | H110 |
| CPU Socket | LGA 1151 |
| Supported CPU Types | 6th, 7th, 8th, 9th Gen Intel Celeron, Pentium, and Core processors |
| Memory | 2 x DDR4 2133 SO DIMM slots, Maximum Support 32GB |
| Onboard Network Card | Yes |
| Graphics Card Standard | PCI Express 16X |
| USB Interface | 4 x USB 2.0, 2 x USB 3.0 |
| Serial ATA | 3 x Serial ATA3.0 |
| Built-in Battery | CR2032x1 240mah |
| Rear Interfaces | 1 x VGA port, 1 x HD display interface port, 1 x DisplayPort port, 1 x Sound Jack |
| Expansion Slots | 1 x PCI Express x 16 slot, 1 x PCI Express x 1 slot |
| M.2 Slot | Supports NGFF and NVMe protocols, up to 32GB/s data transfer |
| Capacitors | All solid state capacitors |
Key Features:
- DDR4 SO DIMM Support: Equipped with 2 channel DDR4 SO DIMM slots, this desktop motherboard supports up to 32GB, ensuring excellent performance for multitasking and demanding applications.
- Super Fast Data Transfer: The motherboard includes an M.2 slot, enabling fast data transfer at speeds of up to 32GB/s for enhanced storage efficiency and quicker load times.
- VGA and HD Display Interface Outputs: No dedicated graphics card needed! This motherboard supports 1080P HD video output through VGA and HD display interface, provided your CPU supports integrated graphics.
- All Solid State Capacitor Reliability: Featuring all solid state capacitors, this LGA 1151 motherboard ensures stable performance and longevity, giving you peace of mind for lasting hardware investments.
- Easy Expansion Options: Designed for flexibility, the motherboard includes VGA and HD display interfaces. The M.2 slot supports both for NGFF and for NVMe protocols, facilitating easy upgrades.
3. Setup and Installation
Proper installation is crucial for the stability and performance of your computer system. Follow these steps carefully:
- Prepare Your Workspace: Ensure you have a clean, well-lit, and static-free environment. Use an anti-static wrist strap if available.
- Install the CPU:
- Locate the LGA 1151 CPU socket on the motherboard.
- Open the CPU socket lever and lift the load plate.
- Carefully align the CPU with the socket, matching the gold triangle on the CPU to the triangle on the socket. Do not force the CPU into place.
- Lower the load plate and secure it with the lever.

Image 3.1: LGA 1151 CPU Socket Area. This image shows the central CPU socket and surrounding components.
- Install the CPU Cooler: Attach your compatible CPU cooler according to its manufacturer's instructions. Ensure proper thermal paste application.
- Install Memory (RAM):
- Locate the DDR4 SO DIMM slots.
- Open the clips at both ends of the memory slot.
- Align the memory module with the slot, ensuring the notch on the module matches the key in the slot.
- Press down firmly on both ends of the memory module until the clips snap into place.
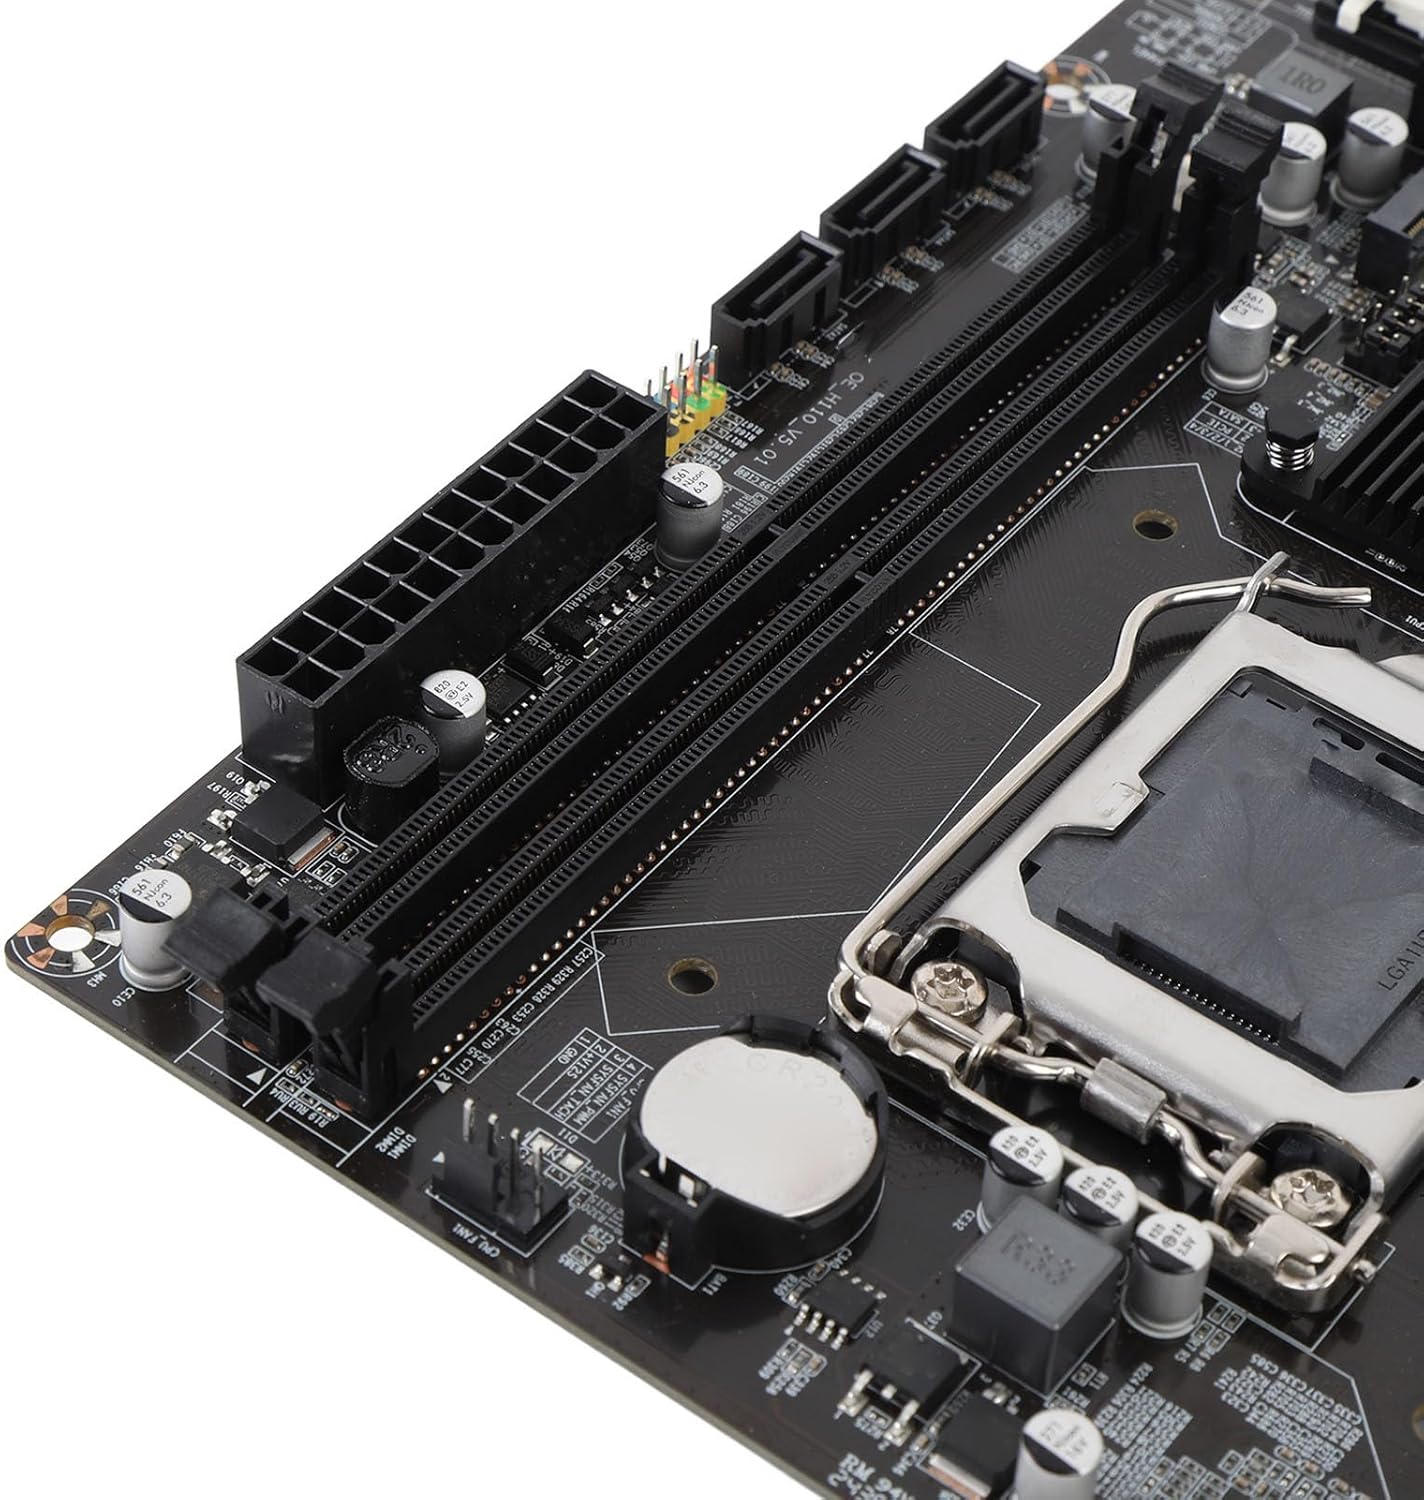
Image 3.2: DDR4 SO DIMM Memory Slots. This image highlights the memory slots where RAM modules are installed.
- Install M.2 SSD (Optional):
- Locate the M.2 slot on the motherboard.
- Insert the M.2 SSD into the slot at an angle.
- Gently push down the SSD and secure it with the provided screw.

Image 3.3: M.2 and PCIe Slots. This image shows the M.2 slot for high-speed storage and the PCI Express slots.
- Install the Motherboard into the Case:
- Install the I/O shield into the case's rear opening.
- Carefully place the motherboard into the case, aligning the screw holes with the standoffs.
- Secure the motherboard with screws.
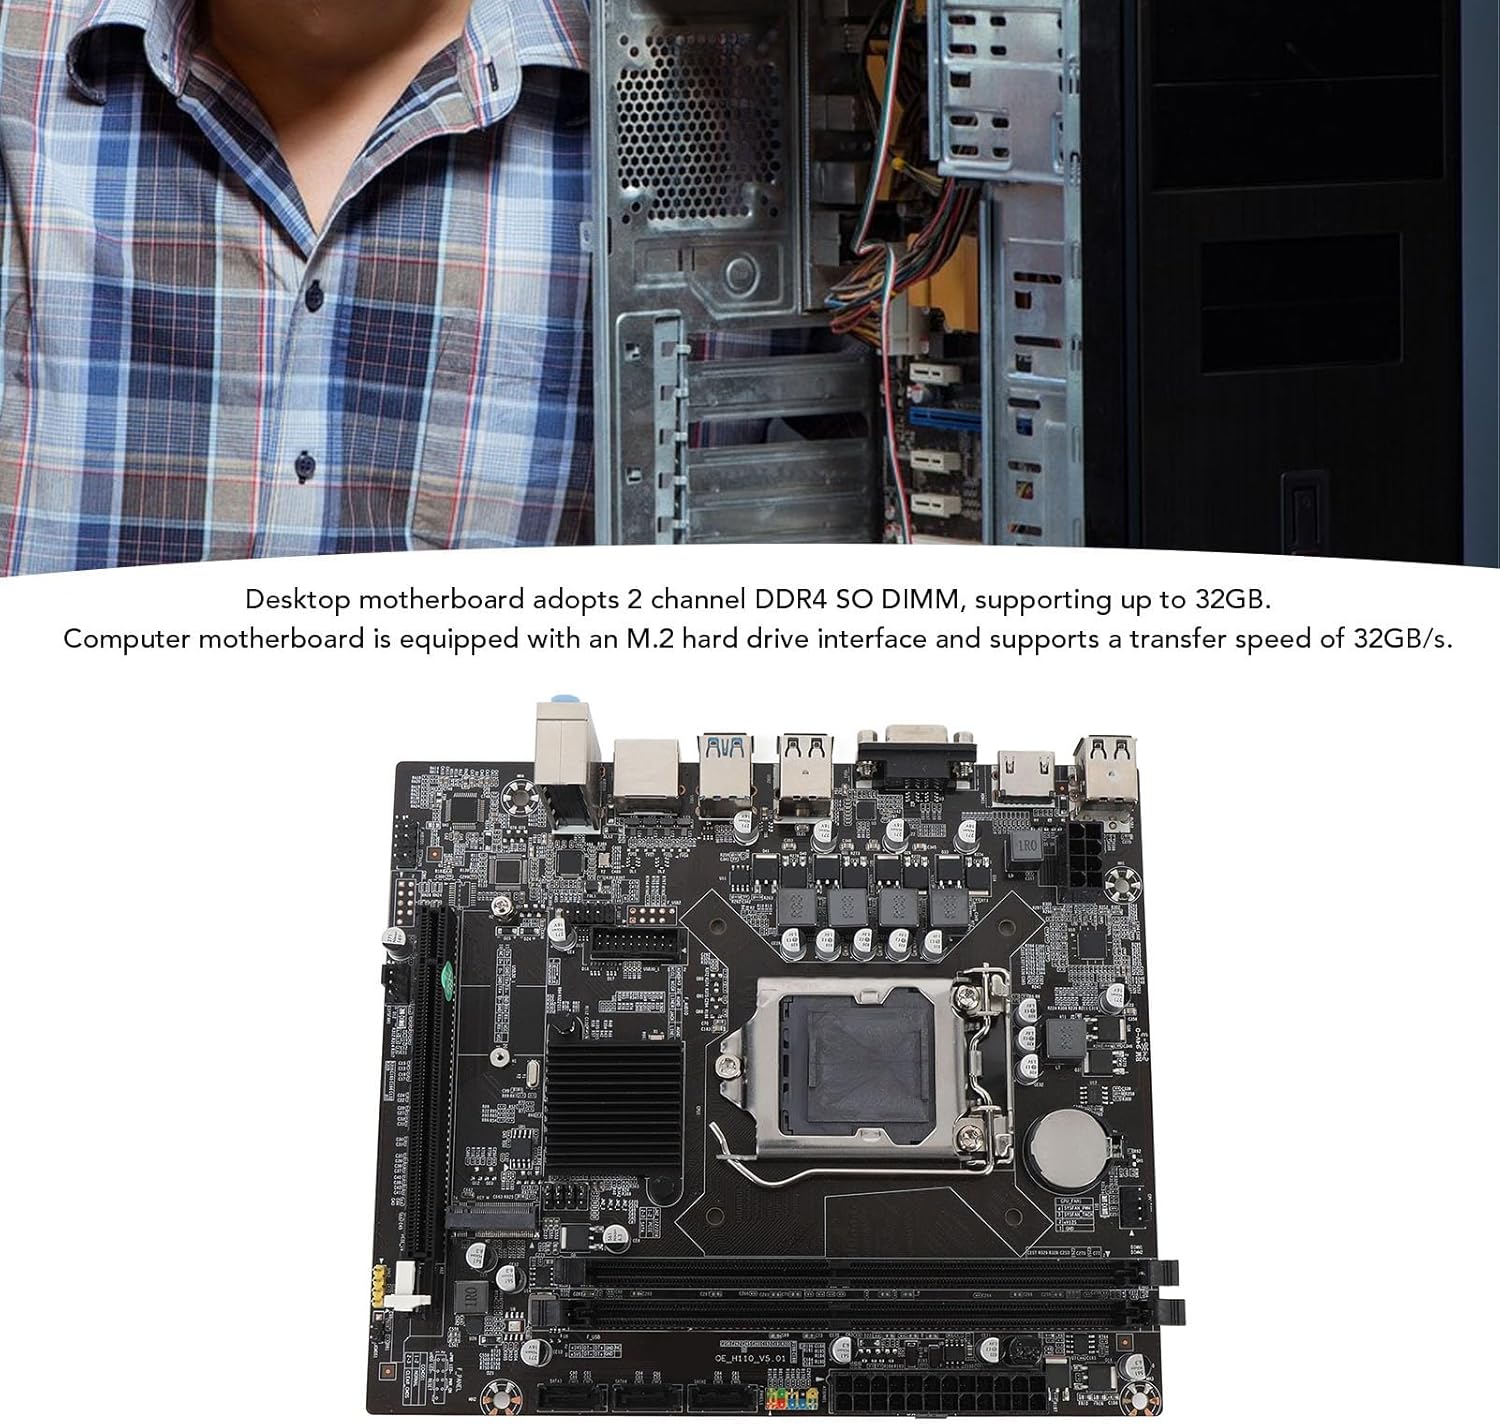
Image 3.4: Motherboard Installation. This image depicts the process of installing the motherboard into a computer chassis.
- Connect Power Cables: Connect the 24-pin ATX power connector and the 4-pin or 8-pin CPU power connector from your power supply to the motherboard.
- Connect Storage Devices: Connect SATA data cables from your storage drives (HDDs/SSDs) to the SATA 3.0 ports on the motherboard.
- Connect Front Panel Connectors: Connect the power button, reset button, HDD LED, power LED, and front USB/audio headers to the corresponding pins on the motherboard. Refer to your case manual for specific pin assignments.
- Connect Peripherals: Connect your monitor to the VGA, HD display interface, or DisplayPort on the motherboard's rear I/O panel. Connect USB devices, keyboard, mouse, and network cable.
- Initial Boot: Power on your system. Access the BIOS/UEFI setup to configure settings and install your operating system.
Note: To utilize the VGA and HD display interface outputs, your CPU must support integrated graphics.
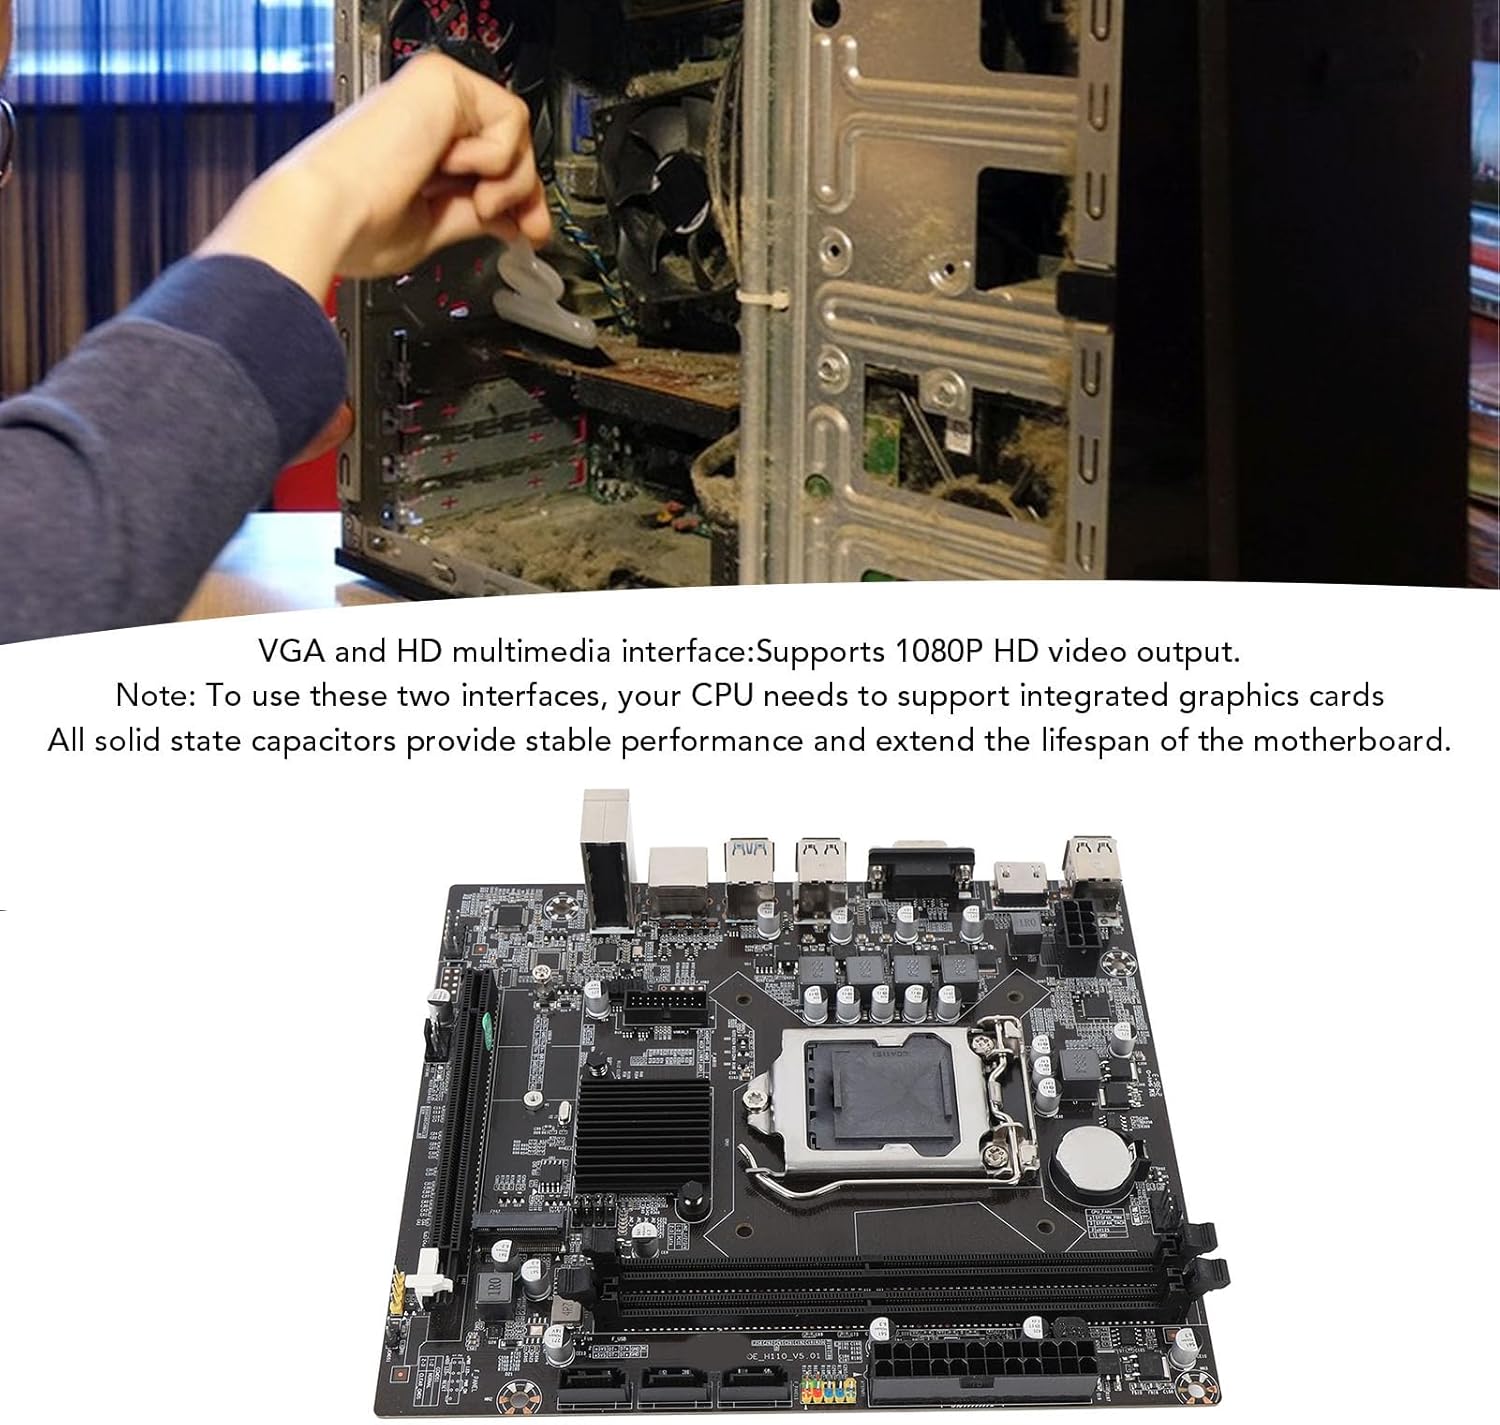
Image 3.5: Rear I/O Panel. This image displays the various ports available on the back of the motherboard, including video outputs and USB ports.
4. Operating Instructions
Once your system is assembled and the operating system is installed, the motherboard operates as the central hub for all components. Here are general operating considerations:
- BIOS/UEFI Setup: To access the BIOS/UEFI, press the designated key (usually Del, F2, or F10) during system startup. Here you can configure boot order, system time, fan speeds, and other hardware settings.
- Driver Installation: Install all necessary drivers for the chipset, integrated graphics (if applicable), network card, and audio. These are typically provided on a CD/DVD or can be downloaded from the manufacturer's website.
- System Updates: Regularly update your operating system, drivers, and BIOS/UEFI firmware to ensure optimal performance, stability, and security.
- Power Management: Utilize your operating system's power management settings to optimize energy consumption and system responsiveness.
5. Maintenance
Regular maintenance helps extend the lifespan of your motherboard and ensures consistent performance:
- Dust Removal: Periodically clean dust from inside your computer case, especially from fans, heatsinks, and motherboard surfaces. Use compressed air or a soft brush. Ensure the system is powered off and unplugged before cleaning.
- Cable Management: Ensure internal cables are neatly routed to improve airflow and prevent obstruction of components.
- Temperature Monitoring: Use software utilities to monitor CPU and chipset temperatures. Ensure adequate cooling to prevent overheating.
- BIOS/UEFI Battery: The CR2032 battery maintains BIOS settings. If your system consistently loses time or BIOS settings, the battery may need replacement.
6. Troubleshooting
If you encounter issues with your motherboard, consider the following troubleshooting steps:
- No Power:
- Check all power connections (24-pin ATX, CPU power).
- Ensure the power supply is switched on and connected to a working outlet.
- Verify the case's power button is correctly connected to the motherboard's front panel header.
- No Display:
- Ensure the monitor is connected to the correct video output port on the motherboard (VGA, HD display interface, or DisplayPort).
- Confirm your CPU has integrated graphics if you are not using a dedicated graphics card.
- Reseat memory modules. Incorrectly seated RAM is a common cause of no display.
- System Instability/Crashes:
- Check for overheating. Ensure CPU cooler is properly installed and fans are working.
- Verify all drivers are up to date.
- Run memory diagnostic tools to check for faulty RAM.
- Check for loose connections or improperly seated components.
- M.2 SSD Not Detected:
- Ensure the M.2 SSD is correctly seated and secured in its slot.
- Check BIOS/UEFI settings to ensure the M.2 slot is enabled and configured correctly (e.g., NVMe mode).
If these steps do not resolve the issue, consult the Zunate support website or contact customer service for further assistance.
7. Warranty and Support
Your Zunate ITX H110 Motherboard is covered by a manufacturer's warranty. Please retain your proof of purchase for warranty claims.
- Return Policy: This product is eligible for a 30-day refund/replacement policy from the date of purchase.
- Extended Protection Plans: Additional protection plans are available for purchase, including 3-Year and 4-Year options, as well as a Complete Protect monthly plan. These plans offer extended coverage beyond the standard manufacturer's warranty.
- Technical Support: For technical assistance, driver downloads, or BIOS updates, please visit the official Zunate support website or contact their customer service department.
For the most up-to-date information regarding warranty terms and support, please refer to the official Zunate website or the documentation included with your purchase.