1. Introduction
This manual provides essential instructions for the safe and efficient operation, installation, and maintenance of your Happybuy 12V 20A DC to DC Battery Charger, Model SDC-20A. Please read this manual thoroughly before using the product to ensure proper function and to prevent damage or injury. Keep this manual for future reference.
2. Safety Instructions
Always observe the following safety precautions to prevent personal injury or damage to the charger or batteries.
- Electrical Safety: Ensure all connections are secure and correctly polarized. Incorrect wiring can cause sparks, fire, or damage to the unit and vehicle electrical system.
- Battery Safety: Batteries can produce explosive gases. Work in a well-ventilated area. Avoid sparks or flames near batteries. Wear eye protection and gloves.
- Installation: Install the charger in a dry, well-ventilated location away from direct sunlight, heat sources, and flammable materials.
- Overload Protection: Do not exceed the charger's specified current or voltage ratings.
- Maintenance: Disconnect power before performing any maintenance or cleaning.
- Children and Pets: Keep the charger and batteries out of reach of children and pets.
3. Product Overview
The Happybuy SDC-20A is a 12V 20A DC to DC battery charger designed for charging auxiliary or house batteries from a vehicle's primary (starter) battery. It features smart multi-stage charging and compatibility with various battery types.
3.1 Key Features
- Compact aluminum alloy casing with pre-drilled mounting holes for easy installation.
- Compatible with lead-acid (AGM, Gel, Flooded) and lithium (LiFePO4) batteries.
- Advanced protection mechanisms: over/under voltage, high-temperature, reverse-polarity.
- Isolated input/output to protect the vehicle's electrical system.
- Intelligent multi-stage charging for optimal battery health and extended service life.
- Lithium battery activation function for deeply discharged batteries.
3.2 Components
The charger features a robust aluminum alloy casing with cooling fins, input and output terminals, and a DIP switch for battery type selection.

Figure 1: Top-down view of the Happybuy 12V 20A DC to DC Battery Charger, showing the main label with model number SDC-20A, system voltage, charging current, and maximum output power.
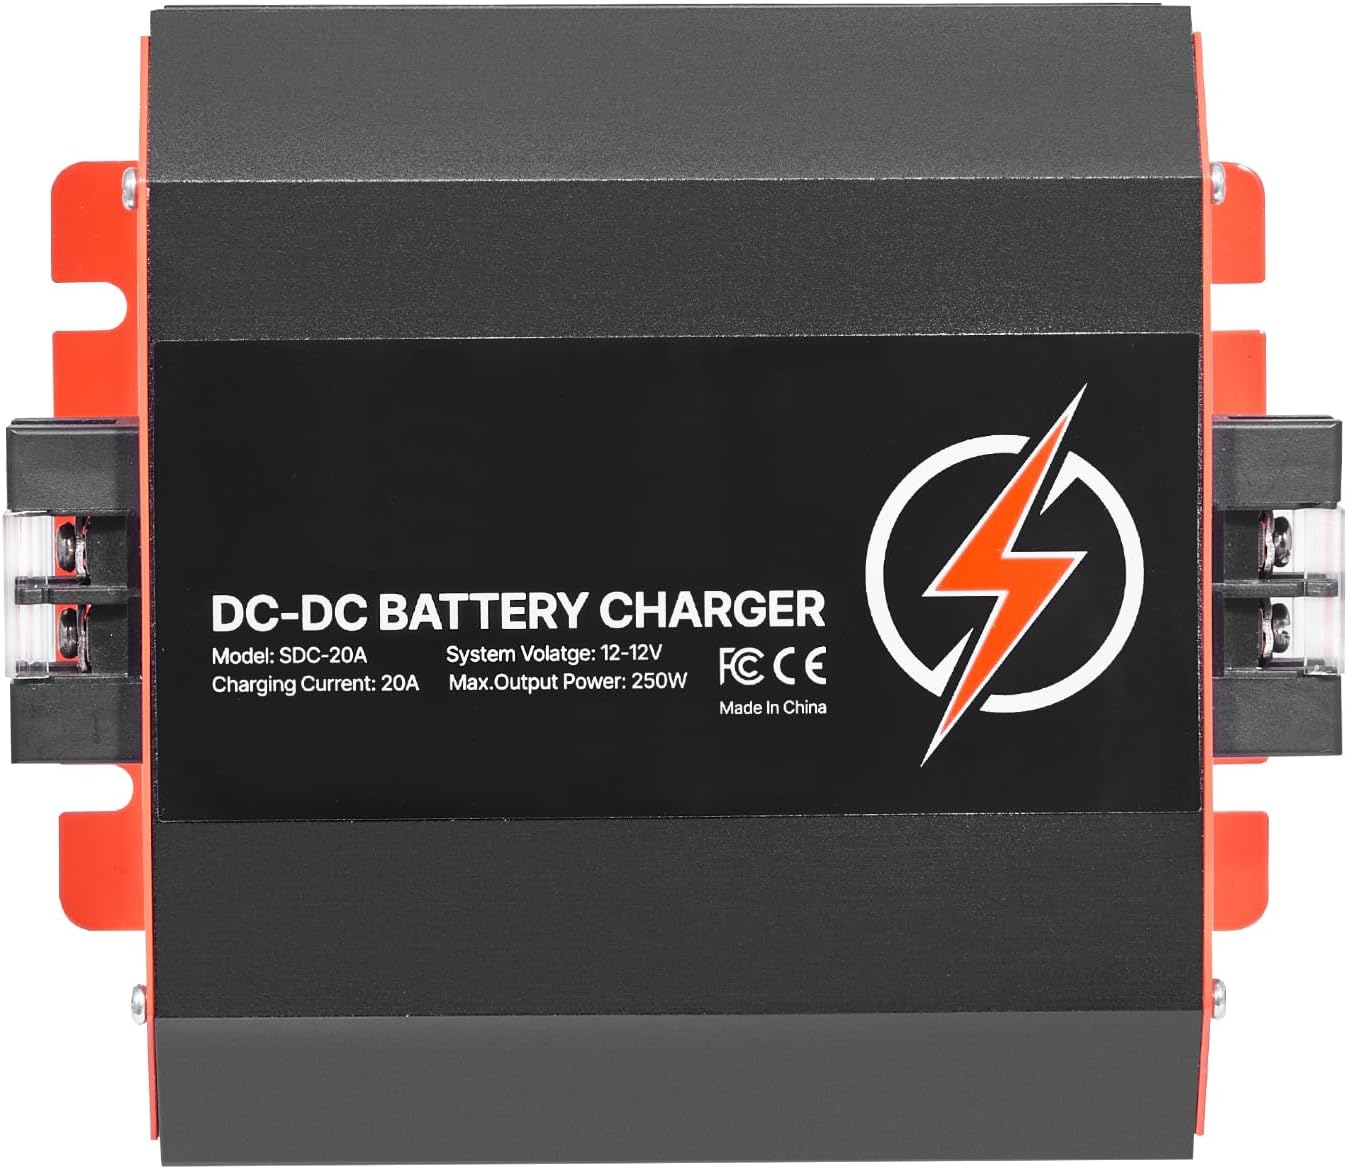
Figure 2: Front view of the Happybuy 12V 20A DC to DC Battery Charger, highlighting the input/output terminals and DIP switches on the side.
4. Specifications
| Parameter | Value |
|---|---|
| Model Number | SDC-20A |
| Net Weight | 2.65 lbs (1.2 kg) |
| Casing Material | Aluminum Alloy |
| Input Voltage | 12V |
| Charging Current | 20A |
| Input Battery Voltage Range | DC 8V - 16V |
| Charging Voltage Range (Lead-acid) | 13.2V - 14.7V |
| Charging Voltage Range (Lithium) | 12.6V - 14.6V |
| Maximum Output Power | 250W |
| Compatible Battery Type | Lead-acid (AGM, Gel, Flooded) & Lithium (LiFePO4) |
| Operational Temperature | 4 °F to 122 °F (-20 °C to 50 °C) |
| Product Dimensions | 11.02"D x 3.54"W x 5.43"H (280mm x 90mm x 138mm) |

Figure 3: Side view of the Happybuy DC to DC Battery Charger, illustrating its compact dimensions: 6.5 inches (165mm) length, 3.3 inches (83mm) width, and 5.7 inches (145mm) height.
5. Setup and Installation
Proper installation is crucial for the performance and safety of your DC to DC charger.
5.1 Mounting Location
Choose a location that is:
- Dry and protected from water spray or rain.
- Well-ventilated to allow for heat dissipation.
- Close to the auxiliary battery but away from flammable materials.
- Accessible for wiring and maintenance.
The charger's compact design and pre-drilled mounting holes facilitate installation in various spaces, such as within a vehicle's cabin, RV, or boat.

Figure 4: Example installation of the DC to DC charger in an RV, showing its connection between the starter battery and the house battery.
5.2 Wiring Connections
Refer to the wiring diagram below for correct connections. Ensure all cables are of appropriate gauge for the current and length, and that all connections are tight and secure.

Figure 5: Wiring diagram illustrating the connection of the DC to DC charger. The 'DC Input' connects to the Starter Battery, and the 'DC Output' connects to the Standby Battery. Fuses should be installed on both input and output lines for protection.
- Input Connection: Connect the positive (+) terminal of the starter battery to the DC Input (+) terminal of the charger. Connect the negative (-) terminal of the starter battery to the DC Input (-) terminal of the charger.
- Output Connection: Connect the positive (+) terminal of the auxiliary battery to the DC Output (+) terminal of the charger. Connect the negative (-) terminal of the auxiliary battery to the DC Output (-) terminal of the charger.
- Fuses: Install appropriate fuses on both the input and output positive lines as close to the batteries as possible to protect the wiring and charger.
- Grounding: Ensure proper grounding of the system.
5.3 Battery Type Selection
The charger is compatible with various 12V battery types. Use the DIP switches on the side of the unit to select the correct battery type for your auxiliary battery. Refer to the label on the charger or the table below for specific DIP switch settings.

Figure 6: The charger's compatibility with various 12V battery types, including Lithium (Li), Sealed Lead-Acid (SLA), AGM, Gel, and Flooded (FLD) batteries. The selection is typically made via DIP switches.
Note: Incorrect battery type selection can lead to improper charging and reduced battery lifespan. Always verify the correct setting for your battery.
6. Operating Instructions
Once installed and the battery type is selected, the charger operates automatically.
6.1 Automatic Charging
The charger will automatically begin charging the auxiliary battery when the input voltage from the starter battery (e.g., from the alternator) is sufficient. It will stop charging when the input voltage drops below a certain threshold, preventing the starter battery from being drained.
6.2 Multi-Stage Charging
The SDC-20A employs an intelligent multi-stage charging process to optimize battery charging and extend battery life:
- Lead-Acid Batteries (Bulk, Absorption, Float):
- Bulk Stage: Charges the battery at maximum current until it reaches approximately 80% capacity.
- Absorption Stage: Charges at a constant voltage, with current gradually decreasing, bringing the battery to 100% charge.
- Float Stage: Maintains the battery at a safe voltage, compensating for self-discharge and keeping it fully charged.
- Lithium (LiFePO4) Batteries (Two-Stage):
- Constant Current (CC): Charges at maximum current until the battery voltage reaches a set level.
- Constant Voltage (CV): Charges at a constant voltage until the current drops to a low level, indicating a full charge.

Figure 7: Graph illustrating the intelligent multi-stage charging process, showing the bulk, absorption, and float stages for lead-acid batteries, ensuring a secure and accurate charge to 100%.
6.3 Lithium Battery Activation
The charger includes a feature to activate deeply discharged or idle lithium batteries. If a lithium battery is below its minimum voltage threshold, the charger will attempt to bring it back to a recoverable state before initiating the standard charging cycle.

Figure 8: Visual representation of the charger's high efficiency and fast charging capability, indicating it can charge up to 2X faster than standard 10A chargers, delivering a maximum of 20A.
7. Maintenance
Regular maintenance ensures the longevity and optimal performance of your charger.
- Cleaning: Keep the charger clean and free from dust and debris. Use a dry, soft cloth for cleaning. Do not use solvents or abrasive cleaners.
- Connections: Periodically check all electrical connections to ensure they are tight and free from corrosion.
- Ventilation: Ensure the cooling fins are not obstructed to allow for proper heat dissipation.
- Inspection: Inspect the casing and cables for any signs of damage. If damage is found, discontinue use and contact support.
8. Troubleshooting
If you encounter issues with your Happybuy DC to DC Battery Charger, refer to the following common problems and solutions:
| Problem | Possible Cause | Solution |
|---|---|---|
| Charger not turning on/no output | No input voltage; Blown fuse; Loose connections; Incorrect wiring. | Check starter battery voltage (must be above 8V); Check and replace fuses; Verify all connections are secure; Re-check wiring diagram. |
| Auxiliary battery not charging | Incorrect battery type selected; Auxiliary battery deeply discharged (lithium); Faulty battery. | Verify DIP switch settings match battery type; Allow time for lithium activation function; Test auxiliary battery condition. |
| Charger overheating | Poor ventilation; Overload. | Ensure adequate airflow around the charger; Reduce load if possible; Check for obstructions on cooling fins. |
| Unusual noises or smells | Internal fault; Overload. | Immediately disconnect power. Do not attempt to repair. Contact Happybuy support. |
If the problem persists after attempting these solutions, please contact Happybuy customer support for further assistance.
9. Warranty and Support
For warranty information and technical support, please refer to the warranty card included with your product or visit the official Happybuy website. When contacting support, please have your product model (SDC-20A) and purchase details available.
You can visit the Happybuy Store for more information: Happybuy Store on Amazon


