1. Introduction
This manual provides comprehensive instructions for the safe and efficient use of the PGMTDEFXJO 320 Electronic Starter, model RC320-KT/21135. This high-speed dual shaft DC motor is designed for various electronic and RC applications, offering reliable performance within its specified voltage range.
Please read this manual thoroughly before operating the device to ensure proper setup, operation, and maintenance.
2. Product Overview
The RC320-KT/21135 is a compact, high-speed DC motor featuring a dual shaft design, making it versatile for various applications requiring rotational power from both ends. Its robust construction ensures durability and consistent performance.

Figure 2.1: Angled view of the 320 Electronic Starter, showing its compact size and dual shafts.

Figure 2.2: The motor held in hand, illustrating its small and portable size.
3. Specifications
| Feature | Value |
|---|---|
| Model | RC320-KT/21135 |
| Motor Diameter | 24.3 mm |
| Motor Height | 20.8 mm |
| Output Shaft Diameter | 2.0 mm |
| Front Output Shaft Length | 7.6 mm |
| Rear Output Shaft Length | 6.7 mm |
| Weight | 32 g (approx. 1.13 oz) |
| Voltage Range | DC 3.0V - 7.4V |
| Manufacturer | PGMTDEFXJO |
| ASIN | B0F4DB6RGB |
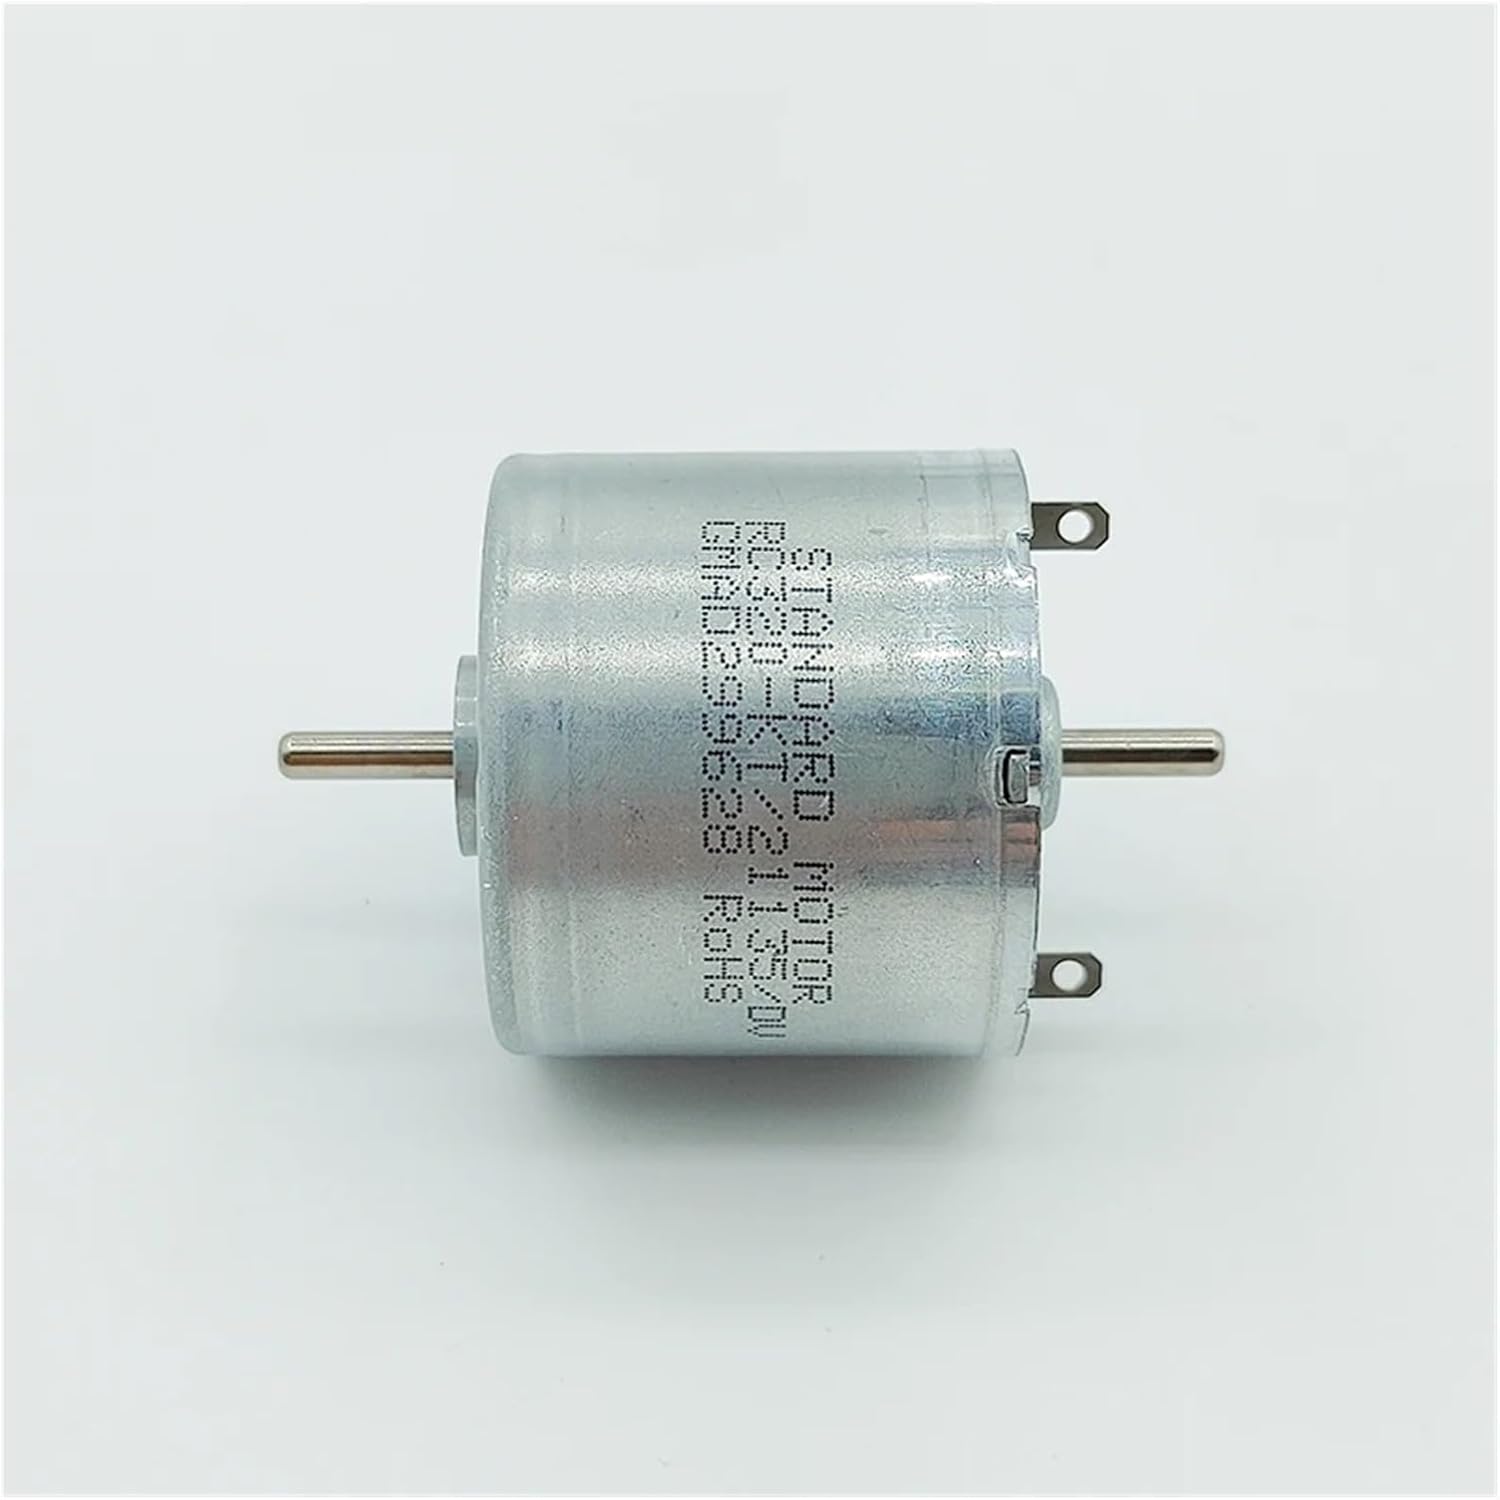
Figure 3.1: Side view of the motor, highlighting its dimensions.
4. Setup and Installation
Before connecting the motor, ensure your power source matches the specified voltage range (DC 3.0V - 7.4V). Incorrect voltage can damage the motor.
- Mounting: Securely mount the motor using appropriate brackets or housing. Ensure there is no obstruction to the rotating shafts.
- Electrical Connection: Connect the motor's terminals to your DC power supply. The motor will rotate in one direction; reverse the polarity of the connection to change the direction of rotation.
- Shaft Attachment: Attach gears, propellers, or other components to the output shafts. Ensure they are securely fastened to prevent slippage during operation.

Figure 4.1: Close-up view of the motor terminals for electrical connection.
5. Operating Instructions
Once installed, apply power within the specified voltage range. The motor will begin to rotate. Monitor the motor for any unusual noises or excessive heat during initial operation.
- Voltage Control: The speed of the motor is directly proportional to the applied voltage within its operating range.
- Direction Control: Reverse the polarity of the input voltage to reverse the direction of shaft rotation.
- Load: Avoid applying excessive load that could stall the motor, as this can lead to overheating and damage.
6. Maintenance
The 320 Electronic Starter is designed for low maintenance. However, regular checks can prolong its lifespan:
- Cleanliness: Keep the motor free from dust, dirt, and debris, especially around the shafts and ventilation points. Use a soft, dry cloth for cleaning.
- Shaft Inspection: Periodically check the shafts for any signs of bending or damage. Ensure attached components are still securely fastened.
- Temperature Monitoring: During prolonged operation, ensure the motor does not overheat. If it becomes excessively hot, reduce the load or operating time.
- Storage: Store the motor in a dry, cool environment away from direct sunlight and corrosive substances.
7. Troubleshooting
| Problem | Possible Cause | Solution |
|---|---|---|
| Motor does not spin | No power, incorrect voltage, loose connections, motor stalled. | Check power supply, verify voltage (3.0V-7.4V DC), secure all connections, remove any obstructions from shafts. |
| Motor spins slowly or weakly | Low voltage, excessive load, internal friction. | Increase voltage (within range), reduce load, check for debris or damage. |
| Motor overheats | Excessive load, prolonged operation, insufficient ventilation. | Reduce load, allow motor to cool down, ensure adequate airflow around the motor. |
| Unusual noise during operation | Misaligned components, internal wear, foreign object. | Check alignment of attached components, inspect shafts for damage, ensure no foreign objects are interfering. |
8. Warranty and Support
Specific warranty information for this product is not provided in the available documentation. For any support inquiries, technical assistance, or warranty claims, please contact your retailer or the manufacturer, PGMTDEFXJO, directly through their official channels.
Always refer to the original purchase documentation for details regarding returns, exchanges, and warranty coverage.


