
1. Introduction
This manual provides detailed instructions for the installation, setup, and operation of your Lumary Smart 4-Inch 9W RGBWW Recessed LED Downlight. This smart lighting solution offers versatile control options, including Wi-Fi, Bluetooth remote, and voice commands via Alexa or Google Assistant. Enjoy 16 million colors, adjustable brightness (1%-100%), and tunable white light (2700K-6500K) to create the perfect ambiance for any room.
2. What's in the Box
- Recessed Light with J-Box
- Mounting Hardware
- Remote Control
- Hole Cut-out Template
- Instruction Manual
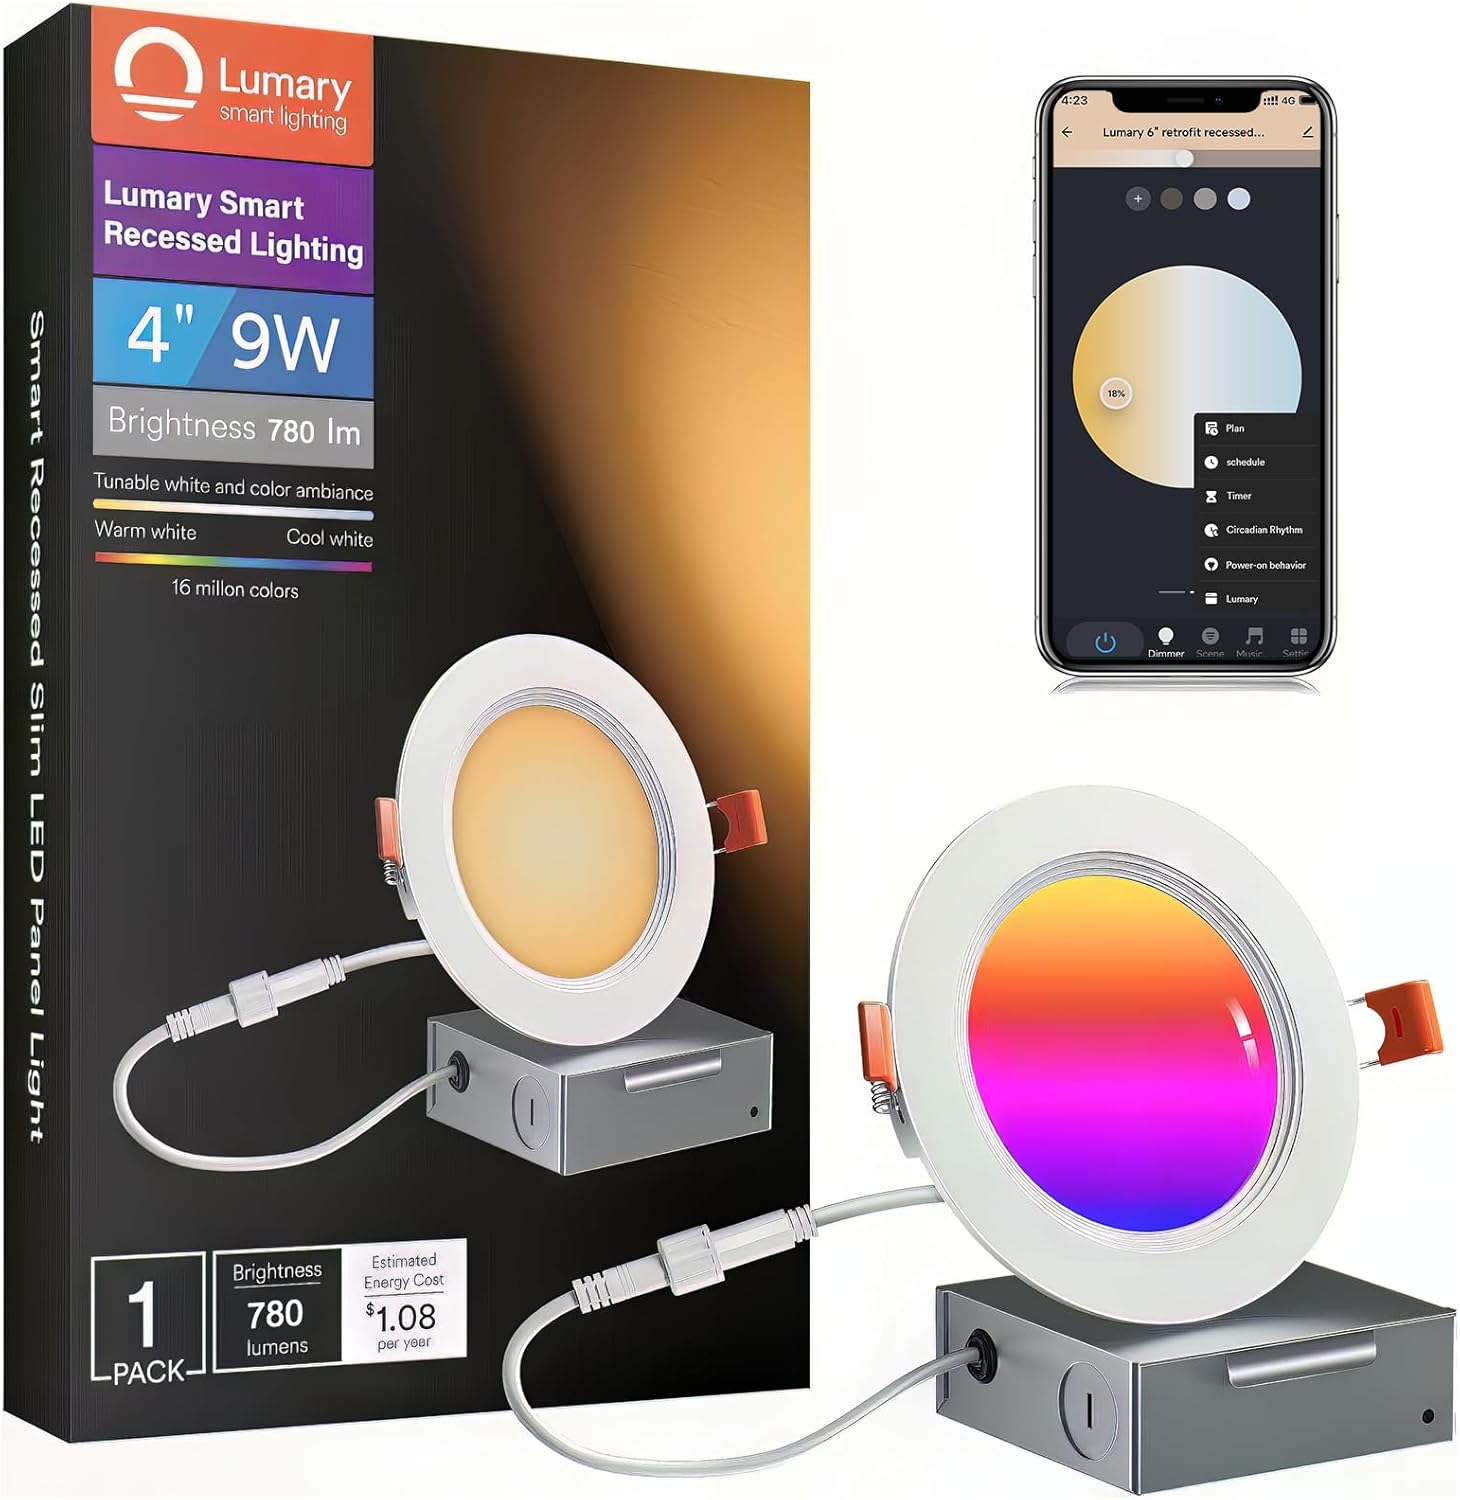
Image: The product box, a single recessed light, a junction box, and small bags of mounting hardware and wire connectors.
The package includes the smart recessed LED downlight, a separate junction box for electrical connections, necessary mounting hardware, a remote control for convenient operation, a hole cut-out template for precise installation, and this instruction manual.
Video: An unboxing of the Lumary Smart Wafer LED downlights, showing the contents of the package.
3. Specifications
| Brand | Lumary |
| Model Number | US-SD4C-1 |
| Size | 4 Inch |
| Wattage | 9 Watts |
| Brightness | 780 Lumens |
| Color Temperature | 2700K-6500K (Tunable White) |
| Color Options | 16 Million RGBWW Colors |
| Control Methods | App, Remote, Voice (Alexa, Google Assistant) |
| Connectivity | Wi-Fi (2.4GHz only), Bluetooth |
| Input Voltage | 110 Volts |
| Rated Life | 25,000 Hours |
| Product Dimensions | 4.72"L x 4.72"W x 0.6"H |
| Installation Type | Flush Mount (Canless) |
| Water Resistance Level | Not Water Resistant (Indoor Use Only) |
4. Installation Guide
4.1 Safety Information
- Ensure power is turned OFF at the circuit breaker before installation.
- Consult a qualified electrician to ensure correct branch circuit conductor.
- This product must be installed in accordance with the applicable installation code by a person familiar with the construction and operation of the product and the hazards involved.
- Do not use with dimmer switches. Dimming is controlled via the app or voice commands.
4.2 Tools Required
- Pencil
- Saw (for cutting ceiling hole)
- Wire Strippers
- Screwdriver
4.3 Step-by-Step Installation
- Create a hole in the ceiling: Use the provided hole cut-out template to trace the desired size (recommended 4.34 inches / 110mm) on the ceiling. Carefully cut the hole with a saw.
- Connect wires: Open the junction box. Connect the household electrical wires (live, neutral, ground) to the corresponding wires inside the junction box using wire nuts or the provided quick connectors. Ensure all connections are secure.
- Insert junction box: Push the wired junction box through the mounting hole in the ceiling.
- Connect light to junction box: Connect the male connector from the recessed light to the female connector from the junction box.
- Insert fixture: Push the spring-loaded clips on the light upwards and insert the fixture base into the mounting hole. Release the clips to secure the light flush against the ceiling.

Image: Visual guide showing the five steps of recessed light installation, from cutting the hole to securing the fixture.

Image: Close-up showing how to correctly insert and squeeze the spring clips for secure mounting.
Video: A demonstration of the Lumary Smart Recessed Lighting, highlighting its slim design and anti-glare trim, and showing the installation process.
5. App Setup & Connectivity
5.1 Downloading the Lumary App
- Search for "Lumary" in your mobile device's app store (App Store for iOS, Google Play Store for Android).
- Download and install the Lumary App.
- Register for a new account or log in if you already have one.

Image: Screenshots illustrating the process of downloading the Lumary App, adding a device, connecting to Wi-Fi, and completing the setup.
5.2 Pairing Devices
- Ensure your phone's Wi-Fi and Bluetooth are enabled.
- Power on the recessed light. The light should blink rapidly, indicating it's in pairing mode. If not, cycle the power OFF-ON five times until it blinks.
- In the Lumary App, tap "Add Device" or the "+" icon. The app will automatically discover nearby devices.
- Select the discovered device(s) and connect to your 2.4GHz Wi-Fi network by entering the password.
- Once successfully added, you can rename the device for easier identification.
Video: A tutorial demonstrating how to group multiple Lumary smart lights together within the app for synchronized control.
5.3 Wi-Fi Requirements
The Lumary Smart Recessed LED Downlight only supports 2.4GHz Wi-Fi networks. It is not compatible with 5GHz Wi-Fi. Ensure your router is configured to support 2.4GHz, or connect your phone to the 2.4GHz band during the pairing process.
6. Operating Instructions
6.1 App Control
- Color & Brightness Adjustment: Use the color wheel and brightness slider in the app to select from 16 million colors and adjust brightness from 1% to 100%. You can also tune white light from 2700K (warm white) to 6500K (cool daylight).
- Scene Modes: Choose from multiple preset scene modes or create custom scenes to match your mood or activity.
- Music Sync: The lights can synchronize with music played on your device, creating dynamic lighting effects.
- Group Control: Group multiple lights together to control them simultaneously with a single command.
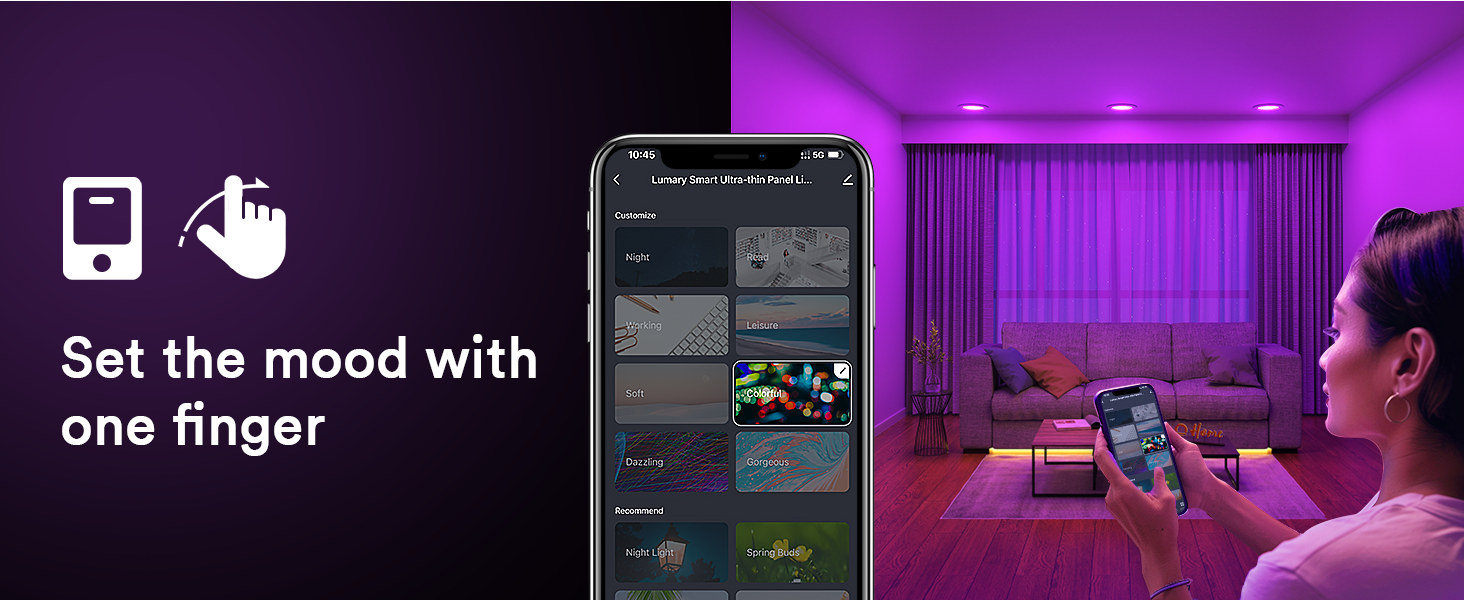
Image: A mobile phone displaying the Lumary app interface with various scene modes for lighting control.

Image: An illustration of smart lights syncing with music, games, and movies to enhance the entertainment experience.
Video: A demonstration of the multi-functional capabilities of the Lumary smart lights, showcasing various color changes and effects.
6.2 Voice Control (Alexa/Google Assistant)
Once paired with the Lumary App, you can link your lights to Amazon Alexa or Google Assistant for hands-free voice control. Use simple commands such as:
- "Alexa/Hey Google, turn on/off [Light Name]."
- "Alexa/Hey Google, set [Light Name] to red."
- "Alexa/Hey Google, dim [Light Name] to 50%."
- "Alexa/Hey Google, change [Light Name] to warm white."

Image: A woman using voice commands to control Lumary smart lights, demonstrating hands-free operation with Alexa or Google Assistant.
6.3 Remote Control
The included Bluetooth remote control allows for quick adjustments without needing your phone. To pair the remote:
- Ensure the light is already paired with the Lumary App.
- Restart the light by cycling the wall switch OFF-ON.
- Within 3 seconds of turning the light on, long press any group key on the remote until the light flashes, indicating successful pairing.
To unpair the remote, press two keys on the remote at the same time for 5 seconds. Re-pairing requires another light reboot using the wall switch.

Image: Visual guide for adding devices via the Lumary App, pairing the Bluetooth remote, and unpairing the Bluetooth remote.
Video: A short video demonstrating how to pair the remote control with the Lumary smart light after it has been linked to the phone app.
7. Maintenance
- Cleaning: Ensure the light is off and cool before cleaning. Wipe with a soft, dry cloth. Do not use abrasive cleaners or solvents.
- Dimmer Switches: These smart lights are designed for app, remote, or voice control dimming. They are not compatible with traditional dimmer switches. Using a dimmer switch will decline the smart light's life and may cause malfunction. If a dimmer is pre-installed, it needs to be set to 100% brightness or replaced with a standard ON/OFF switch.
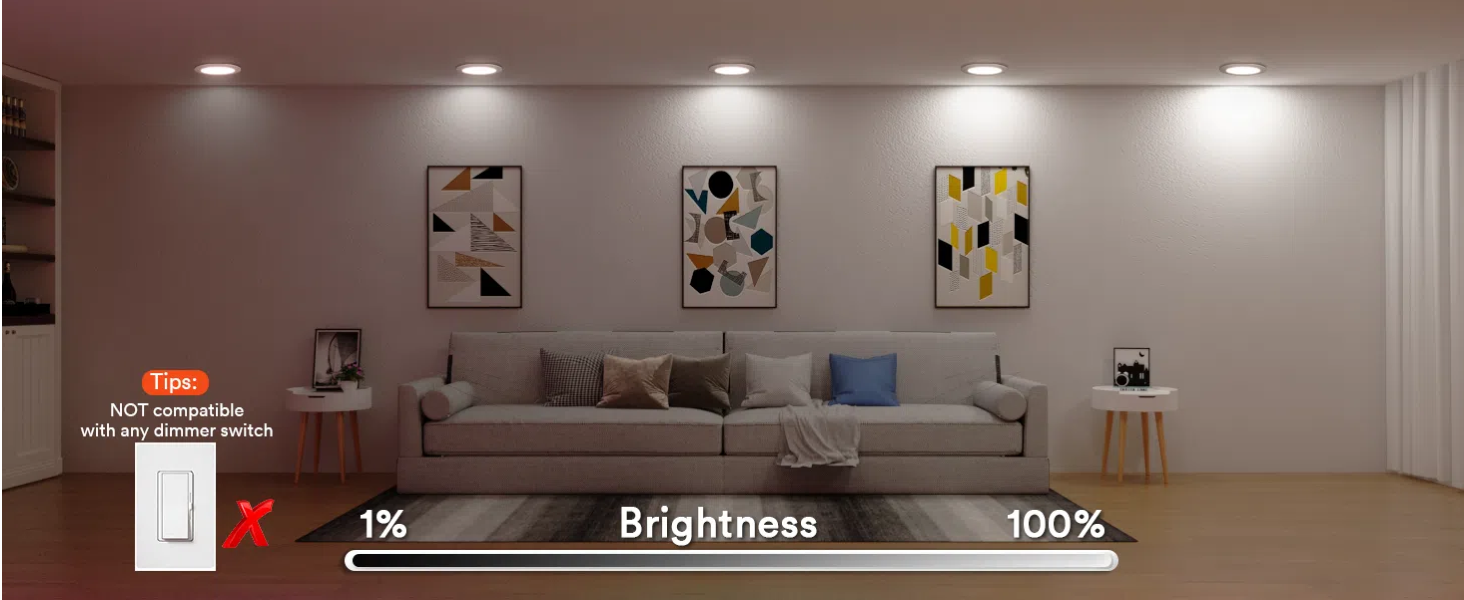
Image: A visual warning indicating that Lumary smart lights are not compatible with traditional dimmer switches.
8. Troubleshooting
- Light not pairing: Ensure your Wi-Fi is 2.4GHz. Cycle the light's power OFF-ON five times to enter pairing mode (it should blink rapidly). Move closer to your Wi-Fi router if signal is weak.
- Light not responding to app/remote: Check Wi-Fi connection. Ensure the remote is correctly paired. If using voice control, verify the light is linked in your Alexa/Google Home app.
- Intermittent connectivity: Ensure a strong 2.4GHz Wi-Fi signal. Avoid placing the light too far from the router or near sources of interference.
- Light flickers or malfunctions: Confirm no traditional dimmer switch is in use. If one is present, set it to 100% brightness or replace it with a standard switch.
9. Warranty Information
This product comes with a Limited Warranty. Please refer to the warranty card included in your package for specific terms and conditions. Retain your proof of purchase for any warranty claims.
10. Customer Support
For further assistance, technical support, or inquiries, please refer to the contact information provided in your product packaging or visit the official Lumary website. You can also email support@lumary.tech for support.