Introduction
The NVX VAD22008 v2 is a high-performance 8-channel marine/powersports amplifier designed to deliver powerful and clear audio in demanding environments. This full-range Class D amplifier provides 2200W RMS output, making it suitable for a wide range of audio setups. Its conformal-coated PCB ensures durability and moisture protection, ideal for boats, UTVs, motorcycles, and other outdoor vehicles. This manual provides essential information for proper installation, operation, and maintenance of your amplifier.
Safety Precautions
- Always disconnect the vehicle's battery before installing or servicing the amplifier.
- Ensure proper grounding to prevent electrical hazards and noise.
- Use appropriate gauge wiring for power, ground, and speaker connections as specified in the installation section.
- Avoid mounting the amplifier in areas exposed to direct sunlight, excessive heat, or moisture (despite its marine rating, extreme conditions should be avoided for longevity).
- Do not open the amplifier casing. Refer all servicing to qualified personnel.
Package Contents
- NVX VAD22008 v2 Amplifier
- Wired Bass Remote Control with Cable
- Mounting Hardware (Screws, Hex Keys)
- User Manual (this document)

Image: Wired bass remote control and its connecting cable, included with the amplifier.

Image: Assortment of mounting screws and hex keys provided for installation.
Installation and Setup
Proper installation is crucial for optimal performance and longevity of your amplifier. If you are unsure about any steps, consult a professional installer.
Mounting Location
Choose a dry, well-ventilated location that is protected from direct sunlight and excessive heat. Ensure there is sufficient airflow around the amplifier for cooling. The VAD22008 v2 features a conformal-coated circuit board for moisture protection, making it suitable for marine and powersports applications, but direct water exposure should still be avoided.
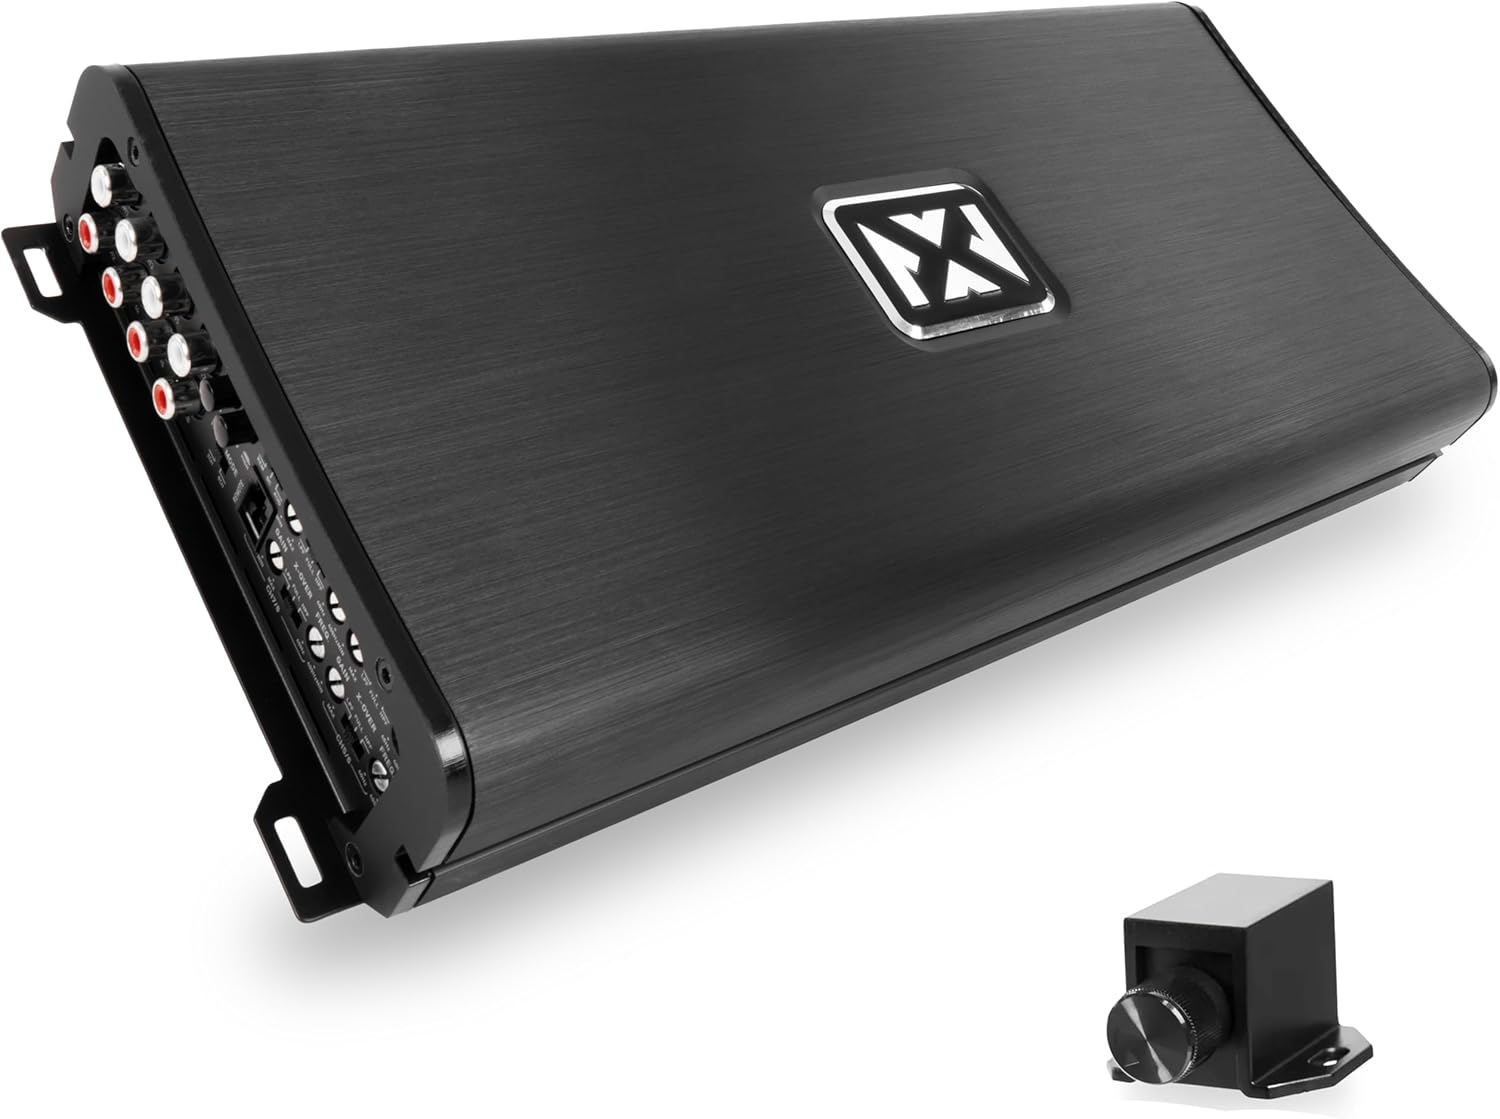
Image: Top view of the NVX VAD22008 v2 amplifier, showcasing its sleek design.

Image: Angled view of the NVX VAD22008 v2 amplifier, highlighting its compact form factor.
Wiring Connections
All connections should be secure and free from corrosion. Use high-quality wiring to minimize signal loss and interference.

Image: Detailed view of the amplifier's input (RCA, controls) and output (speaker, power) terminals.
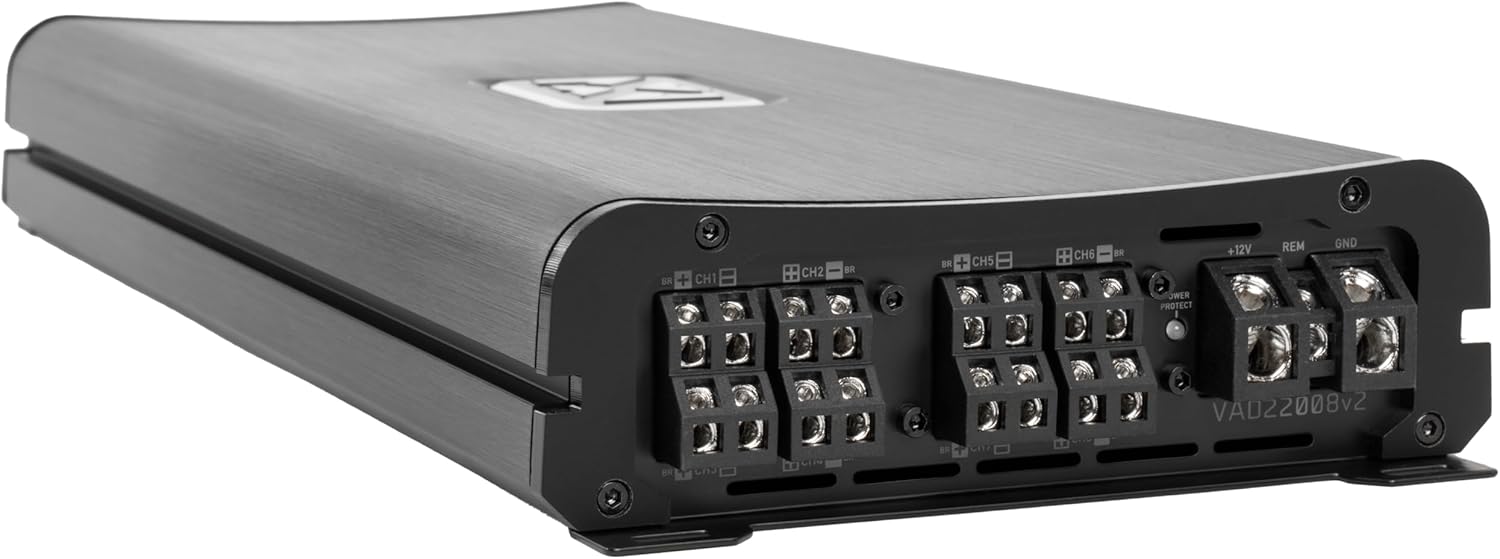
Image: Close-up of the power, ground, remote, and speaker output terminals on the amplifier.

Image: Close-up of the RCA input jacks and the various control knobs (gain, crossover) on the amplifier.
Power Connections:
- +12V (Power): Connect to the positive terminal of the vehicle's battery using appropriate gauge power cable (e.g., 4-gauge for this amplifier). Install an inline fuse or circuit breaker within 18 inches of the battery.
- GND (Ground): Connect to a clean, unpainted metal surface of the vehicle chassis. Ensure a solid, low-resistance connection. The ground cable should be the same gauge as the power cable and as short as possible.
- REM (Remote Turn-On): Connect to the remote output of your head unit or a switched 12V source. This turns the amplifier on and off with your audio system. The amplifier also features signal-sensing remote turn-on for convenience.
Input Connections:
- RCA Inputs (Low-Level): Connect RCA cables from your head unit's pre-amp outputs to the amplifier's RCA input jacks (CH1-CH8).
- High-Level Inputs: If your head unit does not have RCA outputs, use the high-level input feature. Connect speaker wires directly from your head unit's speaker outputs to the amplifier's high-level input terminals.
- Input Mode Switch: Select between 2-channel or 8-channel input modes depending on your source configuration.
Speaker Connections:
- Connect your speakers to the amplifier's speaker output terminals (CH1-CH8). Pay attention to polarity (+ and -).
- The amplifier supports various configurations: 150W x6 + 250W x2 @ 4Ω, 225W x6 + 400W x2 @ 2Ω, or 450W x3 + 850W x1 bridged @ 4Ω. Ensure your speakers' impedance matches the amplifier's capabilities.
Initial Settings
- Gain Control: Start with the gain controls set to minimum. Gradually increase the gain until the desired volume is achieved without distortion.
- Crossover Settings: Use the variable high-pass (HPF) and low-pass (LPF) filters (40–400 Hz) to optimize sound for your speakers. HPF is typically used for full-range speakers to remove low bass, while LPF is used for subwoofers.
- Bass Remote: Connect the wired bass remote to the amplifier. This allows for convenient adjustment of bass levels from your listening position.
Operating the Amplifier
Once installed and configured, the amplifier will power on automatically with your head unit (if connected to a remote turn-on lead or using signal sensing).
Adjusting Audio Settings
- Gain: Fine-tune the gain controls for each channel pair to match the output voltage of your head unit and achieve balanced sound without clipping.
- Crossover: Experiment with HPF and LPF settings to achieve the desired frequency response for your speakers. For full-range speakers, setting the HPF to around 80-100 Hz can improve clarity and power handling. For subwoofers, set the LPF to blend smoothly with your main speakers.
- Bass Remote: Use the wired bass remote to adjust the subwoofer output level on the fly, allowing you to customize bass intensity for different music genres or listening preferences.
Maintenance
The NVX VAD22008 v2 amplifier is designed for durability, especially in marine and powersports environments due to its conformal-coated PCB. Regular maintenance will ensure its long-term performance.
- Cleaning: Periodically wipe the amplifier's exterior with a soft, dry cloth to remove dust and debris. Do not use harsh chemicals or abrasive cleaners.
- Connections: Occasionally check all wiring connections (power, ground, remote, RCA, speaker) to ensure they remain tight and free from corrosion. Loose connections can lead to poor performance or damage.
- Ventilation: Ensure that the area around the amplifier remains clear and unobstructed to allow for proper heat dissipation.
Troubleshooting
If you experience issues with your NVX VAD22008 v2 amplifier, refer to the following common problems and solutions:
| Problem | Possible Cause | Solution |
|---|---|---|
| No Power / Amplifier Not Turning On |
|
|
| No Sound Output |
|
|
| Distorted Sound |
|
|
| Amplifier Overheating (Protection Mode) |
|
|
The amplifier is equipped with 4-way protection circuitry (Thermal, Overload, Speaker Short, and DC offset) to prevent damage. If the protection light illuminates, identify and resolve the issue before continuing operation.
Specifications
| Feature | Detail |
|---|---|
| Model | VAD22008v2 |
| RMS Power Output (4Ω) | 150W x6 + 250W x2 |
| RMS Power Output (2Ω) | 225W x6 + 400W x2 |
| RMS Power Output (Bridged 4Ω) | 450W x3 + 850W x1 |
| Amplifier Class | Full-Range Class D |
| Total Harmonic Distortion (THD) | <0.3% |
| Signal-to-Noise Ratio (S/N) | >80 dB |
| Frequency Response | 20–20,000 Hz |
| Crossover Filters | Variable High-Pass (HPF) and Low-Pass (LPF) 40–400 Hz |
| Input Modes | Selectable 2 or 8-channel |
| Protection Circuitry | Thermal, Overload, Speaker Short, DC offset |
| Special Features | Conformal Coated PCB, RCA Pre-outs, Wired Bass Remote, Signal-Sensing Remote Turn-On, Platinum-Plated Terminals, Balanced Differential Inputs |
| Dimensions (L x W x H) | 15.01 x 6.81 x 2.05 inches |
| Item Weight | 13 pounds |
Warranty and Support
For warranty information and technical support, please refer to the official NVX website or contact NVX customer service directly. Keep your purchase receipt as proof of purchase for any warranty claims.
For additional resources and product information, visit the NVX Store on Amazon.


