1. Introduction
Thank you for choosing the Acekool 12,000 BTUs Portable Air Conditioner. This appliance is designed to provide efficient cooling, dehumidification, and fan functions for indoor spaces up to 550 square feet. Please read this manual thoroughly before operation to ensure proper use, maintenance, and safety.
2. Safety Instructions
Always follow basic safety precautions when using electrical appliances to reduce the risk of fire, electric shock, or injury.
- Read all instructions before using the appliance.
- Ensure the power supply matches the voltage specified on the rating label.
- Do not operate the unit with a damaged cord or plug.
- Do not block air outlets or inlets. Maintain at least 20 inches of clearance around the unit.
- Do not insert fingers or foreign objects into the air inlets or outlets.
- Always place the unit on a flat, stable surface.
- Unplug the unit before cleaning or servicing.
- Do not use the unit in wet environments such as bathrooms or laundry rooms.
- Keep the unit away from heat sources and direct sunlight.
- This appliance is not intended for use by persons (including children) with reduced physical, sensory or mental capabilities, or lack of experience and knowledge, unless they have been given supervision or instruction concerning use of the appliance by a person responsible for their safety.
3. Product Overview
3.1 Unit Components
Familiarize yourself with the main parts of your portable air conditioner.

Figure 3.1: Front view of the Acekool Portable Air Conditioner, showing the main unit with its sleek design and air outlet at the top.
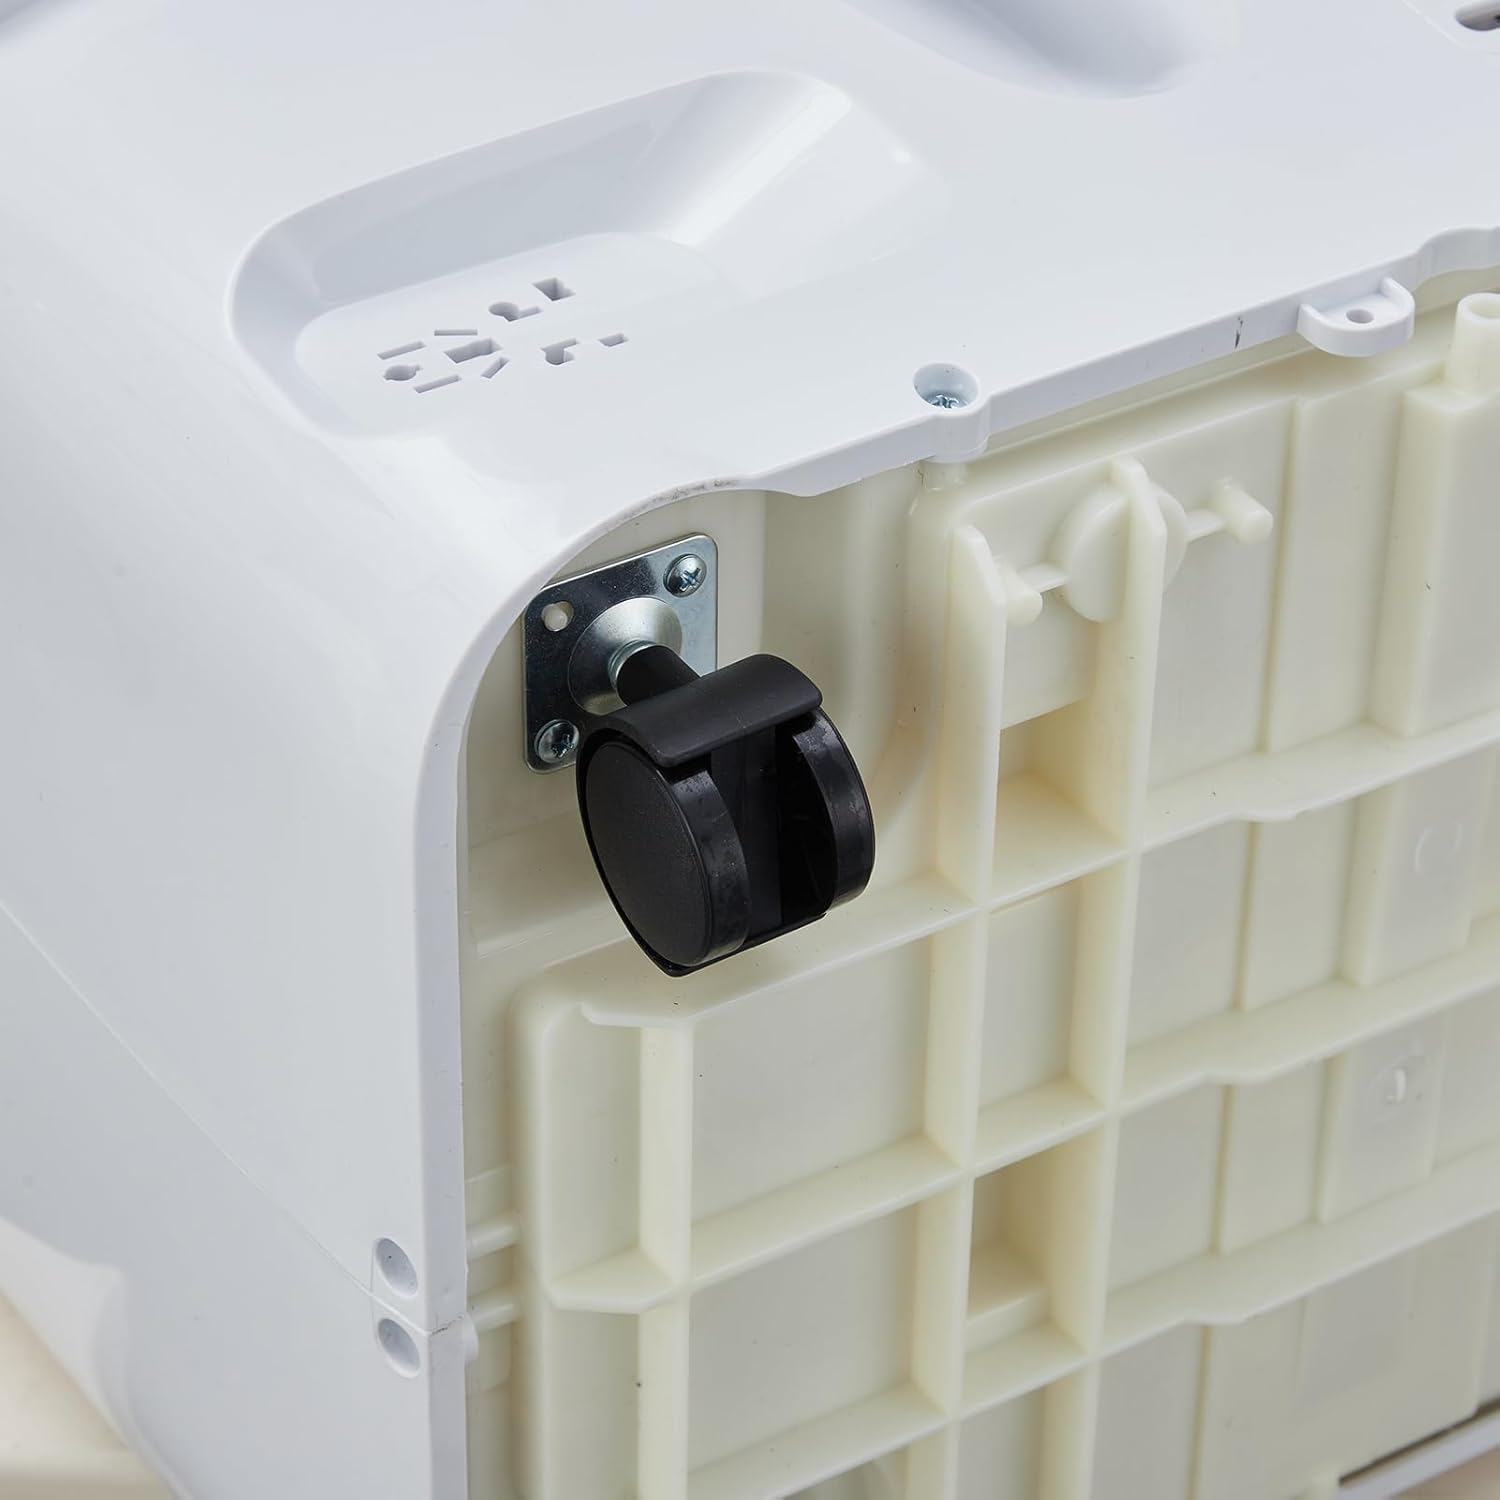
Figure 3.2: Top view of the Acekool Portable Air Conditioner, highlighting the control panel and the adjustable air louvers.

Figure 3.3: Close-up view of a 360-degree swivel caster wheel on the base of the portable air conditioner, facilitating easy movement.
3.2 Control Panel
The control panel is located on the top of the unit. It features buttons for power, mode selection, temperature adjustment, fan speed, and timer settings. An LED display shows the current temperature and settings.
3.3 Remote Control
The remote control allows you to operate all functions of the air conditioner from a distance. It includes buttons for Power, Mode, Temperature Up/Down, Fan Speed, Sleep, and Timer. Ensure batteries are correctly inserted.
4. Setup and Installation
Proper installation is crucial for the efficient operation of your portable air conditioner. The unit comes with a window kit for exhaust ventilation.
4.1 Unpacking
Carefully remove the air conditioner and all accessories from the packaging. Retain the packaging for future storage or transport. Check for any damage during transit.
4.2 Window Kit Installation
The window kit is designed for most standard vertical and horizontal sliding windows. It includes a slider bracket, exhaust hose, inlet and outlet hoses, and locking screws.
- Adjust the slider bracket to fit your window opening. Secure it with the provided locking screws.
- Connect the exhaust hose to the exhaust outlet on the back of the air conditioner. Twist clockwise to secure.
- Attach the other end of the exhaust hose to the window kit adapter.
- Place the unit near the window, ensuring the exhaust hose is extended and not kinked.

Figure 4.1: Side view of the Acekool Portable Air Conditioner, showing the flexible exhaust hose connected to the rear of the unit.

Figure 4.2: The Acekool Portable Air Conditioner positioned in a room, with its exhaust hose properly installed in a window using the provided window kit.
4.3 Power Connection
Plug the power cord into a grounded electrical outlet. Ensure the outlet meets the electrical requirements of the unit.
5. Operating Instructions
Your Acekool Portable Air Conditioner offers three primary operating modes: Cool, Dehumidifier, and Fan.
5.1 Power On/Off
Press the POWER button on the control panel or remote control to turn the unit on or off.
5.2 Mode Selection
Press the MODE button repeatedly to cycle through the available modes:
- Cool Mode: Provides powerful cooling. Set your desired temperature between 59°F and 88°F using the temperature adjustment buttons.
- Dehumidifier Mode: Removes excess moisture from the air, up to 60 pints per day. The fan speed is fixed in this mode.
- Fan Mode: Circulates air without cooling. You can select different fan speeds.
- Smart Mode: The unit automatically adjusts between Cool mode and Fan mode based on the room temperature to optimize energy efficiency.
5.3 Temperature Adjustment
In Cool mode, use the UP and DOWN arrow buttons to set your desired temperature. The temperature range is 59°F to 88°F.
5.4 Fan Speed
Press the FAN SPEED button to select between Low, Medium, and High fan speeds. This function is available in Cool and Fan modes.
5.5 Sleep Mode
Activate SLEEP mode for quiet operation and energy saving during nighttime. In this mode, the unit maintains an optimal temperature at a low fan speed, gradually increasing the set temperature by 1°F after 30 minutes and another 1°F after another 30 minutes, then maintaining this temperature for 7 hours before returning to the original setting.
5.6 Timer Function
The 24-hour timer allows you to set the unit to turn on or off automatically after a specified period. Press the TIMER button and use the temperature adjustment buttons to set the desired hours.
6. Maintenance and Care
Regular maintenance ensures optimal performance and extends the lifespan of your air conditioner.
6.1 Filter Cleaning
The air filter should be cleaned every two weeks or more frequently depending on usage and air quality.
- Unplug the unit from the power outlet.
- Locate the air filter on the rear of the unit.
- Remove the filter by gently pulling it out.
- Wash the filter with warm, soapy water. Rinse thoroughly and allow it to air dry completely before reinserting.
- Reinstall the dry filter into the unit.

Figure 6.1: Rear view of the Acekool Portable Air Conditioner, showing the removable air filter grille for easy access and cleaning.
6.2 Water Drainage
The unit has a self-evaporation system, but in high humidity conditions, excess water may accumulate. The unit will indicate when drainage is needed.
- Unplug the unit.
- Place a shallow pan or tray under the drain port at the bottom rear of the unit.
- Remove the drain plug to allow water to flow out.
- Once drained, replace the drain plug securely.
6.3 Storage
When storing the unit for an extended period, ensure it is completely drained and the filter is clean and dry. Store it in a cool, dry place, preferably in its original packaging.
7. Troubleshooting
Refer to the table below for common issues and their solutions.
| Problem | Possible Cause | Solution |
|---|---|---|
| Unit does not turn on | No power supply; Power cord not plugged in; Circuit breaker tripped. | Check power outlet; Ensure plug is fully inserted; Reset circuit breaker. |
| Unit does not cool effectively | Air filter is dirty; Room size too large; Doors/windows open; Exhaust hose blocked or improperly installed; Temperature setting too high. | Clean air filter; Ensure room size is within specifications; Close all doors and windows; Check exhaust hose for kinks or blockages; Lower the set temperature. |
| Unit is noisy | Unit not on a level surface; Air filter dirty; Foreign object in fan. | Place unit on a flat, stable surface; Clean air filter; Turn off and unplug unit, then check for obstructions. |
| Water leakage | Drain plug not securely closed; Unit tilted; High humidity causing excess condensation. | Ensure drain plug is tightly closed; Place unit on a level surface; Drain the unit if the water tank is full. |
8. Technical Specifications
| Specification | Value |
|---|---|
| Model Number | FDP35-3034R3 |
| Cooling Power | 12,000 BTUs |
| Coverage Area | Up to 550 sq.ft. |
| Voltage | 115V |
| Wattage | 1200 watts |
| Dehumidification Capacity | 60 Pints/day |
| Noise Level | 51 dB |
| Product Dimensions (D x W x H) | 18.5" x 15.35" x 35.24" |
| Item Weight | 75.8 pounds |
| Temperature Range | 59°F - 88°F |
9. Warranty Information
Acekool products are manufactured to the highest quality standards. This product is covered by a limited warranty against defects in materials and workmanship from the date of purchase. Please refer to the warranty card included with your product for specific terms and conditions. Keep your proof of purchase for warranty claims.
10. Customer Support
If you have any questions, require technical assistance, or need to make a warranty claim, please contact Acekool customer support.
- Website: Visit the official Acekool website for FAQs and support resources.
- Email: Refer to your product packaging or warranty card for customer service email.
- Phone: Refer to your product packaging or warranty card for customer service phone number.
Please have your model number (FDP35-3034R3) and purchase date ready when contacting support.


