
1. Introduction and Overview
This manual provides detailed instructions for the installation, operation, and maintenance of your DLLT 20-inch Caged Ceiling Fan with Light. Designed with a modern industrial aesthetic, this fandelier combines efficient air circulation with ambient lighting, suitable for various indoor and outdoor covered spaces.
Key features include a double-layer caged design for safety and style, quiet DC motor operation, and versatile control options via both remote and a dedicated mobile application. The fan also offers powerful functionality with 7 ABS material fan blades, reversible motor for year-round use, and energy-saving LED bulbs.

Figure 1: DLLT 20-inch Caged Ceiling Fan with Light.
2. Safety Instructions
Before beginning installation, ensure the power supply is disconnected at the circuit breaker to prevent electrical shock. All wiring must comply with national and local electrical codes. If you are unsure about wiring, consult a qualified electrician.
- Always turn off power at the circuit breaker before installation or maintenance.
- Ensure the mounting structure can support the weight of the fan (approximately 8.62 pounds).
- Do not bend fan blade holders when installing or cleaning.
- Keep hands clear of fan blades during operation.
- Use only the specified bulb type (E26) and wattage (24 watts LED).
3. Package Contents
Verify all components are present before beginning assembly:
- Ceiling Fan Unit (Motor, Fan Blades, Light Sockets)
- Bulbs (4 x E26 LED)
- Remote Control
- Mounting Hardware (Hanger bracket, screws, wire nuts, etc.)
- Instruction Manual
- Downrods (2 lengths: 4-inch and 8-inch)
- Canopy and Cover
- Outer and Inner Cages

Figure 2: All components included in the package.
4. Setup and Installation
Follow these steps for proper installation. For visual guidance, refer to the official installation videos provided by the seller.
4.1. Mounting the Hanger Bracket
Secure the hanger bracket to a ceiling joist or an approved electrical junction box. Ensure the bracket is firmly attached to support the fan's weight. For sloped ceilings, ensure the notch of the hanger is in the direction of the upward slope and the angle does not exceed 12 degrees.

Figure 3: Securing the hanger bracket to the ceiling.
4.2. Assembling Lamp Arms and Fan Blades
Attach the lamp arms to the main motor unit. Connect the corresponding wires (black to black, white to white, blue to blue) using wiring caps. Then, carefully install the 7 ABS fan blades onto the motor shaft, ensuring they are securely fastened.

Figure 4: Connecting lamp arm wires to the main unit.

Figure 5: Attaching the fan blades to the motor.
4.3. Assembling and Attaching the Cages
Assemble the inner and outer metal cages using the provided screws. Once assembled, carefully align and attach the cages to the main fan unit, ensuring all screws are tightened for stability and safety.
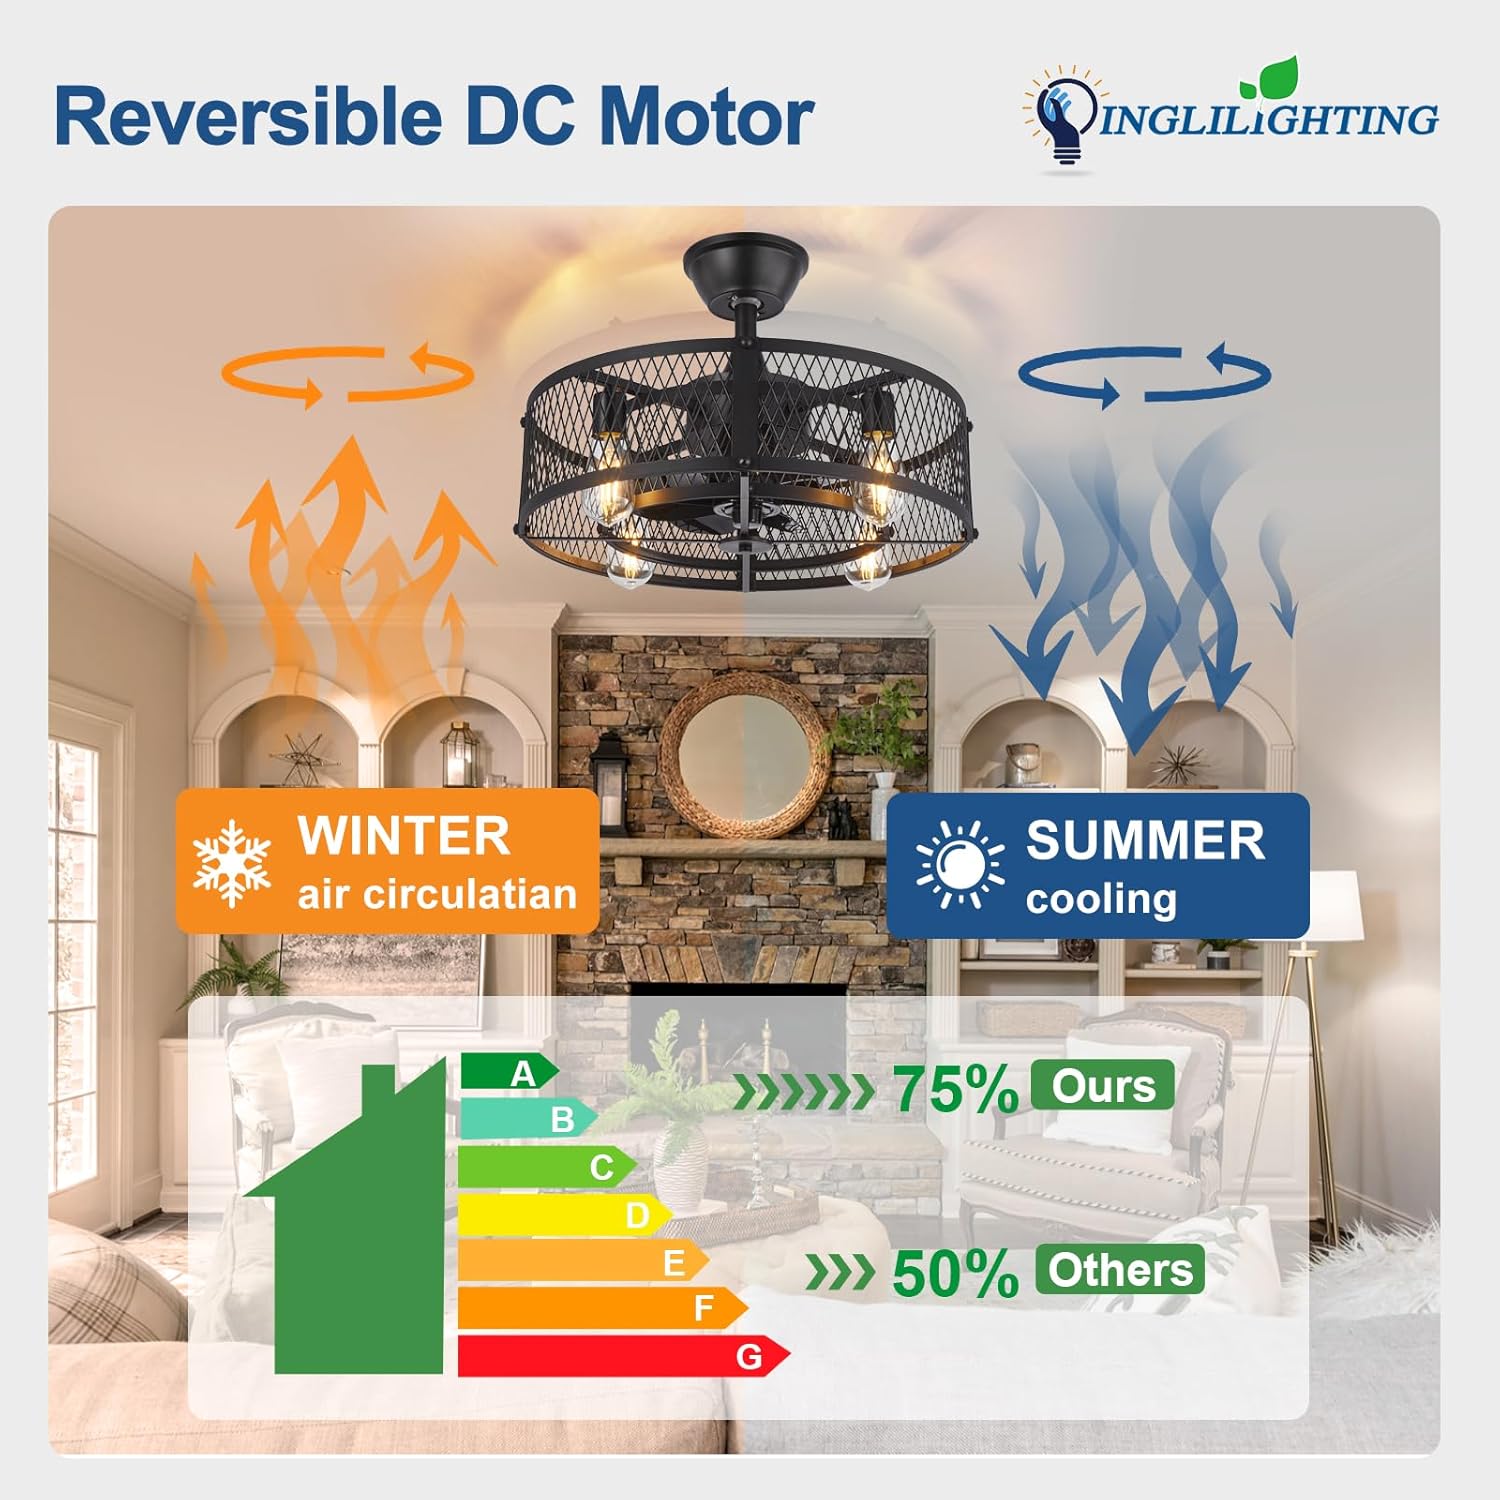
Figure 6: Assembling the outer cage.

Figure 7: Attaching the cages to the fan unit.
4.4. Installing the Downrod and Canopy
Select the appropriate downrod length (4-inch or 8-inch) for your ceiling height. Thread the fan's wires through the downrod and canopy. Secure the downrod to the fan unit and then lift the entire assembly to connect it to the hanger bracket on the ceiling. Ensure all electrical connections are made correctly (live, neutral, ground) and the remote control receiver is properly connected and not squeezed.
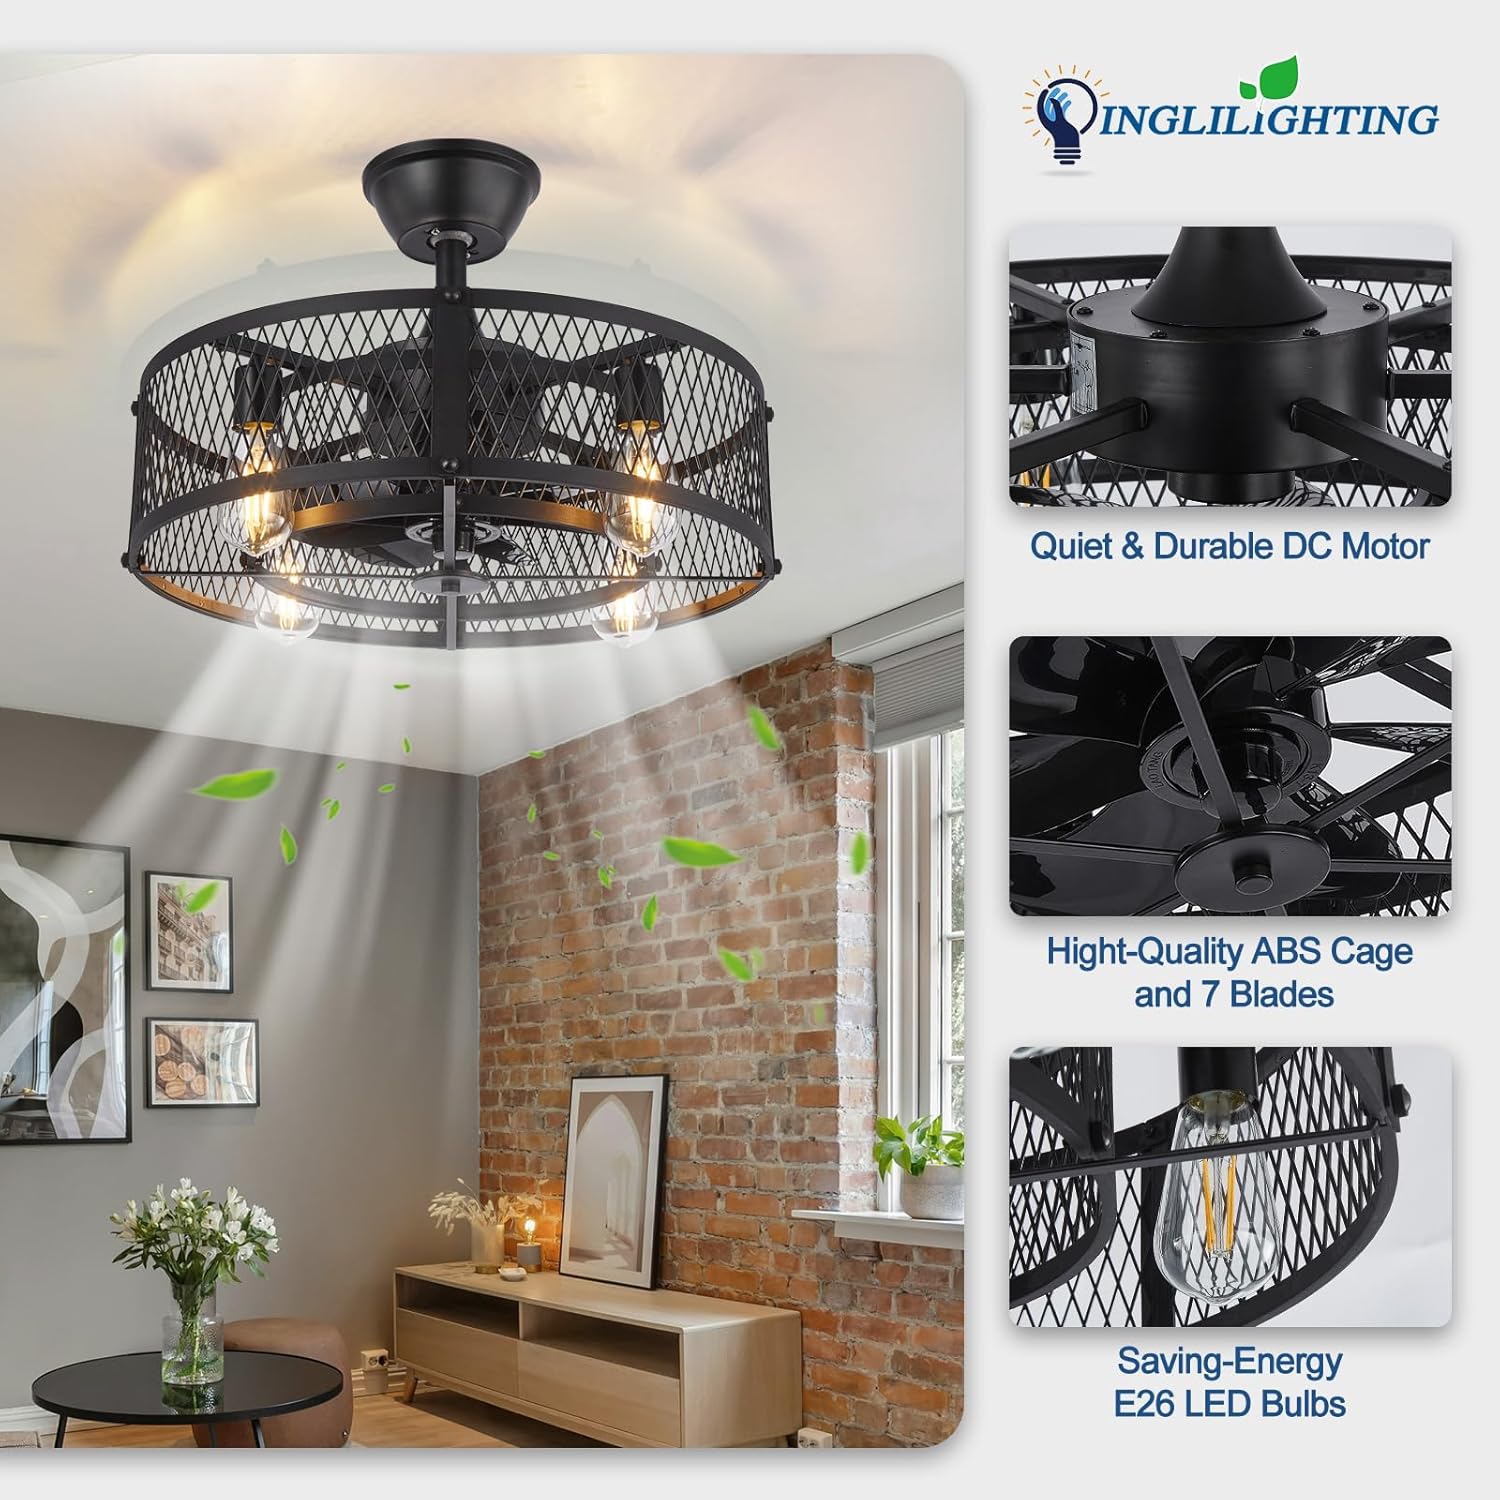
Figure 8: Connecting the downrod and wiring.

Figure 9: Securing the fan to the ceiling and installing the canopy.
4.5. Installing Light Bulbs
Screw the provided E26 LED bulbs into the light sockets. Ensure they are tightened but do not overtighten.
4.6. Installation Videos
For a comprehensive visual guide, please refer to the official installation videos:
Video 1: Installation for Black Caged Ceiling Fan with Light. This video provides a step-by-step guide for installing the ceiling fan, covering all major assembly and mounting procedures.
Video 2: Caged Fan Lights about Installation Video. This video offers additional details and tips regarding the installation process, particularly focusing on the caged light assembly.
5. Operating Instructions
Your DLLT Caged Ceiling Fan offers convenient control via both a remote control and a mobile application.
5.1. Remote Control Functions
The included remote control allows you to manage all fan and light settings:
- Light On/Off: Toggle the light on or off.
- Fan On/Off: Turn the fan on or off.
- Fan Speed: Select from 6 adjustable wind speeds (1-6).
- Timer: Set the fan to turn off automatically after 1, 2, or 4 hours.
- Forward/Reverse: Change the direction of the fan blades for summer cooling (downward airflow) or winter air circulation (upward airflow).
- Memory Function: The fan remembers your last settings.
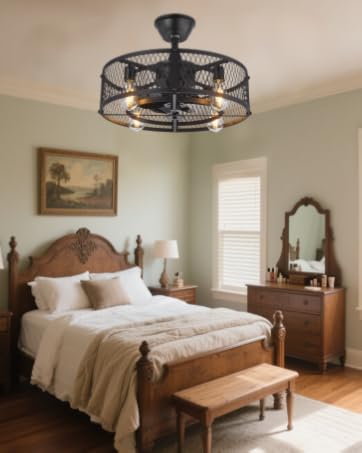
Figure 10: Remote control layout and App control interface.
5.2. Mobile App Control
For enhanced convenience, download the dedicated mobile application. The app allows you to control the fan and light from anywhere, breaking through distance limitations. Scan the QR code in the manual or on the product packaging to download the app. The app provides all remote control functionalities and more.
Download the app here: https://wosk.top/zd.html
5.3. Reversible DC Motor for Year-Round Comfort
The fan features a reversible DC motor, allowing you to optimize air circulation for different seasons:
- Summer Mode: Downward airflow creates a cooling effect.
- Winter Mode: Upward airflow helps circulate warm air trapped near the ceiling, distributing it evenly throughout the room.

Figure 11: Reversible DC Motor functionality.
6. Maintenance
Regular maintenance ensures optimal performance and longevity of your ceiling fan.
- Cleaning: Use a soft, damp cloth to clean the fan. Do not use abrasive cleaners or solvents. Ensure power is off before cleaning.
- Bulb Replacement: Replace E26 LED bulbs as needed. Always ensure the power is off before replacing bulbs.
- Tighten Screws: Periodically check and tighten all screws on the fan and mounting hardware to ensure secure operation.
7. Troubleshooting
If you encounter issues, refer to the following common troubleshooting steps:
| Problem | Possible Cause | Solution |
|---|---|---|
| Fan does not operate. | No power; loose wiring; remote not paired. | Check circuit breaker. Ensure all wires are securely connected. Re-pair remote control (refer to remote instructions). |
| Light does not turn on. | Bulb loose or faulty; wiring issue. | Check if bulbs are screwed in tightly. Replace bulbs if necessary. Verify light wiring connections. |
| Fan is noisy. | Loose screws; unbalanced blades. | Tighten all screws on the fan and mounting bracket. Ensure blades are securely attached. |
| Remote control not working. | Low battery; remote not paired; receiver issue. | Replace remote battery. Re-pair remote with receiver. Ensure receiver wires are not squeezed. |
8. Specifications
| Feature | Detail |
|---|---|
| Brand | DINGLILIGHTING |
| Model | 20 Inches |
| Color | Black |
| Material | Metal, Acrylonitrile Butadiene Styrene, Copper |
| Style | Farmhouse |
| Product Dimensions | 20.1"L x 20.1"W x 17.3"H |
| Indoor/Outdoor Usage | Outdoor, Indoor |
| Power Source | DC |
| Special Feature | 6 Adjustable Speeds, 1/2/4H Timer, APP/Remote Control, Memory function, Reversible DC Motor |
| Control Method | App, Remote |
| Light Source Type | LED |
| Number of Light Sources | 4 |
| Voltage | 120 Volts (DC) |
| Wattage | 24 watts |
| Bulb Base | E26 |
| Brightness | 2880 Lumen |
| Item Weight | 8.62 pounds |
| Coverage | 80-250 sq.ft |
9. Warranty and Support
We provide up to 5-Years of after-sales service for our products. If you encounter any problems during use, please feel free to contact our professional after-sales team. Your satisfaction is our priority.
For support, please visit the DINGLILIGHTING Store on Amazon or contact customer service through the platform.
Visit the DINGLILIGHTING Store: DINGLILIGHTING Store