
1. Introduction
Thank you for choosing the MOES YZD04 4-Outlet Sprinkler Timer. This programmable automatic irrigation controller is designed to simplify your watering tasks for gardens, lawns, and hose systems. Featuring four independent zones, a durable brass inlet, and advanced silicone potting technology, it ensures efficient and reliable watering. This manual provides detailed instructions for installation, operation, and maintenance to help you get the most out of your device.
2. Product Features
- Quad Independent Programmable Zones: Each of the four outlets can be programmed with custom watering times, frequencies, and durations to meet diverse plant needs.
- Durable Brass Inlet: Equipped with a reinforced brass inlet for superior leak resistance, durability, and corrosion protection, ensuring long-lasting performance.
- Silicone Potting Technology: Advanced silicone encapsulation provides excellent waterproofing, shock resistance, and longevity for internal components.
- Smart Rain Delay Function: Automatically pauses watering schedules based on weather conditions to prevent overwatering and conserve water.
- Manual Watering Mode: Allows for immediate watering without interrupting preset programs, offering flexibility for specific needs.
- User-Friendly Operation: Features a large LCD screen and intuitive control panel for easy setup and adjustments.
- Wide Compatibility & Easy Installation: Connects easily to standard 3/4-inch faucets, suitable for various watering systems without special tools.
3. Installation Guide
3.1 Battery Installation
- Locate the battery compartment on the back of the timer.
- Open the battery cover.
- Insert two (2) AA alkaline batteries, ensuring correct polarity (+/-).
- Close the battery cover securely to maintain the IPX5 waterproof rating.
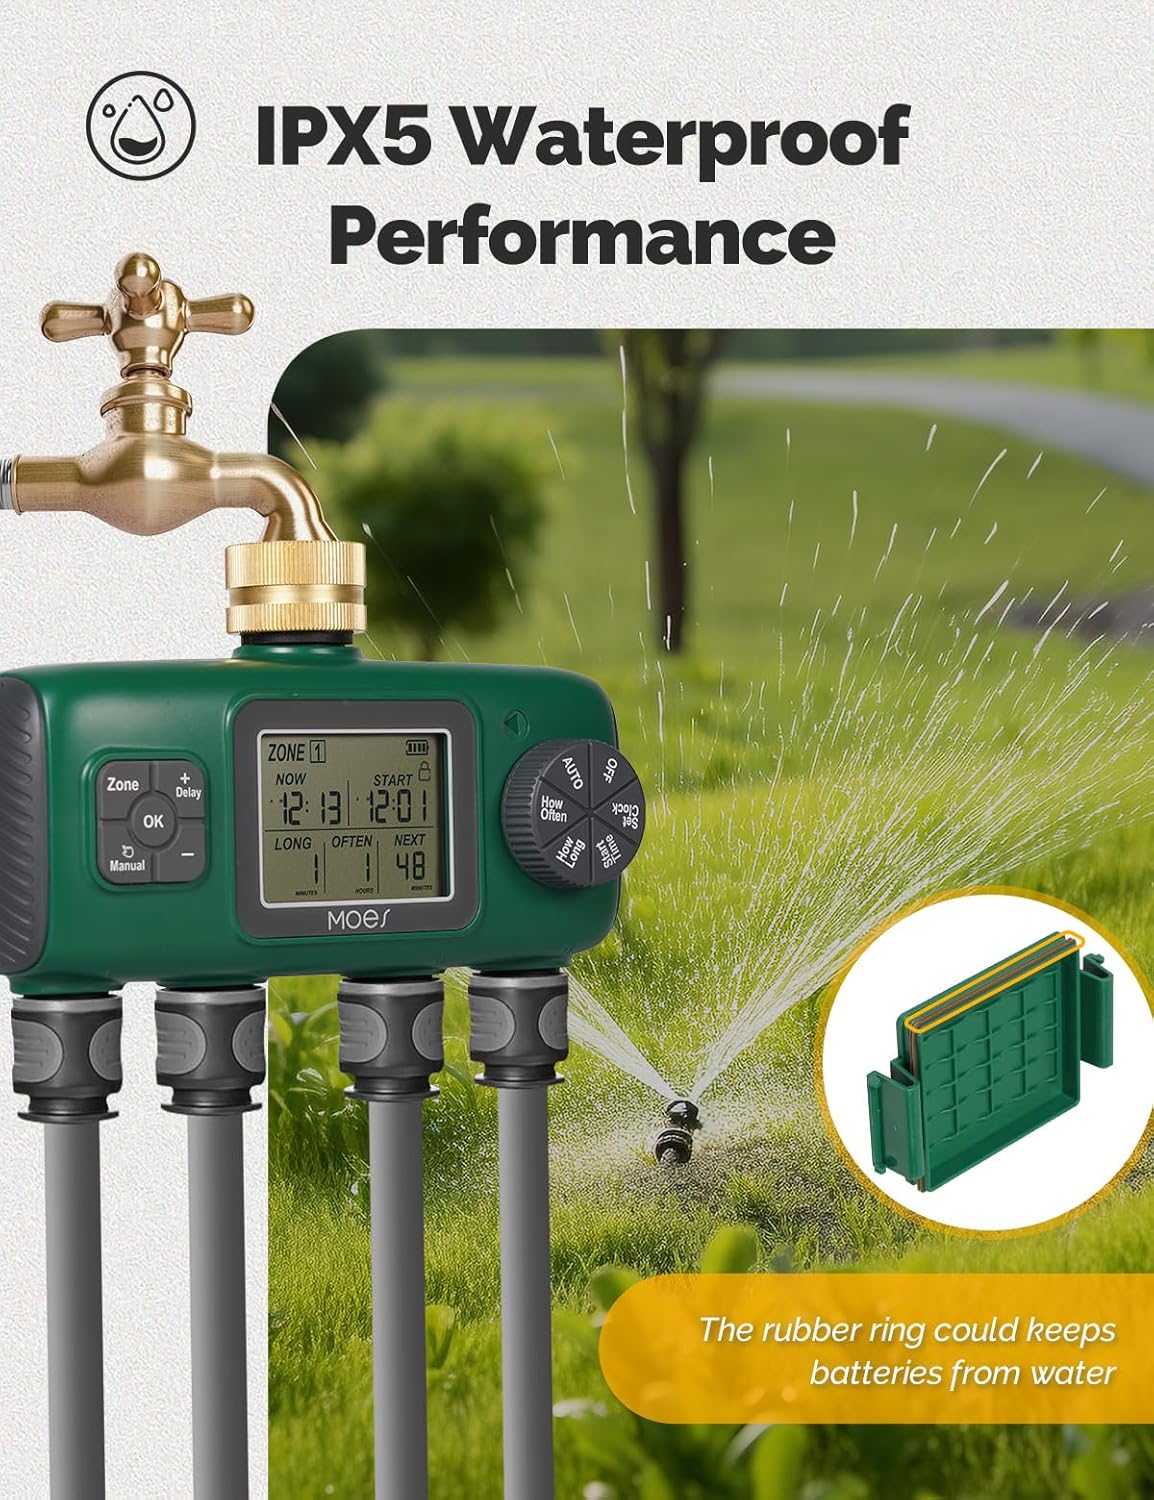
Image: The MOES YZD04 Sprinkler Timer showing the battery compartment with two AA batteries inserted. This illustrates the battery installation process and the IPX5 waterproof design.
3.2 Connecting to Faucet
- Ensure your outdoor faucet is turned off.
- Screw the brass inlet of the sprinkler timer onto a standard 3/4-inch outdoor faucet. Hand-tighten only. Do not overtighten.
- The 360-degree rotatable connector allows for easy positioning.

Image: A detailed view of the MOES YZD04 Sprinkler Timer's durable brass inlet, highlighting its robust construction for leak prevention.
3.3 Connecting Hoses
- Attach up to four standard garden hoses to the individual outlets at the bottom of the timer.
- Ensure each connection is secure to prevent leaks.

Image: The MOES YZD04 Sprinkler Timer installed on an outdoor faucet with four hoses connected, demonstrating a typical setup for multi-zone watering.
4. Operation Instructions
4.1 Setting Current Time
- Rotate the dial to the 'Clock' position.
- Use the '+' and '-' buttons to adjust the current hour and minute.
- Press 'OK' to confirm each setting.
4.2 Programming Watering Zones
The timer allows independent programming for each of its four zones (Zone 1, Zone 2, Zone 3, Zone 4).

Image: The MOES YZD04 Sprinkler Timer with visual indicators for four separate watering zones (A, B, C, D), illustrating its multi-zone capability.
- Select Zone: Press the 'Zone' button to cycle through Zone 1 to Zone 4. The selected zone will be highlighted on the LCD screen.
- Set Start Time: Rotate the dial to 'Start Time'. Use '+' and '-' to set the desired start time for the selected zone. Press 'OK' to confirm.
- Set How Long (Duration): Rotate the dial to 'How Long'. Use '+' and '-' to set the watering duration (e.g., minutes, hours). Press 'OK' to confirm.
- Set How Often (Frequency): Rotate the dial to 'How Often'. Use '+' and '-' to set the watering frequency (e.g., every day, every 2 days). Press 'OK' to confirm.
- Repeat steps 1-4 for each zone you wish to program.

Image: The MOES YZD04 Sprinkler Timer's LCD display showing options for manual and automatic timed watering, including duration and frequency settings.
4.3 Avoiding Simultaneous Watering
Important: To ensure optimal water pressure and prevent issues, avoid setting multiple zones to water at the exact same time. If simultaneous times are set, the timer will automatically stagger watering to prevent water pressure drops.
It is recommended to manually stagger the start times for each zone by a few minutes (e.g., Zone 1 at 6:00 AM, Zone 2 at 6:10 AM, Zone 3 at 6:20 AM, Zone 4 at 6:30 AM).

Image: A visual guide demonstrating the incorrect method of setting all zones to water simultaneously versus the correct method of staggering watering times for optimal performance.
4.4 Manual Watering Mode
To water immediately without affecting your programmed schedules:
- Press the 'Manual' button.
- Use the '+' and '-' buttons to set the desired duration for manual watering.
- Press 'OK' to start manual watering.
- To stop manual watering, press 'Manual' again or wait for the set duration to complete.

Image: The MOES YZD04 Sprinkler Timer with an overlay indicating the 'OK' button for activating manual watering mode, allowing for immediate irrigation.
4.5 Rain Delay Function
To temporarily pause watering due to rain or other reasons:
- Press and hold the '+' button for 5 seconds to activate the Rain Delay mode.
- Use the '+' and '-' buttons to select the desired delay duration (e.g., 24 hours, 48 hours).
- Press 'OK' to confirm. The timer will resume its schedule after the delay period.
- To cancel Rain Delay, press and hold the '+' button for 5 seconds again.

Image: A graphical representation of the rain delay feature, showing how watering schedules are paused during rainy periods to conserve water.
5. Maintenance
5.1 Cleaning the Filter
The timer includes a built-in filter to prevent debris from entering the valve and causing clogs or leaks. Periodically inspect and clean the filter:
- Unscrew the timer from the faucet.
- Remove the filter screen from the brass inlet.
- Rinse the filter under running water to remove any accumulated debris.
- Reinsert the clean filter and reattach the timer to the faucet.
5.2 Winterization
Before the first frost, disconnect the timer from the faucet and hoses. Drain any remaining water and store the unit indoors in a dry, protected area to prevent freezing damage.
5.3 General Care
The silicone potting technology provides enhanced protection for internal components. However, avoid submerging the unit in water or exposing it to extreme temperatures beyond its operating range.

Image: A comprehensive view of the MOES YZD04 Sprinkler Timer, detailing its 360-degree rotatable connector, built-in filter, battery compartment, and leakage hole for enhanced durability and ease of use.
6. Troubleshooting
- No Water Flow:
- Check if the faucet is fully open.
- Ensure batteries are installed correctly and have sufficient charge.
- Verify that the watering program is active and the start time has been reached.
- Inspect the built-in filter for clogs and clean if necessary.
- Leaking Connections:
- Ensure all connections (faucet to timer, timer to hoses) are hand-tightened securely.
- Check for worn or missing rubber washers in the connections. Replace if damaged.
- If leaks persist, apply plumber's tape to the faucet threads before attaching the timer.
- Display Not Working:
- Replace batteries with new AA alkaline batteries.
- Ensure the battery compartment is dry and free of moisture.
- Timer Not Following Schedule:
- Recheck all programmed settings (start time, duration, frequency) for accuracy.
- Ensure the current time is set correctly.
- Verify that Rain Delay is not active.
7. Specifications
| Feature | Specification |
|---|---|
| Brand | MOES |
| Model Number | YZD04 |
| Number of Outlets | 4 |
| Inlet Type | Brass, 3/4-inch US Standard Thread |
| Battery Type | 2 x AA Alkaline Batteries (not included) |
| Waterproof Rating | IPX5 |
| Number of Settings | 6 (referring to programming options) |
| Color | Green |
8. Warranty and Support
The MOES YZD04 Sprinkler Timer is backed by 3 years of product support. For any questions, technical assistance, or warranty claims, please contact MOES customer service through the retailer's platform or the official MOES website.

