
Tomofree BEE
BEE Electric Scooter User Manual
Model: BEE | Brand: Tomofree
1. Introduction
Welcome to the user manual for your new Tomofree BEE Electric Scooter. This manual provides essential information for the safe operation, assembly, maintenance, and troubleshooting of your scooter. Please read this manual thoroughly before using the scooter to ensure optimal performance and safety.

Figure 1: Tomofree BEE Electric Scooter. This image displays the main view of the scooter, highlighting its robust design and the internal components of the motor.
2. Safety Information
Your safety is paramount. Adhere to all local laws and regulations regarding electric scooter usage. Always wear a helmet and appropriate safety gear. Familiarize yourself with the scooter's controls before riding.
- Braking: The dual mechanical disc brakes provide instant stopping power. Practice braking in a safe, open area to understand the scooter's stopping distance.
- Tires: The 11-inch tubeless off-road tires are designed for superior grip on various terrains. Regularly inspect tires for wear and proper inflation.
- Rider Height: Designed for riders between 5' to 6'3" to ensure proper posture and safe control.
- Weight Limit: Do not exceed the maximum load capacity of 267 lbs (121 kg).
- Environmental Conditions: Avoid riding in heavy rain, snow, or extreme temperatures. The scooter is designed for all-terrain suitability but extreme conditions can affect performance and safety.
- Lighting: Utilize the bright headlight and integrated taillight for visibility, especially during low-light conditions.

Figure 2: Rider demonstrating the scooter's use, with an overlay of key specifications such as battery, motor, max speed, tire size, max load, and slope capability.
3. Package Contents
Upon opening the package, verify that all items listed below are present and undamaged:
- BEE Escooter (main unit)
- Phone Holder x1
- Charger x1
- Toolkit Box x1
- User Manual (this document)
4. Setup and Assembly
Follow these steps to assemble your Tomofree BEE Electric Scooter. It is recommended to watch the assembly video for visual guidance.
4.1. Unboxing and Initial Inspection
Carefully remove the scooter and all accessories from the packaging. Inspect for any visible damage during transit. Keep the original packaging for 30 days in case of return.
Video 1: BEE Electric Scooter Assembly. This video provides a comprehensive guide to unboxing and assembling your scooter, including attaching the lights, handlebars, and optional seat.
4.2. Unfolding the Scooter
- Place the folded scooter on a flat surface.
- Locate the folding mechanism near the base of the handlebar stem.
- Release the locking pin/lever and carefully raise the handlebar stem until it locks into the upright position. Ensure it is securely latched.
4.3. Attaching Front Lights
- Identify the two front lights and their mounting brackets.
- Align each light with the pre-drilled holes on the front of the scooter's stem.
- Secure the lights using the provided screws and tools from the toolkit. Ensure they are firmly attached and facing forward.

Figure 3: Installation of the front lights on the scooter's stem, showing the secure attachment process.
4.4. Installing Handlebars
- Locate the handlebar clamp on the top of the stem.
- Remove the top plate of the clamp using the provided Allen wrench.
- Position the handlebar into the clamp, ensuring it is centered and the brake levers/controls are easily accessible.
- Replace the top plate and tighten the screws evenly to secure the handlebar.
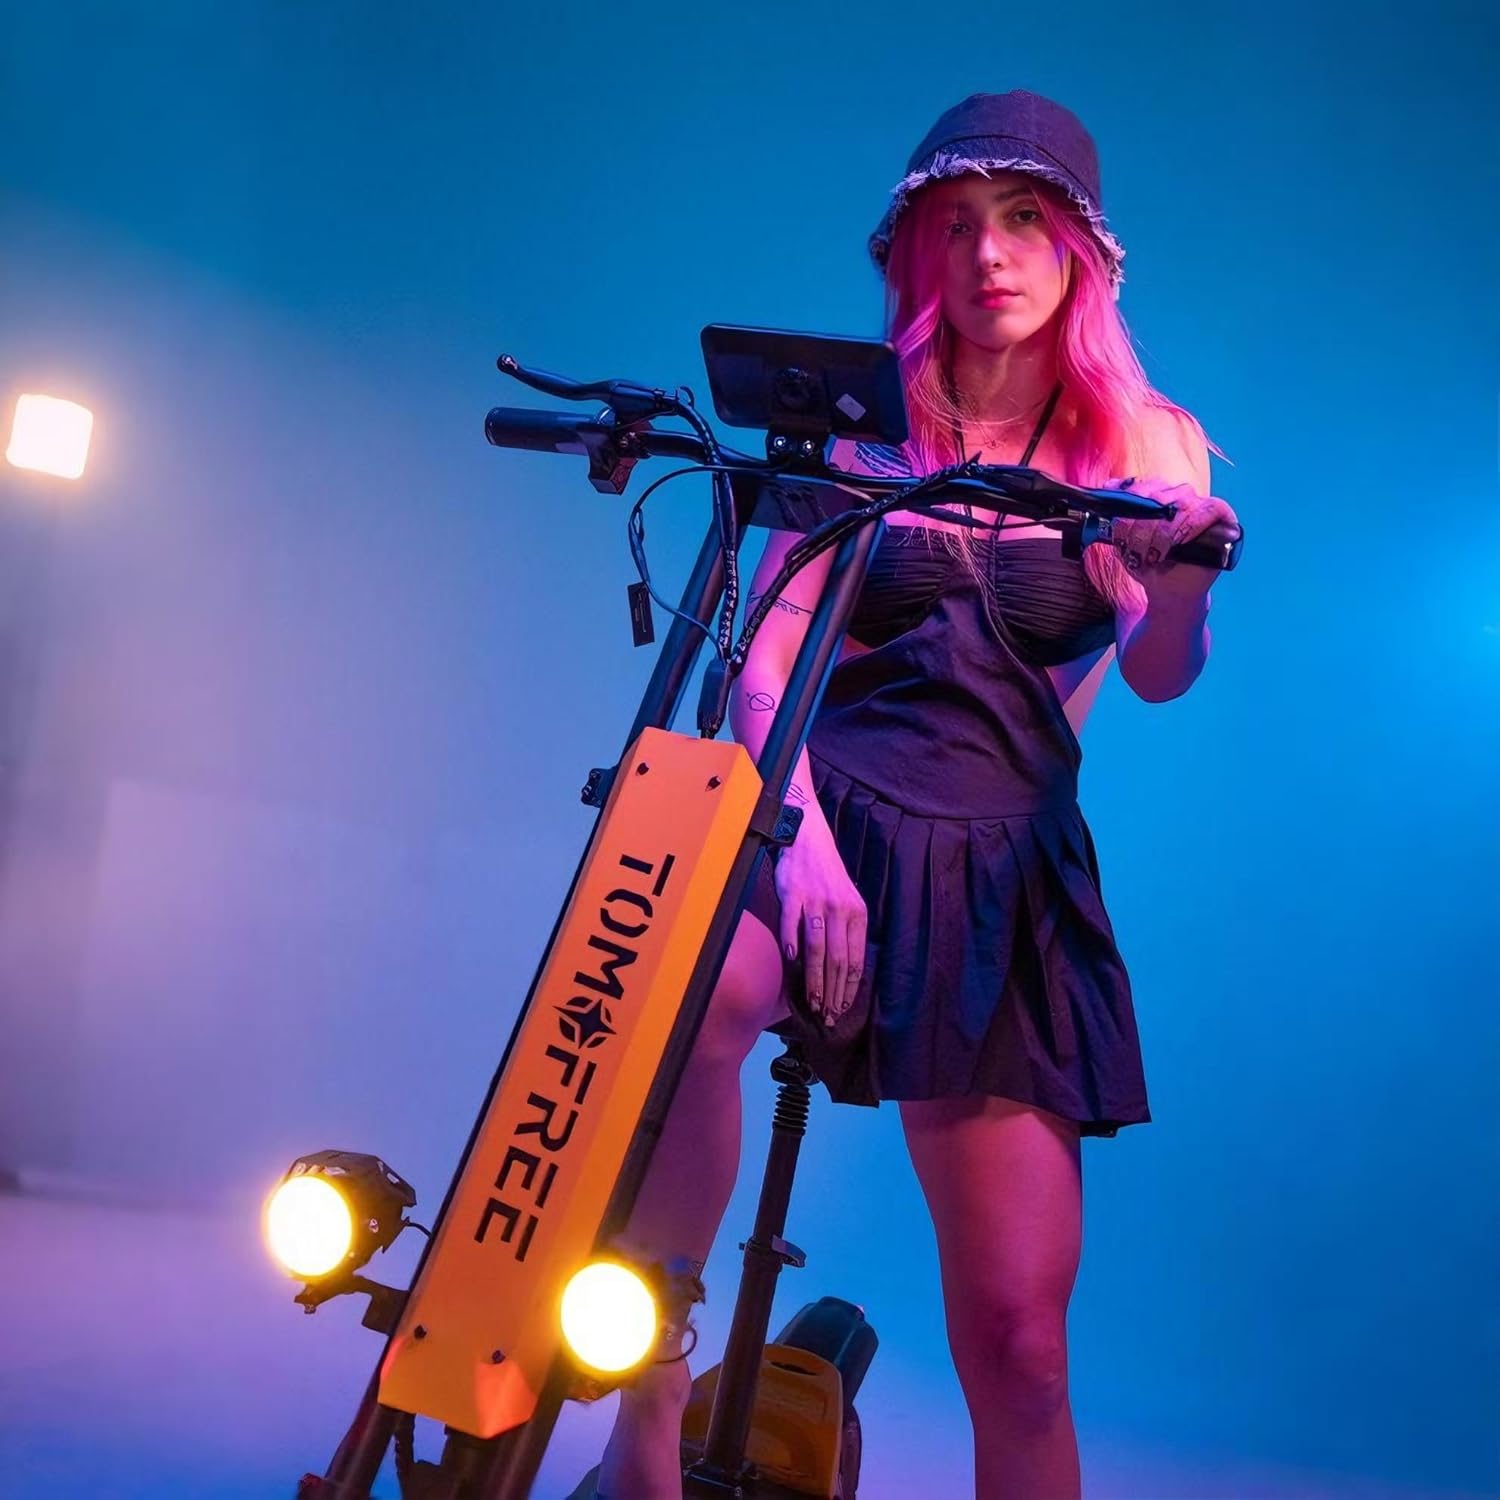
Figure 4: The process of attaching the handlebars to the scooter's stem, showing the clamp and screw points.
4.5. Attaching Phone Holder (Optional)
- Assemble the phone holder components, including the clamp and the holder itself.
- Attach the clamp to a suitable position on the handlebar, ensuring it does not obstruct other controls or the display.
- Secure the phone holder to the clamp.
4.6. Installing Optional Seat
If your model includes an optional seat, follow these steps:
- Locate the seat mounting point on the rear of the scooter's deck.
- Insert the seat post into the mounting hole.
- Adjust the seat height to a comfortable position and secure it using the quick-release lever or tightening mechanism.

Figure 5: The scooter's dual-arm, three-link mechanical suspension system, designed to absorb road vibrations for a comfortable ride.
5. Operating Instructions
This section covers the basic operation of your BEE Electric Scooter.
5.1. Powering On/Off
Press and hold the power button on the display to turn the scooter on or off. The large mid-mounted display will illuminate, showing battery level, speed, and other indicators.
5.2. Speed Modes
The scooter features 3-speed modes, allowing you to adjust your riding experience:
- Level 1: Approximately 13 MPH
- Level 2: Approximately 21 MPH
- Level 3: Approximately 31 MPH (Max Speed)
Switch between modes using the designated button on the handlebar controls.
5.3. Acceleration and Braking
Use the throttle on the right handlebar to accelerate. Apply the brake levers on both handlebars for controlled stopping. The dual mechanical disc brakes ensure reliable stopping power.
5.4. Lighting System
Activate the front headlight and rear taillight using the light control button on the handlebar. The taillight also functions as a brake indicator, enhancing visibility and safety.

Figure 6: The scooter's lighting system, showing the bright front headlights and the integrated rear taillight with brake indicator function.
6. Maintenance
Regular maintenance ensures the longevity and safe operation of your scooter.
- Battery Care: The 48V 20Ah battery provides an extended range. Charge the battery fully after each use. Avoid completely draining the battery. Charging time is approximately 7-8 hours.
- Tire Pressure: Check tire pressure regularly. Proper inflation is crucial for ride quality and tire lifespan.
- Brake Inspection: Periodically inspect brake pads and cables for wear. Adjust or replace as needed to maintain effective braking.
- Cleaning: Clean the scooter with a damp cloth. Avoid using high-pressure water jets directly on electrical components.
- Controller: The controller is mounted on the front side for improved heat dissipation, extending the scooter's lifespan. Keep this area clear of debris.

Figure 7: An illustration showing the internal structure of the 48V 20Ah high-capacity battery, which provides a range of 28-40 miles on a single charge.
7. Troubleshooting
This section addresses common issues you might encounter with your scooter.
| Problem | Possible Cause | Solution |
|---|---|---|
| Scooter does not power on. | Low battery; loose connections. | Charge the battery. Check all cable connections, especially to the display and battery. |
| Reduced range or speed. | Under-inflated tires; low battery charge; heavy load; riding uphill frequently. | Check tire pressure. Fully charge the battery. Reduce load if possible. Adjust riding style. |
| Brakes feel loose or ineffective. | Worn brake pads; stretched brake cables. | Inspect brake pads and replace if worn. Adjust brake cable tension. If unsure, consult a professional. |
| Unusual noises during operation. | Loose components; debris in wheels/motor. | Inspect all visible parts for looseness and tighten. Check wheels and motor area for foreign objects. |
8. Technical Specifications
| Feature | Specification |
|---|---|
| Brand | Tomofree |
| Model Name | BEE |
| Motor Power | 1500W Peak Motor |
| Battery | 48V 20Ah |
| Max Speed | 31 MPH (50 km/h) |
| Range per Charge | 20-40 Miles (32-64 km) |
| Tire Size | 11-inch Off-Road Tubeless Tires |
| Max Load | 267 lbs (121 kg) |
| Climbing Angle | Up to 30° |
| Brake System | Dual Mechanical Disc Brakes |
| Suspension | Dual Suspension |
| Product Dimensions (L x W x H) | 52" x 11" x 51" (133 x 28 x 129 cm) |
| Item Weight | 79 lbs (35.8 kg) |
| Frame Material | High Carbon Steel & Aluminum Alloy |
9. Warranty and Support
9.1. Warranty Information
The Tomofree BEE Electric Scooter comes with a 1 Year Manufacturer Limited Warranty. This warranty covers defects in materials and workmanship under normal use. Please refer to the warranty card included in your package for full terms and conditions.
Keep your box and foam for 30 days in case of return.
9.2. Customer Support
For technical assistance, troubleshooting, or warranty claims, please contact Tomofree Customer Support. You can find contact information on the official Tomofree website or through your purchase platform.
Visit the Tomofree Official Store for more information and support resources.
Related documentsBEE

Ask a question about this manual
Ask about setup, troubleshooting, compatibility, parts, safety, or missing instructions. Manuals+ will review the question and use this page’s manual context to help answer it.