
Introduction
This manual provides essential instructions for the safe and efficient operation, maintenance, and troubleshooting of your Prostormer 17V Cordless Brushless Impact Driver Set. Please read this manual thoroughly before using the tool and retain it for future reference.
What's in the Box
Your Prostormer 17V Cordless Brushless Impact Driver Set includes the following components:
- 1 x Prostormer 17V Brushless Impact Driver
- 2 x 1.5Ah Lithium-Ion Batteries
- 1 x Battery Charger
- 8 x Socket Set (6/7/8/9/10/11/12/13mm)
- 10 x Driver Bits (4/5/6/PZ1/PZ2/PH1/PH2/T15/T20/AD)
- 1 x Durable Storage Box
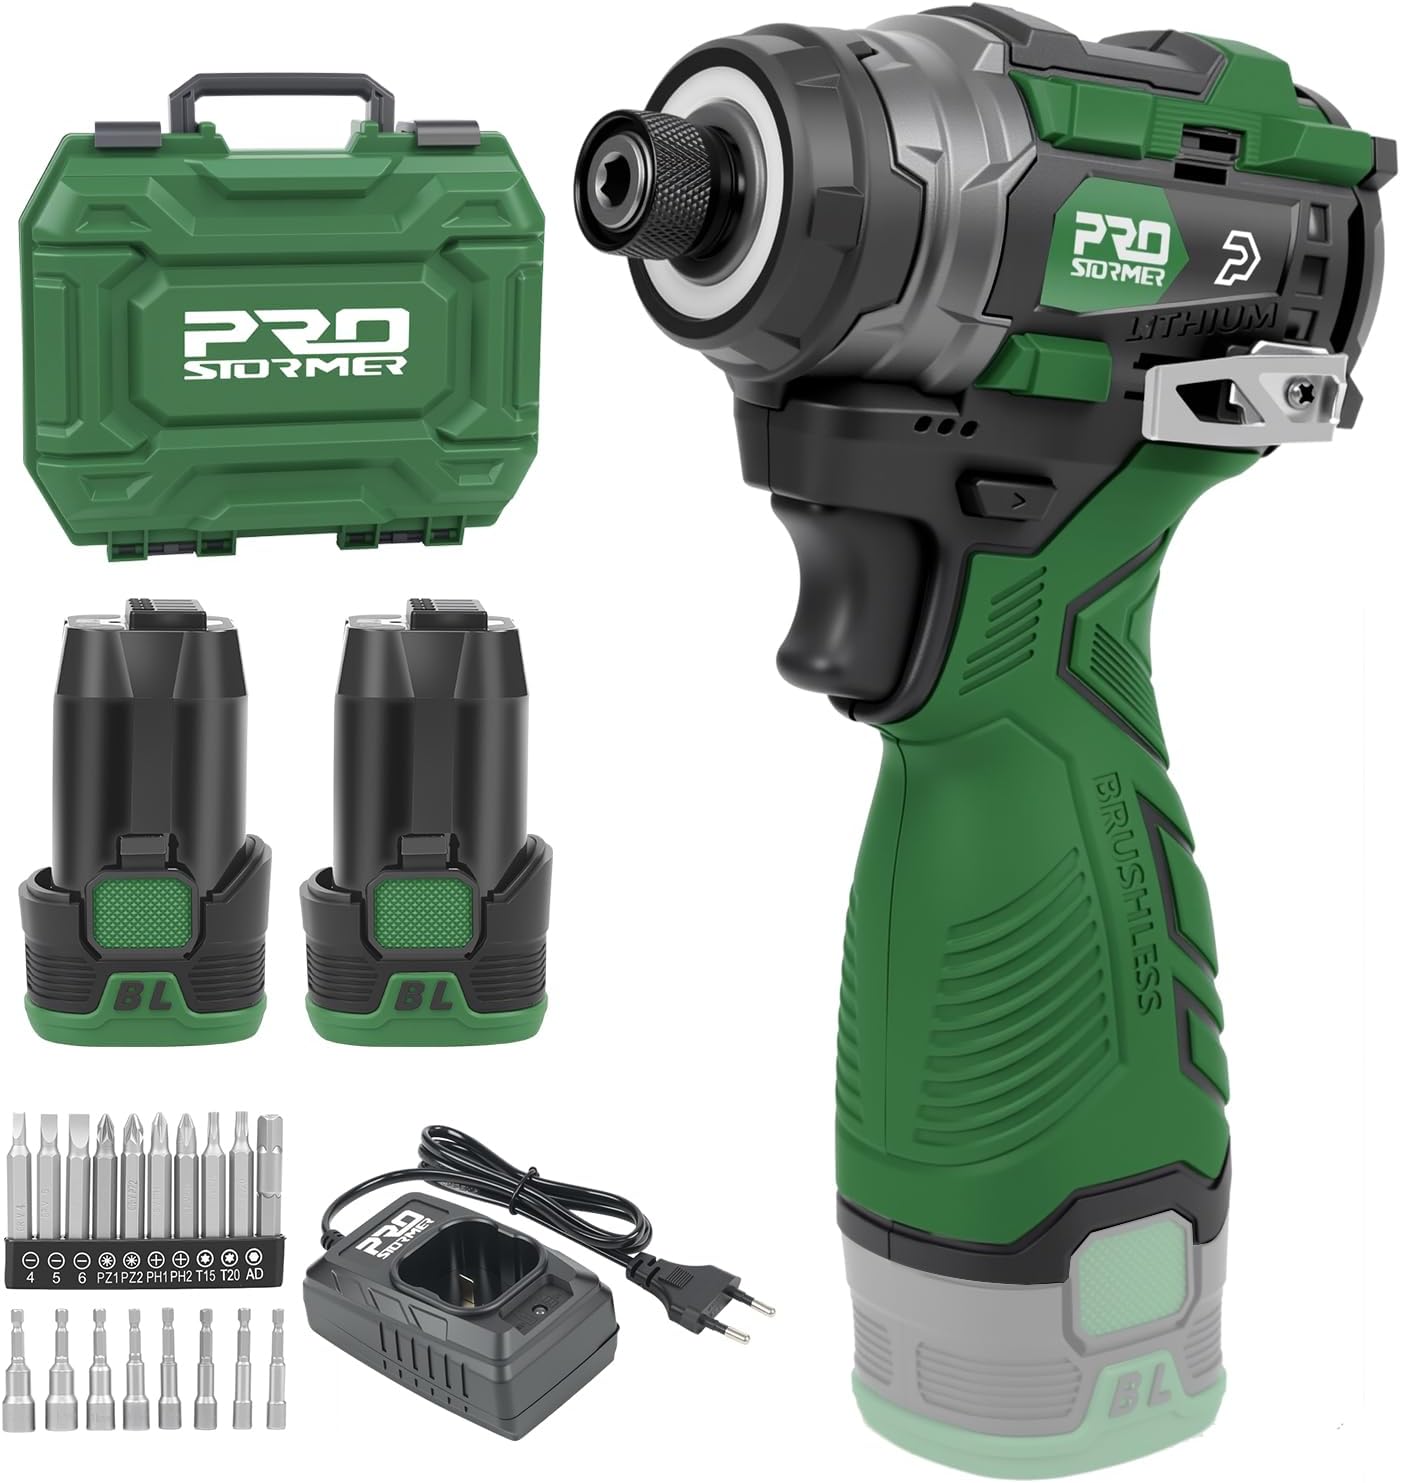
Image: Complete contents of the Prostormer 17V Cordless Brushless Impact Driver Set.
Key Features
- 1/4" Brushless Impact Driver: Features a durable and efficient brushless motor, delivering 140Nm of max torque for heavy-duty fastening. Includes a 1/4” hex chuck for quick bit changes.
- 3-Variable Speed & Forward/Reverse Switch: Equipped with 3 adjustable speeds (no-load speed 0-3000 RPM) and a maximum torque of 140Nm. The forward/reverse switch allows for easy driving or removing of screws.
- Lightweight & Ergonomic Design: Weighs only 2.2lbs with a soft-grip handle, reducing user fatigue and improving control.
- LED Light Ring: Illuminates the screw head and work surface, providing a clear view in dimly lit areas and enhancing operational precision.

Image: Overview of the impact driver's key features and controls.
Setup
1. Charging the Battery
- Connect the battery charger to a standard power outlet.
- Insert the 1.5Ah Lithium-Ion battery into the charger.
- The indicator light on the charger will show the charging status. Ensure the battery is fully charged before first use.

Image: The two 1.5Ah Lithium-Ion batteries included with the set.
2. Installing/Removing Driver Bits
- To install a bit, pull the chuck collar forward.
- Insert the desired 1/4" hex driver bit or socket adapter into the chuck.
- Release the chuck collar to secure the bit. Ensure the bit is firmly seated.
- To remove a bit, pull the chuck collar forward and pull the bit out.

Image: Visual instructions for quick bit changes using the 1/4" hex chuck.
Operating Instructions
1. Powering On/Off and Trigger Control
- To power on the tool, press the trigger. The LED light ring will illuminate.
- Varying pressure on the trigger controls the speed of the impact driver.
- Release the trigger to power off the tool.
2. Adjusting Speed Settings
- The impact driver features 3 variable speed settings.
- Use the speed selector button (typically marked 1, 2, 3) to cycle through the desired speed.
- Speed 1 is for lower torque applications, while Speed 3 provides maximum torque for heavy-duty tasks.
3. Forward/Reverse Switch
- Locate the forward/reverse switch near the trigger.
- Push the switch to the left for forward rotation (driving screws).
- Push the switch to the right for reverse rotation (removing screws).
- Center the switch to lock the trigger and prevent accidental operation.
4. LED Light Ring
- The integrated LED light ring automatically illuminates when the trigger is pressed, providing visibility in dark work areas.
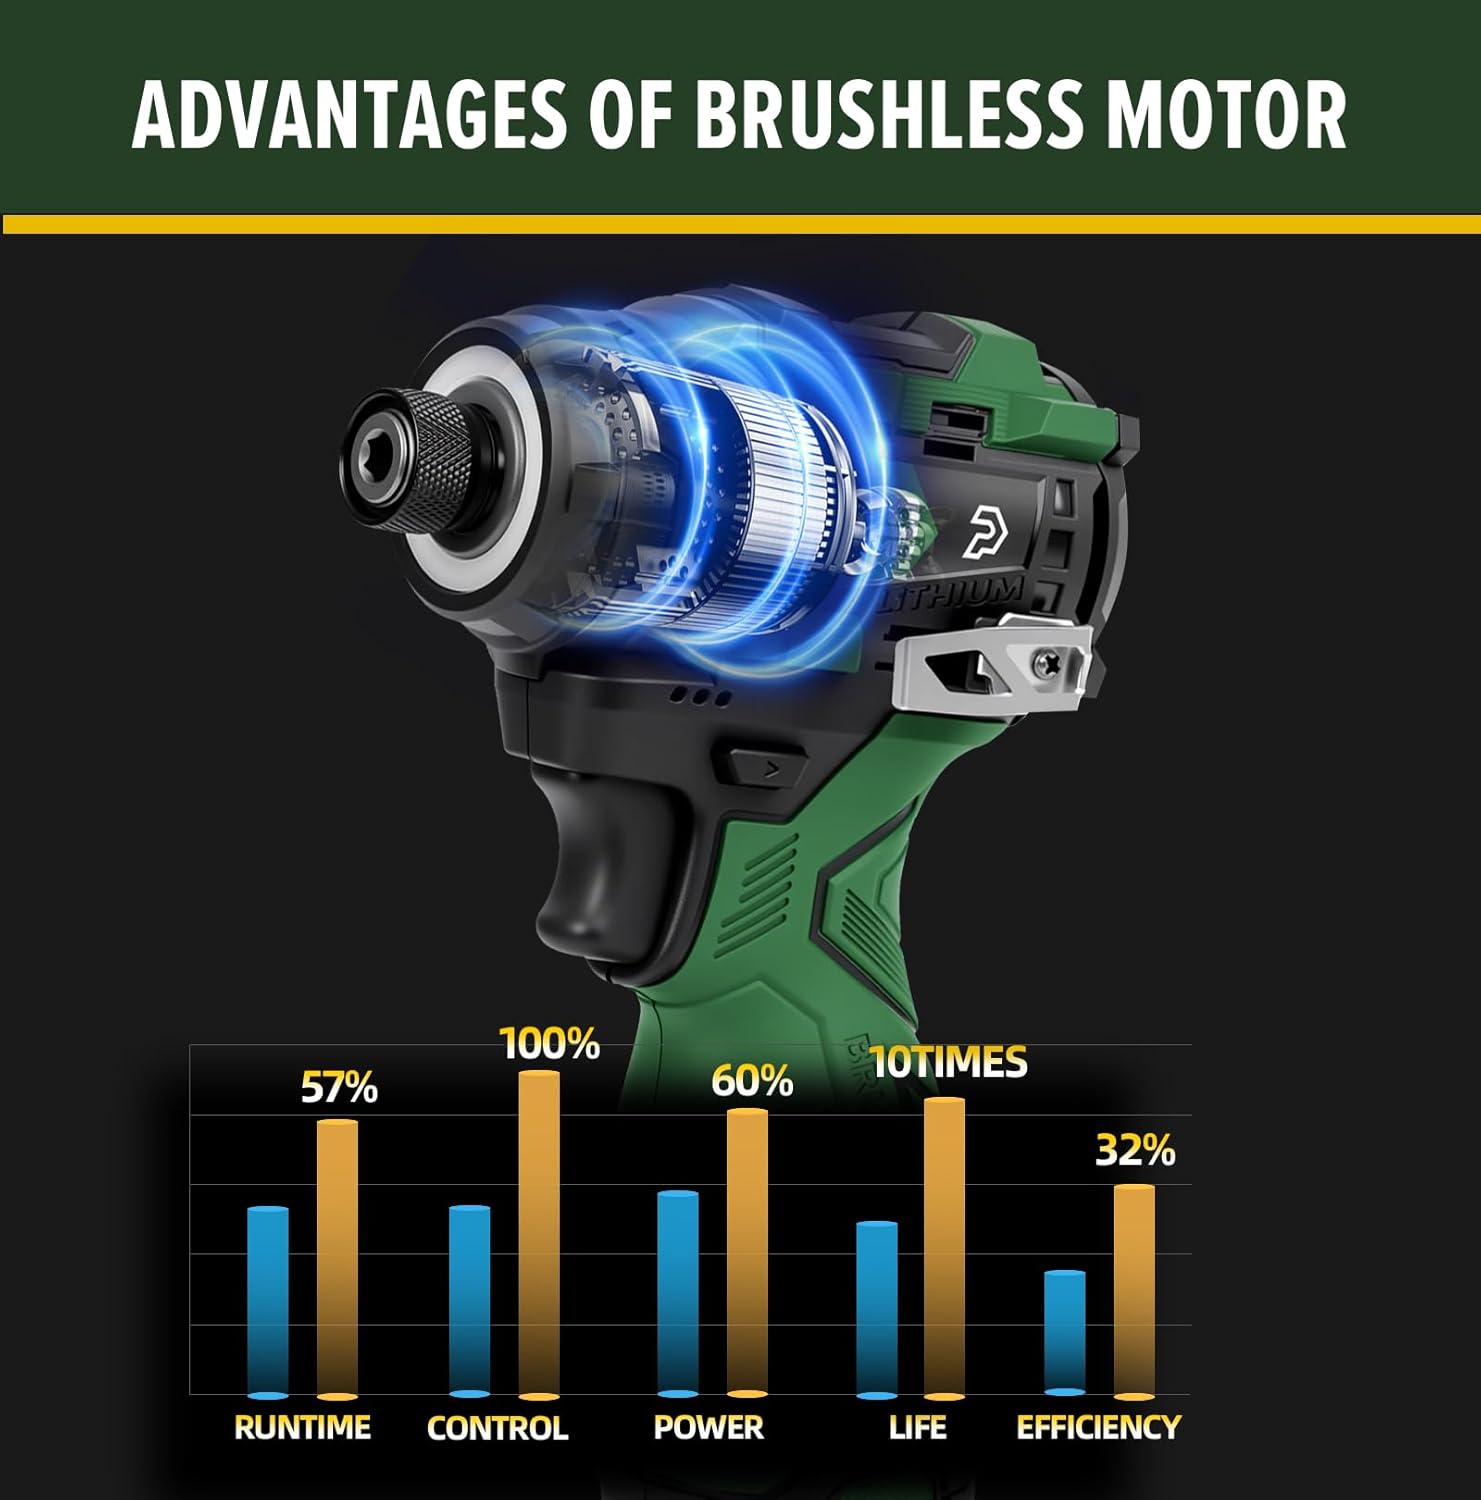
Image: The LED light ring in action, providing illumination for precision work.
5. General Use
The Prostormer 17V Impact Driver is suitable for various tasks, including:
- Express Setup: Quickly assembling furniture or fixtures.
- Maintenance: Performing routine repairs and adjustments.
- Drilling Wood: Driving screws into wood with ease.

Image: Examples of tool usage scenarios.
Maintenance
1. Cleaning
- Regularly clean the tool's ventilation openings to prevent overheating.
- Wipe the tool with a soft, damp cloth. Do not use harsh chemicals or abrasive cleaners.
2. Storage
- Store the impact driver and accessories in the provided durable storage box.
- Keep the tool in a dry, secure location, away from direct sunlight and extreme temperatures.
- Ensure batteries are partially charged before long-term storage.
3. Battery Care
- Do not store batteries in a discharged state. Recharge them regularly.
- Avoid exposing batteries to water or extreme heat.
Troubleshooting
| Problem | Possible Cause | Solution |
|---|---|---|
| Tool does not turn on. | Battery is discharged or not properly inserted. | Charge the battery. Ensure the battery is fully seated in the tool. |
| Reduced power or performance. | Battery is low or tool is overloaded. | Recharge the battery. Reduce the load on the tool or select a higher speed setting. |
| Bit is not securely held. | Chuck collar not fully released or bit is incorrect size. | Ensure the chuck collar is fully released after inserting the bit. Use only 1/4" hex bits. |
Specifications
| Feature | Detail |
|---|---|
| Brand | Prostormer |
| Model Number | PSBD00702DS2 |
| Power Source | Battery Powered |
| Battery Type | Lithium Ion |
| Battery Capacity | 1.5 Amp Hours |
| Maximum Rotational Speed | 3000 RPM |
| Maximum Torque | 140 Newton Meters |
| Number of Speeds | 3 |
| Chuck Type | 1/4" Hex |
| Item Weight | 5.92 pounds |
| Product Dimensions | 13.39"L x 11.89"W x 4.41"H |
| Color | Green |
| Special Feature | Adjustable Torque, LED Light Ring |

Image: Key product information and specifications.
Warranty and Support
Prostormer products are manufactured to high-quality standards. For warranty information or technical support, please refer to the contact details provided with your purchase documentation or visit the official Prostormer website. Keep your proof of purchase for any warranty claims.