1. Introduction
This manual provides detailed instructions for the safe installation, operation, and maintenance of your Edvivi Outdoor Wall Light, model EW659S-BK. This fixture is designed for outdoor use, featuring a matte black finish, clear glass, and an integrated dusk-to-dawn motion sensor for enhanced functionality and energy efficiency.
Please read this manual thoroughly before installation and retain it for future reference.
2. Safety Information
WARNING: Risk of electric shock. Disconnect power at the circuit breaker or fuse box before installation or servicing. All wiring connections must be in accordance with local and national electrical codes.
- Ensure the power supply is turned off before beginning installation.
- Consult a qualified electrician if you are unsure about the installation process.
- Do not attempt to modify the fixture.
- Handle glass components with care to prevent breakage.
- This fixture is rated for outdoor use and is waterproof. However, ensure all connections are sealed properly during installation to maintain water resistance.
- Use only E26 base bulbs, maximum 60W. LED bulbs are recommended for energy efficiency.
3. Package Contents
Verify that all components are present before discarding packaging materials.
- Edvivi Outdoor Wall Light Fixture (1 unit)
- Mounting Hardware (screws, wire nuts, mounting plate)
- Instruction Manual

Image 3.1: Dimensional diagram of the Edvivi Outdoor Wall Light, showing measurements of 6.5"L x 5.5"W x 13.75"H.
4. Specifications
| Brand | Edvivi |
| Model Name | EW659S-BK |
| Color | Matte Black |
| Material | Glass, Metal |
| Product Dimensions | 6.5"L x 5.5"W x 13.75"H |
| Power Source | Corded Electric |
| Voltage | 120 Volts |
| Wattage | Max 60 watts |
| Bulb Base | E26 Medium |
| Special Features | Anti-Rust, Dimmable (with compatible bulb/switch), Motion Sensor, Waterproof |
| Indoor/Outdoor Usage | Outdoor |
| Installation Type | Flush Mount |
| Certification | ETL Listed |
5. Setup & Installation
The Edvivi Outdoor Wall Light is designed for easy installation. However, professional installation is recommended for hardwiring. Ensure power is OFF at the circuit breaker before proceeding.
5.1 Tools Required (Not Included)
- Screwdriver (Phillips and Flathead)
- Wire Strippers
- Electrical Tape
- Ladder (if necessary)
- Safety Glasses
5.2 Installation Steps
- Turn Off Power: Locate the circuit breaker controlling the outdoor lighting circuit and switch it to the OFF position. Verify power is off using a voltage tester.
- Prepare Mounting Surface: Ensure the electrical box is securely mounted and the wiring is accessible.
- Attach Mounting Plate: Secure the provided mounting plate to the electrical box using the screws from the hardware kit.
- Wire Connections:
- Connect the black wire from the fixture to the black (hot) wire from the electrical box using a wire nut.
- Connect the white wire from the fixture to the white (neutral) wire from the electrical box using a wire nut.
- Connect the ground wire (bare copper or green) from the fixture to the ground wire from the electrical box and to the mounting plate using a ground screw.
Ensure all wire nuts are tightened securely and connections are wrapped with electrical tape for added safety.
- Mount the Fixture: Carefully align the fixture with the mounting plate and secure it using the provided screws. Ensure no wires are pinched.
- Install Bulb: Insert an E26 base bulb (max 60W) into the socket. (Bulb not included).
- Restore Power: Turn the power back ON at the circuit breaker.

Image 5.1: Installation height reference, showing lights mounted on either side of a door. The door is 78.8 inches (199 cm) high and 35.4 inches (89 cm) wide. The lights are 13.75 inches (35 cm) high.
6. Operating Instructions
This fixture features an advanced dusk-to-dawn motion sensor. The sensor detects ambient light levels and motion to activate the light.
6.1 Motion Sensor and Dusk-to-Dawn Functionality
The integrated sensor automatically turns the light on at dusk and off at dawn. Additionally, it detects motion within its range to activate the light when needed, providing security and convenience.

Image 6.1: Detailed view of the motion sensor located at the top of the fixture.

Image 6.2: Alternate detailed view of the motion sensor, highlighting its position on the fixture.
6.2 Adjusting Sensor Settings
The motion sensor may have adjustable settings for sensitivity and duration. Refer to the small dials or switches located on the sensor unit itself (often under a protective cover) for specific adjustments. Common settings include:
- SENS (Sensitivity): Adjusts the detection range of the motion sensor.
- TIME: Sets how long the light remains on after motion is detected.
- LUX (Light Level): Determines the ambient light level at which the sensor activates the light (dusk-to-dawn threshold).
Note: It is recommended to adjust the sensor settings before permanently mounting the fixture, or at least before securing it completely, as access to these dials might be limited once installed.
7. Maintenance
Regular maintenance will ensure the longevity and optimal performance of your Edvivi Outdoor Wall Light.
- Cleaning: Disconnect power before cleaning. Wipe the fixture with a soft, damp cloth. Do not use abrasive cleaners or solvents, as they may damage the finish or glass.
- Bulb Replacement: Ensure power is off before replacing the bulb. Allow the bulb to cool completely. Unscrew the old bulb and screw in a new E26 base bulb (max 60W).
- Inspection: Periodically check for any loose connections, damaged wiring, or signs of wear. Address any issues promptly.
8. Troubleshooting
| Problem | Possible Cause | Solution |
|---|---|---|
| Light does not turn on. |
|
|
| Light stays on constantly. |
|
|
| Light flashes or flickers. |
|
|
| Motion sensor not detecting. |
|
|
9. Warranty & Support
Edvivi products are manufactured to high-quality standards and are backed by a limited warranty. For specific warranty details, please refer to the warranty card included with your purchase or visit the official Edvivi website.
If you encounter any issues or have questions regarding your Edvivi Outdoor Wall Light, please contact our customer support team:
- Website: Visit the Edvivi Store on Amazon (for product information and contact options)
- Email: Refer to product packaging or official website for current contact email.
- Phone: Refer to product packaging or official website for current contact number.
Please have your model number (EW659S-BK) and purchase date available when contacting support.
10. Product Application Examples
The Edvivi Outdoor Wall Light is suitable for various outdoor locations, enhancing both illumination and security.

Image 10.1: Two Edvivi outdoor wall lights illuminating a house exterior, positioned symmetrically next to windows.

Image 10.2: An Edvivi outdoor wall light providing illumination next to an entryway door in a lush garden environment at night.
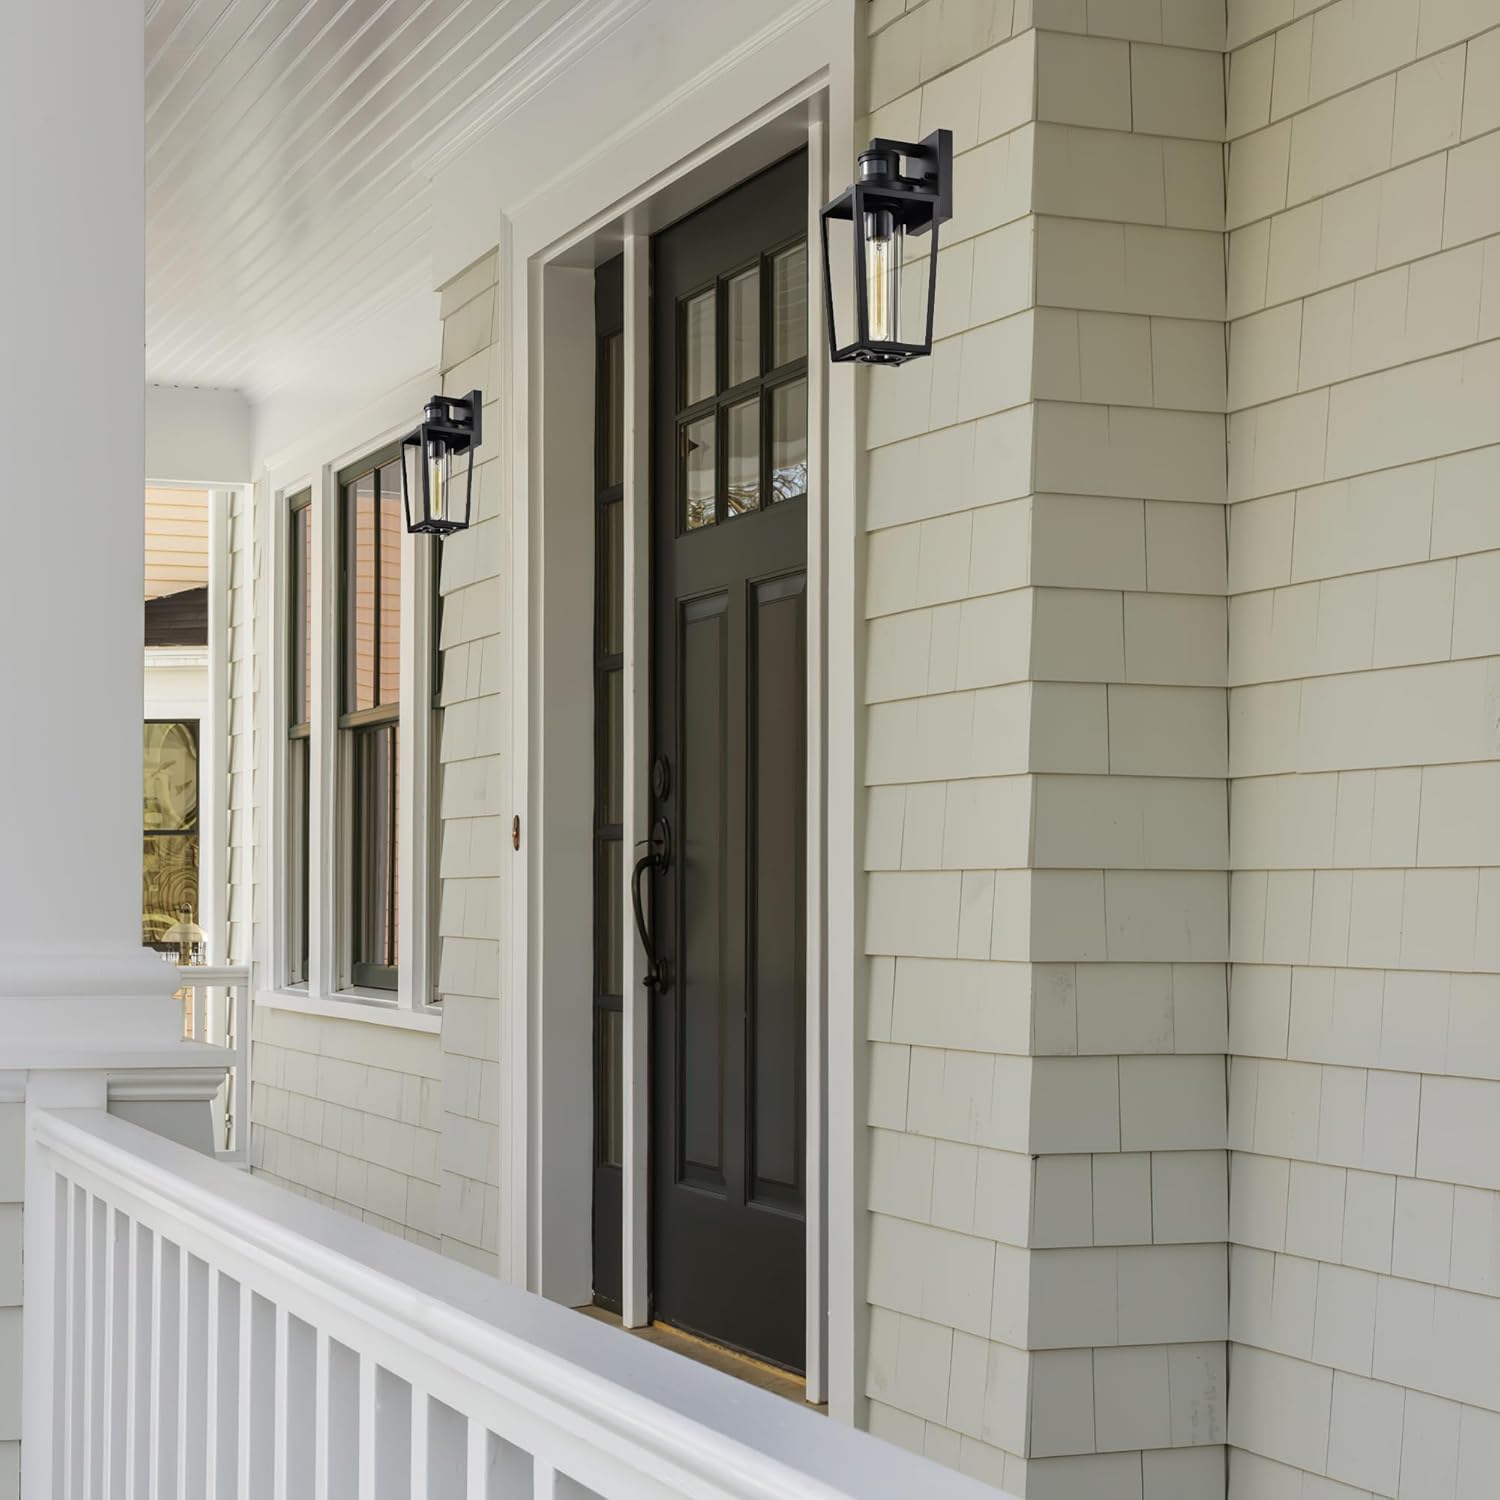
Image 10.3: Edvivi outdoor wall lights mounted on a house exterior, flanking a front door with a white railing.

Image 10.4: Edvivi outdoor wall lights installed on a white brick wall, providing light to an arched entryway.


