1. Introduction
The XECH JumpX is a versatile 4-in-1 device designed for automotive emergencies and maintenance. It combines an 800A peak jump starter, a 150 PSI cordless tyre inflator, an 8000mAh power bank, and an emergency light. This manual provides detailed instructions for safe and effective use of your device.
Key Features:
- Powerful 4-in-1 Essential: Jump-starts engines, inflates tyres, charges devices, and provides emergency lighting.
- Instant Engine Jump Start: Delivers 800A peak current for up to 4.0L petrol and 2.0L diesel engines.
- Cordless Tyre Inflator: Fast 20L/min airflow with 3–150 PSI range, Intelli-Stop, and digital display.
- Rechargeable & Reliable: Long-lasting 8000mAh battery with USB-C charging and built-in cooling fan.
- Safety Features: Reverse polarity protection, spark-proof clamps, and short-circuit prevention.
- Emergency Ready: Focused beam flashlight, SOS signal, and red emergency light.
2. What's in the Box
Carefully unpack your XECH JumpX and ensure all items are present:
- 1 x Inflator with Jump Starter (Main Unit)
- 1 x Heavy Duty Clamps (for jump starting)
- 1 x Air Hose (for tyre inflation)
- 1 x USB-C Charging Cable
- 4 x Air Nozzle Attachments (for various inflatables)

Image: All components included in the XECH JumpX package.
3. Product Overview
Familiarize yourself with the main unit and its functions.
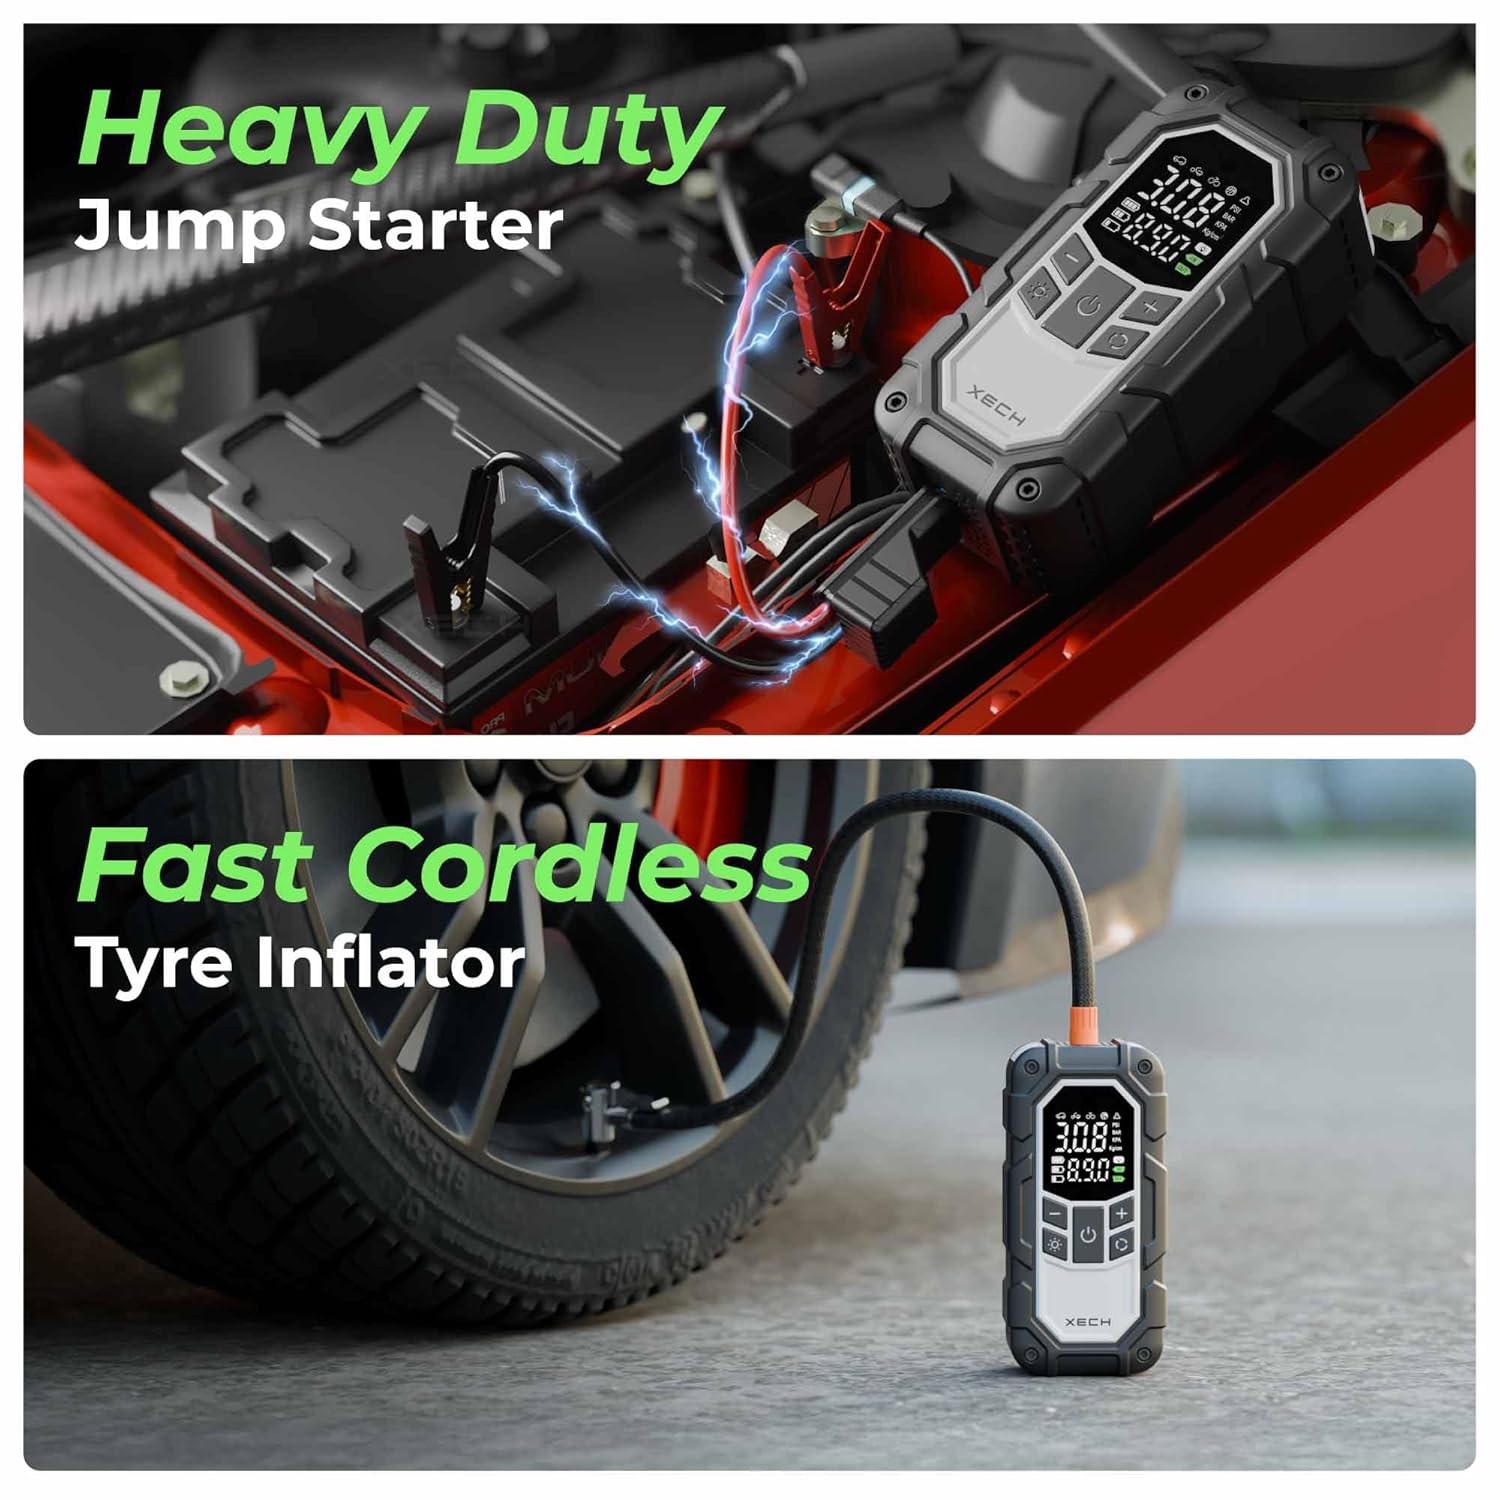
Image: The XECH JumpX functioning as a heavy-duty jump starter and a fast cordless tyre inflator.

Image: Engine compatibility and heavy-duty clamps for jump starting.
4. Charging the Device
Before first use, fully charge the XECH JumpX. It features an 8000mAh battery and charges via USB-C.
- Connect the provided USB-C charging cable to the USB-C input port on the JumpX unit.
- Connect the other end of the USB-C cable to a suitable USB power adapter (not included) or a powered USB port.
- The digital display will indicate charging status. Charge until the battery indicator shows full.
Note: A full charge typically takes several hours. Ensure the device is fully charged for optimal performance, especially before jump-starting.

Image: USB-C rechargeable battery port on the XECH JumpX.
5. Operating Instructions: Jump Starting a Vehicle
The XECH JumpX can jump-start 12V vehicles with up to 4.0L petrol and 2.0L diesel engines.
Safety First:
- Ensure the vehicle is in PARK (automatic) or NEUTRAL (manual) and the parking brake is engaged.
- Turn off all vehicle accessories (lights, radio, AC).
- Wear safety glasses and gloves.
- Do not touch the red and black clamps together.
- Do not attempt to jump-start a frozen battery.
Procedure:
- Connect the heavy-duty clamps to the JumpX unit's jump-start port.
- Connect the RED (+) clamp to the positive terminal of the vehicle's battery.
- Connect the BLACK (-) clamp to a metal part of the vehicle's engine block or chassis, away from the battery and fuel lines. Do NOT connect to the negative battery terminal directly unless specified by your vehicle manufacturer.
- Ensure all connections are secure. The JumpX display may show a 'Ready' indicator.
- Start the vehicle's engine. If it doesn't start immediately, wait 30 seconds before trying again. Do not crank for more than 3 seconds per attempt.
- Once the vehicle starts, immediately disconnect the BLACK (-) clamp first, then the RED (+) clamp from the battery.
- Disconnect the clamps from the JumpX unit.
6. Operating Instructions: Tyre Inflation
The XECH JumpX features a cordless tyre inflator with a 3-150 PSI range and Intelli-Stop function.
Procedure:
- Screw the air hose securely onto the inflation port of the JumpX unit.
- Select the appropriate air nozzle attachment for your item (car tyre, bike tyre, ball, inflatable).
- Attach the air hose to the valve stem of the tyre or inflatable. Ensure a tight seal.
- Turn on the JumpX unit. The digital display will show the current pressure.
- Use the '+' and '-' buttons to set the desired pressure. The device supports preset modes for common items.
- Press the start button to begin inflation. The inflator will automatically stop when the preset pressure is reached (Intelli-Stop).
- Once inflation is complete, quickly disconnect the air hose from the valve stem to minimize air loss.
- Disconnect the air hose from the JumpX unit.
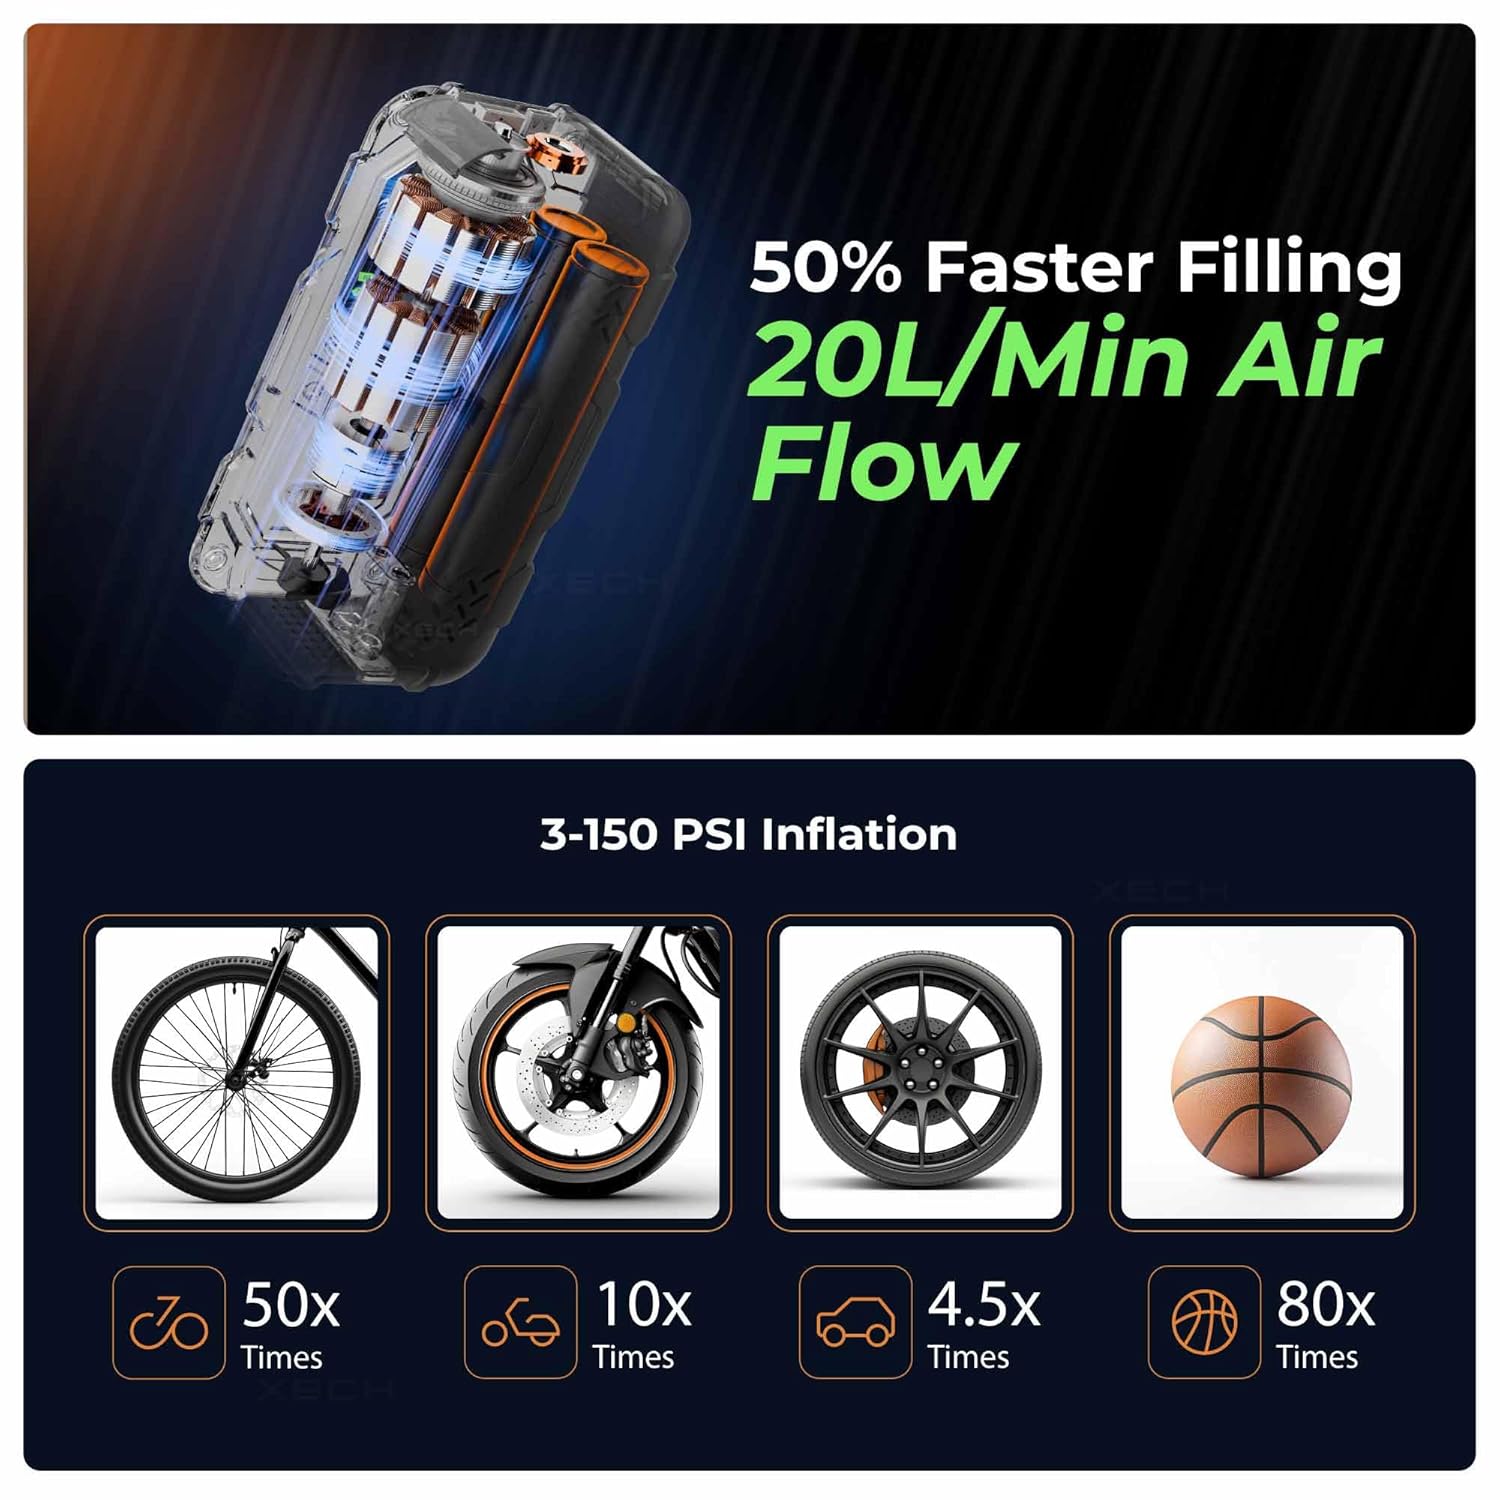
Image: Fast inflation capabilities and various items compatible with the inflator.

Image: The XECH JumpX is designed to operate in extreme temperatures.
7. Operating Instructions: Power Bank Function
The XECH JumpX can also serve as an 8000mAh power bank to charge your electronic devices.
- Connect your device's charging cable to the USB-A output port on the JumpX unit.
- The JumpX will automatically begin charging your device.
- Monitor your device's charging status. Disconnect once charging is complete.

Image: XECH JumpX functioning as a high-capacity power bank with fast USB-A output.
8. Operating Instructions: Emergency Light Function
The built-in emergency light provides illumination and signaling capabilities.
- Flashlight: Press the light button once to turn on the focused beam flashlight.
- SOS Signal: Press the light button a second time to activate the SOS flashing mode.
- Emergency Red Light: Press the light button a third time to activate the red emergency light, useful for roadside visibility.
- Press the light button a fourth time to turn off the light.
Image: Emergency light functions including wider light throw and SOS/red emergency light.
9. Safety Precautions
Always follow these safety guidelines to prevent injury or damage to the device and vehicle:
- Read all instructions before use.
- Keep out of reach of children.
- Do not expose the device to rain or extreme moisture.
- Do not disassemble or modify the device.
- Use only the provided clamps and air hose.
- Ensure proper ventilation during use and charging.
- Avoid dropping or subjecting the device to strong impacts.
- Store in a cool, dry place when not in use.
- The device includes multi-level protection: auto-cut off, overcharge protection, in-built cooling fan, and spark-proof reverse polarity protection.
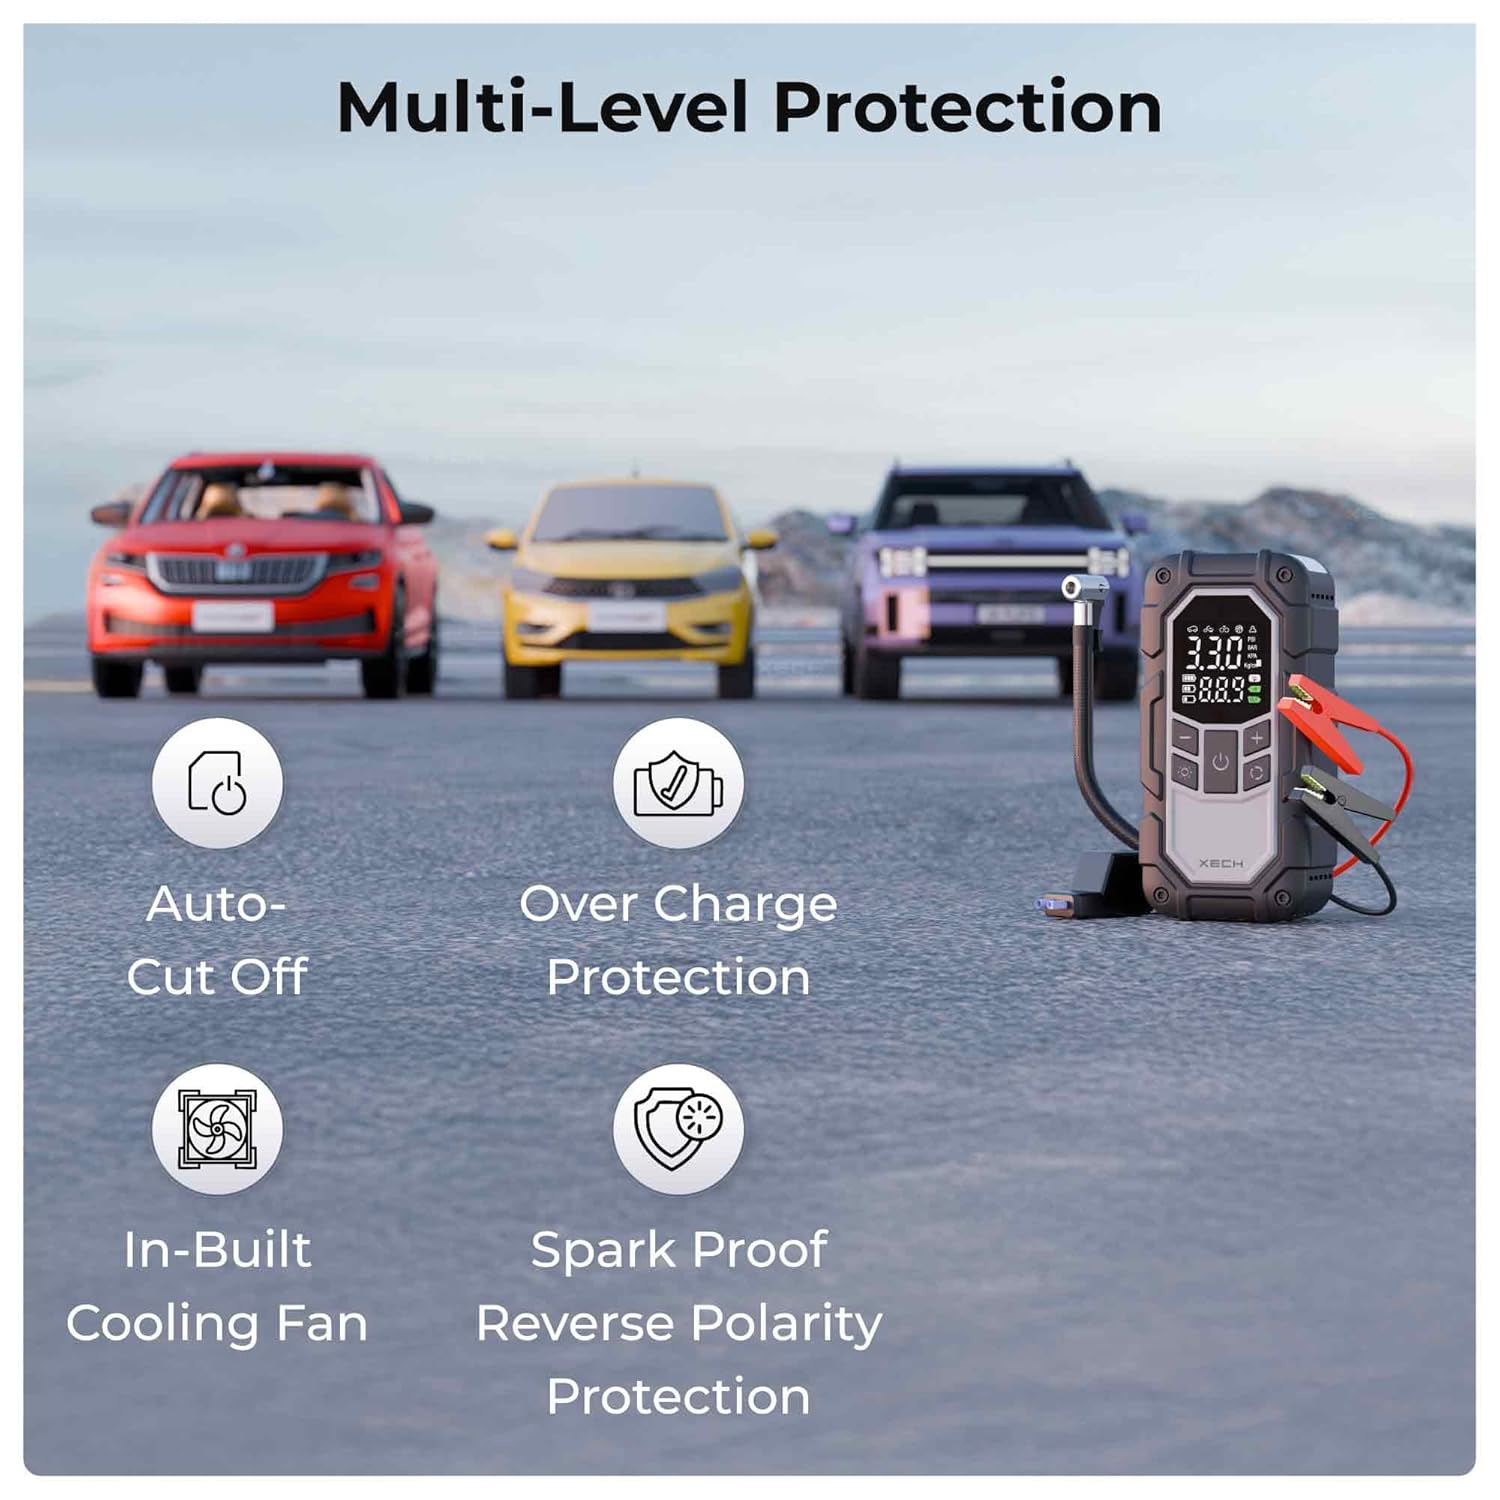
Image: Multi-level protection features of the XECH JumpX.
10. Maintenance
To ensure the longevity and optimal performance of your XECH JumpX:
- Clean the exterior with a soft, dry cloth. Do not use harsh chemicals or abrasives.
- Keep the charging ports and air hose connections free from dust and debris.
- Recharge the device every 3-6 months, even if not used, to maintain battery health.
- Store the device and accessories in a protective bag or case to prevent damage.
11. Troubleshooting
If you encounter issues with your XECH JumpX, refer to the following common problems and solutions:
| Problem | Possible Cause | Solution |
|---|---|---|
| Device does not turn on. | Battery is depleted. | Charge the device fully using the USB-C cable. |
| Vehicle does not jump start. | Incorrect clamp connection; battery too low; engine too large. | Ensure clamps are connected correctly (+ to +, - to chassis). Check battery level of JumpX. Verify engine size is within specifications (4.0L petrol, 2.0L diesel). |
| Tyre inflator not working or inaccurate. | Air hose not securely attached; incorrect pressure setting; valve stem leak. | Ensure air hose is tightly screwed on. Check and reset desired pressure. Inspect tyre valve for damage. |
| Device gets hot during use. | Normal operation during heavy load; prolonged use. | The device has an in-built cooling fan. Allow it to cool down between uses, especially after jump-starting or extended inflation. |
If the problem persists, contact XECH customer support.
12. Specifications
| Feature | Detail |
|---|---|
| Model | JumpX (X-445) |
| Manufacturer | XECH TECHNOLOGIES PVT LTD |
| Jump Start Peak Current | 800A |
| Engine Compatibility | Up to 4.0L Petrol, 2.0L Diesel |
| Tyre Inflator Pressure Range | 3-150 PSI |
| Air Flow Rate | 20L/min |
| Battery Capacity | 8000mAh (Lithium Ion) |
| Charging Input | USB-C |
| Power Bank Output | USB-A |
| Material | ABS Plastic |
| Dimensions (LxWxH) | 5.8 x 8.1 x 16.2 cm |
| Weight | 590 g |
13. Warranty and Support
The XECH JumpX comes with a 1 Year Warranty from the date of purchase. Please retain your proof of purchase for warranty claims.
For technical support, troubleshooting assistance, or warranty inquiries, please contact XECH Technologies Pvt Ltd:
- Manufacturer/Importer: XECH Technologies Pvt Ltd, MIDC, Andheri East, Mumbai
- Refer to the official XECH website or your purchase documentation for the most current contact information.


