
1. Introduction
This manual provides essential information for the proper setup, operation, and maintenance of your Wisoqu 11-inch Convertible Laptop. Please read this manual thoroughly before using the device to ensure optimal performance and longevity.
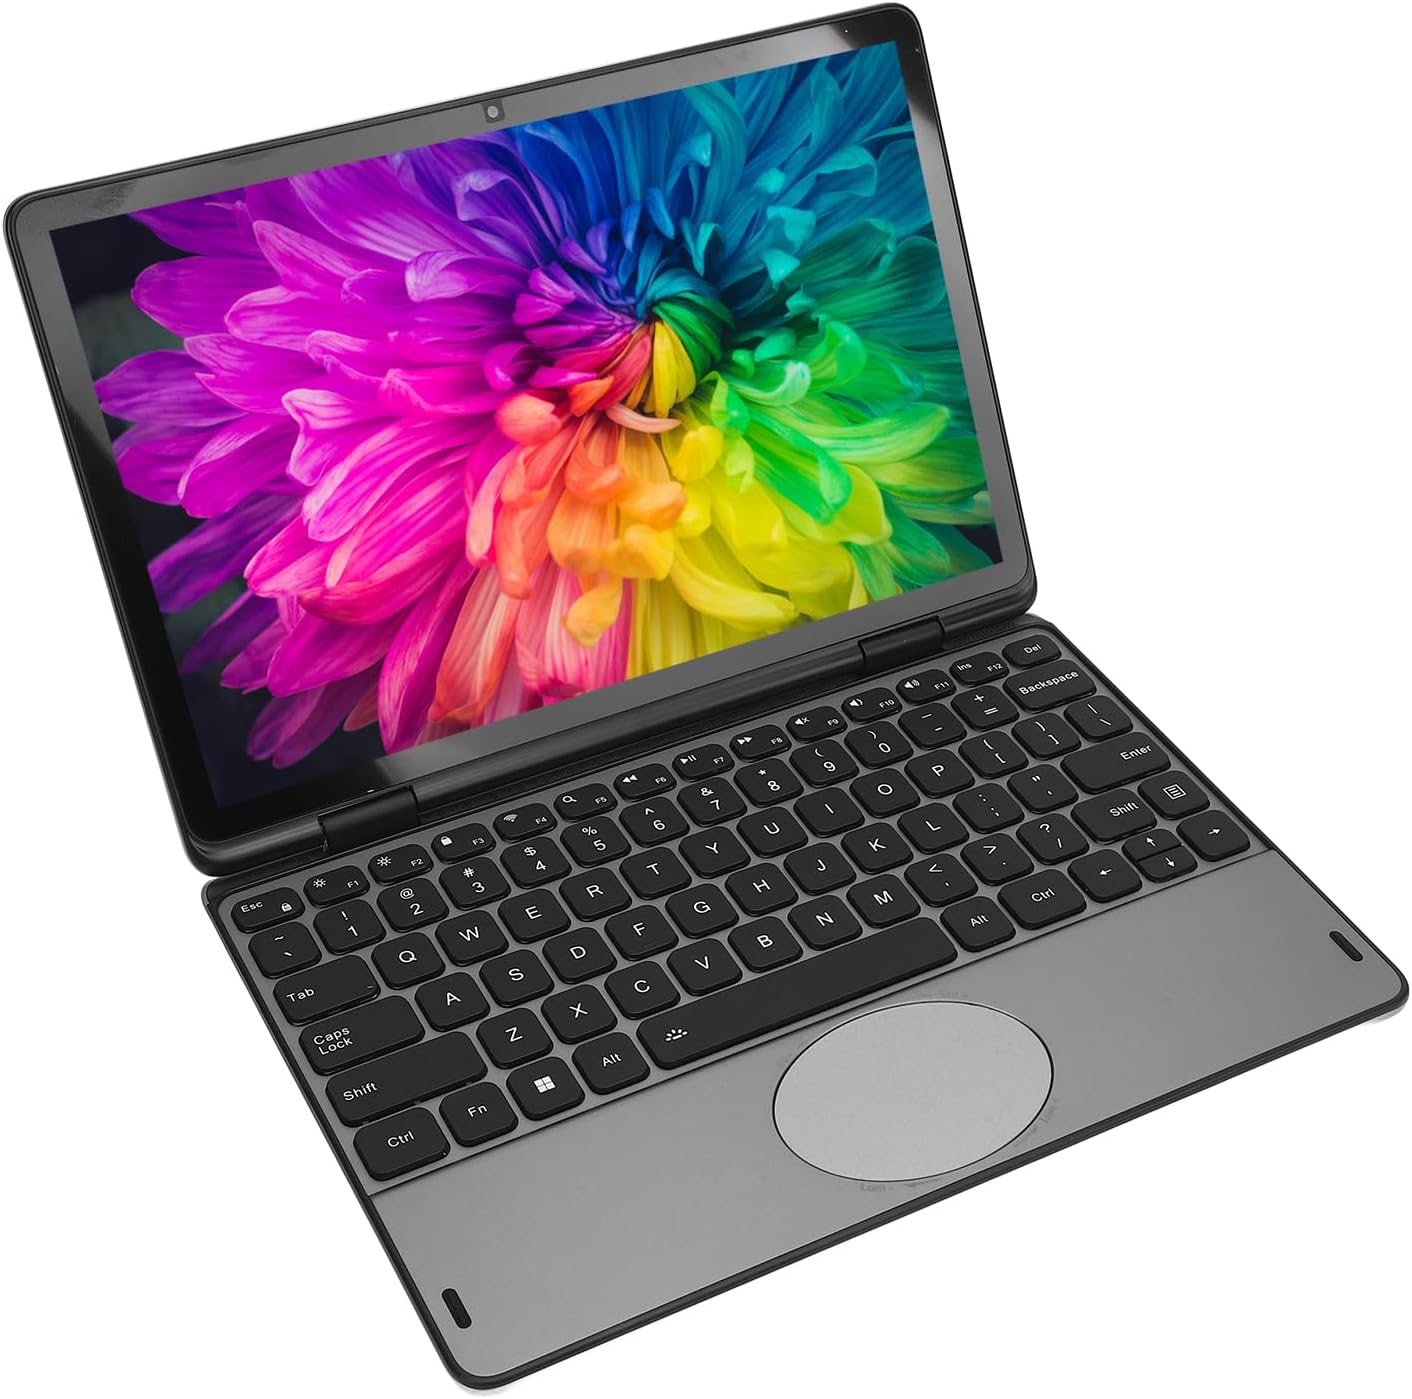
Figure 1.1: Wisoqu 11-inch Convertible Laptop in standard laptop configuration, displaying a vibrant image on its screen.
2. Product Overview
2.1 Key Features
- 360-Degree Convertible Design: Allows the laptop to transform into various modes, including laptop, tablet, tent, and stand, enhancing versatility for different tasks.
- Full HD Touchscreen Display: An 11-inch 1920x1200 resolution display with a 178-degree wide viewing angle, offering clear visuals and interactive touch functionality.
- High Performance: Equipped with a 12th Generation Celeron processor (up to 3.40GHz turbo frequency), 32GB DDR4 RAM, and a 512GB high-speed SSD for efficient multitasking and quick system response.
- Portable Design: Features a slim profile (20mm thickness) and lightweight construction for easy transport.
- Flexible Connectivity: Includes 2x USB 3.0 ports, 1x Type-C port, 1x HD Multimedia Interface (HDMI), and 1x 3.5mm audio jack for connecting various peripherals.
- Illuminated Keyboard: An ultra-thin scissor-leg keyboard with backlighting for comfortable typing in various lighting conditions.
2.2 Components and Ports

Figure 2.1: Front view of the Wisoqu Convertible Laptop, showcasing the keyboard and touchscreen display.

Figure 2.2: Close-up view of the left side ports, including a USB 3.0 port, headphone jack, and HD Multimedia Interface (HDMI).
The laptop features various ports for connectivity:
- USB 3.0 Ports (x2): For connecting USB devices such as external drives, mice, or keyboards.
- Type-C Port (x1): A versatile port for data transfer and potentially charging (refer to specifications for charging capability).
- HD Multimedia Interface (HDMI) (x1): For connecting to external displays or projectors.
- Direct Current Power Port (x1): For connecting the included power adapter to charge the laptop.
- Sound Interface (3.5mm Headphone Jack) (x1): For connecting headphones or external speakers.
3. Setup
3.1 Initial Power On
- Unpack the laptop and all accessories from the packaging.
- Connect the power adapter to the Direct Current Power Port on the laptop and then plug it into a power outlet.
- Press the power button, typically located on the side or top right of the keyboard deck, to turn on the laptop.
- Follow the on-screen instructions to complete the initial setup of the Windows 11 PRO operating system. This includes selecting language, region, connecting to Wi-Fi, and creating a user account.

Figure 3.1: The Wisoqu laptop connected to its power adapter, ready for initial setup or charging.
3.2 Connecting to Wi-Fi
During the initial Windows setup, you will be prompted to connect to a Wi-Fi network. If you skip this step or need to connect later:
- Click the Wi-Fi icon in the system tray (bottom right corner of the screen).
- Select your desired network from the list of available networks.
- Enter the network password if prompted and click "Connect".
4. Operating Instructions
4.1 Using the Convertible Modes
The Wisoqu laptop features a 360-degree hinge, allowing it to be used in multiple configurations:
- Laptop Mode: Traditional laptop configuration for typing and productivity.
- Tent Mode: Fold the screen back to form a "tent" shape, ideal for watching videos or presentations in confined spaces.
- Stand Mode: Fold the screen back further, resting the keyboard face down, for media consumption or touch-based applications.
- Tablet Mode: Fold the screen completely back against the base, transforming the device into a tablet for touch interaction.

Figure 4.1: The Wisoqu Convertible Laptop configured in tablet mode, with the keyboard folded completely behind the screen.

Figure 4.2: The Wisoqu Convertible Laptop in an intermediate angled position, demonstrating its flexible hinge design.
4.2 Keyboard and Touchpad
The laptop features an illuminated keyboard and a responsive touchpad.
- Keyboard Backlight: To toggle the keyboard backlight, use the dedicated function key (often indicated by a keyboard icon with light rays).
- Touchpad Gestures: The touchpad supports multi-touch gestures for navigation. Refer to Windows settings for customization.

Figure 4.3: Close-up view of the Wisoqu laptop's illuminated keyboard, highlighting the key layout and function keys.
4.3 Connecting External Devices
Use the available ports to connect external devices:
- USB Devices: Plug USB drives, external mice, or keyboards into the USB 3.0 ports.
- External Display: Connect an external monitor or projector using an HDMI cable to the HD Multimedia Interface port.
- Audio Devices: Plug headphones or external speakers into the 3.5mm audio jack.
5. Maintenance
5.1 Cleaning the Laptop
- Screen: Use a soft, lint-free cloth slightly dampened with water or a screen cleaner. Avoid harsh chemicals.
- Keyboard and Chassis: Use a soft, dry cloth. For stubborn dirt, a slightly damp cloth can be used, ensuring no liquid enters openings.
- Ports: Use compressed air to gently clear dust from ports.
5.2 Battery Care
- Avoid fully discharging the battery frequently.
- Store the laptop in a cool, dry place if not used for extended periods.
- Use only the provided power adapter for charging.
5.3 Software Updates
Regularly check for and install operating system updates (Windows Update) and driver updates to ensure optimal performance and security.
6. Troubleshooting
This section addresses common issues you might encounter with your Wisoqu laptop.
6.1 Power Issues
- Laptop does not turn on:
- Ensure the power adapter is securely connected to both the laptop and a working power outlet.
- Verify the power outlet is functional by plugging in another device.
- Allow the laptop to charge for at least 30 minutes before attempting to power it on again.
- Battery not charging:
- Check the power adapter and cable for any damage.
- Ensure the power adapter is correctly seated in the laptop's DC power port.
- Try a different power outlet.
6.2 Display Issues
- Screen is blank or black:
- Ensure the laptop is powered on.
- Try adjusting the screen brightness using the function keys.
- If an external monitor is connected, try disconnecting it.
- Touchscreen not responding:
- Restart the laptop.
- Ensure the screen is clean and free of debris.
- Check for any pending Windows updates or driver updates for the touchscreen.
6.3 Connectivity Issues
- Wi-Fi not connecting:
- Ensure Wi-Fi is enabled in Windows settings.
- Restart your router and modem.
- Forget the network and reconnect, entering the password again.
- USB devices not recognized:
- Try plugging the device into a different USB port.
- Restart the laptop.
- Ensure the device drivers are up to date.
7. Specifications
The following table details the technical specifications of the Wisoqu 11-inch Convertible Laptop:
| Feature | Specification |
|---|---|
| Model | Wisoqugyxe0nt97u-12 |
| Display | 11-inch Touchscreen, 1920x1200 (FHD), 60Hz, 16:10 aspect ratio, Full RGBs Colour Gamut |
| Processor (CPU) | For Celeron 12th Generation (4 Cores, 4 Threads, up to 3.40GHz Turbo Frequency) |
| Memory (RAM) | 32GB DDR4 |
| Storage (SSD) | 512GB High-Speed SSD |
| Keyboard | Ultra Thin Scissor Legs Illuminated Keyboard |
| Battery Type | Li Battery (Built-in) |
| Battery Capacity | 3200mAh |
| Camera | 2MP, 30 fps HD camera |
| Bluetooth | Built-in Bluetooth 4.2 |
| Wi-Fi | Dual-band (2.4G, 5G), 802.11b/g/n support |
| Microphone | 42db, 2.2KΩ |
| Speaker | Built-in 8Ω 1W Speaker |
| Headphone Jack | 3.5mm Standard Headphone Jack |
| Ports | 2x USB 3.0, 1x Type-C, 1x HD Multimedia Interface, 1x Direct Current Power, 1x Sound Interface |
| Operating System | For Wins 11 PRO (Not Activated) |
| Material | Aluminium Alloy, ABS |
| Dimensions (Approx.) | 12.99 x 8.27 x 3.15 inches (Package) |
| Weight (Approx.) | 2.92 pounds / 1.33 Kilograms |
8. Warranty and Support
For warranty information and technical support, please refer to the documentation provided at the time of purchase or contact Wisoqu customer service. Keep your proof of purchase for warranty claims.
For further assistance, you may visit the official Wisoqu store page on Amazon: Wisoqu Store