1. Introduction
This manual provides detailed instructions for the installation, operation, and maintenance of the SPYMINNPOO RC Steering Engine Servo Accessory. This component is designed as a high-precision replacement part specifically for the WLtoys 144001 1/14 Four-wheel Drive Alloy RC Car. Constructed from durable, eco-friendly materials, this servo aims to enhance your model car's steering performance and overall functionality.
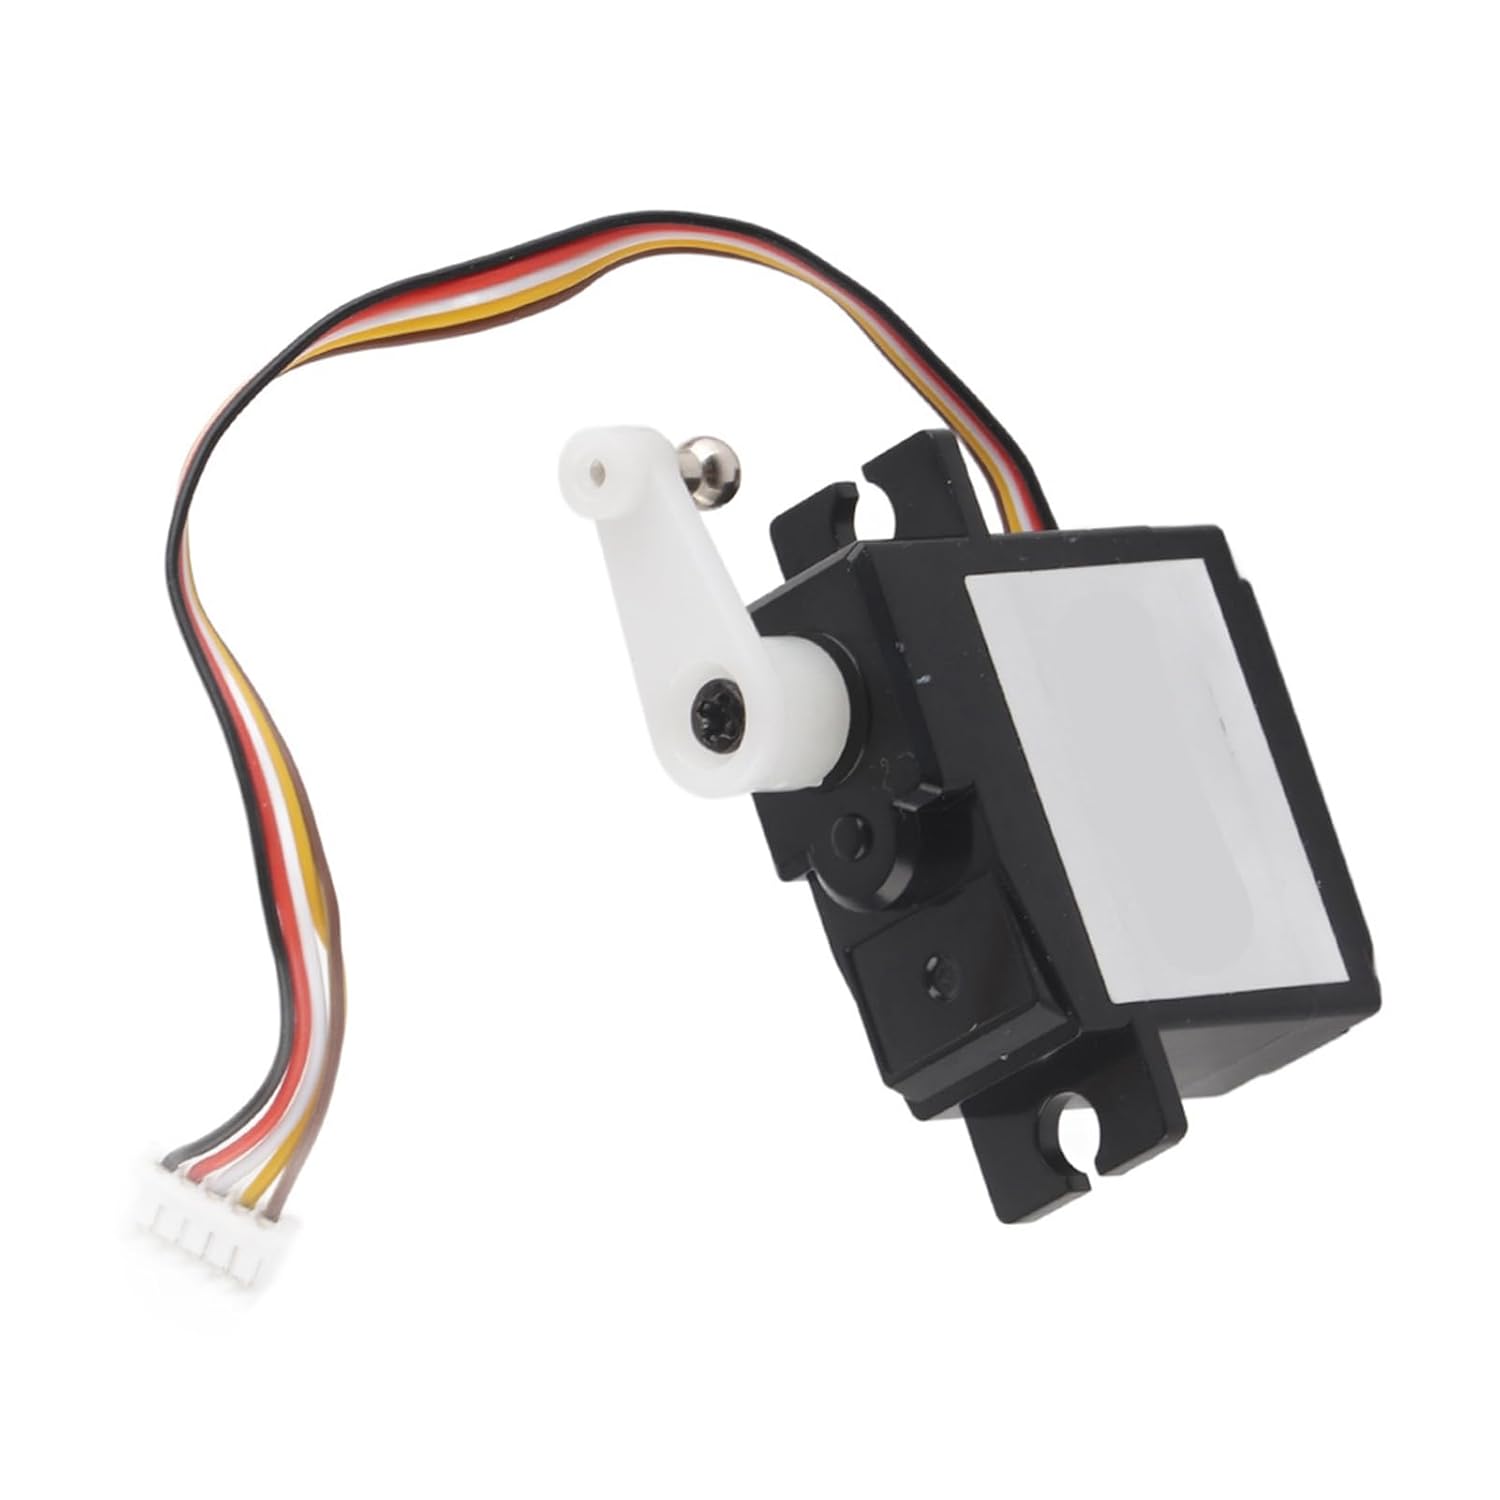
Figure 1: SPYMINNPOO RC Steering Engine Servo Accessory. This image shows the servo unit with its attached wiring and white servo horn.
2. Package Contents
Please verify that all items listed below are present in your package:
- 1 x RC Steering Engine Servo
- 1 x Screw (for mounting or securing servo horn)

Figure 2: The RC Steering Engine Servo shown alongside a separate black mounting bracket, indicating typical components for installation.
3. Specifications
| Feature | Detail |
|---|---|
| Item Type | RC Accessory (Steering Engine Servo) |
| Material | Metal/Plastic |
| Compatibility | WLtoys 144001 1/14 Four-wheel Drive Alloy RC Car |
| Recommended Age | 6 Years Old and above |
| Package Dimensions | Approx. 20 x 15 x 3 cm (7.9 x 5.9 x 1.2 inches) |
| Product Weight | Approx. 0.71 ounces (20 grams) |
4. Setup and Installation
This servo is designed as a direct replacement for the original steering servo in the WLtoys 144001 RC car. Follow these general steps for installation:
- Prepare the RC Car: Ensure the RC car is powered off and the battery is disconnected before beginning any installation or maintenance.
- Access the Steering Servo: Carefully remove the necessary body panels or chassis components of your WLtoys 144001 RC car to gain access to the existing steering servo. Refer to your RC car's original manual for specific disassembly instructions.
- Disconnect Old Servo: Disconnect the wiring of the old steering servo from the receiver. Unscrew and remove the old servo from its mounting location.
- Install New Servo: Place the new SPYMINNPOO RC Steering Engine Servo into the designated mounting position. Secure it using the appropriate screws (reusing original screws if necessary, or using the provided screw if applicable for mounting the servo horn).
- Connect Wiring: Connect the servo's wiring harness to the correct channel on your RC car's receiver. Typically, this is channel 1 for steering. Ensure the connector is fully seated and oriented correctly.
- Attach Servo Horn: If not already attached, secure the servo horn (the white lever arm) to the servo's output shaft. Ensure it is centered before tightening the screw. Connect the steering linkage from the servo horn to the steering mechanism of the RC car.
- Test Functionality: Reconnect the battery and power on the RC car and transmitter. Test the steering function to ensure the servo responds correctly to steering inputs and moves freely without binding.
- Reassemble Car: Once functionality is confirmed, reassemble any removed body panels or chassis components.
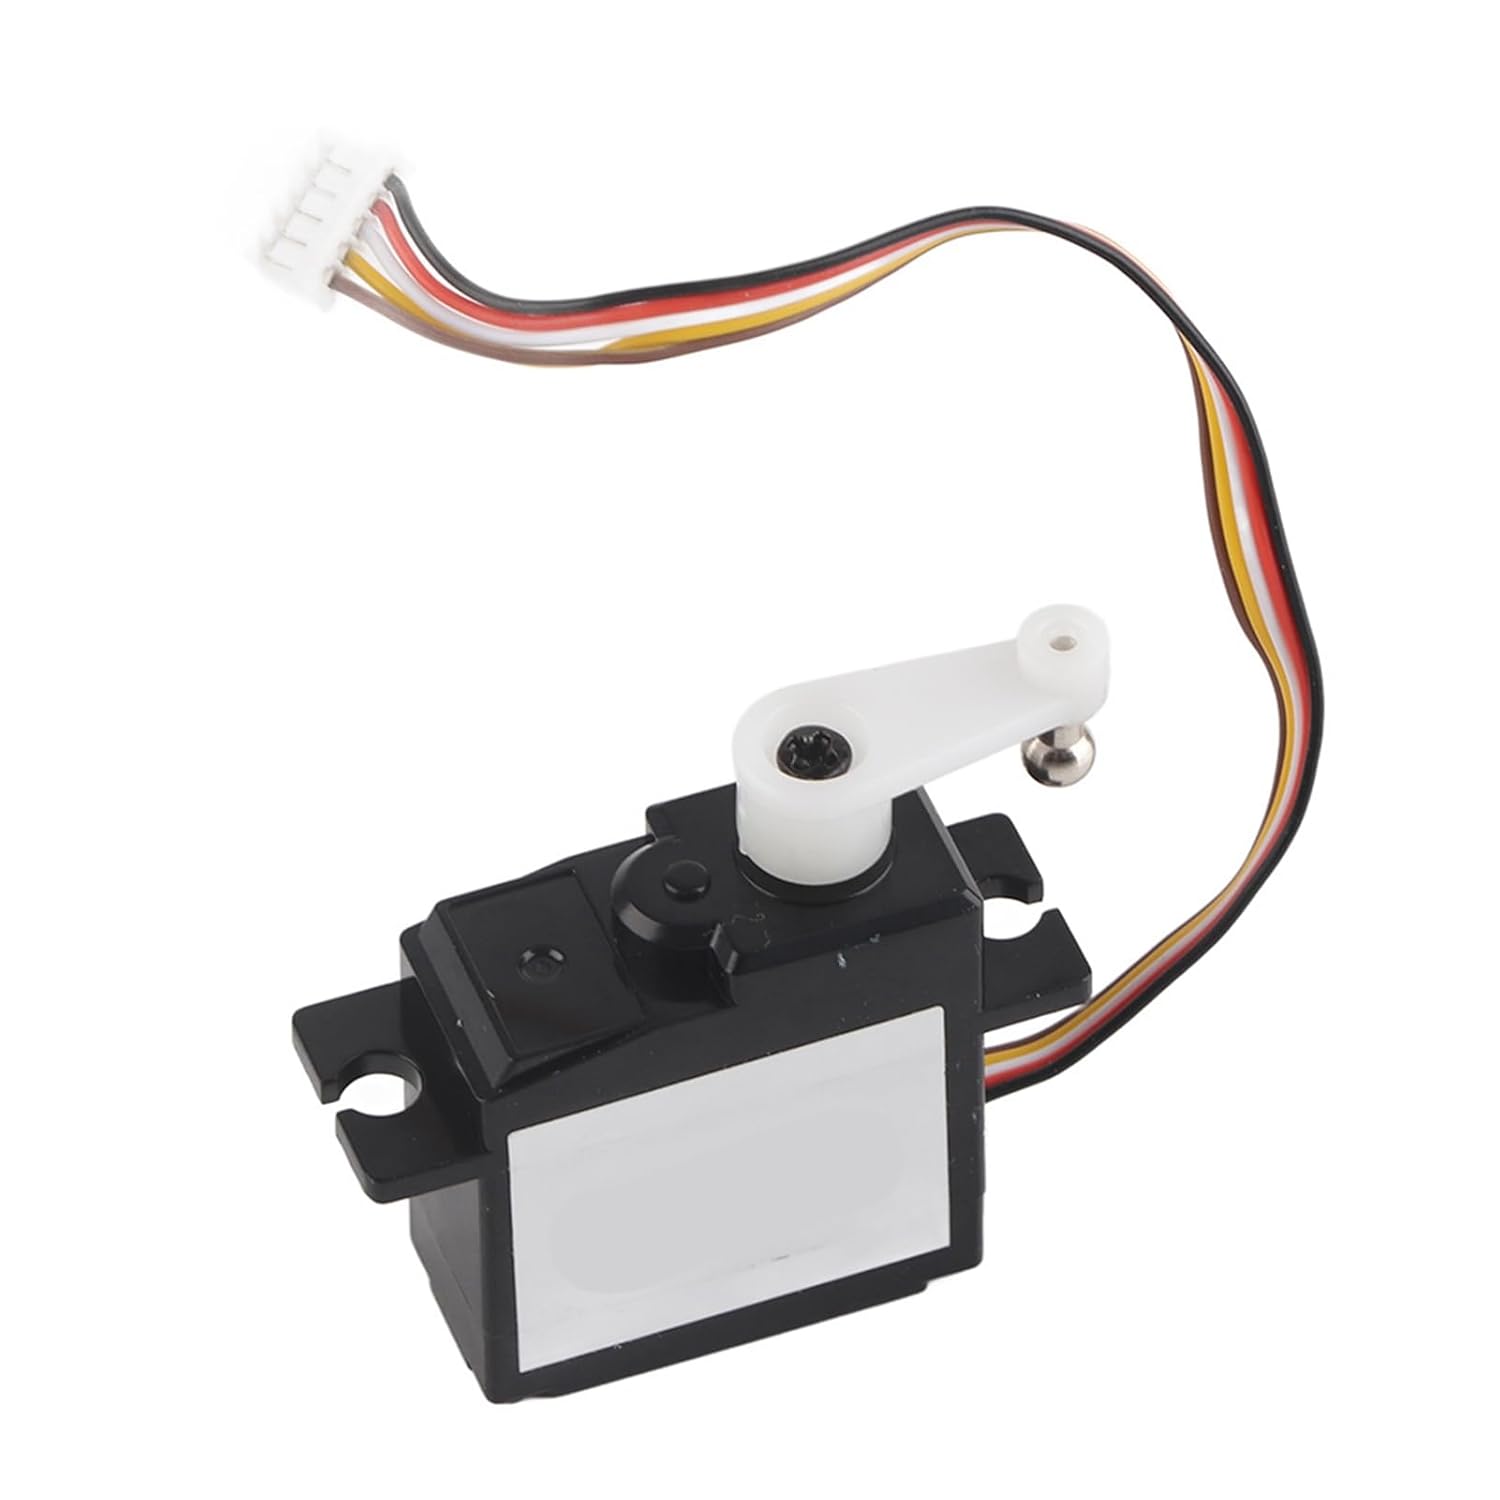
Figure 3: A close-up view of the RC Steering Engine Servo, highlighting its compact design and multi-colored wiring harness for connection to the RC receiver.
5. Operating Principles
The RC Steering Engine Servo is an electromechanical device that uses an electric motor to rotate a shaft to a specific angle based on a control signal from the RC receiver. In your WLtoys 144001, it translates commands from your remote control into physical movement of the steering mechanism, allowing you to precisely control the direction of the RC car. It operates by receiving Pulse Width Modulation (PWM) signals, which dictate the desired position of the servo arm.
6. Maintenance
Proper maintenance ensures the longevity and optimal performance of your steering servo:
- Keep Clean: Regularly inspect the servo for dirt, dust, or debris. Use a soft brush or compressed air to gently clean the exterior. Avoid using harsh chemicals.
- Check Connections: Periodically ensure all wiring connections to the receiver are secure and free from corrosion or damage.
- Inspect Gearing: If the servo exhibits unusual noise or inconsistent movement, it may indicate wear in the internal gears. While this servo is designed for durability, excessive force or impacts can cause damage.
- Avoid Overloading: Do not force the steering mechanism if it encounters an obstruction, as this can strip the servo gears.
- Storage: Store the RC car and its components in a dry, cool environment away from direct sunlight and extreme temperatures.
7. Troubleshooting
If you encounter issues with your steering servo, consider the following:
- Servo Not Responding:
- Check all wiring connections between the servo and the receiver. Ensure they are secure and correctly plugged into the steering channel (usually Channel 1).
- Verify that the RC car's battery is fully charged and properly connected.
- Ensure the remote control (transmitter) is powered on and properly bound to the receiver.
- Test with another servo (if available) or test the servo on another channel (if possible) to isolate the issue to the servo, receiver, or transmitter.
- Inconsistent or Jerky Movement:
- Inspect the steering linkage for any binding or obstructions that might be impeding smooth movement.
- Check for loose connections or damaged wiring.
- Ensure the servo horn is securely attached and not slipping on the servo shaft.
- Low battery voltage can sometimes cause inconsistent servo performance.
- Servo Making Noise but Not Moving:
- This often indicates stripped internal gears. The servo may need replacement.
- Ensure the servo is not physically jammed or overloaded.
If troubleshooting steps do not resolve the issue, please contact customer support.
8. Safety Information
- Always disconnect the battery from the RC car before performing any installation, maintenance, or cleaning.
- This product contains small parts and is recommended for ages 6 and above. Adult supervision is advised for younger users.
- Do not expose the servo to water or extreme moisture, as this can damage internal electronic components.
- Avoid applying excessive force to the servo or steering linkage, which can lead to damage.
- Keep out of reach of small children to prevent choking hazards.
9. Warranty and Support
Specific warranty information for this SPYMINNPOO product is not provided in this manual. For details regarding warranty coverage, returns, or technical support, please refer to the product listing on the retailer's website or contact the seller directly. Please retain your proof of purchase for any warranty claims.
For further assistance, you may contact SPYMINNPOO customer service through the platform where the product was purchased.


