1. Introduction
This manual provides essential information for the safe and effective installation, operation, and maintenance of your new DSVFBB compatible Samsung washing machine control board. Please read these instructions thoroughly before proceeding with installation or use to ensure proper function and to prevent damage to the appliance or injury.
2. Safety Information
WARNING: Electrical shock hazard. Always disconnect power to the washing machine before attempting any installation, repair, or maintenance. Failure to do so can result in serious injury or death.
- Ensure the washing machine is unplugged from the power outlet before beginning any work.
- Wear appropriate personal protective equipment, including insulated gloves.
- This control board contains sensitive electronic components. Handle with care to avoid electrostatic discharge (ESD) damage.
- Installation should only be performed by qualified technicians or individuals with experience in appliance repair.
- Do not operate the washing machine if the control board or any electrical components are wet or damaged.
- The board is equipped with overvoltage and overcurrent protection for safety. Do not bypass these features.
3. Product Overview
The DSVFBB compatible Samsung washing machine control board is a critical component responsible for managing various functions of your washing machine. It ensures efficient operation, precise speed regulation, and includes protective features for reliability.
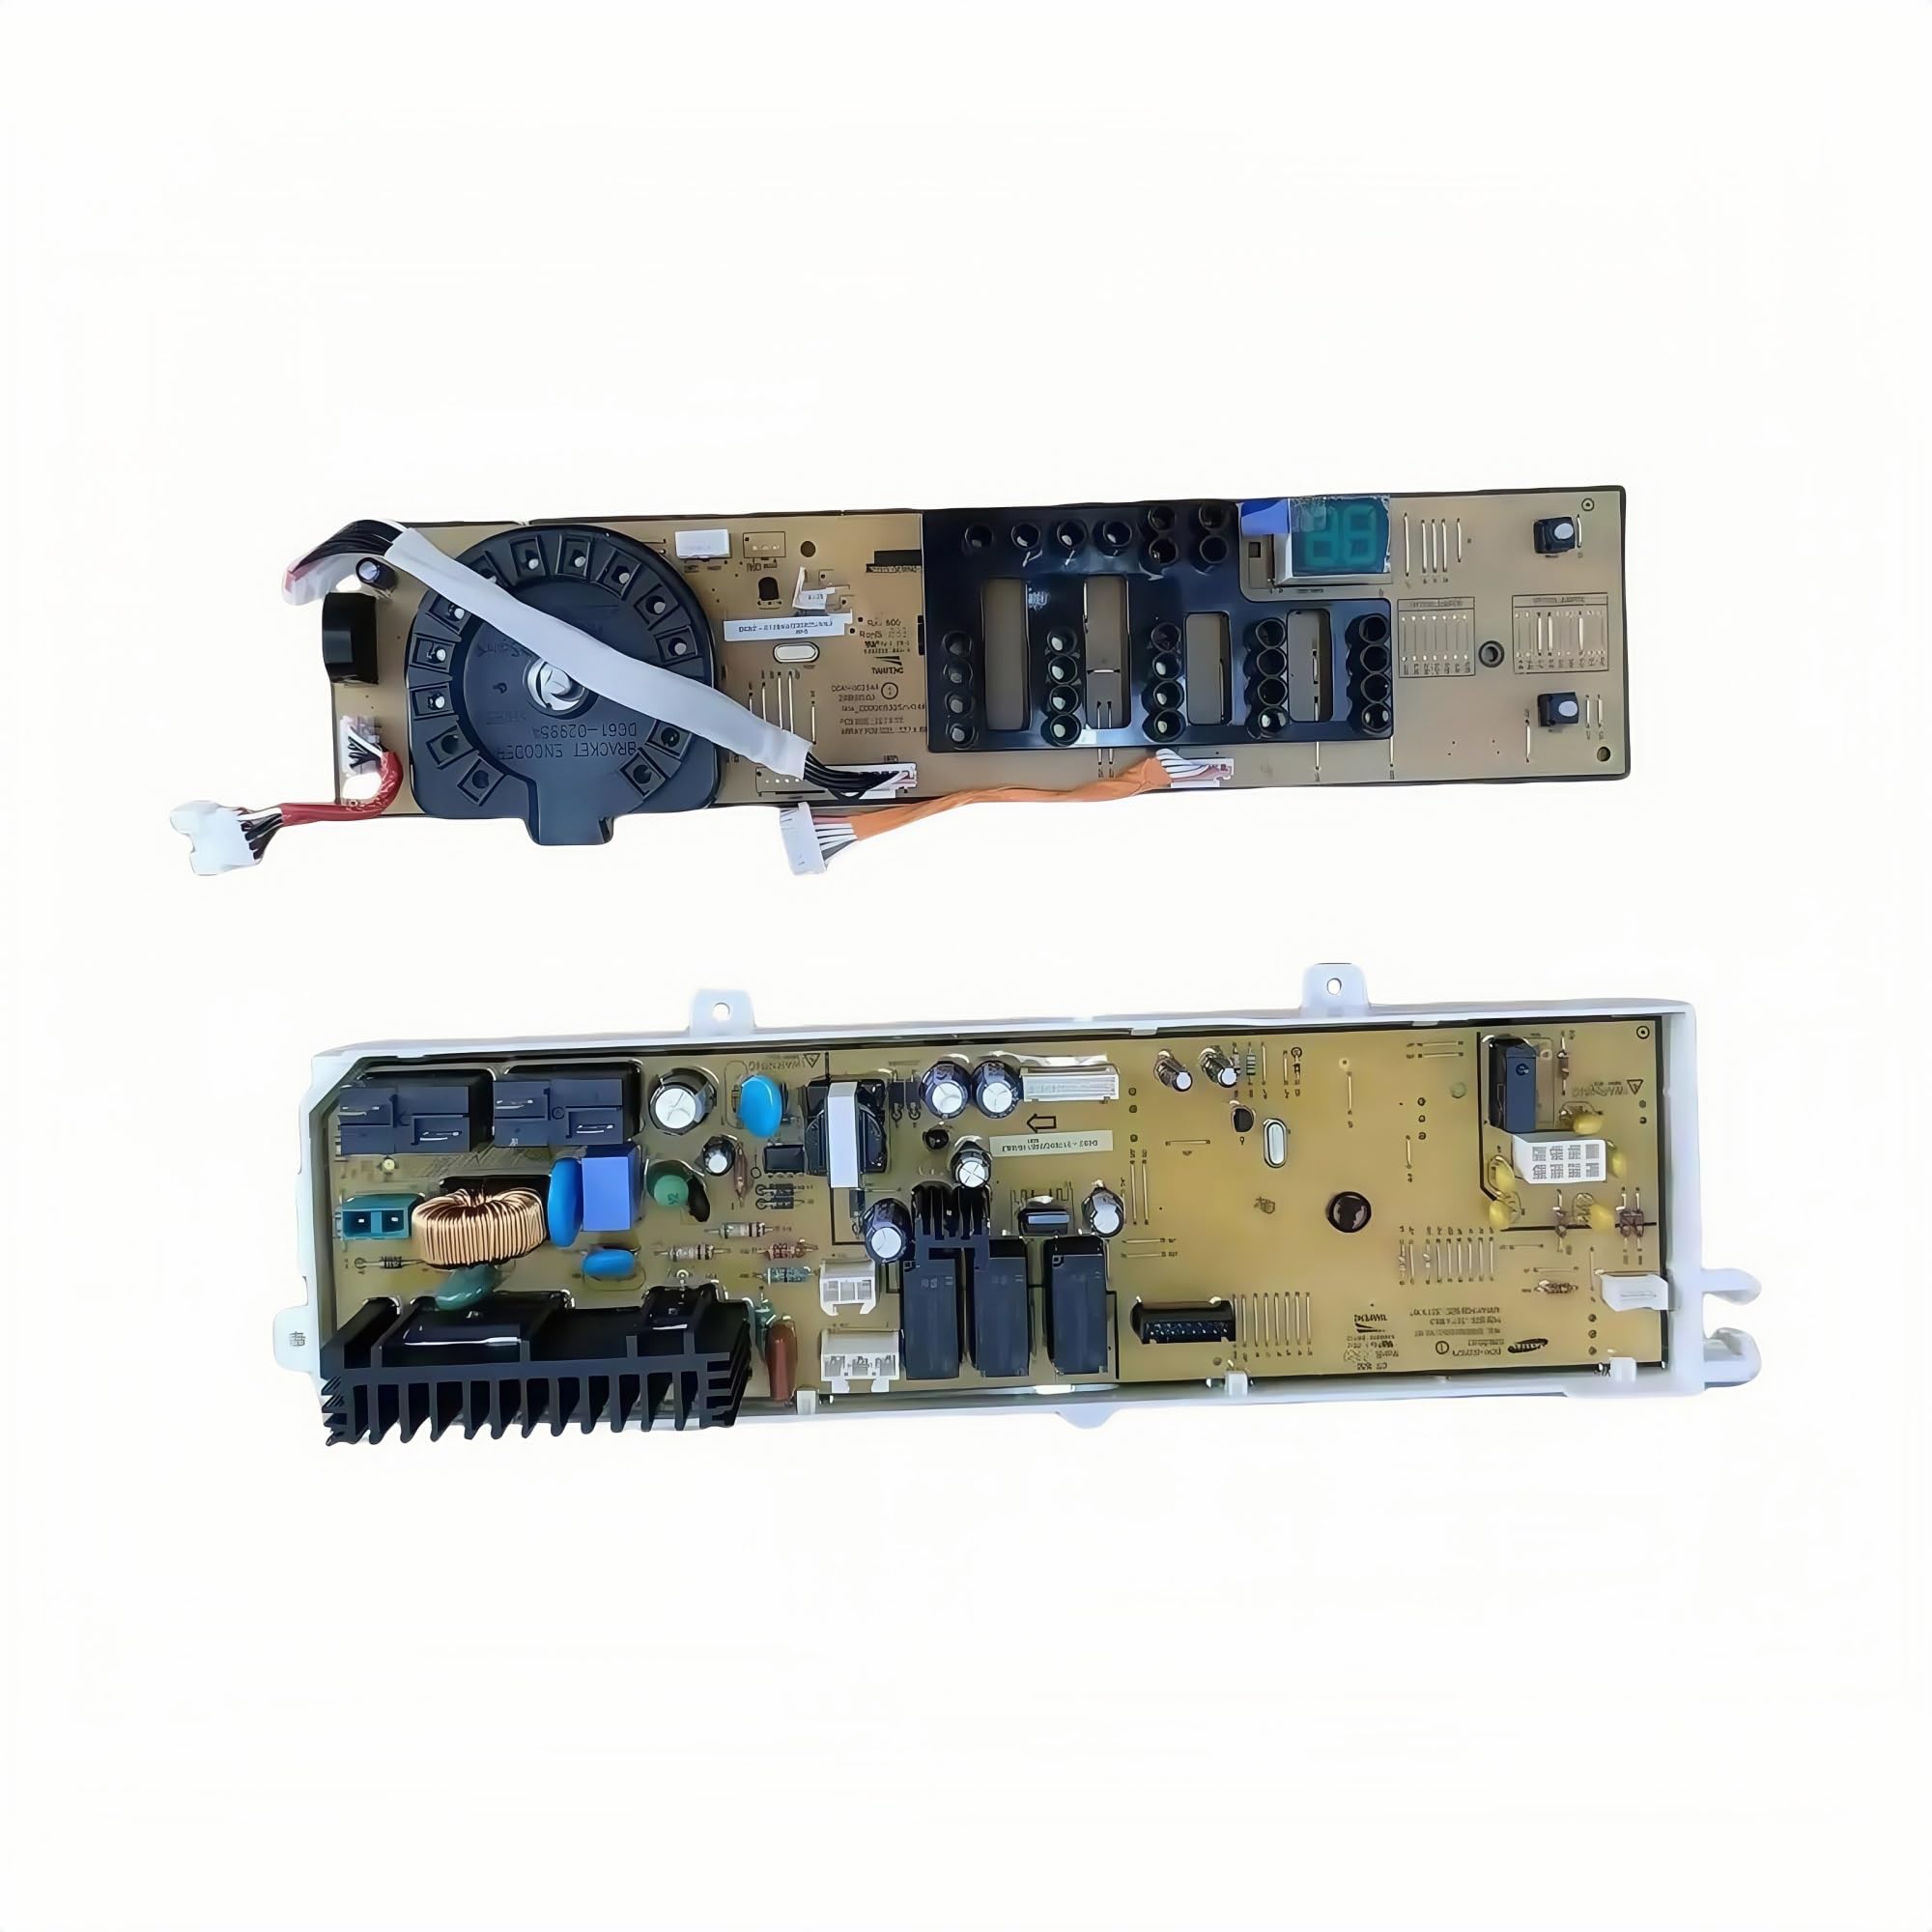
This image displays the main control board (top) and the user interface control board (bottom) for a Samsung washing machine. The top board features power components, relays, and a heatsink, while the bottom board includes an encoder dial, various buttons, and a digital display showing '88'.
Key Features:
- Provides sufficient power for efficient washing cycles.
- Accurately regulates motor speed to minimize clothing wear.
- Optimizes energy consumption, contributing to reduced electricity costs.
- Helps reduce operational noise for a quieter environment.
- Equipped with integrated overvoltage and overcurrent protection for enhanced safety and reliability.
4. Installation Instructions (Setup)
Replacing a washing machine control board requires careful attention to detail. It is highly recommended that this procedure be performed by a certified appliance technician.
- Disconnect Power: Unplug the washing machine from the wall outlet. Turn off the circuit breaker supplying power to the laundry area.
- Access the Control Board: Depending on your washing machine model, you may need to remove the top panel, back panel, or control console to access the existing control board. Refer to your specific washing machine's service manual for detailed access instructions.
- Document Connections: Before disconnecting any wires, take clear photographs or make detailed diagrams of all wire connections to the old control board. Note the color and position of each wire.
- Disconnect Wires: Carefully disconnect all wire harnesses and connectors from the old control board. Use appropriate tools to release clips or tabs if necessary.
- Remove Old Board: Unscrew or unclip the old control board from its mounting brackets.
- Install New Board: Position the new DSVFBB compatible control board in the same location as the old one. Secure it with the original screws or clips.
- Reconnect Wires: Using your photographs or diagrams, carefully reconnect all wire harnesses and connectors to the new control board. Ensure each connection is secure and correctly seated.
- Reassemble: Reattach any panels or consoles that were removed.
- Restore Power: Plug the washing machine back into the power outlet and turn on the circuit breaker.
- Test Functionality: Run a short wash cycle to confirm that the washing machine operates correctly.
5. Operation
This product is a replacement control board for a washing machine. It does not have direct user-operable controls. Its function is to process commands from the user interface and manage the various components of the washing machine (e.g., motor, water valves, drain pump) to execute wash cycles.
To operate your washing machine, please refer to the user manual provided with your specific washing machine model. The control board facilitates the functions described in that manual.
6. Maintenance
The control board itself requires minimal maintenance. To ensure its longevity and proper function:
- Keep the area around the control board clean and free from dust or debris.
- Ensure the washing machine environment is dry to prevent moisture damage to electronic components.
- Periodically inspect wire connections for looseness or corrosion. (Ensure power is disconnected before inspection).
- Avoid exposing the control board to extreme temperatures or direct sunlight.
7. Troubleshooting
If your washing machine experiences issues after installing the new control board, consider the following troubleshooting steps:
- No Power: Check if the washing machine is properly plugged in and if the circuit breaker is on. Verify all power connections to the control board are secure.
- Incorrect Functionality: Double-check all wire connections against your diagrams or photos to ensure they are correctly seated. A single misplaced wire can cause malfunctions.
- Error Codes: If the washing machine displays an error code, consult your washing machine's user manual or service manual for the meaning of the code and recommended solutions.
- Intermittent Issues: Ensure the control board is securely mounted and not vibrating excessively during operation.
- Protection Activation: The board has overvoltage and overcurrent protection. If the board is not functioning, it might be due to an external electrical issue triggering these protections. Consult an electrician if you suspect power supply problems.
If problems persist, it is advisable to contact a qualified appliance repair technician.
8. Specifications
| Specification | Detail |
|---|---|
| Brand | DSVFBB |
| Compatible Models | DC41-00203B, DC13-0058C, DC92-01776J, DC41-00254A, DC94-07571A, DC92-00951C |
| Package Dimensions | 0.39 x 0.39 x 0.39 inches |
| Item Weight | 1.76 ounces |
| Manufacturer | yuanjiye |
| Assembly Required | No |
| Number of Pieces | 1 |
9. Warranty and Support
For warranty information and support regarding this DSVFBB compatible control board, please refer to the seller or manufacturer's specific warranty policy at the time of purchase. Keep your proof of purchase for any warranty claims.
If you require technical assistance or have questions not covered in this manual, please contact the seller directly through the platform where the product was purchased.


