
1. Safety Instructions
Always observe basic safety precautions when using electrical tools to reduce the risk of fire, electric shock, and personal injury. Read all instructions carefully before operating this tool.
General Power Tool Safety
- Work Area Safety: Keep the work area clean and well-lit. Cluttered or dark areas invite accidents. Do not operate power tools in explosive atmospheres, such as in the presence of flammable liquids, gases, or dust.
- Electrical Safety: Power tool plugs must match the outlet. Never modify the plug in any way. Do not expose power tools to rain or wet conditions. Water entering a power tool will increase the risk of electric shock.
- Personal Safety: Always wear eye protection. Use hearing protection when operating for extended periods. Dress properly; avoid loose clothing or jewelry. Keep hair, clothing, and gloves away from moving parts.
- Tool Use and Care: Do not force the power tool. Use the correct power tool for your application. Disconnect the plug from the power source before making any adjustments, changing accessories, or storing power tools.
Specific Polisher Safety
- Ensure the workpiece is stable and secured.
- Always use the appropriate polishing pad for the task.
- Maintain a firm grip on the polisher with both hands during operation.
- Do not apply excessive pressure; let the tool do the work.
- Avoid operating the polisher near flammable materials or liquids.
2. Product Overview
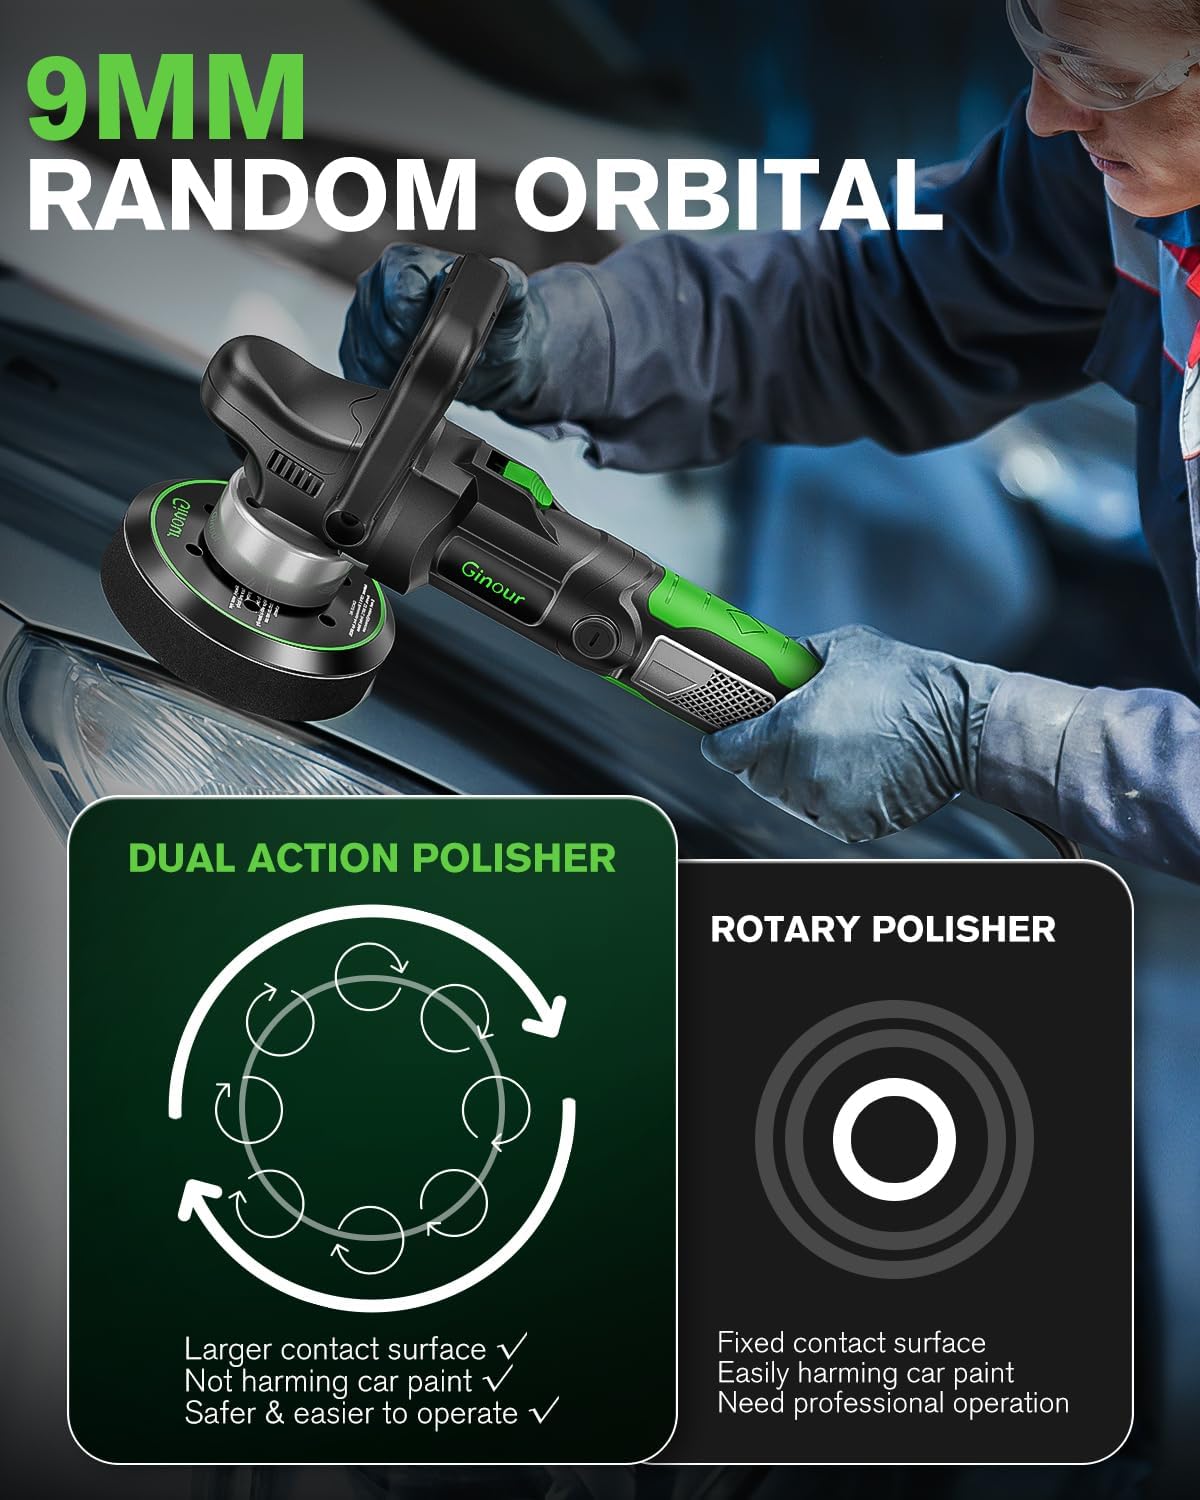
The Ginour GP10/9-6 Orbital Polisher is designed for efficient and safe vehicle surface treatment, including waxing, polishing, and paint defect removal. It features a powerful 1000W motor and a 9mm eccentric oscillation for optimal results.
Key Features
- Powerful 1000W Motor: Provides consistent power for various polishing tasks.
- 9mm Eccentric Oscillation: Ensures efficient polishing with reduced heat buildup, minimizing holograms and swirl marks.
- 6 Variable Speed Settings: Adjustable from 2000 to 6400 OPM for versatile applications.
- Ergonomic Design: Includes interchangeable D-handle and side handle for comfortable and controlled operation.
- Quick-Release Carbon Brush Chamber: Allows for easy and tool-free replacement of carbon brushes, extending motor life.
- 150mm (6-inch) Backing Plate: Compatible with standard 6-inch polishing pads.
Components Included
- 1 x Ginour Orbital Polisher (GP10/9-6)
- 6 x Polishing Sponges
- 2 x Synthetic Wool Pads
- 6 x Polishing Bonnets
- 9 x Abrasive Papers (3x 80-grit, 3x 100-grit, 3x 120-grit)
- 1 x Auxiliary D-Handle
- 1 x Side Handle
- 1 x Hex Wrench
- 1 x Pair of Gloves
- 1 x Cleaning Cloth
- 1 x User Manual
- 2 x Spare Carbon Brushes


3. Setup
Attaching Handles
The polisher comes with two interchangeable handles: a D-handle and a side handle. Choose the handle that provides the most comfort and control for your specific task.
- D-Handle: Align the D-handle with the mounting points on the front of the polisher. Secure it using the provided screws and hex wrench.
- Side Handle: Screw the side handle into the threaded hole on either side of the polisher's head, depending on your preference.

Attaching Polishing Pads
The 150mm (6-inch) backing plate features a hook-and-loop (Velcro) design for quick and easy pad changes.
- Ensure the backing plate is clean and free of debris.
- Align the desired polishing pad or bonnet with the backing plate.
- Press the pad firmly onto the backing plate to ensure a secure attachment.

4. Operating Instructions
Speed Adjustment
The polisher features a 6-level speed control dial, allowing you to select the optimal speed for different applications. The speed can be adjusted using the thumb-accessible dial on the side of the tool.
- Speed 1-2 (2000-2700 OPM): Ideal for waxing and light buffing.
- Speed 3-4 (3700-4700 OPM): Suitable for general polishing and cleaning.
- Speed 5-6 (5700-6400 OPM): Recommended for removing paint defects and heavy oxidation.

Application Guidance and Pad Selection
Select the appropriate pad and speed setting based on the task:
| Polishing Pad / Bonnet | Type | Recommended Use |
|---|---|---|
| Black Flat Pad | Medium Pad | Polishing & cleaning |
| Yellow Waffle Pad | Medium Pad | Polishing & cleaning |
| Green Flat Pad | Fine/finish Pad | Waxing & buffing |
| Orange Waffle Pad | Fine/finish Pad | Waxing & buffing |
| Synthetic Wool Pad | Coarse Pad | Removing paint defects & oxidation |
| Microfiber Bonnet | Synthetic Wax | Pad + Wax Bonnet = Perfect Finish (match bonnet to wax for best results) |
| Non-Woven Bonnet | General Wax Removal | General Wax Removal |

General Operation Tips
- Always start the polisher with the pad flat on the surface to avoid splatter.
- Move the polisher in a controlled, overlapping pattern.
- Do not concentrate on one spot for too long to prevent heat buildup and potential damage to the surface.
- Clean pads regularly to maintain effectiveness and prevent scratching.

5. Maintenance
Cleaning
- Always unplug the tool before cleaning.
- Wipe the exterior of the polisher with a soft, damp cloth. Do not use harsh chemicals or abrasive cleaners.
- Clean polishing pads thoroughly after each use to remove compound residue and extend their lifespan.
Carbon Brush Replacement
The Ginour GP10/9-6 features a quick-release carbon brush chamber for easy replacement, which is crucial for maintaining motor efficiency and extending the tool's life. Two spare carbon brushes are included.
- Locate the Brush Chambers: Identify the quick-release brush chambers on the sides of the motor housing.
- Remove Old Brushes: Use a flathead screwdriver or coin to unscrew the brush cap. Carefully pull out the old carbon brush.
- Insert New Brushes: Insert a new carbon brush into the chamber, ensuring it slides in smoothly. Replace the brush cap and tighten it securely.

6. Troubleshooting
If you encounter issues with your Ginour Orbital Polisher, refer to the following common problems and solutions:
- Polisher does not start:
- Check if the power cord is securely plugged into a working outlet.
- Inspect the power cord for any damage.
- Ensure the ON/OFF switch is in the 'ON' position.
- Check the carbon brushes; they may be worn out and require replacement.
- Reduced power or inconsistent operation:
- Carbon brushes may be partially worn or dirty. Replace or clean them.
- Ensure the correct speed setting is selected for the task.
- Verify that the polishing pad is clean and not clogged with compound.
- Excessive vibration or noise:
- Check if the polishing pad is properly centered and securely attached to the backing plate.
- Inspect the backing plate for any damage or imbalance.
- Ensure all handles are securely fastened.
If the problem persists after attempting these solutions, please contact Ginour customer support.
7. Specifications
| Feature | Specification |
|---|---|
| Model Number | GP10/9-6 |
| Power Input | 1000 W |
| Voltage | 230 V (AC) |
| No-Load Speed | 2000-6400 OPM (Orbits Per Minute) |
| Orbit Diameter | 9 mm |
| Backing Plate Diameter | 150 mm (6 inches) |
| Item Weight | 3.5 kg |
| Dimensions (Package) | 45 x 21.1 x 19.6 cm |
| Power Source | Corded Electric |
| Specific Uses | Automobile polishing, waxing, cleaning |
8. Warranty and Support
For warranty information, technical support, or service inquiries, please refer to the warranty card included with your product or contact Ginour customer service directly. Keep your purchase receipt as proof of purchase.
Contact Information: Please refer to the contact details provided in your product packaging or on the official Ginour website for the most up-to-date support information.