
1. Introduction
The Janome Skyline S7 Anniversary Edition computerized sewing machine is designed to provide a superior sewing experience with advanced features and precise control. This manual provides detailed instructions for the proper setup, operation, maintenance, and troubleshooting of your machine, ensuring optimal performance and longevity.

2. Important Safety Instructions
When using an electrical appliance, basic safety precautions should always be followed, including the following:
- Read all instructions before using this sewing machine.
- Keep these instructions in a convenient place near the machine.
- Always unplug the machine from the electrical outlet immediately after using and before cleaning, removing covers, or making any user servicing adjustments mentioned in the instruction manual.
- Do not allow to be used as a toy. Close attention is necessary when this machine is used by or near children.
- Use this product only for its intended use as described in this manual. Use only accessories recommended by the manufacturer.
- Never operate this sewing machine if it has a damaged cord or plug, if it is not working properly, if it has been dropped or damaged, or dropped into water.
- Never drop or insert any object into any opening.
- Do not use outdoors.
- Do not operate where aerosol (spray) products are being used or where oxygen is being administered.
3. Package Contents
Upon unpacking your Janome Skyline S7 Anniversary Edition, please ensure all components and accessories are present. The standard package includes the sewing machine unit and a variety of essential accessories to support diverse sewing projects.

Typical accessories include:
- Standard Presser Feet (e.g., Zigzag, Zipper, Buttonhole)
- Bobbins
- Needle Set
- Seam Ripper
- Screwdrivers
- Lint Brush
- Spool Holders
- Accessory Box
- Power Cord
- Foot Controller
4. Product Overview
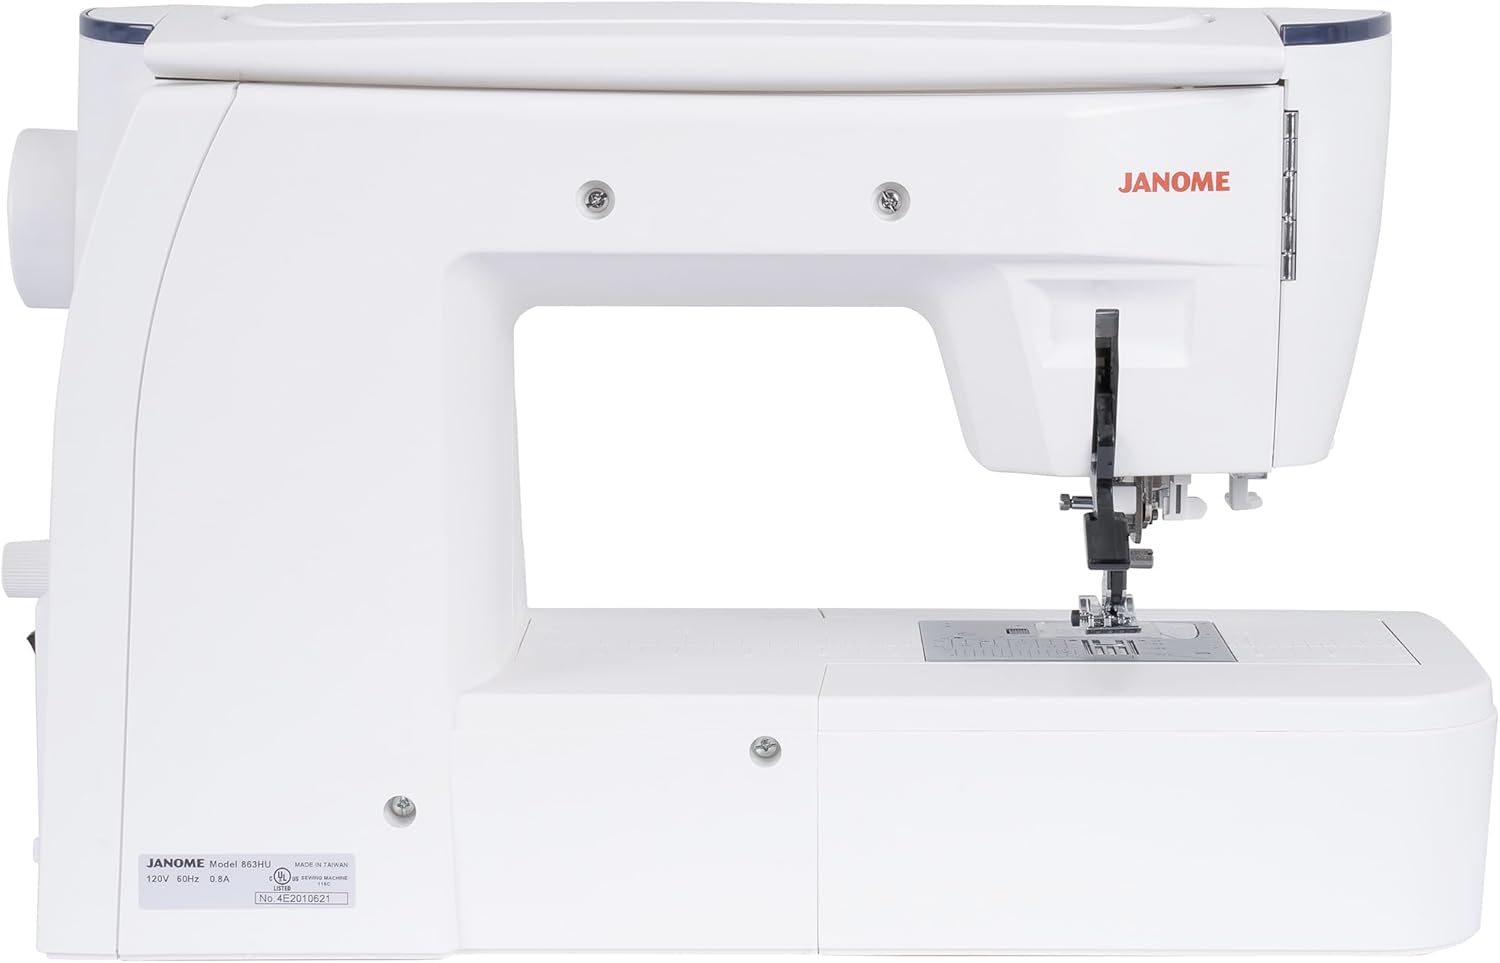
The Janome Skyline S7 Anniversary Edition is a sophisticated computerized sewing machine designed for precision and ease of use. It features a generous workspace, an intuitive LCD touchscreen, and advanced feeding systems.

4.1 Key Features
- ACUFEED: Quilters and designers will enjoy the AcuFeed Flex Layered Fabric Feeding System and the Automatic Presser Foot Lift.
- STITCH OPTIONS: Features 350 built-in stitches including utility, decorative, and quilting patterns, plus 11 one-step buttonholes.
- WORKSPACE: Extra-large sewing space with 8.9" x 4.2" work area to the right of the needle for handling larger projects.
- AUTOMATIC FEATURES: Superior Feed System Plus (SFS+) with automatic thread tension and built-in needle threader for smooth operation.
- COMPUTERIZED SYSTEM: Advanced computerized sewing machine with LCD touchscreen display for intuitive pattern selection and customization.
4.2 Machine Components
Familiarize yourself with the main parts of your sewing machine:
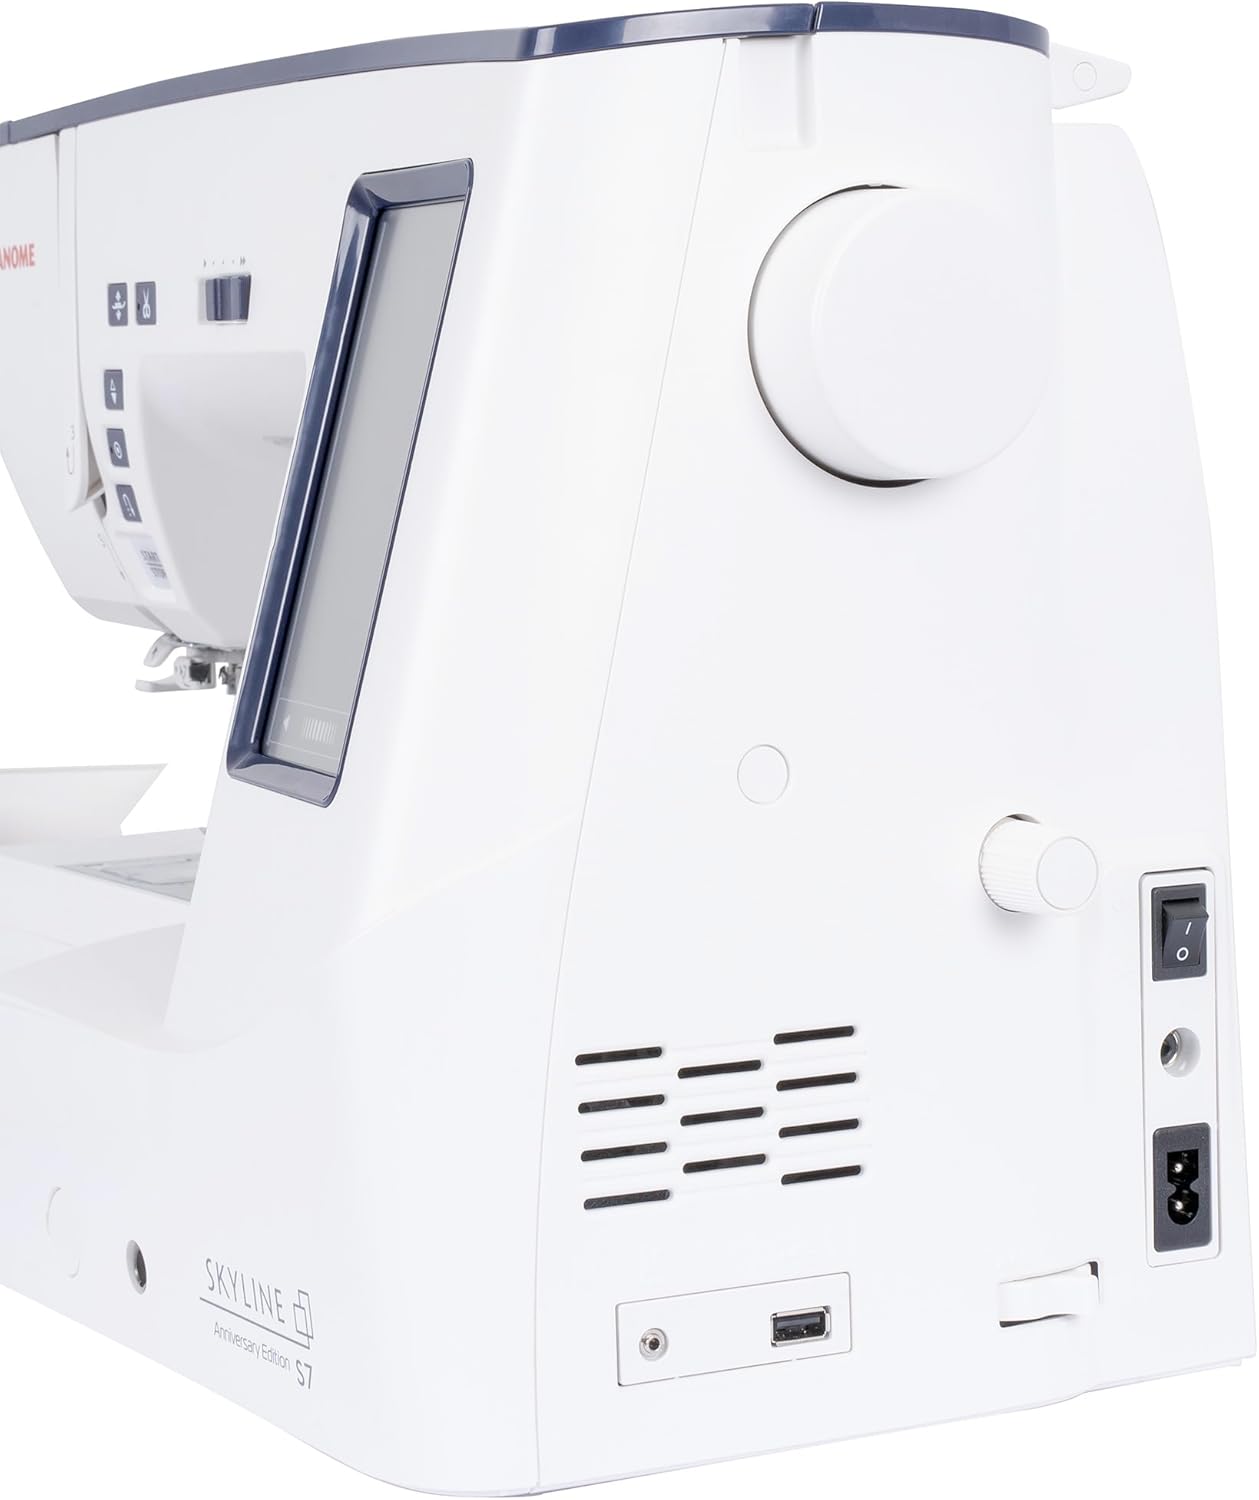
- LCD Touchscreen: For stitch selection, adjustments, and machine settings.
- Control Panel Buttons: Including Start/Stop, Reverse, Needle Up/Down, Thread Cutter, and Presser Foot Lift.
- Needle Plate: With measurement markings for accurate sewing.
- Bobbin Area: Easy-access top-loading bobbin system.
- Handwheel: For manual needle positioning.
- Spool Pins: For holding thread spools.
- Accessory Storage: Integrated storage for tools and presser feet.


5. Initial Setup
5.1 Unpacking and Placement
- Carefully remove the machine from its packaging.
- Place the machine on a stable, level surface.
- Remove any protective films or packaging materials.
5.2 Power Connection
- Ensure the power switch is in the OFF position.
- Connect the power cord to the machine's power socket.
- Plug the other end of the power cord into a suitable electrical outlet.
- Connect the foot controller to its designated port.

5.3 Winding the Bobbin
- Place a spool of thread on the spool pin.
- Guide the thread through the bobbin winding tension disc.
- Place an empty bobbin onto the bobbin winder spindle.
- Wrap the thread around the bobbin a few times clockwise.
- Push the bobbin winder spindle to the right.
- Press the Start/Stop button or step on the foot controller to begin winding.
- Once the bobbin is full, the winding will stop automatically. Cut the thread and push the spindle back to the left.
5.4 Inserting the Bobbin
- Ensure the needle is in its highest position.
- Slide the bobbin cover plate to the left to open the bobbin case.
- Place the wound bobbin into the bobbin case with the thread unwinding counter-clockwise.
- Guide the thread into the tension spring slot and then through the guide path.
- Pull out about 6 inches of thread.
- Replace the bobbin cover plate.
5.5 Threading the Upper Thread
- Raise the presser foot lever.
- Place a spool of thread on the spool pin.
- Follow the numbered threading path indicated on the machine, ensuring the thread passes through all guides and the take-up lever.
- Use the built-in needle threader to thread the needle automatically. If threading manually, thread the needle from front to back.
- Hold the upper thread and turn the handwheel towards you to lower and raise the needle, catching the bobbin thread. Pull both threads under the presser foot and to the back.
6. Operating Instructions
6.1 Selecting Stitches
- Turn on the machine. The LCD touchscreen will display the default stitch.
- Navigate through the stitch categories (utility, decorative, quilting) using the touchscreen controls.
- Select your desired stitch by tapping its icon on the screen.
6.2 Adjusting Stitch Settings
After selecting a stitch, you can adjust its length, width, and tension using the controls on the touchscreen. The machine will display recommended settings for each stitch, which can be fine-tuned as needed for your fabric and project.
6.3 Basic Sewing
- Place your fabric under the presser foot, aligning the edge with the desired seam allowance marking on the needle plate.
- Lower the presser foot.
- Press the Start/Stop button or gently press the foot controller to begin sewing.
- Guide the fabric gently; do not push or pull forcefully.
- To finish, press the Reverse button for a few stitches to secure, then press the Thread Cutter button or use the manual thread cutter.
6.4 Using AcuFeed Flex
The AcuFeed Flex system ensures even feeding of multiple layers of fabric or bulky materials. To engage AcuFeed Flex, attach the appropriate AcuFeed foot and activate the system via the machine's settings. This feature is particularly beneficial for quilting and working with challenging fabrics.
6.5 Automatic Features
The Skyline S7 includes several automatic features to simplify your sewing:
- Automatic Thread Cutter: Cuts both upper and bobbin threads with a single touch.
- Automatic Presser Foot Lift: Lifts the presser foot automatically at the end of a seam or when the needle is in the up position.
- Built-in Needle Threader: Simplifies threading the needle.
- Automatic Thread Tension: Adjusts tension automatically for selected stitches and fabrics.
7. Maintenance and Care
Regular maintenance ensures your sewing machine operates smoothly and extends its lifespan.
7.1 Cleaning the Machine
- Always unplug the machine before cleaning.
- Remove the needle, presser foot, and needle plate.
- Use the lint brush to remove lint and dust from the bobbin case area and feed dogs.
- Wipe the exterior of the machine with a soft, dry cloth. Do not use harsh chemicals or abrasive cleaners.
7.2 Changing the Needle
- Ensure the machine is off and the needle is in its highest position.
- Loosen the needle clamp screw with a screwdriver.
- Remove the old needle.
- Insert a new needle with the flat side facing the back of the machine, pushing it up as far as it will go.
- Tighten the needle clamp screw securely.
7.3 Lubrication
The Janome Skyline S7 is designed to be largely self-lubricating. Avoid applying oil to any part of the machine unless specifically instructed by the official service manual or an authorized Janome technician. Improper lubrication can cause damage.
8. Troubleshooting Guide
This section addresses common issues you might encounter. For more complex problems, consult an authorized service center.
| Problem | Possible Cause | Solution |
|---|---|---|
| Skipped Stitches | Incorrect needle size/type, bent needle, improper threading. | Change needle, re-thread machine, ensure correct needle for fabric. |
| Thread Breaking | Incorrect tension, poor quality thread, needle inserted incorrectly, burr on needle plate. | Adjust tension, use quality thread, check needle, clean needle plate. |
| Fabric Puckering | Incorrect tension, wrong stitch length, dull needle. | Adjust tension, increase stitch length, change needle. |
| Machine Not Starting | Power cord not connected, foot controller not plugged in, power switch off. | Check all connections, ensure power switch is ON. |
| Bobbin Thread Looping | Upper thread tension too tight, bobbin incorrectly inserted. | Reduce upper thread tension, re-insert bobbin correctly. |
9. Technical Specifications
Below are the technical specifications for the Janome Skyline S7 Anniversary Edition Computerized Sewing Machine:
| Specification | Detail |
|---|---|
| Product Dimensions | 9.6 x 19.1 x 12.1 inches (9.6"D x 19.1"W x 12.1"H) |
| Item Weight | 20.5 pounds |
| Manufacturer | Janome |
| Item Model Number | S7 Anniversary Edition |
| Brand | Janome |
| Color | White |
| UPC | 732212488177 |
| Manufacture Year | 2025 |
| Built-in Stitches | 350 (including utility, decorative, quilting, and 11 one-step buttonholes) |
| Workspace | 8.9" x 4.2" to the right of the needle |
| Feeding System | AcuFeed Flex Layered Fabric Feeding System, Superior Feed System Plus (SFS+) |
| Display | LCD Touchscreen |
10. Warranty and Support
The Janome Skyline S7 Anniversary Edition Computerized Sewing Machine comes with a manufacturer's warranty. Please refer to the warranty card included with your product for specific terms, conditions, and duration. For technical support, service, or to inquire about replacement parts, please contact Janome customer service or an authorized Janome dealer. Contact information can typically be found on the Janome official website or in your product registration materials.