1. Introduction and Overview
The Dell Pro 27 Plus QHD USB-C Hub Monitor P2725DE is a 27-inch LED monitor designed for productivity and visual clarity. It features a QHD (2560 x 1440) resolution at 100Hz, an IPS panel for wide viewing angles, and a built-in USB-C hub for streamlined connectivity. This manual provides essential information to help you set up, operate, and maintain your monitor effectively.
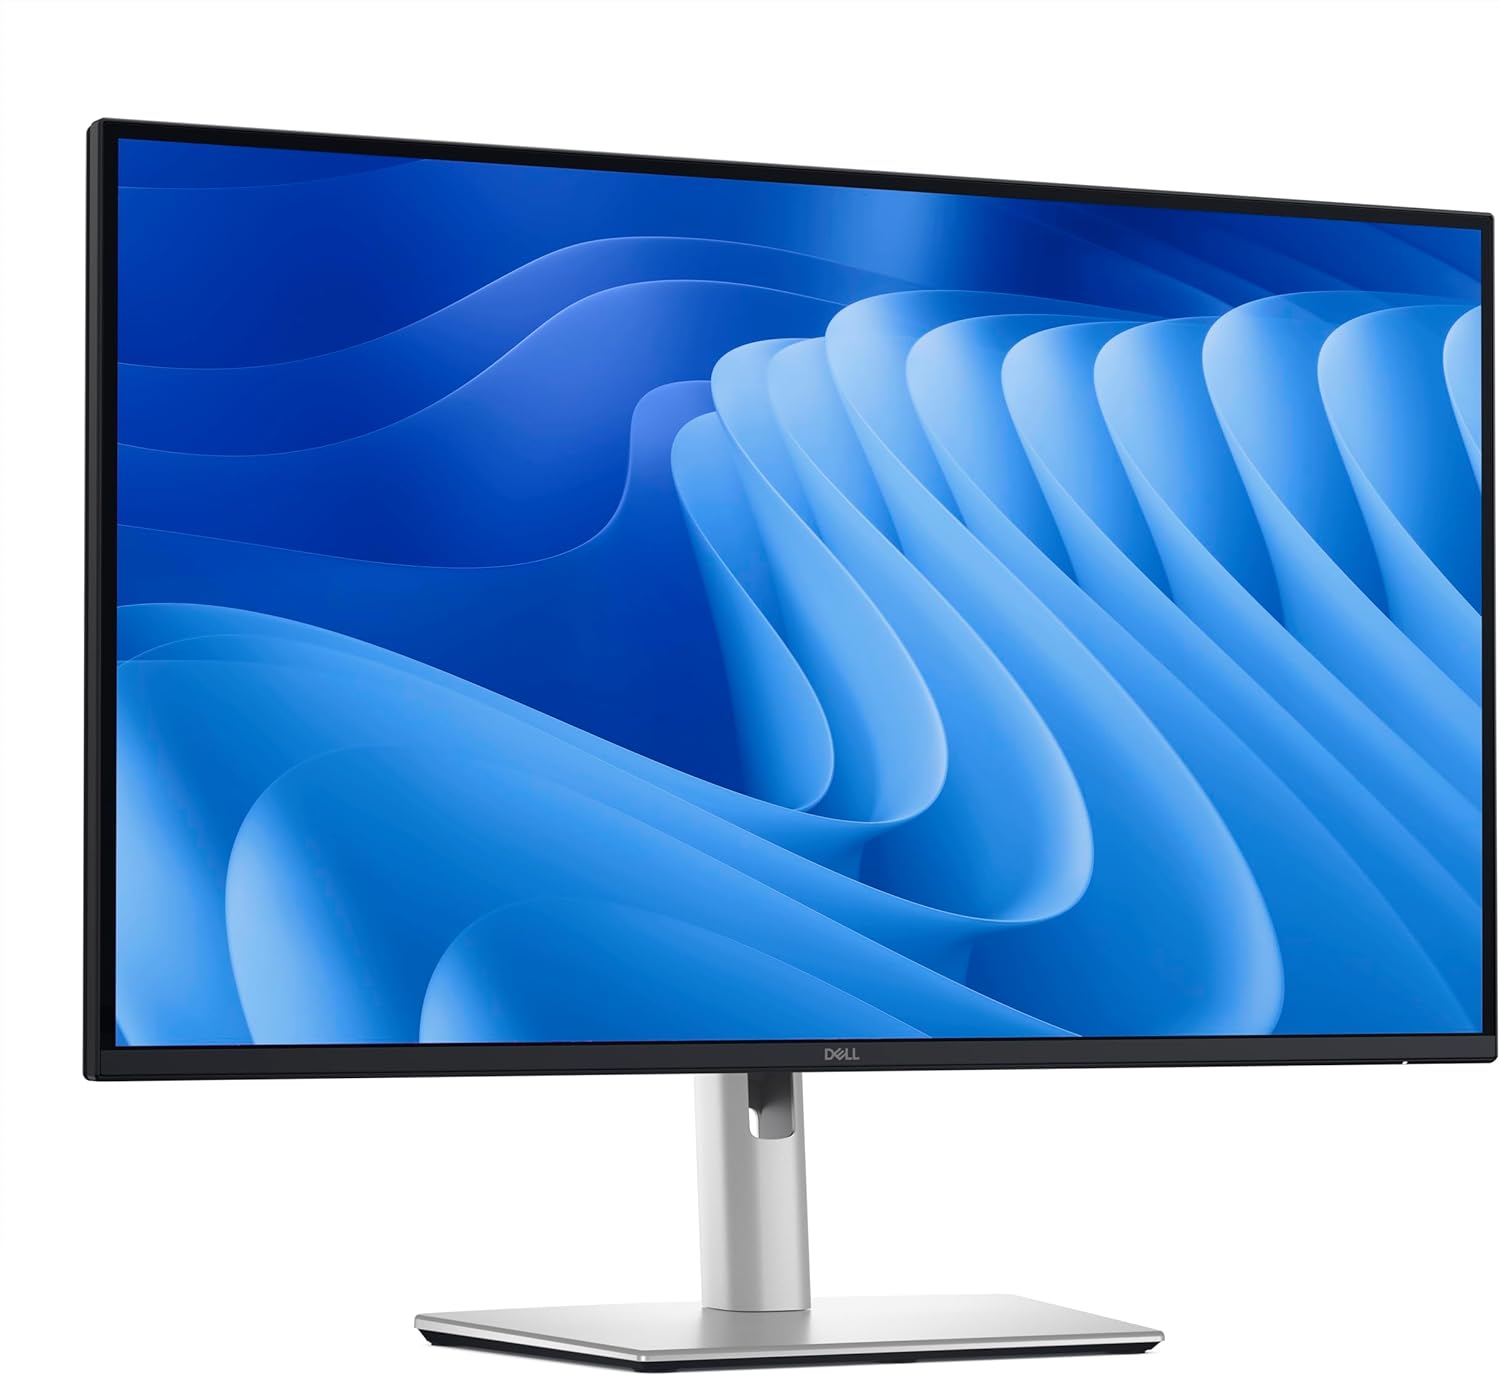
Figure 1.1: Front view of the Dell Pro 27 Plus QHD USB-C Hub Monitor P2725DE.
2. Setup
2.1 Unpacking the Monitor
Carefully remove all components from the packaging. Ensure that all parts listed in the packing slip are present. Retain the packaging materials for future transport or service needs.
2.2 Assembling the Stand
- Place the monitor panel face down on a soft, clean cloth to prevent scratches.
- Attach the stand riser to the monitor panel until it clicks into place.
- Attach the stand base to the stand riser and tighten the captive screw at the bottom of the base.
2.3 Connecting Cables
Connect the necessary cables to the monitor and your computer. The monitor supports HDMI, DisplayPort, and USB-C video inputs.
- Power Cable: Connect the power cable to the monitor's power port and then to a wall outlet.
- Video Cable: Connect one end of the HDMI, DisplayPort, or USB-C cable to the corresponding port on your monitor and the other end to your computer's video output port. For USB-C functionality, use a USB-C to USB-C cable.
- USB-C Upstream Cable (for Hub functionality): If using USB-C for video, this single cable also enables the integrated USB hub. If using HDMI or DisplayPort for video, connect a USB-A to USB-C cable from your computer to the monitor's USB-C upstream port to enable the USB hub.

Figure 2.1: Rear view of the monitor showing various input and output ports.
2.4 Initial Power On
Press the power button located on the bottom right side of the monitor. The power indicator will illuminate, and the display will turn on. Your computer should automatically detect the monitor. If not, adjust display settings in your operating system.
3. Operating the Monitor
3.1 Power On/Off
Press the power button to turn the monitor on or off. The power LED indicates the monitor's status: solid white for on, amber for standby.
3.2 On-Screen Display (OSD) Menu
The OSD menu allows you to adjust various monitor settings. Use the control buttons located on the bottom right of the monitor to navigate the menu.
- Press any control button to activate the OSD menu.
- Use the navigation buttons to move through menu options.
- Press the select button to confirm a selection or enter a sub-menu.
- Press the back button to return to the previous menu or exit the OSD.
3.3 Input Source Selection
To switch between video inputs (HDMI, DisplayPort, USB-C), access the OSD menu and navigate to the 'Input Source' section. Select your desired input.
3.4 Adjusting Display Settings
Within the OSD menu, you can adjust settings such as:
- Brightness/Contrast: Adjust the overall luminance and difference between light and dark areas.
- Color Settings: Modify color temperature, gamma, and individual RGB levels.
- Picture-in-Picture (PIP)/Picture-by-Picture (PBP): If supported, configure multiple input sources to display simultaneously.
- Response Time: Adjust for faster pixel transitions.
3.5 Ergonomic Adjustments
The monitor stand allows for various adjustments to optimize your viewing comfort:
- Height Adjustment: Raise or lower the monitor to eye level.
- Tilt: Adjust the screen angle forward or backward.
- Swivel: Rotate the monitor horizontally left or right.
- Pivot: Rotate the monitor vertically (portrait mode).

Figure 3.1: Side view illustrating the monitor's ergonomic stand adjustments.
4. Maintenance
4.1 Cleaning the Monitor
To clean the monitor screen, gently wipe it with a soft, lint-free cloth lightly dampened with water or a non-ammonia, non-alcohol based screen cleaner. Avoid using abrasive cleaners or spraying liquid directly onto the screen.
For the monitor casing, use a soft, dry cloth. Do not use any liquid cleaners on the casing.
4.2 Safety Precautions
- Do not block ventilation openings.
- Do not expose the monitor to rain or moisture.
- Avoid placing the monitor in direct sunlight or near heat sources.
- Only use the power adapter provided with the monitor.
5. Troubleshooting
This section addresses common issues you might encounter with your monitor.
5.1 No Display or Black Screen
- Ensure the power cable is securely connected to both the monitor and the power outlet.
- Verify that the video cable (HDMI, DisplayPort, or USB-C) is firmly connected to both the monitor and your computer.
- Check if the correct input source is selected in the OSD menu.
- Restart your computer.
5.2 Flickering or Unstable Image
- Check the video cable for damage or loose connections. Try a different cable if available.
- Ensure your computer's graphics driver is up to date.
- Adjust the refresh rate in your computer's display settings.
5.3 USB Hub Not Functioning
- If using HDMI or DisplayPort for video, ensure the USB-C upstream cable is connected from your computer to the monitor.
- If using USB-C for video, ensure the USB-C cable supports data transfer.
- Try connecting the USB device to a different port on the monitor.
5.4 Power LED is Off
- Verify the power cable is connected and the power outlet is functional.
- Press the power button firmly.
6. Specifications
Below are the technical specifications for the Dell Pro 27 Plus QHD USB-C Hub Monitor P2725DE.
| Feature | Specification |
|---|---|
| Model Number | P2725DE |
| Screen Size | 27 Inches (68.47 cm diagonal) |
| Panel Type | IPS |
| Resolution | 2560 x 1440 (QHD) |
| Refresh Rate | 100Hz |
| Aspect Ratio | 16:9 |
| Brightness | 350 cd/m² |
| Contrast Ratio | 1500:1 |
| Response Time | 5ms (Gray-to-Gray) |
| Video Inputs | HDMI, DisplayPort, USB-C |
| USB Ports | 5 (USB-C Hub functionality) |
| Screen Surface | Matte |
| Power Voltage | 240 Volts (AC) |
| Item Weight | 10.12 pounds (4.59 kg) |
| Product Dimensions (Package) | 32.68 x 17.72 x 5.91 inches |
7. Warranty and Support
Your Dell monitor is covered by a limited hardware warranty. For specific warranty details, please refer to the documentation included with your product or visit the official Dell support website.
For technical assistance, troubleshooting, or to contact Dell support, please visit www.dell.com/support. Have your monitor's service tag or express service code ready for faster assistance.