
1. Introduction
Thank you for choosing COLAMY Upholstered Dining Chairs. This manual provides essential information for the safe assembly, operation, and maintenance of your new chairs. Please read these instructions carefully before assembly and retain them for future reference.

Image 1.1: COLAMY Upholstered Dining Chairs (Set of 2)
2. Safety Information
Important Safety Warnings:
- Do not exceed the maximum weight capacity of 275 lbs (125 kg) per chair. Overloading can cause damage or injury.
- Be cautious of sharp edges during unpacking and assembly.
- Ensure all bolts and screws are securely tightened before use. Periodically check and re-tighten fasteners.
- Keep small parts away from children during assembly to prevent choking hazards.
- Assemble the chairs on a soft, clean surface to prevent scratching.
3. Package Contents
Verify that all components are present before beginning assembly. If any parts are missing or damaged, please contact COLAMY customer support.

Image 3.1: What's in the Box
Included Components:
- Backrest (A) - 1 piece per chair
- Seat Cushion (B) - 1 piece per chair
- Front Leg (C) - 2 pieces per chair
- Back Leg (D) - 2 pieces per chair
- Screw Bag (J) - Contains:
- M8*50mm Bolts (E)
- M8*40mm Bolts (F)
- Spring Washers (G)
- Flat Washers (H)
- Allen Wrench (I)
4. Setup (Assembly Instructions)
Follow these steps carefully to assemble your COLAMY dining chairs. It is recommended to assemble on a soft, flat surface to prevent damage.
Step 1: Attach Seat Cushion to Backrest
- Unzip the fabric cover at the bottom of Seat Cushion (B).
- Align the slots in the middle of Backrest (A) and Seat Cushion (B).
- Using one M8*50mm Bolt (E), one Spring Washer (G), and one Flat Washer (H), partially tighten to 50%.
- Note: Pay attention to the screw hole position of Backrest (A) and Seat Cushion (B) as shown in the diagram. If there is a mismatch, press down firmly on the Seat Cushion until screw holes are aligned.
Step 2: Secure Backrest and Seat Cushion
- Fix Backrest (A) and Seat Cushion (B) again. Align the slots on both sides.
- Using one M8*40mm Bolt (F), one Spring Washer (G), and one Flat Washer (H) on each side, partially tighten to 50%.
- Then tighten the three bolts (one M8*50mm, two M8*40mm) to 100% using Allen Wrench (I).
- Note: Please pay attention to the screw hole positions of Backrest (A) and Seat Cushion (B) before tightening for your reference.
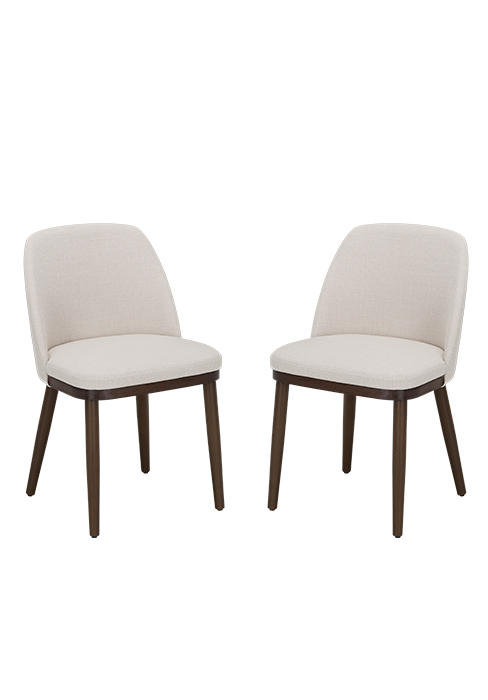
Image 4.1: Assembly Steps 1 & 2
Step 3: Attach Back Legs
- Attach two Back Legs (D) to the finished seat body.
- Use two M8*50mm Bolts (E), two Spring Washers (G), and two Flat Washers (H) on each side.
- Partially tighten to 50%.
- Note: Pay attention to the screw hole position of the corner at the bottom of Seat Cushion (B) as shown in the diagram.
Step 4: Attach Front Legs
- Attach two Front Legs (C) to the finished seat body.
- Use two M8*50mm Bolts (E), two Spring Washers (G), and two Flat Washers (H) on each side.
- Partially tighten to 50%.
- Note: Pay attention to the screw hole position of the corner at the bottom of Seat Cushion (B) as shown in the diagram.

Image 4.2: Assembly Steps 3 & 4
Step 5: Final Tightening and Leveling
- Finally, tighten all eight bolts (from Steps 3 and 4) to 100% using Allen Wrench (I).
- With the zipper closed, place the finished chair upright on the ground.
- Adjust the foot pads on the bottom of the legs to level the chair and eliminate any wobbling.
Step 6: Assembly Complete
- Your chair is now successfully installed and ready for use.

Image 4.3: Assembly Steps 5 & 6
5. Operating Instructions
Your COLAMY Upholstered Dining Chairs are designed for comfortable seating in various settings.
- Place the chair on a flat, stable surface to ensure stability and prevent tipping.
- The ergonomic backrest and supportive seat are designed to promote good posture and comfort during use.
- The chairs can be used in dining rooms, kitchens, living rooms, or other areas requiring comfortable seating.

Image 5.1: Ergonomic Design Features
6. Maintenance and Care
Proper care will extend the life and appearance of your dining chairs.
- Cleaning Fabric: For general cleaning, gently vacuum the upholstery to remove dust and debris. For spills, blot immediately with a clean, dry cloth. For stubborn stains, use a mild fabric cleaner following the product instructions, testing on an inconspicuous area first.
- Cleaning Wood Legs: Wipe wooden legs with a soft, damp cloth. Avoid harsh chemicals or abrasive cleaners. Dry immediately with a clean cloth.
- Avoid Direct Sunlight: Prolonged exposure to direct sunlight can cause fabric fading and wood discoloration.
- Regular Inspection: Periodically check all bolts and screws to ensure they remain tight. Re-tighten as necessary to maintain stability.
- Weight Capacity: Adhere strictly to the 275 lbs weight limit to prevent structural damage.
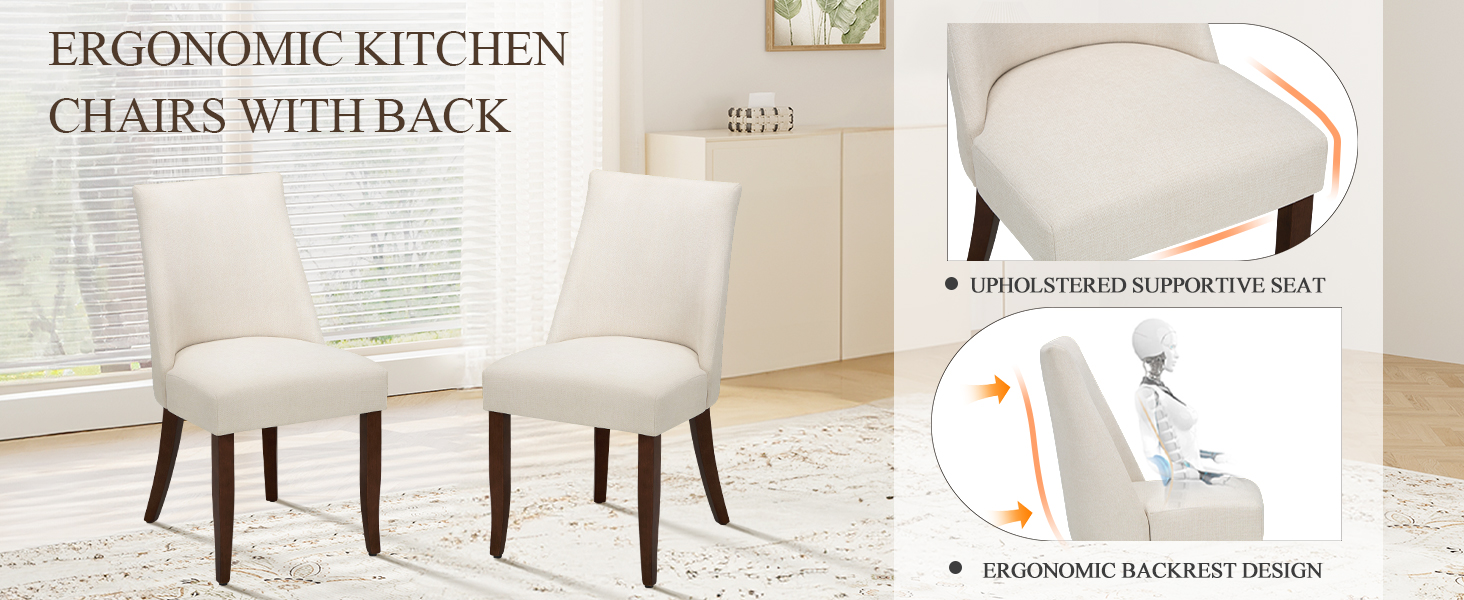
Image 6.1: Material Quality Features
7. Troubleshooting
If you encounter any issues with your chairs, refer to the following common solutions:
| Problem | Possible Cause | Solution |
|---|---|---|
| Chair is wobbly after assembly. | Bolts not fully tightened; uneven floor; foot pads not adjusted. | Ensure all bolts are tightened to 100%. Place the chair on a flat surface and adjust the anti-slip foot pads on the bottom of each leg until the chair is stable. |
| Parts do not align during assembly. | Incorrect orientation of parts; insufficient pressure during alignment. | Review the assembly diagrams carefully for correct part orientation. Apply firm, even pressure to align screw holes, especially when connecting the backrest and seat cushion. Loosen partially tightened bolts, realign, and then re-tighten. |
| Missing parts. | Packaging error. | Contact COLAMY customer support with your purchase details and a list of missing components. |
8. Specifications
Detailed specifications for the COLAMY Upholstered Dining Chairs:
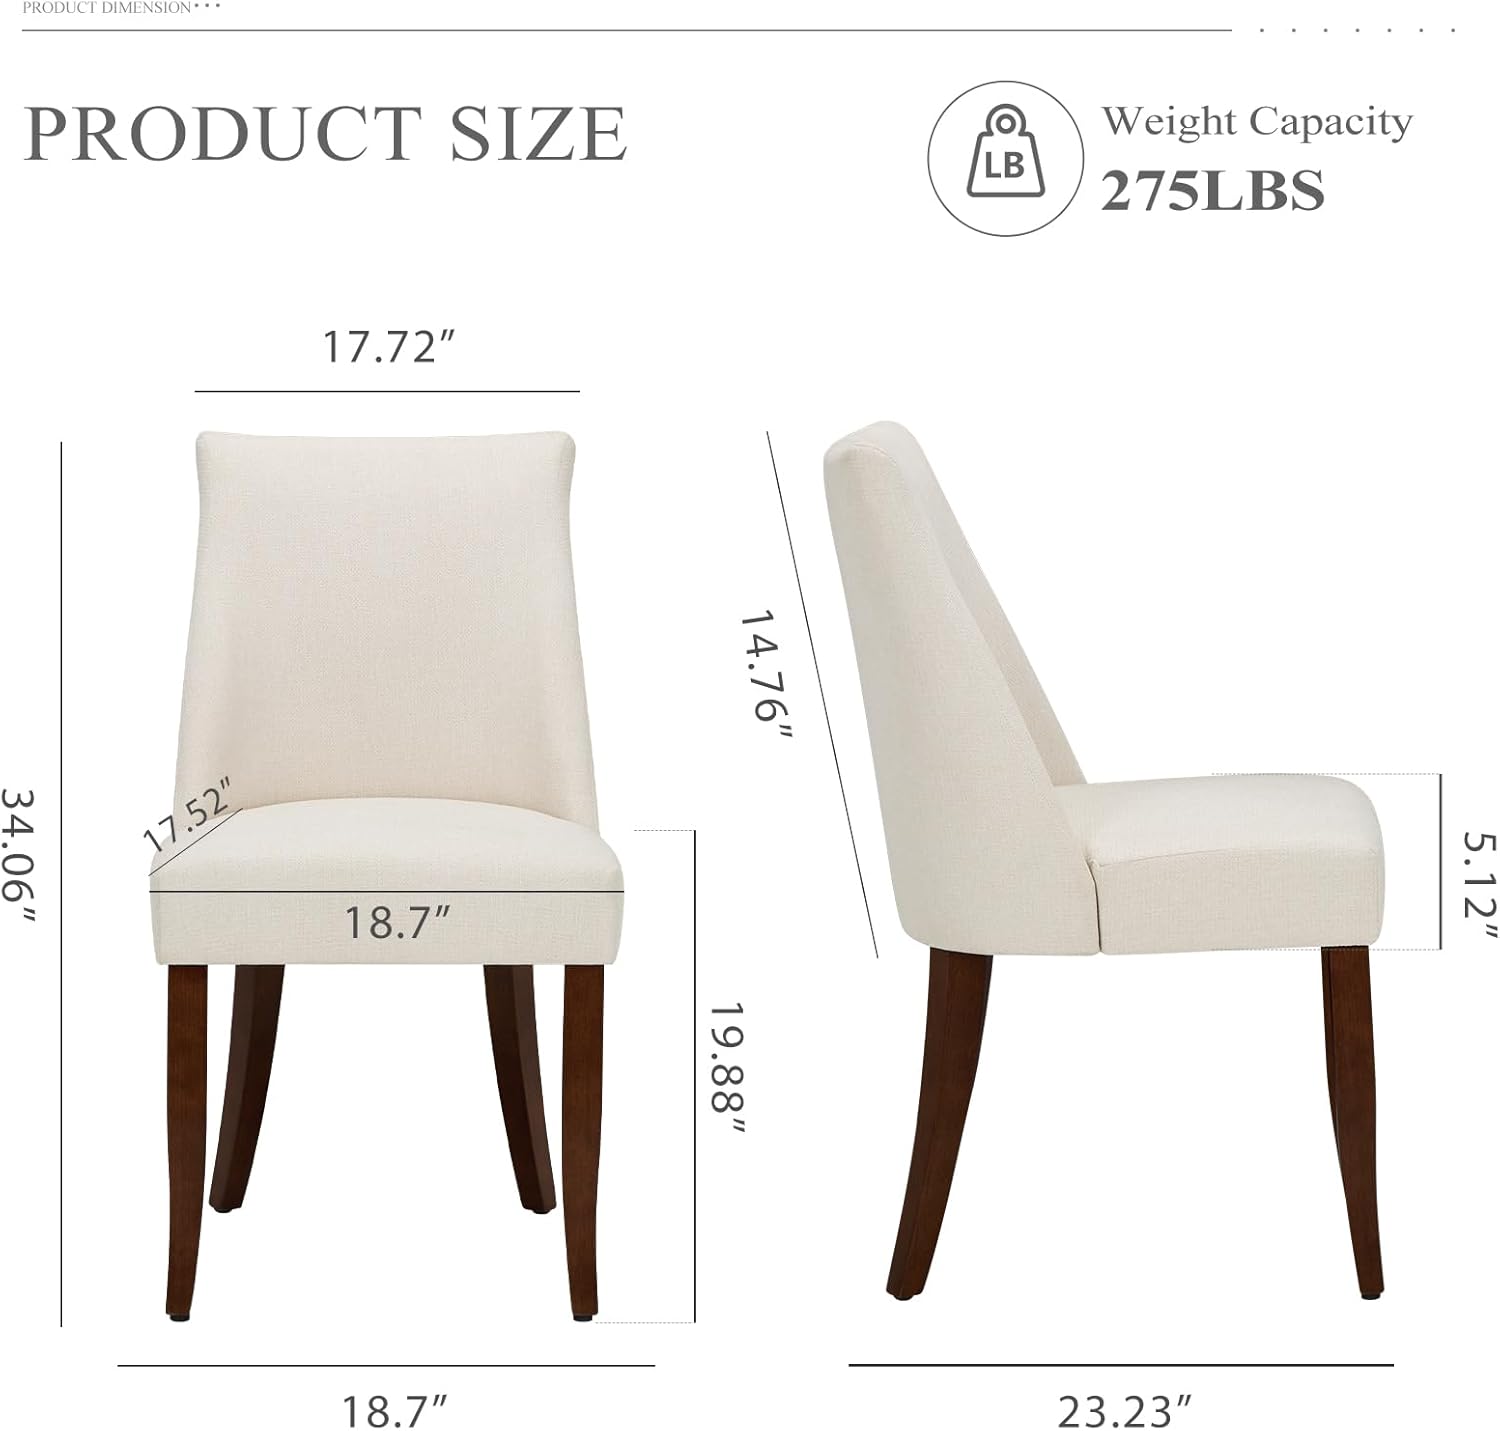
Image 8.1: Product Dimensions and Weight Capacity
- Model Number: VC-C351-BE-FB
- Material: Rubberwood (legs), Fabric (upholstery), Sponge (cushion)
- Color: Beige
- Product Dimensions (L x W x H): 23.23 x 18.7 x 34.06 inches (59 x 47.5 x 86.5 cm)
- Seat Height: Approximately 19.88 inches (50.5 cm)
- Item Weight: 15.1 pounds (6.85 kg) per chair
- Maximum Recommended Load: 275 pounds (125 kg)
- Number of Pieces: 2 (per set)
- Special Features: Space Saving, Upholstered, Ergonomic Backrest, Anti-slip Protectors
- UPC: 607601487867
9. Warranty and Support
COLAMY is committed to providing quality products. While specific warranty details are not provided in this manual, please retain your proof of purchase for any warranty claims.
For product support, missing parts, or warranty inquiries, please contact COLAMY customer service through the retailer where you purchased the product or visit the official COLAMY website for contact information.
Manufacturer: COLAMY
Brand Store: Visit the COLAMY Store on Amazon


