
Brightever OKDMX-KN-SOSL-01
Brightever Solar Powered Address Sign
User Manual (Model: OKDMX-KN-SOSL-01)
Introduction
This manual provides instructions for the installation, operation, and maintenance of your Brightever Solar Powered Address Sign. This innovative product features solar charging, three adjustable lighting modes, and durable construction for outdoor use, ensuring your address is clearly visible day and night.
What's in the Box
- Solar Address Sign Unit
- Stake components
- DIY Stickers (Numbers 0-9 x 3 sets, Characters A-Z x 1 set)
- Screw Kits
- Number Fixed Cardboard
- User Manual
Setup
Follow these steps to set up your Brightever Solar Powered Address Sign:
- Unpack Components: Carefully remove all items from the packaging and verify that all parts listed in "What's in the Box" are present.

Figure 1: Overview of the Solar Address Sign and its components. - Select Lighting Mode: Before the first charge, locate the toggle switch on the back of the unit. Move the switch to the right to select your desired lighting mode (1-Warm White, 2-Cool White, 3-Neutral White). Do not remove the black plastic cover on the switch, as it protects it from water.

Figure 2: Toggle switch for selecting light modes. - Apply Address Numbers: Use the provided DIY stickers and number fixed cardboard to apply your house numbers and any desired characters to the sign. Ensure numbers are aligned correctly for clear visibility.

Figure 3: Applying custom numbers and characters. - Choose Installation Method: The sign can be installed either by staking it into the ground or mounting it on a wall.

Figure 4: Dual installation options: wall mount or ground stake. - Ground Stake Installation: Assemble the stake components to achieve the desired height. Insert the assembled stake into the ground. For secure installation, use a tool to dig a hole before inserting the stake.

Figure 5: Assembling and inserting the ground stake. - Wall Mount Installation: Use the provided screw kits to securely mount the address sign to a wall. Ensure the mounting surface is suitable and can support the sign's weight.
- Ground Stake Installation: Assemble the stake components to achieve the desired height. Insert the assembled stake into the ground. For secure installation, use a tool to dig a hole before inserting the stake.
- Position for Sunlight: Ensure the solar panel is installed in a location that receives ample direct sunlight throughout the day, free from obstructions, to maximize charging efficiency.
Installation Video Guide:
Video 1: Step-by-step guide on how to install the Brightever Solar Address Sign.
Operating Instructions
Your Brightever Solar Powered Address Sign is designed for automatic operation:
- Automatic Charging: The integrated solar panel will automatically charge the internal 2000mAh battery during daylight hours when exposed to sunlight. A full charge typically takes 5-6 hours.

Figure 6: Automatic charging during the day and lighting at night. - Automatic Lighting: Once charged and the selected light mode is active, the sign will automatically illuminate at dusk and turn off at dawn. A full charge provides up to 20 hours of illumination.
- Adjustable Lighting Modes: Use the toggle switch (as described in Setup) to select between three color temperatures:
- Mode 1: 2700K Warm White for a cozy ambiance.
- Mode 2: 6500K Cool White for enhanced visibility.
- Mode 3: 4000K Neutral White for general use.

Figure 7: Three adjustable lighting modes.
Product Overview Video:
Video 2: Overview of the Brightever Solar Address Sign's features and operation.
Maintenance
To ensure optimal performance and longevity of your solar address sign:
- Clean Solar Panel: Periodically wipe the solar panel with a soft, damp cloth to remove dust, dirt, or debris that may hinder charging efficiency.
- Clear Obstructions: Ensure no leaves, branches, or other objects are blocking the solar panel from receiving direct sunlight.
- Weather Resistance: The sign is designed with an IP65 waterproof rating and durable ABS material, making it resistant to rain, snow, wind, and heat. No special weather-proofing maintenance is required.
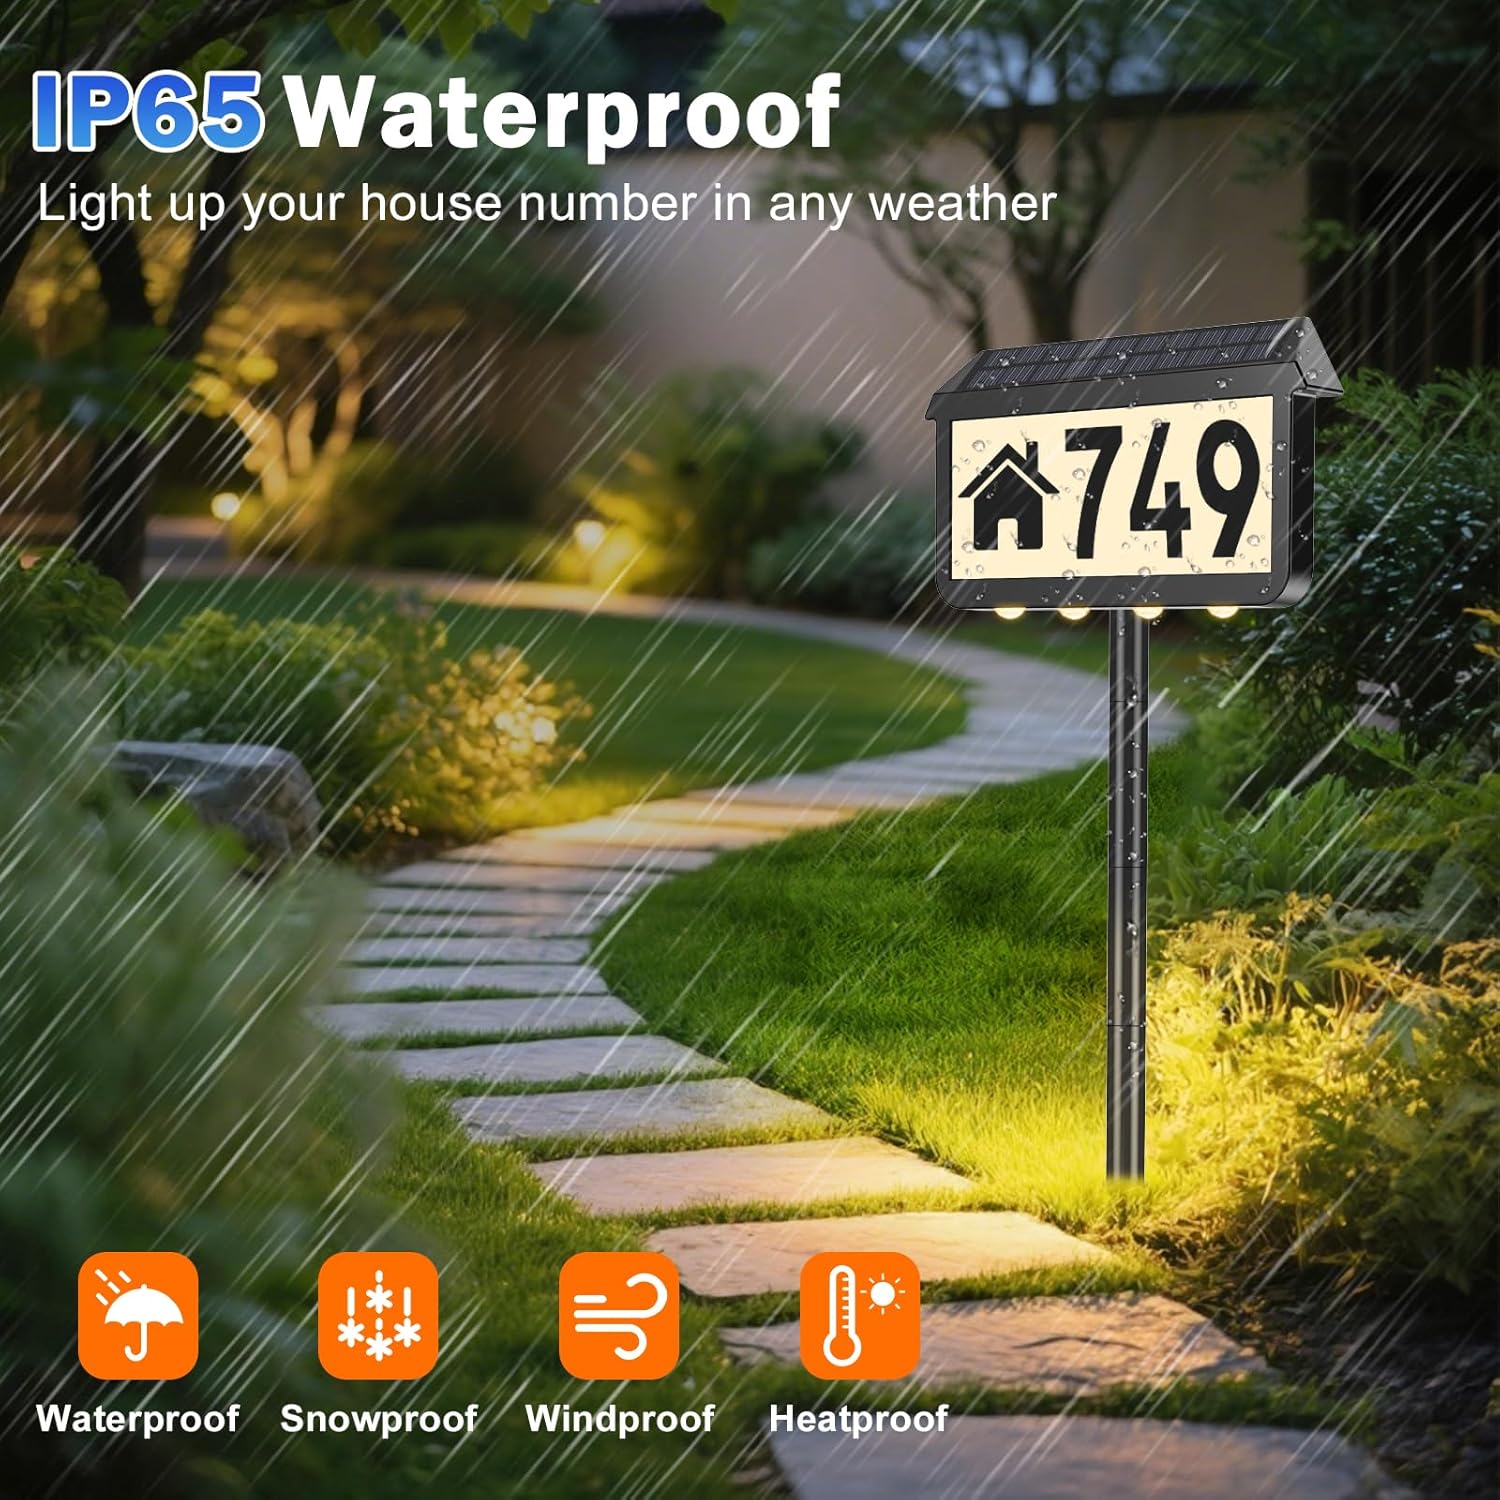
Figure 8: The sign's IP65 waterproof rating ensures durability in various weather conditions.
Troubleshooting
| Problem | Possible Cause | Solution |
|---|---|---|
| Sign does not light up at night. |
|
|
| Light is dim or does not last long. |
|
|
Specifications
- Brand:
- Brightever
- Model Number:
- OKDMX-KN-SOSL-01
- Color:
- Black
- Material:
- Metal, Plastic
- Light Source:
- LED
- Light Color Options:
- Warm White (2700K), Neutral White (4000K), Cool White (6500K)
- Brightness:
- 40 lumens
- Battery Capacity:
- 2000mAh
- Charging Time:
- 5-6 hours (direct sunlight)
- Illumination Time:
- Up to 20 hours (after full charge)
- Water Resistance Level:
- IP65 Waterproof
- Mounting Type:
- Wall Mount, Ground Stake
- Item Weight:
- 0.74 kg
Warranty and Support
Brightever products are designed for reliability and customer satisfaction. Your Solar Powered Address Sign comes with the following:
- 1-Year Warranty: Enjoy a 1-year replacement or refund policy from the date of purchase.
- 30-Day Free Return & Exchange: If you are not satisfied, you can return or exchange the product within 30 days.
- Customer Support: For any inquiries or assistance, our customer support team aims to respond within 24 hours.
For further assistance, please contact Brightever customer service through your purchase platform or visit the official Brightever store.
Ask a question about this manual
Ask about setup, troubleshooting, compatibility, parts, safety, or missing instructions. Manuals+ will review the question and use this page’s manual context to help answer it.