1. Introduction
The SRNE Shiner2460 is an advanced Maximum Power Point Tracking (MPPT) solar charge and discharge controller designed for off-grid photovoltaic systems. It efficiently manages power flow from solar panels to batteries and loads, ensuring optimal performance and battery longevity. This controller supports both 12V and 24V battery systems with a rated charging current of 60A and a rated load current of 20A. Its robust design and intelligent features make it suitable for various off-grid applications.

Figure 1.1: Front view of the SRNE Shiner2460 MPPT Solar Charge Controller, showing the display, 'SELECT' and 'ENTER' buttons, SRNE logo, and terminal block.
2. Product Features
The Shiner2460 controller incorporates several key features to enhance its functionality and user experience:
- Off-Grid Application: Designed for standalone systems, capable of connecting to PV arrays, batteries, and DC loads.
- Multiple Load Operating Modes: Offers diverse load control options to meet various application requirements.
- User-Friendly Design: Easy installation and straightforward operation, featuring natural cooling for silent performance.
- Enhanced Safety: Equipped with comprehensive charge and discharge protection mechanisms and high-quality components for stable and reliable operation.
- All-in-One Solution: Supports multiple battery types and features a highly integrated design to save space and simplify wiring.
- High Efficiency: Utilizes MPPT technology with up to 99.9% tracking efficiency, supporting solar panel open circuit voltage up to 100Vdc.
- Intelligent Connectivity: Supports TTL RS485 and CAN (RV-C protocol) for advanced communication, and Bluetooth for mobile app integration.

Figure 2.1: Overview of Shiner series features, highlighting off-grid application, all-in-one design, user-friendliness, safety, efficiency, and intelligence.
3. Package Contents
Upon unpacking, please verify that all items listed below are present and in good condition:
- SRNE Shiner2460 MPPT Solar Charge Controller
- User Manual
- Mounting Accessories (screws, etc.)
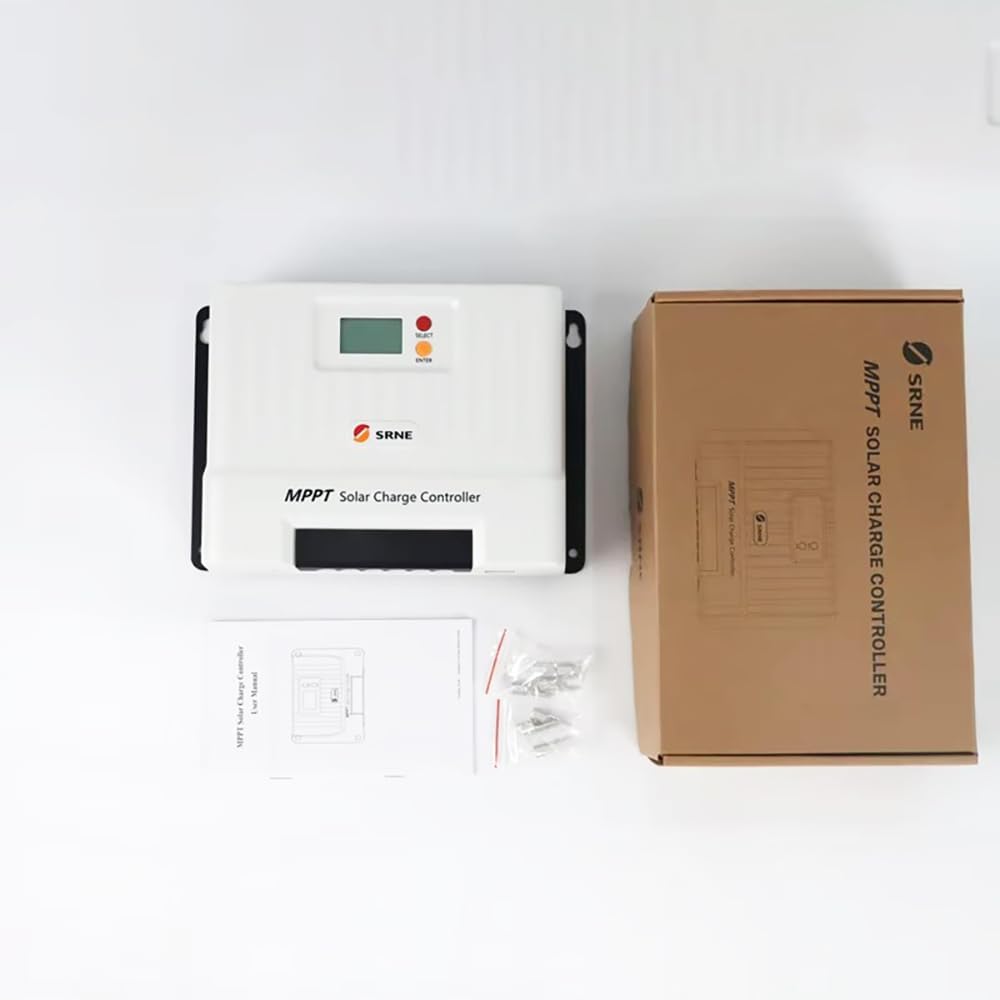
Figure 3.1: The Shiner2460 controller, its retail packaging, user manual, and mounting hardware.
4. Safety Information
Please read and understand all safety instructions before installation and operation. Failure to follow these instructions may result in electric shock, fire, or severe injury.
- Ensure all wiring is performed by qualified personnel and complies with local electrical codes.
- Always disconnect the solar panel and battery power before installing or adjusting the controller.
- Do not disassemble or attempt to repair the controller. Contact customer support for service.
- Install the controller in a well-ventilated area, away from flammable materials and direct sunlight.
- Ensure correct polarity when connecting batteries and solar panels to prevent damage.
- Use appropriate circuit breakers or fuses for all connections.
5. Setup and Installation
5.1 Physical Installation
Mount the controller vertically on a non-flammable surface in a dry, well-ventilated area. Ensure adequate clearance around the unit for heat dissipation. The dimensions of the controller are 261mm x 186mm x 82mm.

Figure 5.1: Angled view of the Shiner2460 controller, illustrating its form factor and integrated mounting brackets.
5.2 Wiring Connections
Follow the connection order below to prevent damage to the controller or system components. Always connect the battery first, then the solar panel, and finally the load.
- Battery Connection: Connect the battery to the controller's battery terminals. Ensure correct polarity (+ to + and - to -). The controller will automatically detect 12V or 24V battery voltage.
- Solar Panel Connection: Connect the solar panel array to the controller's PV terminals. Observe correct polarity. The maximum open circuit voltage for the solar array is 100Vdc.
- Load Connection: Connect the DC load to the controller's load terminals. Ensure correct polarity.

Figure 5.2: Connection diagram illustrating the proper wiring sequence for the MPPT controller, connecting solar panels, battery, and DC load. Bluetooth and Mobile APP connections are also shown.
6. Operating Instructions
6.1 Display and Buttons
The controller features an LCD display and two buttons: 'SELECT' and 'ENTER'.
- LCD Display: Shows real-time system parameters such as battery voltage, charging current, load status, and error codes.
- SELECT Button: Used to navigate through different display screens or menu options.
- ENTER Button: Used to confirm selections or enter settings menus.
6.2 Load Operating Modes
The Shiner2460 supports multiple load operating modes, including manual control, light control, time control, and debugging mode. Refer to the detailed manual (included in the package) for specific configuration steps for each mode.
6.3 Battery Type Configuration
The controller supports various battery types, including Lead-acid, Li-ion, and user-defined settings. The specific battery type can be configured through the controller's menu or via the mobile application to ensure optimal charging parameters.
6.4 Bluetooth Connectivity and Mobile APP
The Shiner2460 supports Bluetooth connectivity, allowing users to monitor and configure the controller via a dedicated mobile application. Download the official SRNE app from your device's app store, pair it with the controller, and access real-time data and settings remotely.
7. Maintenance
Regular maintenance ensures the longevity and optimal performance of your solar charge controller.
- Cleanliness: Keep the controller clean and free from dust and debris. Use a dry cloth for cleaning.
- Connections: Periodically check all wiring connections for tightness and corrosion. Re-tighten if necessary.
- Ventilation: Ensure that the ventilation openings are not blocked to allow for proper heat dissipation.
- Environmental Conditions: Verify that the operating environment remains within the specified temperature and humidity ranges.
8. Troubleshooting
This section provides solutions to common issues you might encounter with the Shiner2460 controller.
- No Display/Power: Check battery connections and voltage. Ensure the battery is adequately charged.
- No Charging: Verify solar panel connections and ensure panels are receiving sufficient sunlight. Check for open circuit voltage of the solar array.
- Load Not Working: Check load connections and ensure the load operating mode is correctly configured. Verify that the battery voltage is above the low voltage disconnect threshold.
- Error Codes: If an error code appears on the display, consult the detailed manual for its meaning and recommended action.
For persistent issues, contact customer support.
9. Specifications
Detailed technical specifications for the SRNE Shiner2460 MPPT Solar Charge Controller:
| Parameter | Value |
|---|---|
| Model | Shiner2460 |
| Rated Battery Voltage | 12V/24V (Auto-recognition) |
| Rated Charging Current | 60A |
| Rated Load Current | 20A |
| Max. PV Open Circuit Voltage | 100Vdc |
| MPPT Tracking Efficiency | >99% |
| Max. Charging Conversion Efficiency | 85%~98% (Corresponds to load power 10%~100%) |
| Battery Type Support | Lead-acid, Li-ion, User Defined |
| Communication | TTL RS485 (default), CAN (optional, RV-C protocol), Bluetooth (optional, external module BT-2 with mobile app) |
| Dimensions (L*W*H) | 261mm * 186mm * 82mm |
| Weight | 2.4 kg (5.72 pounds) |
| Protection Degree | IP32 |
| Operating Temperature Range | -35°C to 65°C (-31°F to 149°F) |
| Manufacturer | YXSMPS |
| UPC | 717504935072 |
10. Warranty Information
Specific warranty details, including duration and coverage, are not provided in the available product data. Please refer to the warranty card included with your product or contact the seller/manufacturer directly for comprehensive warranty information.
11. Customer Support
For technical assistance, troubleshooting, or inquiries regarding your SRNE Shiner2460 MPPT Solar Charge Controller, please contact the manufacturer or your point of purchase. Specific contact information for customer support is not provided in the available product data.