Introduction
Thank you for choosing the AROEVE Electric Fly Swatter DH-WP04. This 2-in-1 device offers both manual zapping and an automatic attraction mode to effectively eliminate flying insects. Featuring a powerful 4000V grid, a 1200mAh rechargeable battery, a convenient USB charging base, and an integrated LED light, it provides a clean and efficient solution for pest control indoors and outdoors. Please read this manual carefully before use to ensure proper operation and safety.
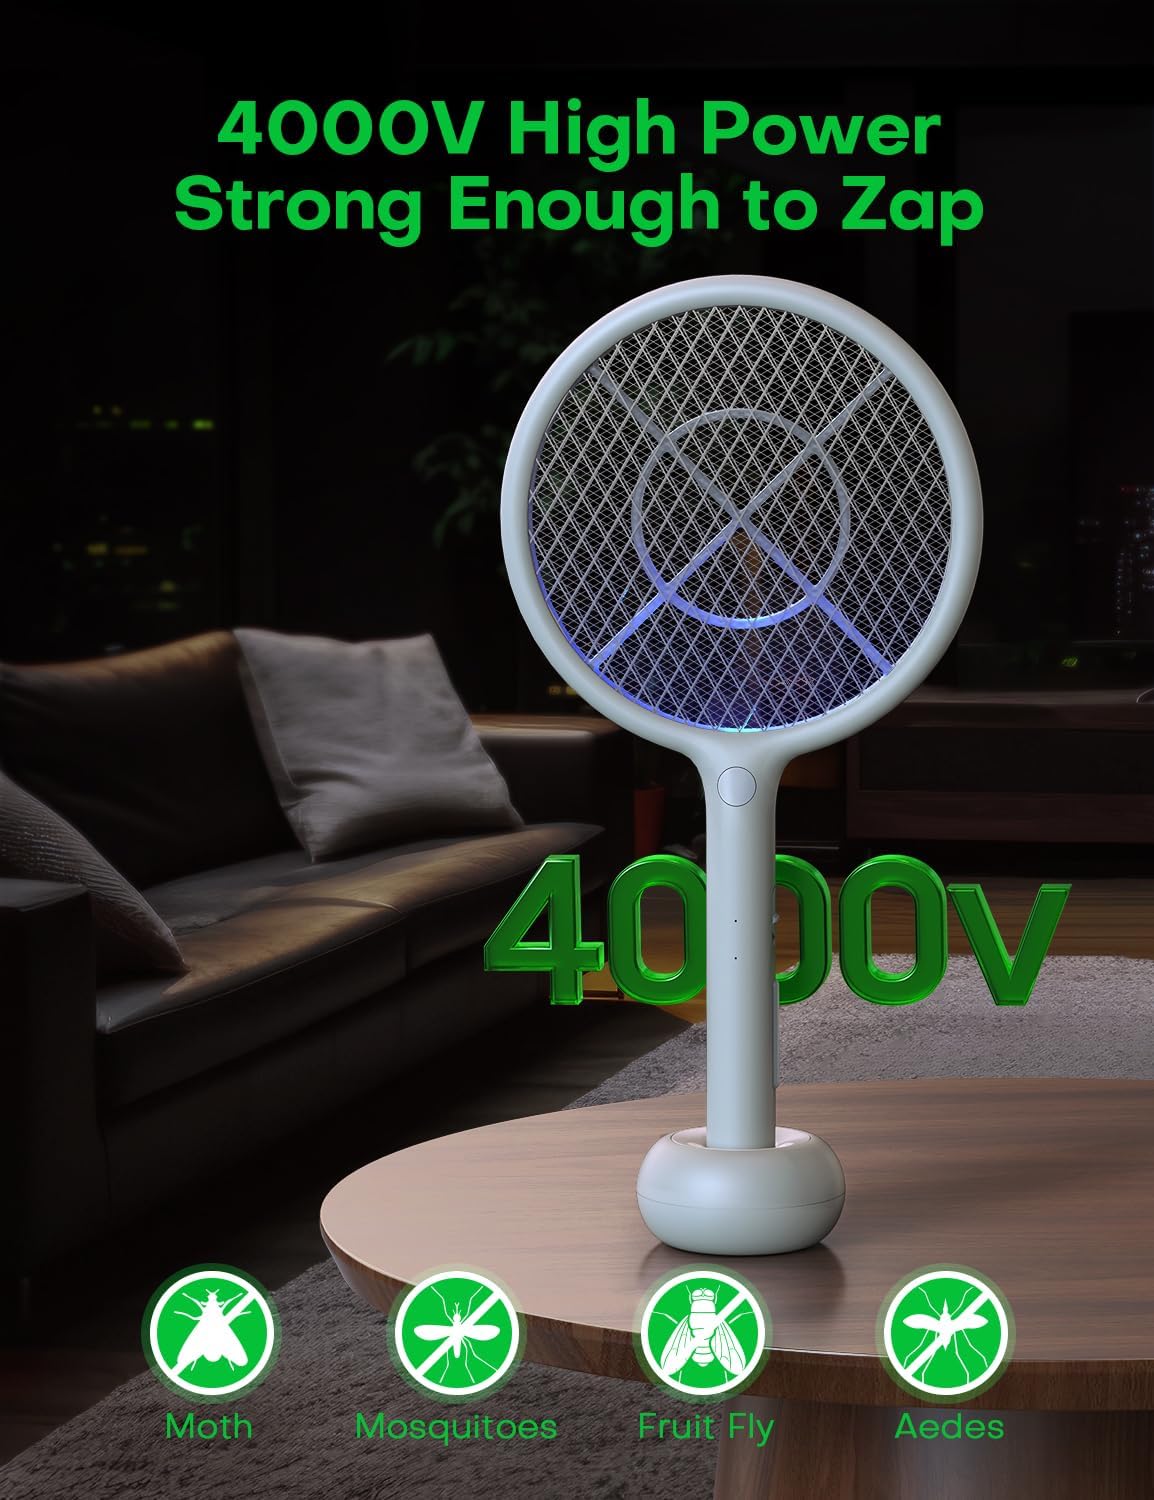
Image: The AROEVE Electric Fly Swatter highlighting its 4000V high-power capability for effective insect elimination.
Product Components
Familiarize yourself with the main components of your AROEVE Electric Fly Swatter:
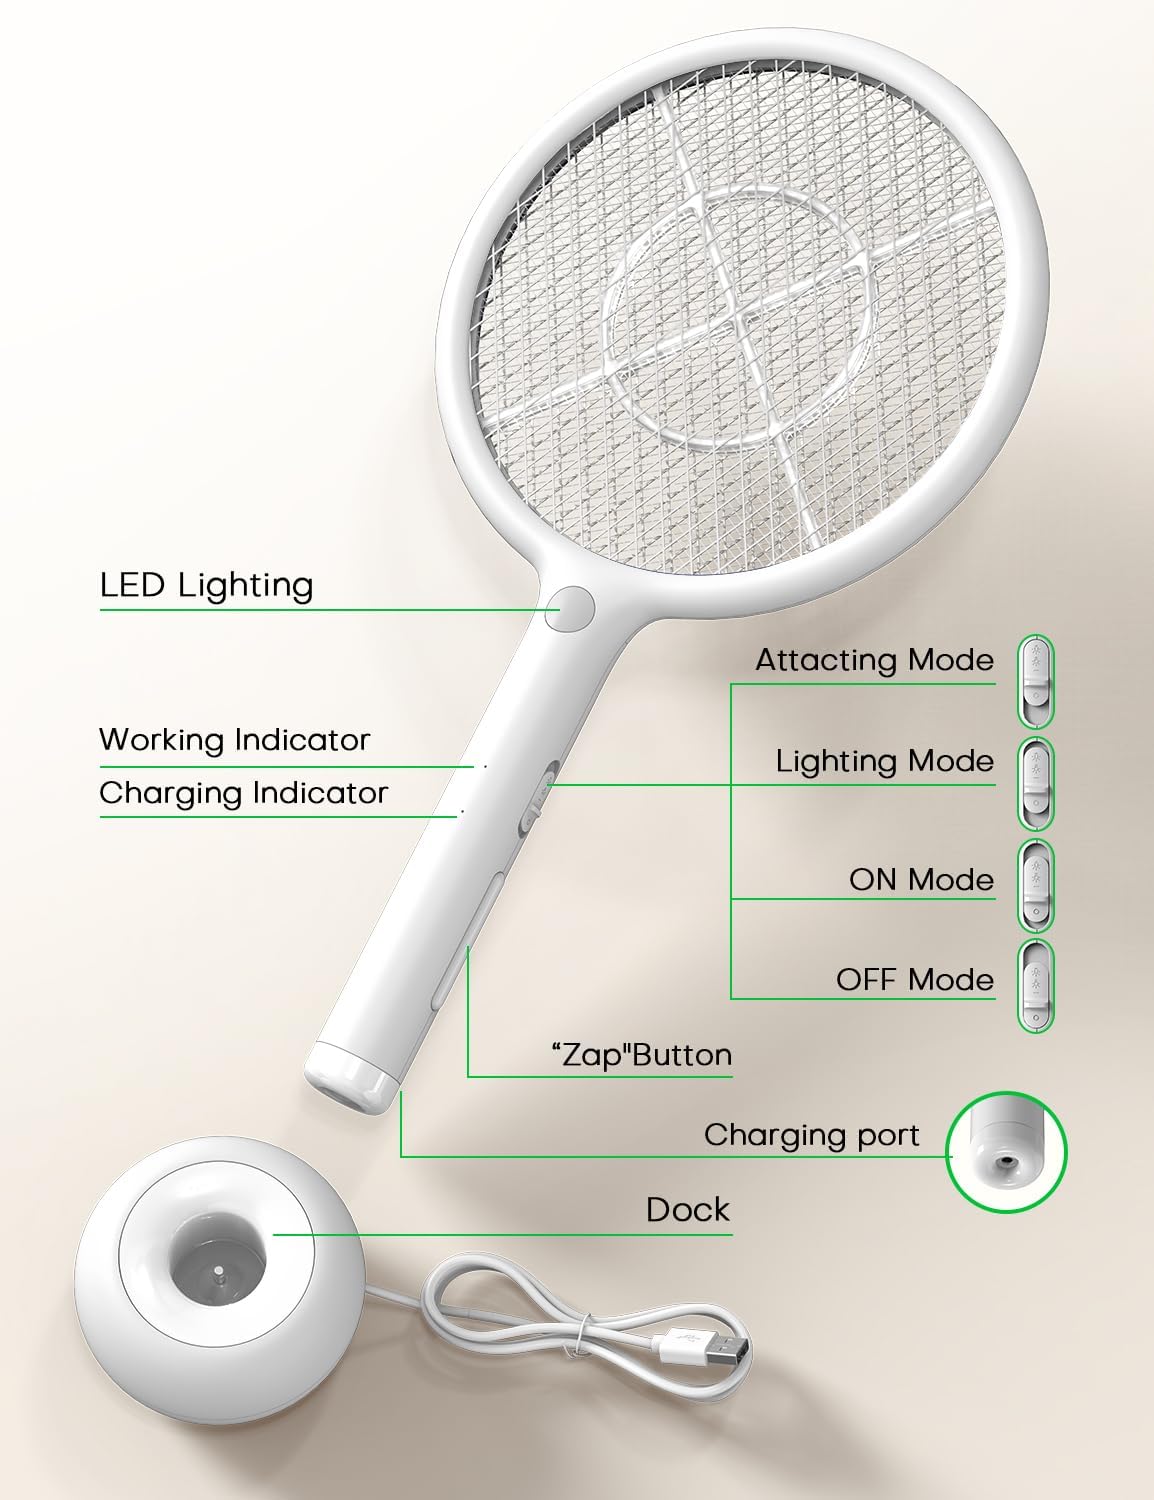
Image: Detailed diagram showing the LED Lighting, Working Indicator, Charging Indicator, Attracting Mode, Lighting Mode, ON Mode, OFF Mode, "Zap" Button, Charging port, and Dock.
- Swatter Head: Contains the triple-layer safety mesh and 4000V electrical grid.
- Handle: Ergonomic grip with control buttons.
- "Zap" Button: Activates the electrical grid in manual mode.
- Mode Switch: Selects between OFF, ON (manual), Lighting, and Attracting modes.
- LED Lighting: Provides illumination for visibility in dark environments.
- Working Indicator: Light indicating active zapping.
- Charging Indicator: Light indicating charging status.
- Charging Port: USB input for charging.
- Charging Dock: Base for convenient charging and automatic attraction mode.
Setup
Unboxing
Carefully remove all components from the packaging. Ensure the electric fly swatter, USB charging base, and USB cable are present.
Charging the Device
Before first use, fully charge the fly swatter. The device is powered by a built-in 1200mAh rechargeable battery.
- Connect the USB cable to the charging dock.
- Plug the other end of the USB cable into any standard USB power source (e.g., wall charger, power bank, computer USB port).
- Place the electric fly swatter onto the charging dock. Ensure it is securely seated.
- The Charging Indicator light will illuminate to show that the device is charging.
- Once fully charged, the indicator light may change color or turn off, depending on the model.
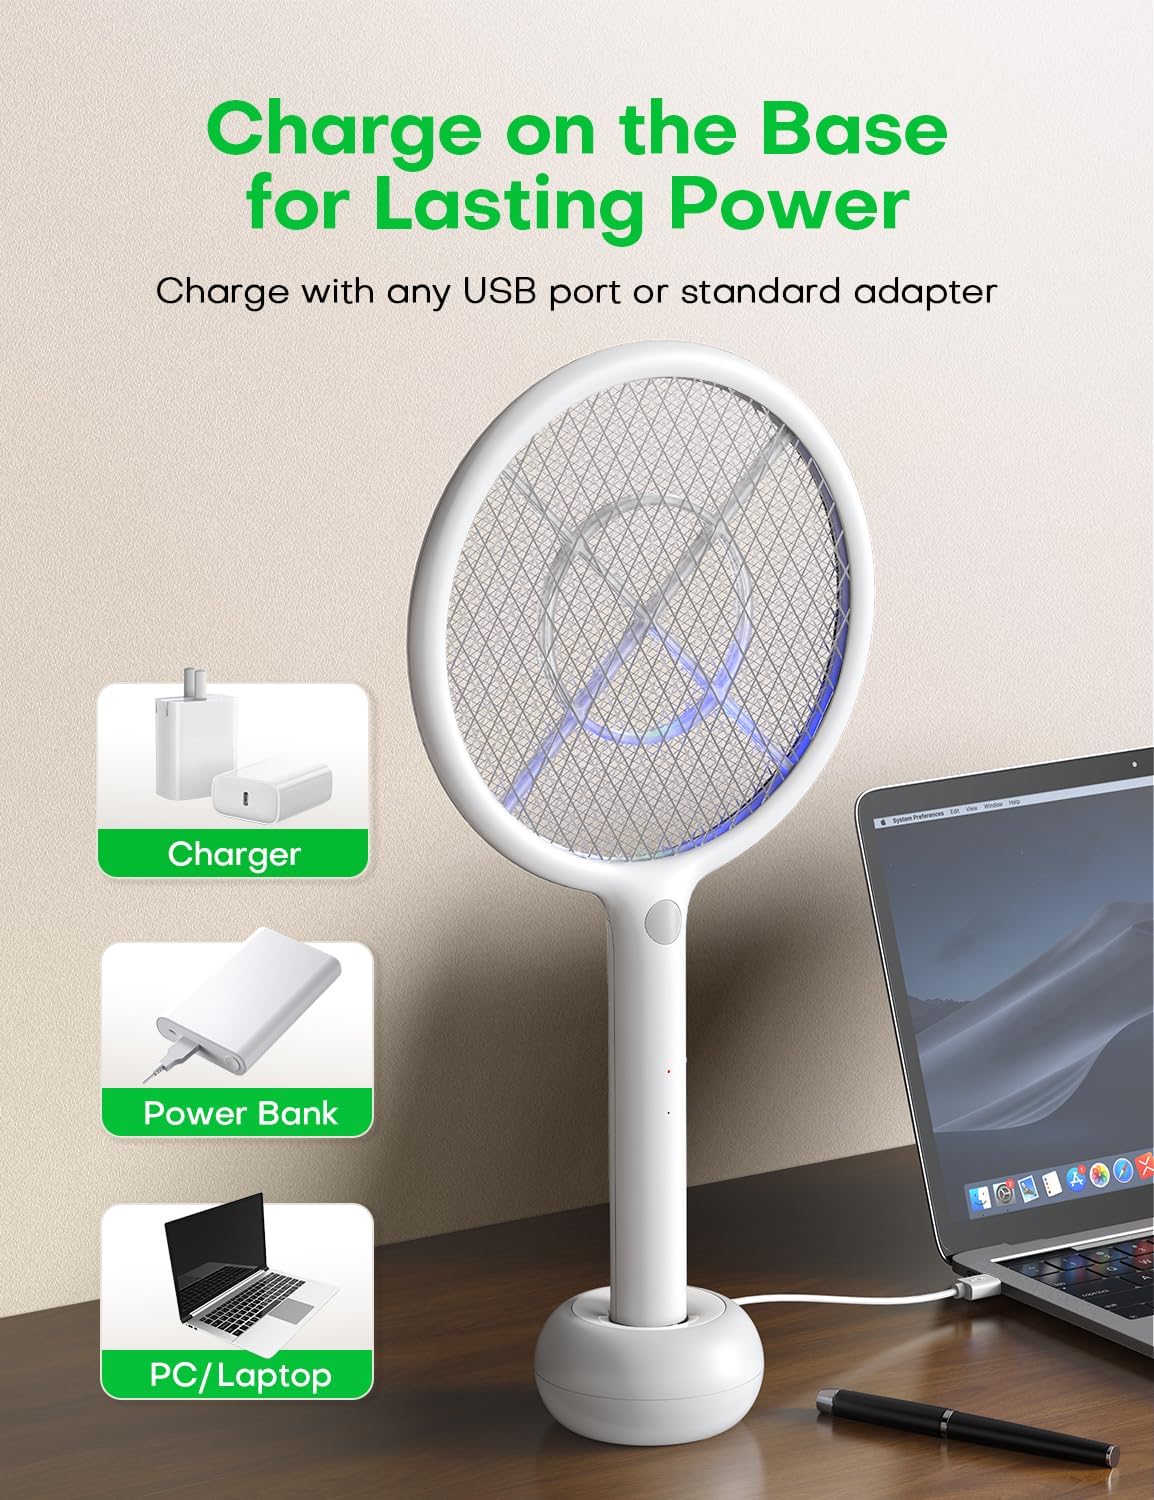
Image: The AROEVE Electric Fly Swatter placed on its charging base, illustrating connection to various USB power sources like a charger, power bank, or laptop.
Note: A full charge typically takes several hours. Avoid overcharging for extended periods.
Operating Instructions
Mode Selection
The device features a 4-position switch on the handle:
- OFF: Powers off the device.
- ON Mode (Manual Zapping): Activates the swatter for manual use.
- Lighting Mode: Turns on the built-in LED light for visibility.
- Attracting Mode (Automatic Latch): Activates the blue lure light for automatic insect attraction and zapping when placed on the charging dock.
Manual Zapping Mode
- Slide the mode switch to the ON Mode position.
- Press and hold the large "Zap" button on the handle. The Working Indicator light will illuminate, indicating the grid is active.
- Swing the swatter towards the insect to make contact with the inner electrical grid. A distinct sound and flash will occur upon successful contact.
- Release the "Zap" button after use.
Automatic Attraction Mode
This mode is ideal for passive insect control, especially in darker environments.
- Ensure the charging dock is connected to a power source.
- Place the electric fly swatter onto the charging dock.
- Slide the mode switch to the Attracting Mode position. The blue lure light will activate.
- The device will now attract mosquitoes and other flying insects to its grid, zapping them automatically.
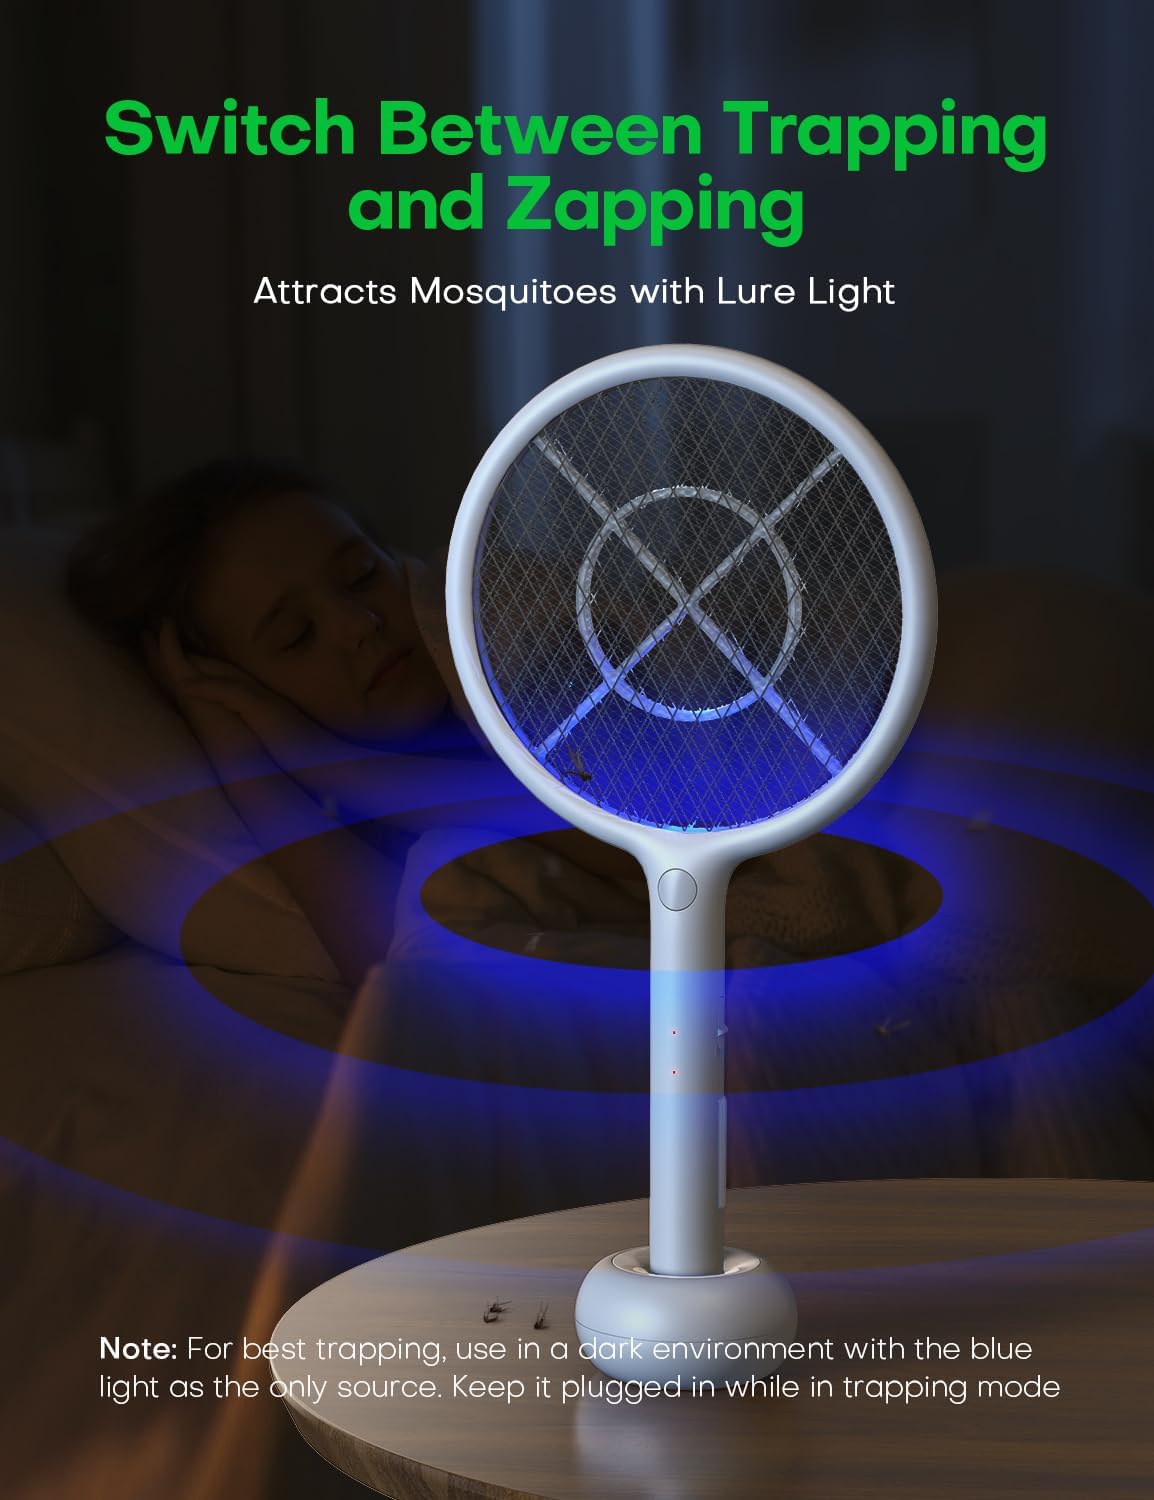
Image: The AROEVE Electric Fly Swatter in its charging dock, emitting a blue lure light to attract and trap insects automatically. For best results, use in a dark environment with the blue light as the only source and keep it plugged in.
LED Light Mode
Use the integrated LED light for better visibility in low-light conditions or to locate insects.
- Slide the mode switch to the Lighting Mode position.
- The LED light on the handle will illuminate.

Image: A hand holding the AROEVE Electric Fly Swatter with its LED light activated, illuminating the path to catch insects in a dimly lit room.
Safety Precautions
The AROEVE Electric Fly Swatter is designed with safety in mind:
- Triple Protective Net: Features an outer safety mesh on both sides to prevent accidental contact with the inner high-voltage grid.
- Two-Switch Operation: In manual mode, the "Zap" button must be pressed simultaneously with the mode switch in the ON position to activate the grid, preventing accidental zaps.
- Keep out of reach of children and pets.
- Do not touch the inner grid when the device is active.
- Do not use near flammable gases or liquids.
- Do not immerse in water or other liquids.
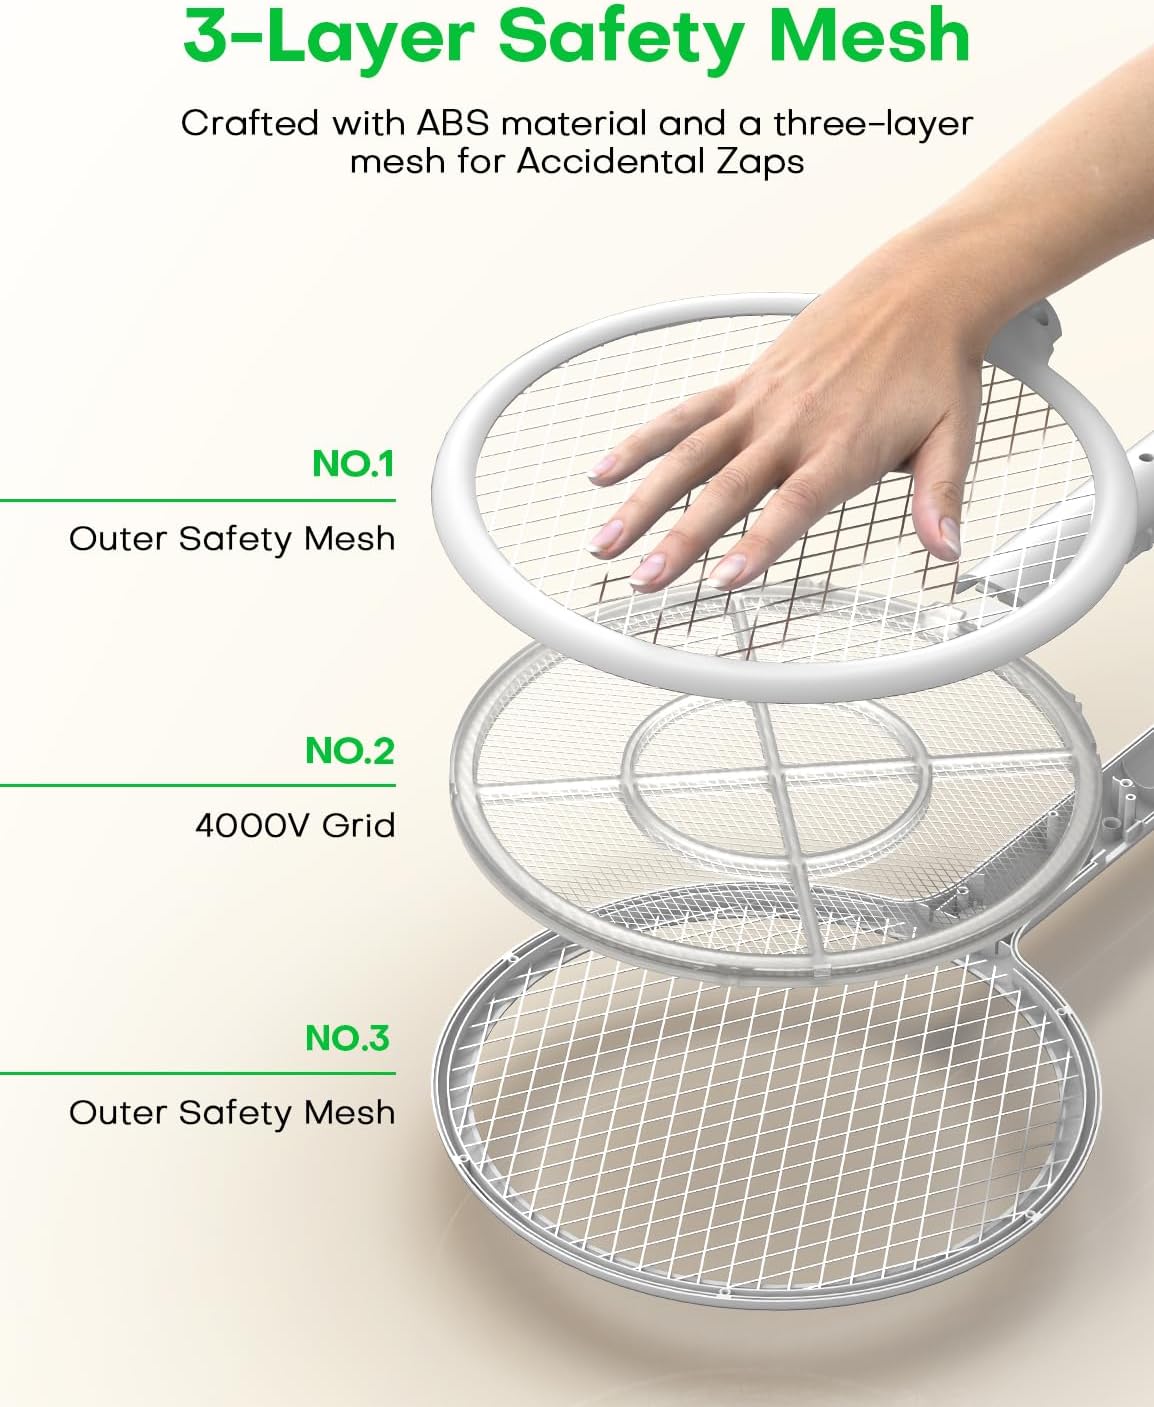
Image: An exploded view diagram illustrating the three-layer safety mesh design of the AROEVE Electric Fly Swatter, showing the outer safety meshes (No.1 and No.3) protecting the inner 4000V grid (No.2).
Maintenance
Cleaning
Regular cleaning ensures optimal performance.
- Ensure the device is switched to OFF mode and disconnected from the charging base before cleaning.
- Use a soft, dry brush or cloth to gently remove any insect debris from the grid.
- Do not use water or cleaning solutions directly on the electrical grid.
- Wipe the exterior of the swatter with a damp cloth if necessary, then dry thoroughly.
Battery Care
To prolong the life of the 1200mAh rechargeable battery:
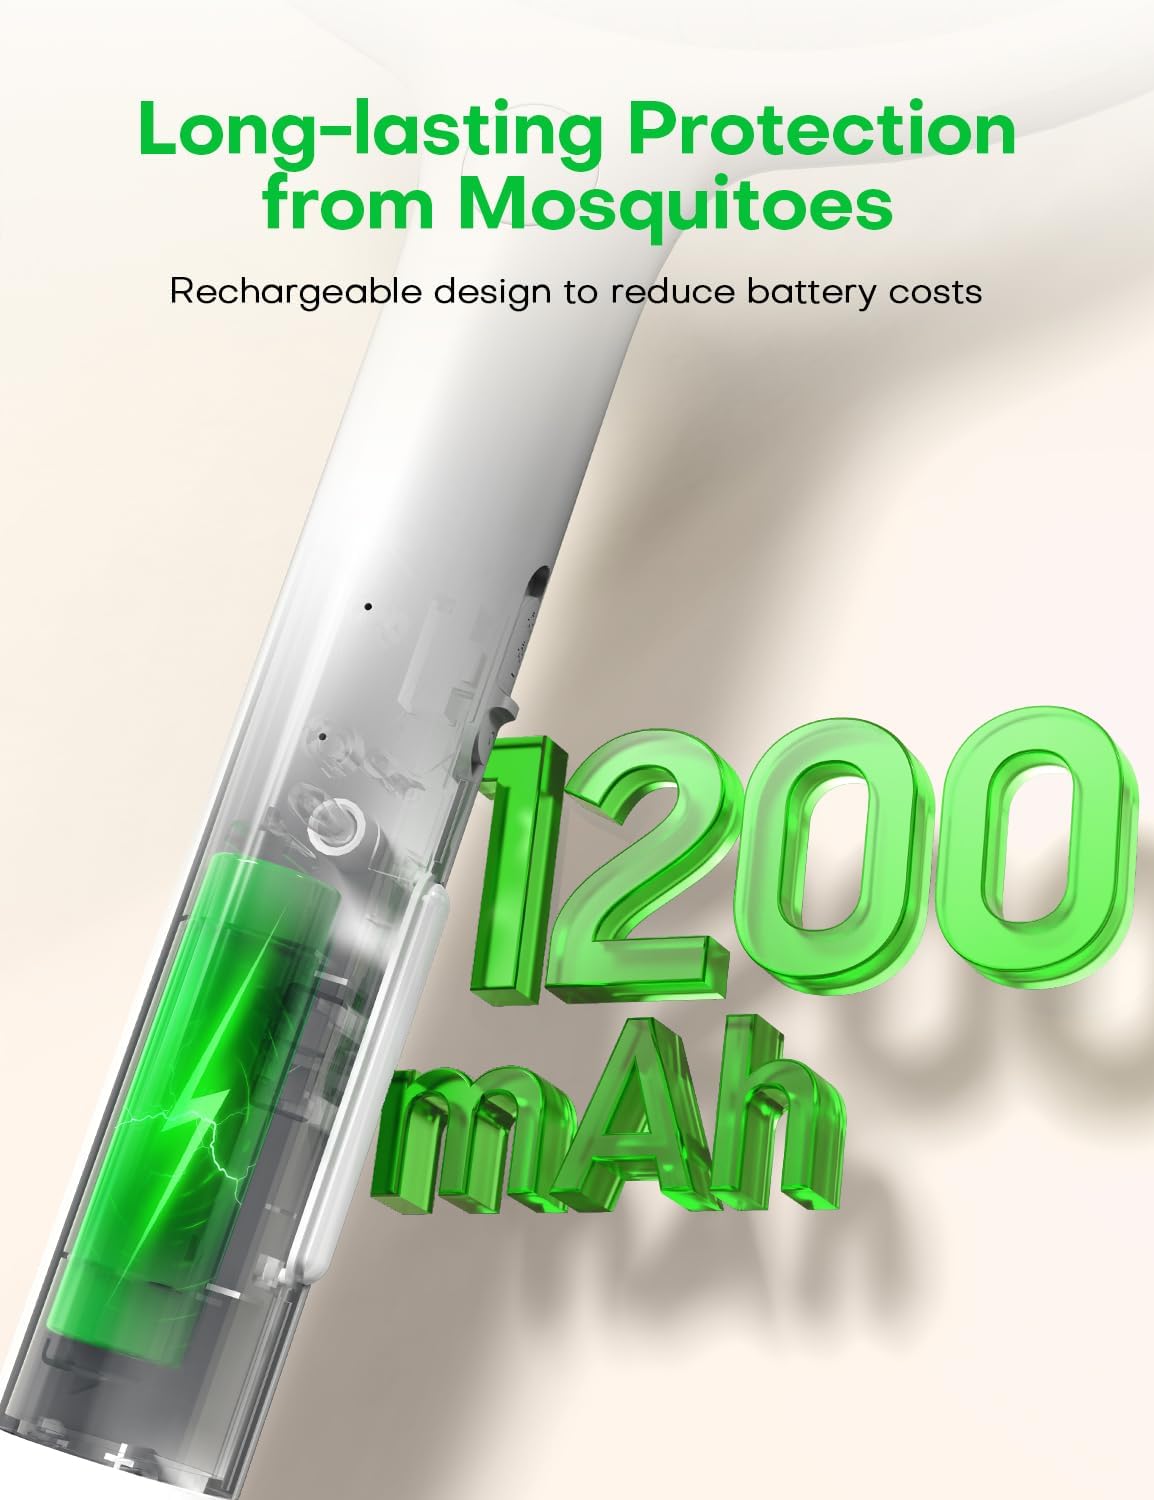
Image: An illustration depicting the internal 1200mAh rechargeable battery, emphasizing long-lasting protection from mosquitoes and reduced battery costs.
- Charge the device fully before its first use.
- Recharge the battery when the power is low to avoid deep discharge.
- If storing the device for an extended period, charge it every 3 months to maintain battery health.
- Do not expose the device to extreme temperatures.
Troubleshooting
If you encounter issues with your AROEVE Electric Fly Swatter, refer to the following common problems and solutions:
| Problem | Possible Cause | Solution |
|---|---|---|
| Swatter not zapping in manual mode. | Battery is low or depleted. Mode switch not in ON position. "Zap" button not pressed. | Charge the device fully. Slide the mode switch to ON. Press and hold the "Zap" button while swinging. |
| Automatic attraction mode not working. | Device not on charging dock. Charging dock not powered. Mode switch not in Attracting Mode. | Ensure swatter is correctly seated on the dock. Verify USB cable and power source connection. Slide the mode switch to Attracting Mode. |
| LED light not turning on. | Battery is low or depleted. Mode switch not in Lighting Mode. | Charge the device fully. Slide the mode switch to Lighting Mode. |
| Charging indicator not lighting up. | USB cable or power source faulty. Swatter not properly seated on dock. | Try a different USB cable or power adapter. Adjust the swatter on the dock to ensure proper contact. |
If the problem persists after trying these solutions, please contact customer support.
Specifications
| Feature | Detail |
|---|---|
| Model Number | DH-WP04 |
| Brand | AROEVE |
| Voltage | 4000V |
| Battery Capacity | 1200mAh Rechargeable |
| Charging Method | USB Charging Base |
| Product Dimensions | 31L x 5W x 43H cm |
| Item Weight | 0.7 Kilograms |
| Safety Features | Triple Protective Net, Two-Switch Operation |
| Additional Features | LED Light, Auto Latch Mode (Lure Light) |
| Manufacturer | ANTADI |
| UPC | 850070209199 |
Warranty and Support
For warranty information or technical support, please refer to the documentation provided with your purchase or contact the retailer/manufacturer directly. Keep your purchase receipt as proof of purchase.


