1. Introduction
This manual provides detailed instructions for the installation, operation, and maintenance of your Evanshow Fingerprint Door Lock (Model 190NOA). This biometric door knob offers multiple access methods, including fingerprint, password, IC card, and mechanical key. Please read this manual thoroughly before installation and use to ensure proper function and security.

Image 1.1: Evanshow Fingerprint Door Lock components, including the main unit, IC cards, and mechanical keys.
2. Product Overview
2.1 Key Features
- 4-in-1 Access Methods: Unlock using fingerprint, password, IC card, or mechanical key.
- Advanced Fingerprint Sensor: 0.5-second recognition speed with a 99% recognition rate, supporting up to 100 unique fingerprints.
- Keypad Entry: Supports up to 100 passwords, featuring an anti-peep function for enhanced security.
- IC Card Access: Includes 4 IC cards for convenient entry.
- Mechanical Key Backup: Two physical keys are provided for emergency access.
- Auto-Lock Function: Automatically locks the door after a set period.
- Easy Installation: Designed for simple installation on wooden doors 1.18"-1.97" thick, without requiring drilling or wiring.

Image 2.1: Overview of the lock's capacity for user credentials and included accessories.

Image 2.2: Details of the advanced fingerprint recognition technology.
3. Specifications
| Feature | Detail |
|---|---|
| Model Number | 190NOA |
| Material | Metal |
| Color | Black |
| Exterior Finish | Matte Black |
| Lock Type | Privacy |
| Item Weight | 1.2 Pounds |
| Product Dimensions | 2 x 1.97 x 1 inches |
| Hand Orientation | Reversible |
| Door Thickness Compatibility | 1.18" - 1.97" (30mm - 50mm) |
| Power Source | Batteries (4x AAA, included) |
| Battery Cell Type | Zinc |
| Fingerprint Capacity | Up to 100 |
| Password Capacity | Up to 100 |
| Included Components | Door Handle, 4 IC Cards, 2 Mechanical Keys |
4. Setup and Installation
The Evanshow Fingerprint Door Lock is designed for easy installation. No special wiring or drilling is typically required for standard door preparations. A screwdriver is the primary tool needed.
4.1 Door Compatibility Check
Before installation, verify your door's dimensions and type. This lock is compatible with door thicknesses between 1.18 inches (30mm) and 1.97 inches (50mm). Ensure your door has a standard backset (2-3/8" or 2-3/4") and a 1" (25mm) latch hole.

Image 4.1: Guide to checking your door's dimensions for proper fit.

Image 4.2: Compatibility check for various door lock configurations.
4.2 Installation Steps (General)
- Remove Existing Lock: Carefully remove your current door knob or lockset.
- Install Latch: Insert the new latch into the door edge and secure it with screws. Ensure the latch bolt faces the correct direction for your door swing.
- Install Exterior Handle: Place the exterior handle assembly through the door, aligning it with the latch.
- Install Interior Handle: Connect the interior handle assembly to the exterior handle, ensuring all cables are properly routed and not pinched. Secure with mounting screws.
- Insert Batteries: Open the battery cover on the interior handle and insert 4 AAA batteries (included), observing polarity.
- Test Functionality: After installation, test the mechanical key, and then proceed to program user access methods.
Refer to the included video tutorials or detailed graphical instructions provided with your product for specific step-by-step guidance.
5. Operating Instructions
5.1 Initial Setup and Admin Programming
Upon first power-up, you will need to set an administrator fingerprint or password. This administrator will have the authority to add or delete other users.
- To Set Admin Fingerprint: Follow the voice prompts or indicator lights. Place your finger on the sensor multiple times until successfully registered.
- To Set Admin Password: Follow the voice prompts or indicator lights. Enter a 6-10 digit password, then confirm.
5.2 Adding User Access Methods
Once an administrator is set, you can add up to 99 additional fingerprints, 99 passwords, and IC cards.
- Adding Fingerprints: Access the programming menu (usually by pressing a specific button or using the admin fingerprint/password). Select 'Add Fingerprint' and follow the prompts to register new fingerprints.
- Adding Passwords: Access the programming menu. Select 'Add Password' and enter a new 6-10 digit password, then confirm.
- Adding IC Cards: Access the programming menu. Select 'Add Card' and present the IC card to the sensor area when prompted.
5.3 Unlocking the Door

Image 5.1: Multiple access options for unlocking the door.
- Fingerprint Unlock: Place your registered finger on the fingerprint sensor. The lock will unlock in approximately 0.5 seconds if recognized.
- Password Unlock: Enter your registered password on the keypad, followed by the '#' key.
- Anti-Peep Password: To prevent others from guessing your password, you can enter random digits before and after your actual password. For example, if your password is '123456', you can enter '987123456321'. The lock will recognize the correct sequence within the longer string.
- IC Card Unlock: Present a registered IC card to the card reader area on the lock.
- Mechanical Key Unlock: Insert the mechanical key into the keyhole and turn to unlock. This is for emergency use or when batteries are depleted.

Image 5.2: Unlocking the door using a registered fingerprint.
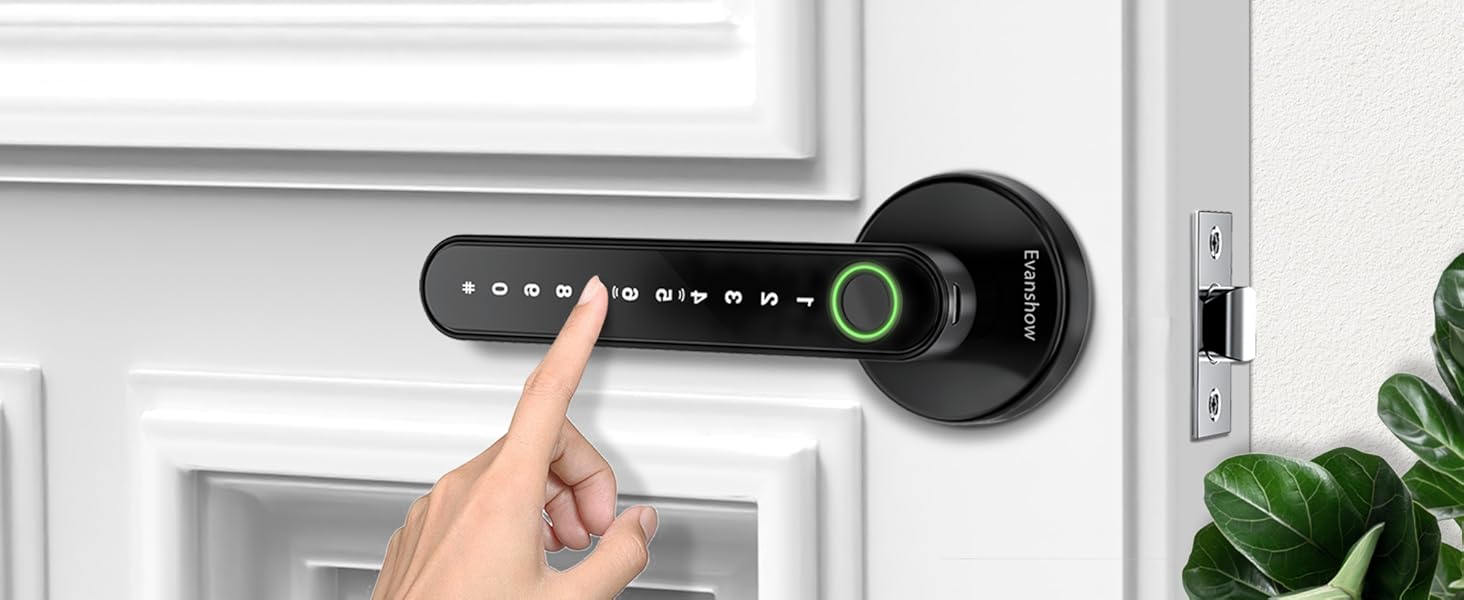
Image 5.3: Entering a password on the keypad to unlock the door.
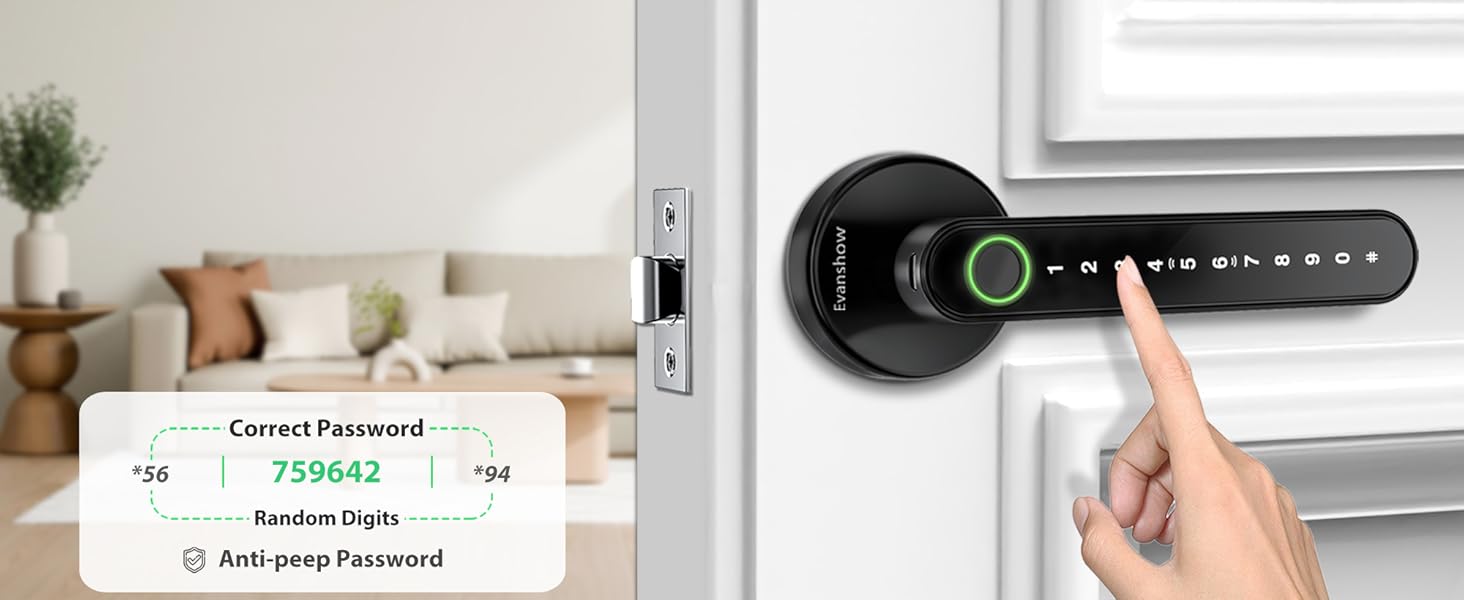
Image 5.4: Illustration of the anti-peep password function.
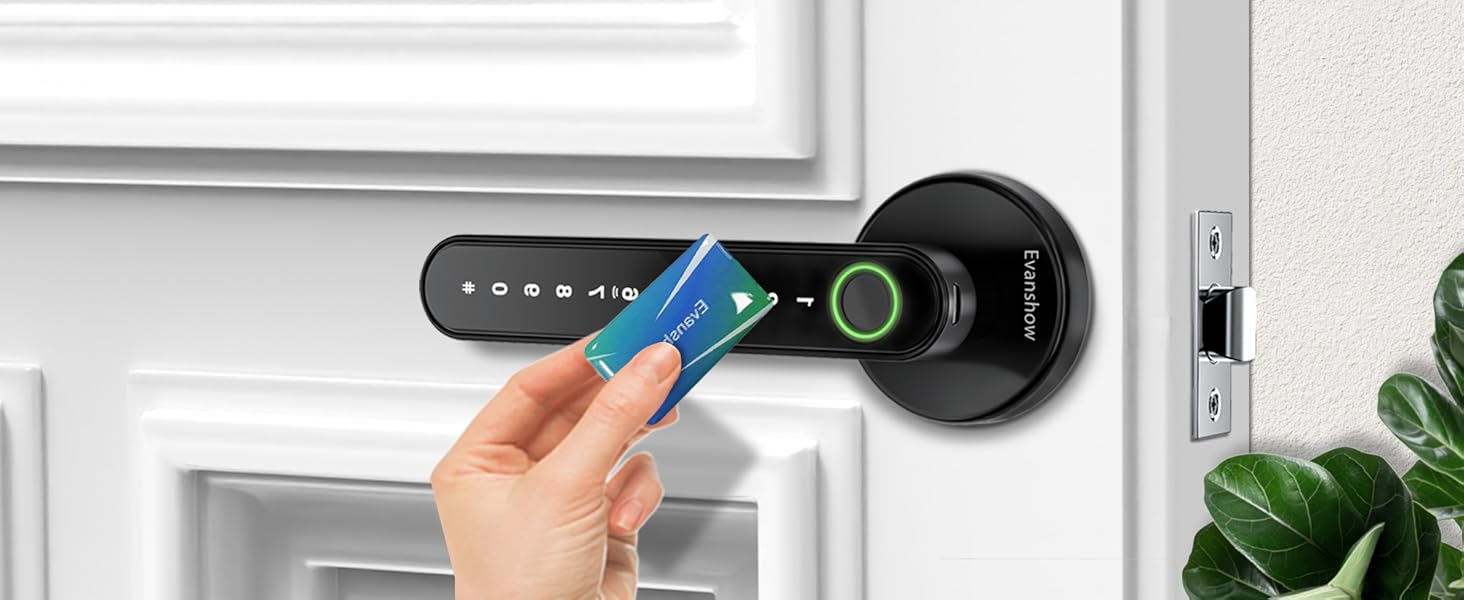
Image 5.5: Unlocking the door using an IC card.
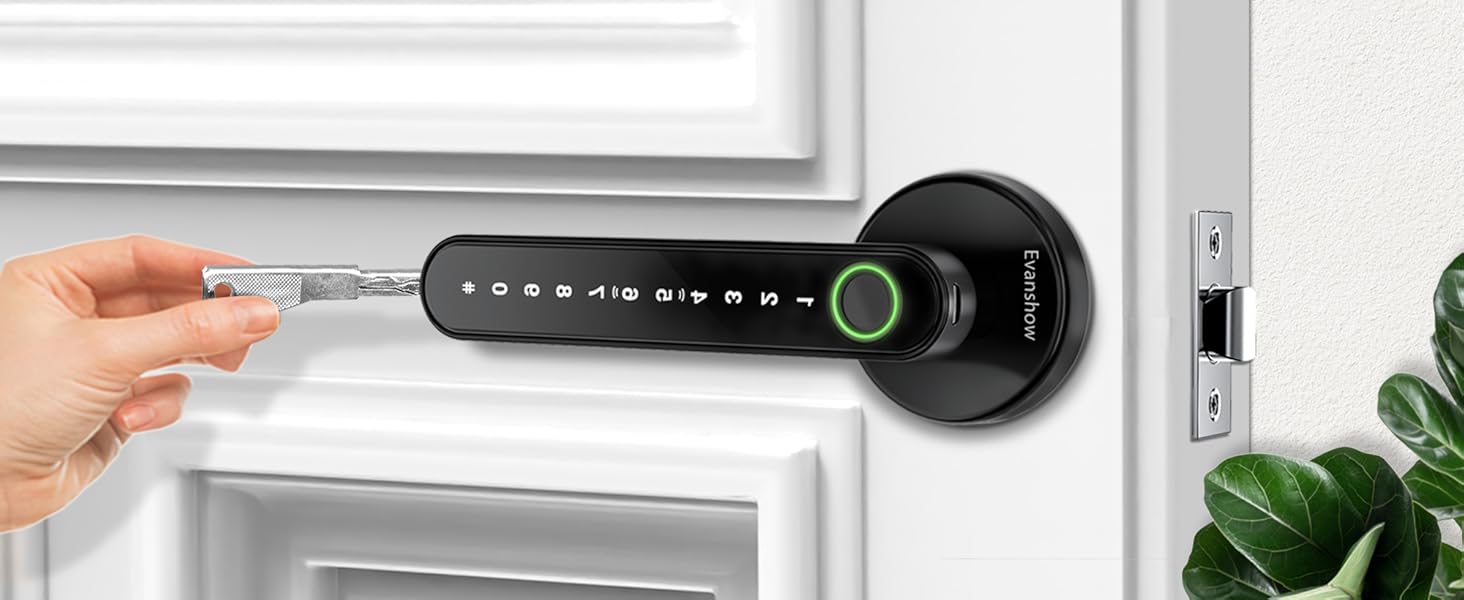
Image 5.6: Unlocking the door with a mechanical key.
5.4 Auto-Lock Function
The lock features an auto-lock function, which automatically secures the door after a short delay once it is closed. This feature enhances security by ensuring the door is always locked. The specific delay time may be pre-set or configurable directly on the lock.
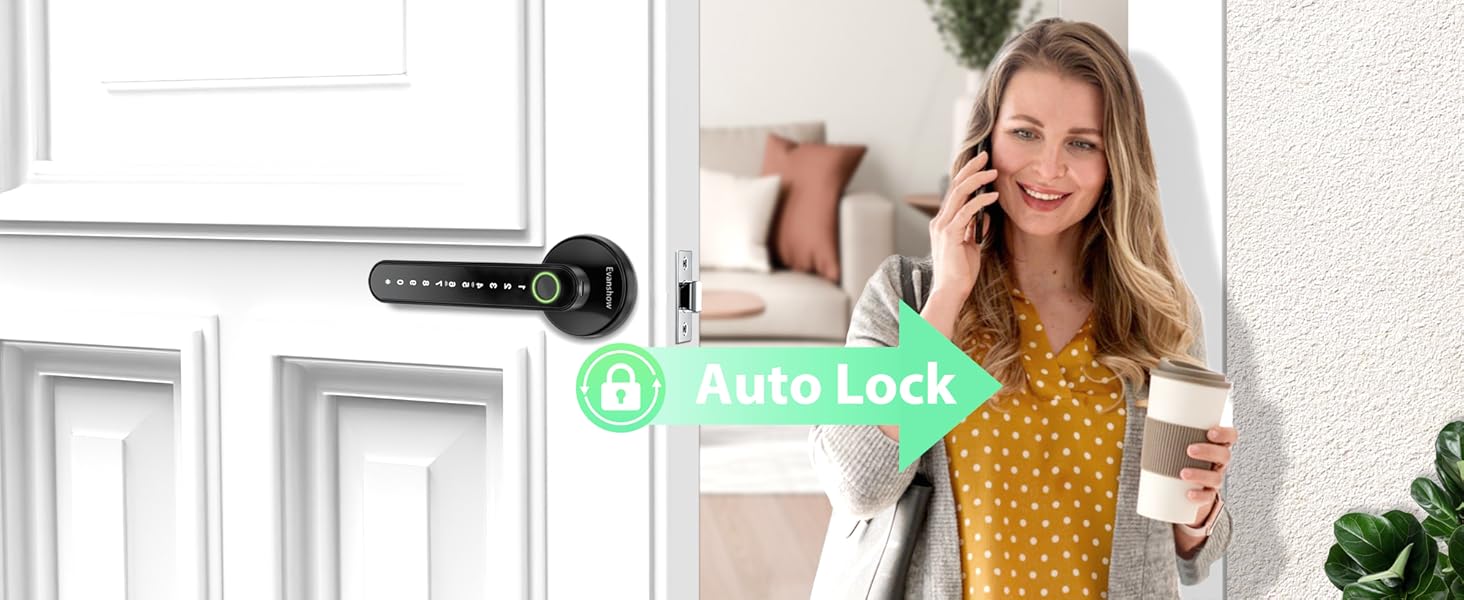
Image 5.7: The auto-lock feature securing the door automatically.
6. Maintenance
6.1 Battery Replacement
The lock is powered by 4 AAA batteries. When the battery level is low, the lock will provide an audible or visual warning. Replace all four batteries promptly to ensure continuous operation.
- Locate the battery cover on the interior handle.
- Remove the cover.
- Remove the old batteries and dispose of them responsibly.
- Insert 4 new AAA batteries, ensuring correct polarity (+/-).
- Replace the battery cover.
Using high-quality alkaline batteries is recommended for optimal performance and battery life.
6.2 Cleaning
To maintain the appearance and functionality of your lock, clean it regularly with a soft, dry cloth. Avoid using abrasive cleaners, solvents, or harsh chemicals, as these can damage the finish and electronic components.
7. Troubleshooting
- Fingerprint Not Recognized:
- Ensure your finger is clean and dry.
- Try repositioning your finger on the sensor.
- If issues persist, re-register your fingerprint.
- Keypad Not Responding:
- Check battery level; replace batteries if low.
- Ensure you are pressing the keys firmly.
- Lock Not Engaging/Disengaging:
- Check for any obstructions in the door frame or latch area.
- Ensure the lock is properly aligned and installed.
- Mechanical Key Not Working:
- Ensure the key is fully inserted and turned correctly.
- Check for any debris in the keyhole.
- Low Battery Warning:
- Replace all 4 AAA batteries immediately.
8. Warranty and Support
For warranty information, technical support, or service inquiries, please contact Evanshow customer service directly. Contact details can typically be found on the product packaging or the official Evanshow website.