
1. Important Safeguards
When using electrical appliances, basic safety precautions should always be followed to reduce the risk of fire, electric shock, and/or injury to persons, including the following:
- Read all instructions before operating the mixer.
- To protect against electrical shock, do not immerse the mixer body, cord, or plug in water or other liquid.
- Close supervision is necessary when any appliance is used by or near children.
- Unplug from outlet when not in use, before putting on or taking off parts, and before cleaning.
- Avoid contact with moving parts. Keep hands, hair, clothing, as well as spatulas and other utensils away from beaters during operation to prevent injury and/or damage to the mixer.
- Do not operate any appliance with a damaged cord or plug, or after the appliance malfunctions or has been dropped or damaged in any manner. Contact customer service for examination, repair, or electrical or mechanical adjustment.
- The use of attachments not recommended or sold by the manufacturer may cause fire, electric shock, or injury.
- Do not use outdoors.
- Do not let cord hang over edge of table or counter.
- Do not let cord contact hot surfaces, including the stove.
2. Product Overview
The Royalty Line RLHM19015 is a versatile 400W mixer designed for various kitchen tasks, featuring both stand mixer and detachable hand mixer functionalities. It comes with a 3-liter stainless steel mixing bowl and multiple attachments.
Components:
- Main Mixer Unit (Hand Mixer)
- Stand Base
- 3-Liter Stainless Steel Mixing Bowl
- Beaters (2 units)
- Dough Hooks (2 units)
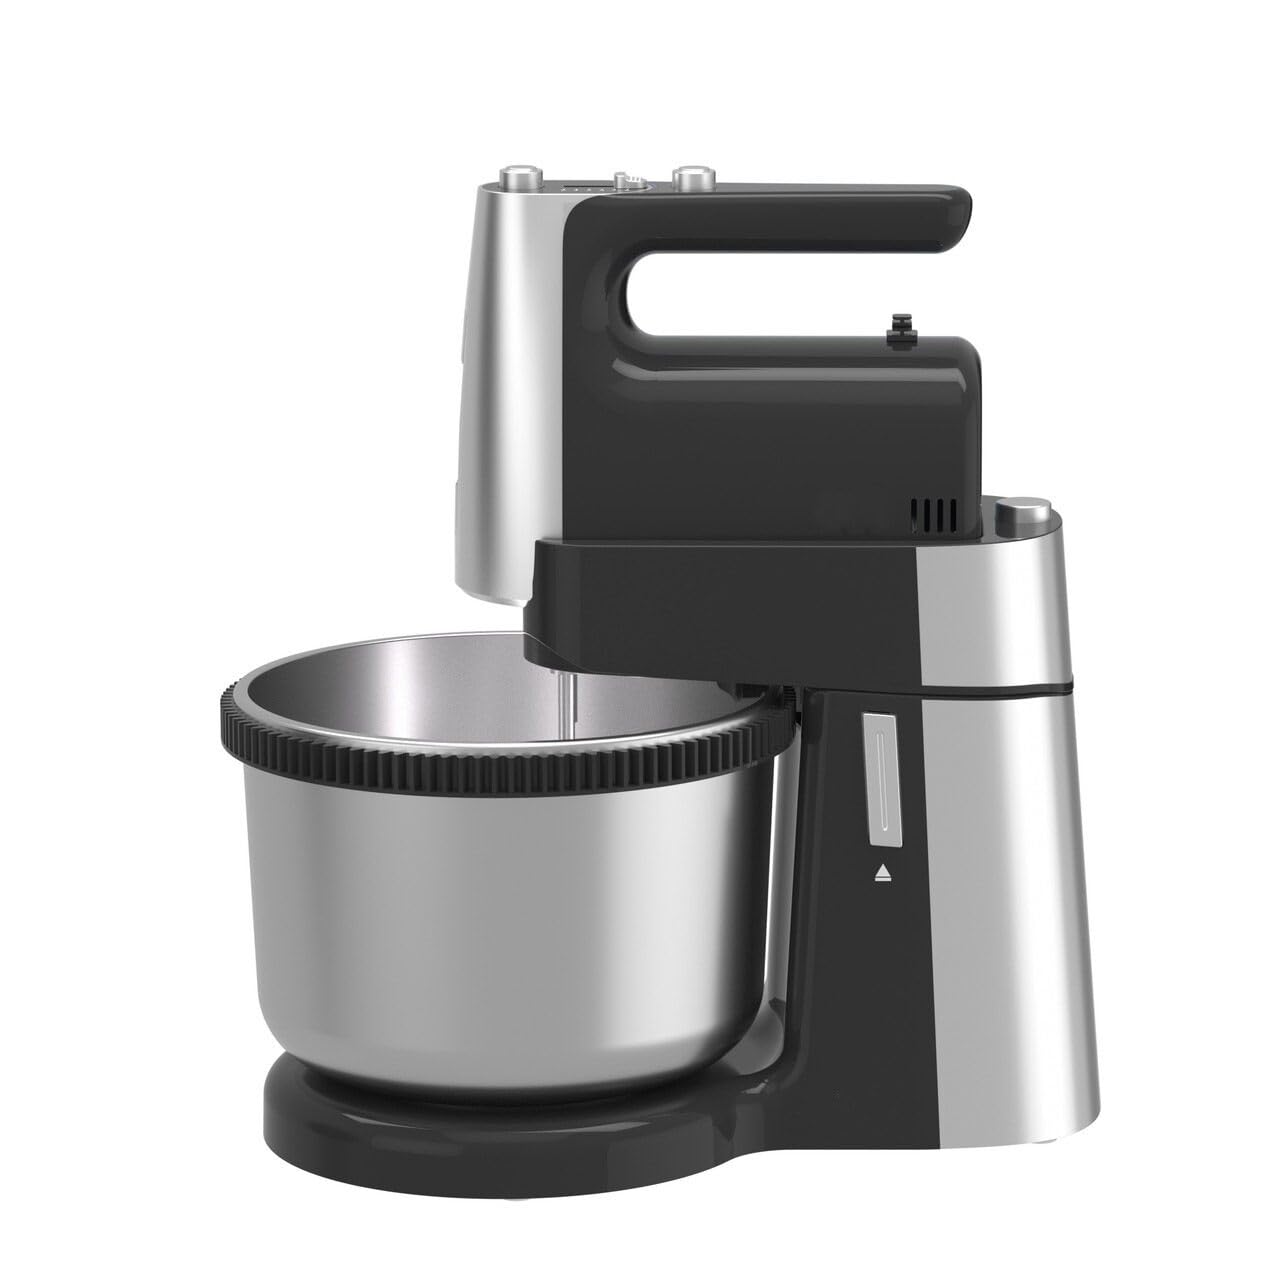
Figure 2.1: Overview of mixer components and their approximate dimensions. The hand mixer measures approximately 16.6 cm wide by 14.4 cm high. The stand base is about 28.2 cm wide. The mixing bowl has a 3-liter capacity and is approximately 15 cm high. Beaters and dough hooks are around 22 cm long.

Figure 2.2: The assembled mixer, illustrating its key features. The design allows for hands-free mixing when used with the stand, offers 5 speed settings plus a turbo function for varied mixing needs, and the hand mixer unit can be effortlessly detached for handheld use.
3. Setup
- Unpack: Carefully remove all components from the packaging. Retain packaging for future storage or transport.
- Clean: Before first use, wash the mixing bowl, beaters, and dough hooks in warm, soapy water. Rinse thoroughly and dry. Wipe the main mixer unit and stand base with a damp cloth.
- Position: Place the stand base on a clean, dry, and stable surface.
- Attach Bowl: Place the 3-liter stainless steel mixing bowl onto the stand base, ensuring it is securely seated.
- Insert Attachments: Select the desired attachments (beaters or dough hooks). Insert the stems of the attachments into the openings on the underside of the hand mixer unit. Push firmly until they click into place. Ensure both attachments are inserted correctly and securely.
- Attach Hand Mixer to Stand: If using as a stand mixer, align the hand mixer unit with the arm of the stand base and slide it into position until it locks securely.
4. Operating Instructions
The Royalty Line RLHM19015 mixer offers 5 speed settings and a turbo function for optimal mixing results. It can be used as a stand mixer for hands-free operation or as a detachable hand mixer.
4.1 Using as a Stand Mixer
- Ensure the mixer is properly assembled as described in the Setup section.
- Add ingredients to the mixing bowl.
- Lower the hand mixer unit (with attachments) into the bowl.
- Plug the mixer into a suitable power outlet.
- Select the desired speed setting (0-5) using the speed control switch. Start at a lower speed and gradually increase as needed to prevent splashing.
- For short bursts of maximum power, press and hold the 'Turbo' button.
- When mixing is complete, set the speed control to '0' and unplug the mixer.
- Press the release button to lift the hand mixer unit from the bowl.
4.2 Using as a Hand Mixer
- Ensure the mixer is unplugged.
- If the hand mixer is attached to the stand, press the release button to detach it from the stand base.
- Insert the desired attachments (beaters or dough hooks) into the hand mixer unit.
- Plug the hand mixer into a suitable power outlet.
- Hold the hand mixer firmly and immerse the attachments into your ingredients.
- Select the desired speed setting (0-5) and begin mixing.
- When finished, set the speed control to '0' and unplug the mixer.
4.3 Attachment Usage Guide
- Beaters: Ideal for whipping cream, egg whites, mixing cake batters, frostings, and light doughs.
- Dough Hooks: Designed for kneading heavier doughs such as bread dough, pizza dough, and pasta dough.

Figure 4.1: The 3-liter stainless steel bowl is designed to turn during operation, ensuring thorough and even mixing of ingredients.

Figure 4.2: This image illustrates the mixer's control panel, featuring an eject button for attachments and a slider for 5 speed settings. It also shows examples of the mixer's capabilities: whisking egg whites to a fluffy consistency, incorporating flour into a mixture, and blending cream smoothly.

Figure 4.3: This visual demonstrates the versatility of the mixer's attachments. The dough hooks are suitable for kneading heavy doughs, as shown with hands working dough. The beaters are ideal for lighter mixtures, such as preparing ingredients for a layered cake.
5. Maintenance and Cleaning
Proper cleaning and maintenance will ensure the longevity and optimal performance of your mixer.
- Always Unplug: Before cleaning, always ensure the mixer is unplugged from the power outlet and has cooled down.
- Remove Attachments: Press the eject button to release the beaters or dough hooks.
- Wash Attachments and Bowl: Wash the stainless steel mixing bowl, beaters, and dough hooks in warm, soapy water. Rinse thoroughly and dry immediately to prevent water spots or corrosion. These parts may also be dishwasher safe (check product markings if available).
- Clean Main Unit and Stand: Wipe the exterior of the hand mixer unit and the stand base with a soft, damp cloth. For stubborn stains, use a mild detergent. Do not use abrasive cleaners or scouring pads.
- Do Not Immerse: Never immerse the main mixer unit (containing the motor) or the power cord in water or any other liquid.
- Storage: Store the mixer and its attachments in a clean, dry place when not in use.
6. Troubleshooting
If you encounter issues with your mixer, refer to the following common problems and solutions:
- Mixer does not turn on:
- Ensure the power cord is securely plugged into a working electrical outlet.
- Check if the speed control is set to a position other than '0'.
- Verify that your power outlet is functional by testing it with another appliance.
- Attachments do not fit or eject:
- Ensure the attachments are aligned correctly with the openings and pushed in firmly until they click.
- To eject, ensure the mixer is off and unplugged, then press the eject button firmly.
- Motor sounds strained or overheats:
- You may be mixing too heavy a load or for too long. Reduce the quantity of ingredients or allow the mixer to rest for a few minutes.
- Ensure you are using the correct attachments for the task (e.g., dough hooks for heavy dough).
- Ingredients are not mixing evenly:
- Ensure the bowl is properly seated and rotating (if applicable).
- Use a spatula to scrape down the sides of the bowl periodically during mixing.
If the problem persists after trying these solutions, please contact customer support.
7. Specifications
| Model Number | RLHM19015 |
| Brand | Royalty Line |
| Power | 400 Watts |
| Bowl Capacity | 3 Liters |
| Material | 18/10 Steel (Bowl and Attachments) |
| Dimensions (Package) | 36 x 28 x 26 cm |
| Product Weight | 2.8 kg |
8. Warranty and Support
This Royalty Line RLHM19015 mixer is covered by a manufacturer's warranty against defects in material and workmanship. Please refer to the warranty card included with your purchase for specific terms, conditions, and duration.
For technical support, service, or warranty claims, please contact the retailer where the product was purchased or refer to the contact information provided in your product documentation.
Please have your model number (RLHM19015) and proof of purchase ready when contacting support.