
CAMWORLD AC18-AA
Contents
User Manual: CAMWORLD 4K Digital Camera
Model: AC18-AA
1. Introduction
Thank you for purchasing the CAMWORLD 4K Digital Camera. This compact and versatile camera is designed for photography enthusiasts and vlogging creators, offering 72MP image resolution and 4K video recording capabilities. With features like autofocus, 18X digital zoom, a 2.8-inch 270° flip screen, and various shooting modes, it is an ideal companion for capturing your memories.
This manual provides detailed instructions on how to set up, operate, and maintain your camera. Please read it thoroughly before use to ensure optimal performance and longevity of your device.
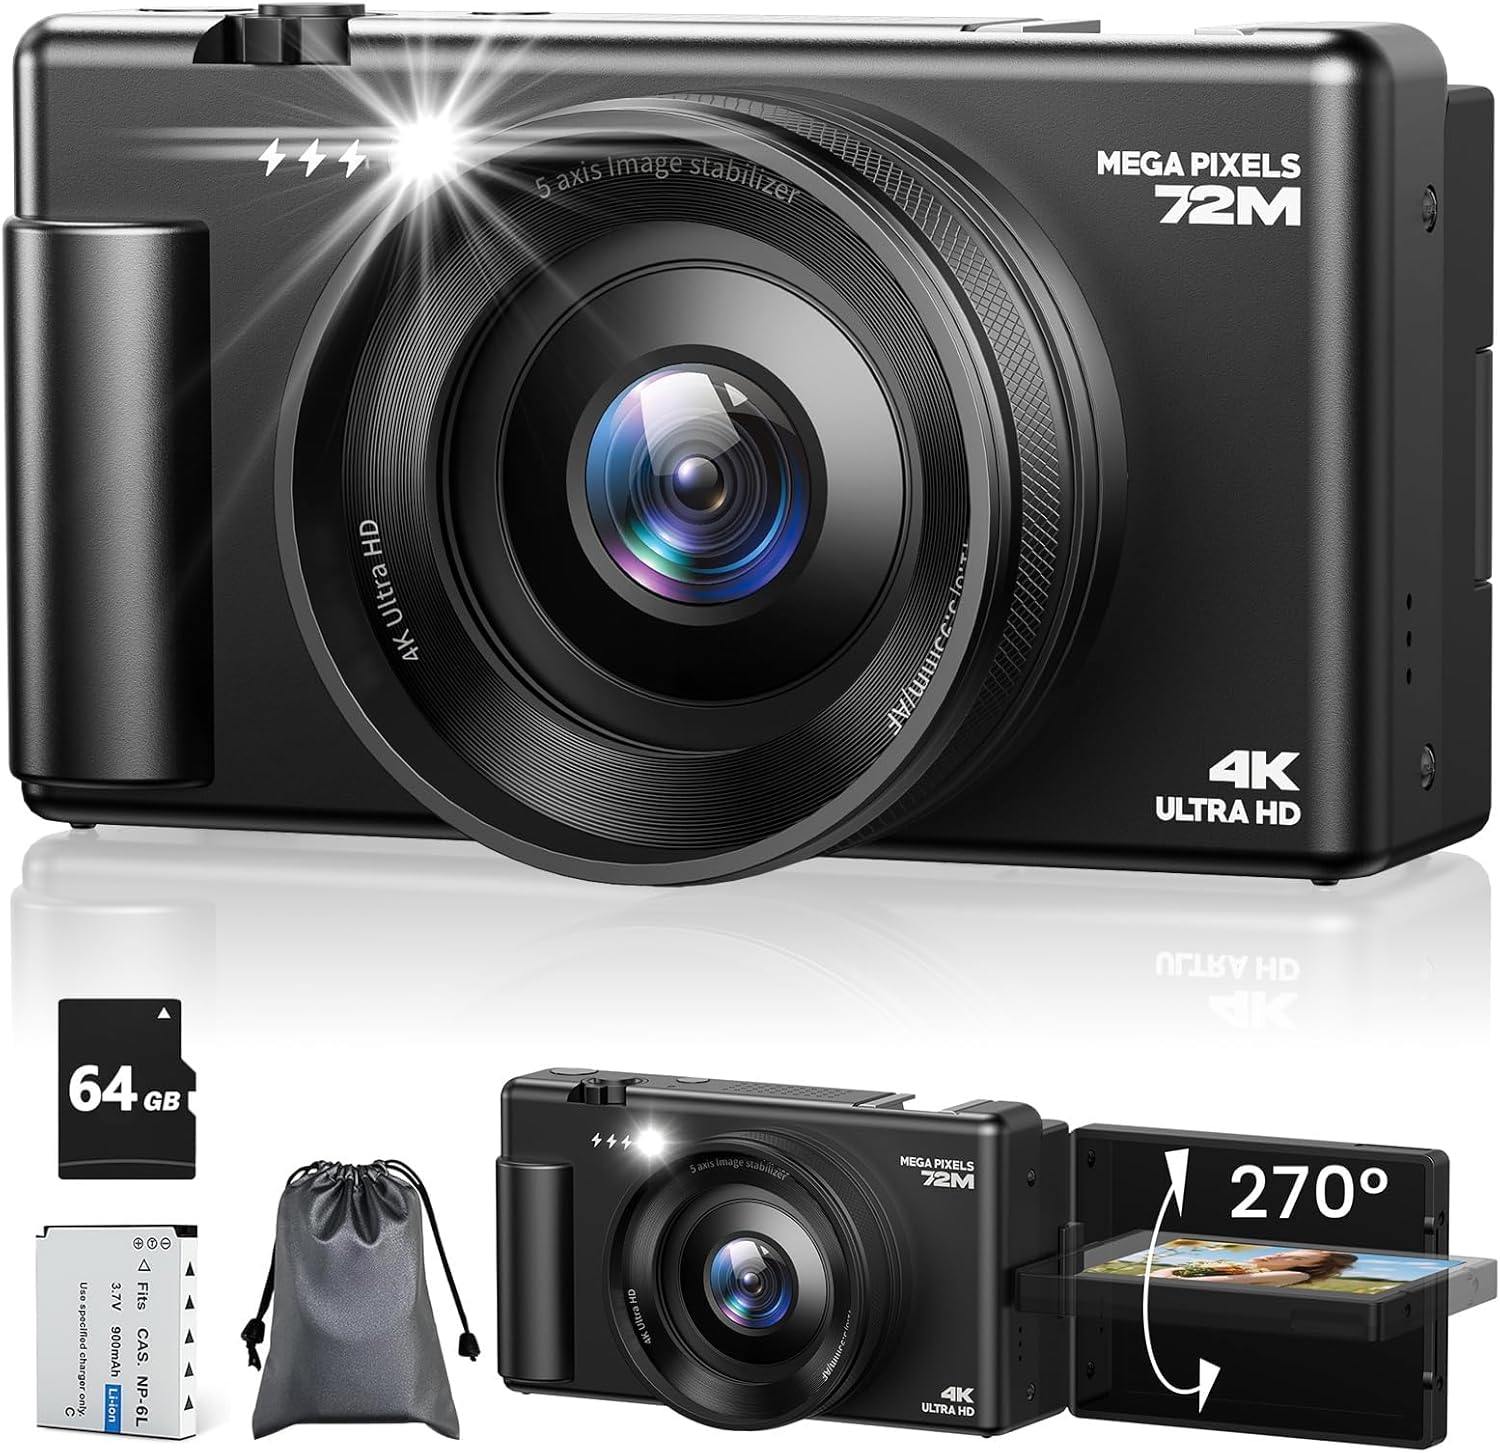
Image: The CAMWORLD 4K Digital Camera, showcasing its compact design and key accessories.
2. Package Contents
Please verify that all items listed below are included in your package. If any items are missing or damaged, please contact customer support.
- 1 x CAMWORLD 4K Digital Camera
- 1 x 64GB TF Card
- 1 x 900mAh Battery
- 1 x Type-C USB Cable
- 1 x Lanyard
- 1 x Carry Bag
- 1 x Lens Cloth
- 1 x UV Lens
- 1 x User Manual
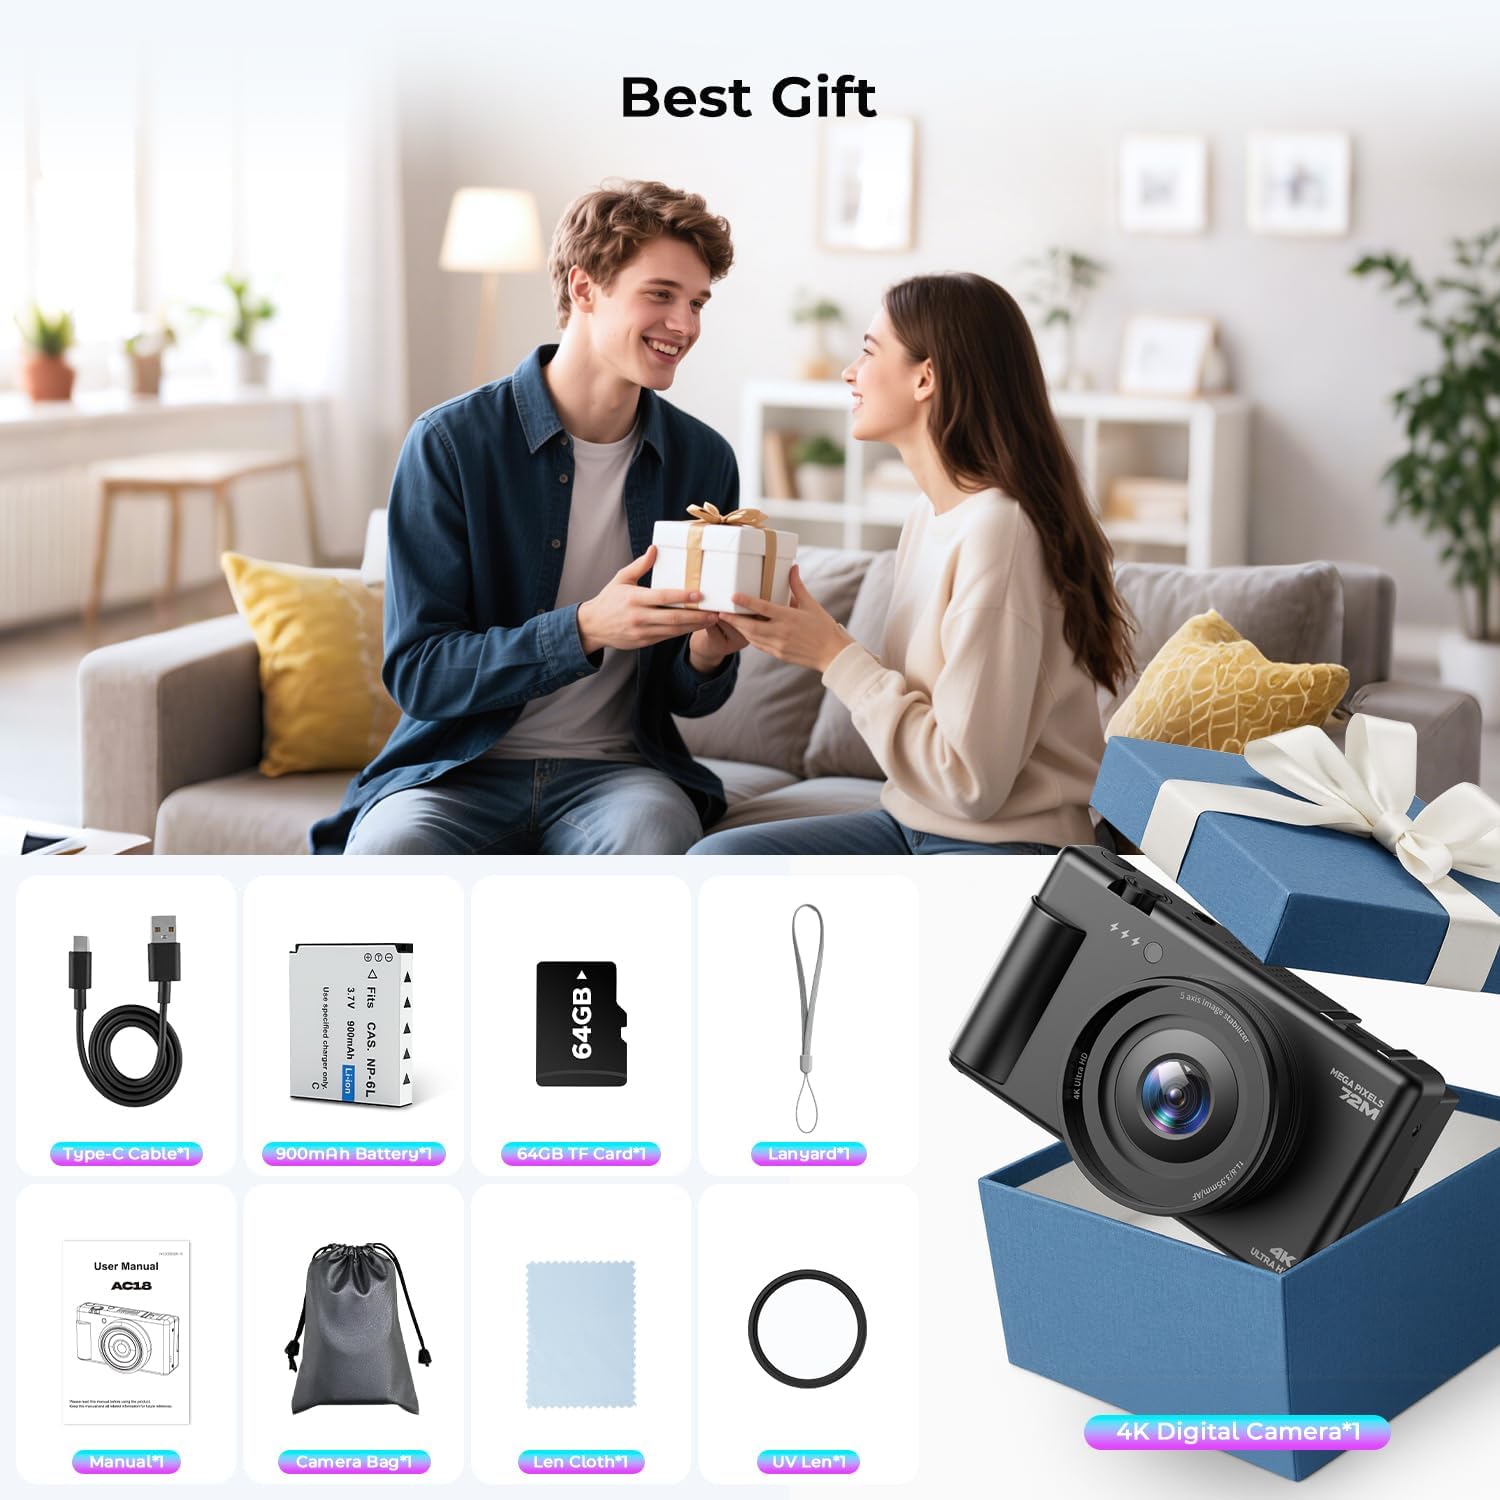
Image: All items included in the product package.
3. Camera Components
Familiarize yourself with the various parts of your CAMWORLD 4K Digital Camera:

Image: Detailed diagram of camera buttons and ports.
- Power Button: Turns the camera on/off.
- W/T (Wide/Telephoto) Button: Controls digital zoom.
- Video/Photo Button: Switches between video and photo modes, or starts/stops recording/capturing.
- Playback Button: Enters playback mode to view photos and videos.
- UP/Flash Button: Navigates menus or controls flash settings.
- Right/Metering Button: Navigates menus or adjusts metering mode.
- Menu/Confirm Button: Opens the menu or confirms selections.
- Down/Timer Button: Navigates menus or sets self-timer.
- Left/Scene Button: Navigates menus or selects scene modes.
- Delete/Return Button: Deletes files or returns to previous screen.
- DISP Button: Changes display information on the screen.
- USB Port: For charging and data transfer.
- HDMI Port: For connecting to an external display.
- Coldshoe: For attaching external accessories like microphones or fill lights.
- 2.8" Flip Screen: Articulating display for versatile viewing angles.
- Lens: Main optical component for capturing images.
- Built-in Flash: Provides illumination in low-light conditions.
4. Setup
4.1 Battery Installation and Charging
The camera uses a 900mAh Lithium-Ion battery. Ensure the battery is fully charged before first use.
- Open the battery compartment cover located at the bottom of the camera.
- Insert the battery according to the polarity indicators inside the compartment.
- Close the battery compartment cover securely.
- Connect the camera to a USB power adapter (not included) or a computer using the provided Type-C USB cable to charge. The charging indicator light will show the charging status.

Image: Steps for battery and SD card installation, and camera charging.
4.2 SD Card Installation
The camera supports up to 128GB TF (microSD) cards. A 64GB TF card is included.
- Locate the SD card slot, usually near the battery compartment or on the side.
- Insert the TF card with the metal contacts facing the front of the camera until it clicks into place.
- To remove, gently push the card in until it clicks, then release, and it will eject.
- Important: Format the TF card in the camera's settings menu before first use to ensure compatibility and optimal performance.
4.3 Initial Power On
After installing the battery and SD card, press and hold the Power button to turn on the camera. Follow any on-screen prompts for initial setup, such as setting the date and time.
5. Operating the Camera
5.1 Basic Photography (Photo Mode)
- Turn on the camera.
- Ensure the camera is in Photo Mode (indicated on the screen). If not, press the Video/Photo button to switch.
- Frame your shot using the flip screen.
- Press the shutter button halfway down to activate autofocus. A green box will appear when focus is achieved.
- Press the shutter button fully to capture the photo.

Image: Demonstrating the 2.8" 270° Flip Screen and Autofocus Function.
5.2 Video Recording (Video Mode)
- Turn on the camera.
- Press the Video/Photo button to switch to Video Mode.
- Frame your subject.
- Press the Video/Photo button again to start recording. A red indicator will typically show recording is active.
- Press the Video/Photo button once more to stop recording.
5.3 Using the Flip Screen
The 2.8-inch flip screen can rotate 270°, allowing for various shooting angles, including self-portraits and vlogging. Simply rotate the screen to your desired position.

Image: Demonstrating the versatility of the 270° flip screen.
5.4 Digital Zoom
The camera features 18X digital zoom. Use the W/T (Wide/Telephoto) button to zoom in (T) or zoom out (W) on your subject. Note that digital zoom may reduce image quality compared to optical zoom.

Image: Visual representation of 18X Digital Zoom.
5.5 Filter Effects
The camera offers 8 different filter effects to enhance your photos. Access these filters through the camera's menu settings to apply effects like B&W, Vintage, Warm, and Cool.
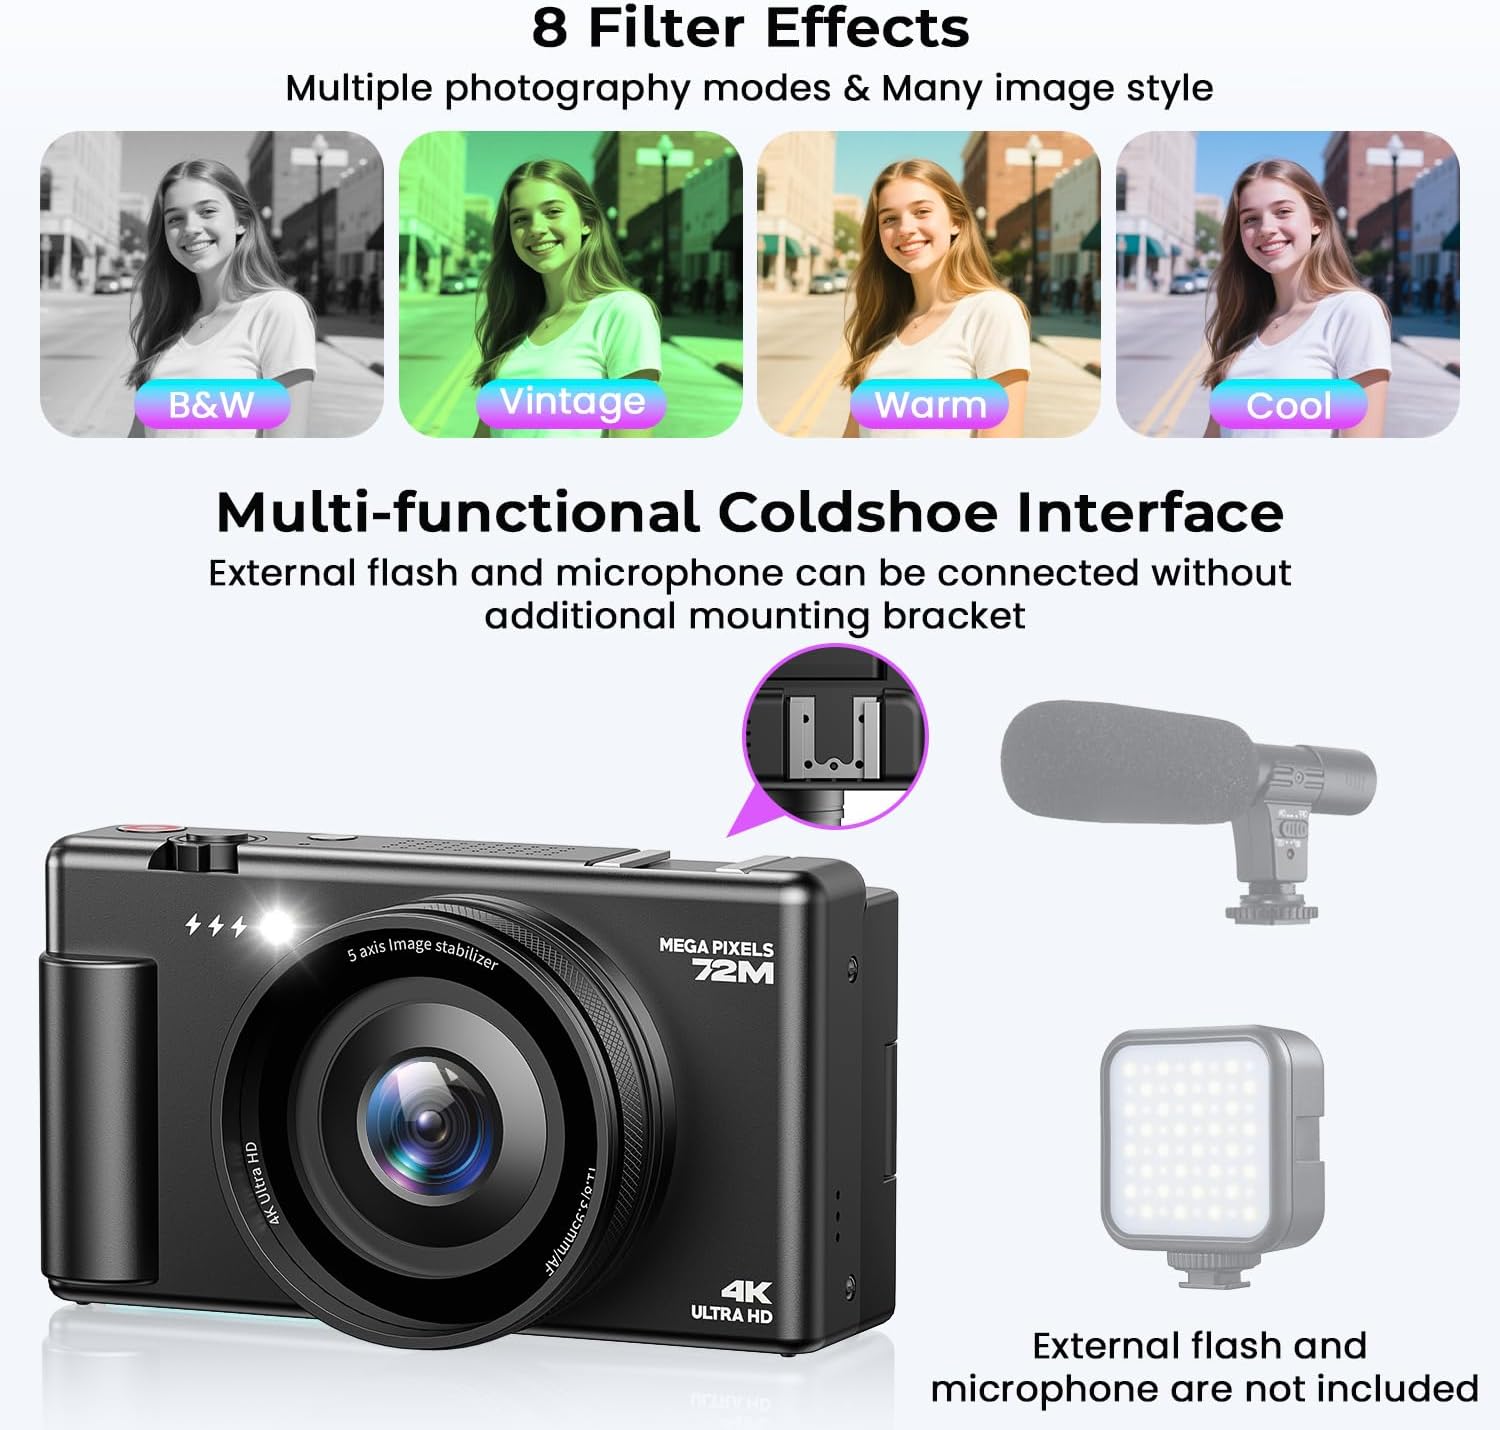
Image: Examples of 8 Filter Effects.
5.6 Flash Control
The built-in flash can be toggled on or off to provide additional lighting in dark environments. Use the UP/Flash button to cycle through flash modes (e.g., Auto, Fill Flash, Off).

Image: Flash Light On/Off demonstration.
5.7 Advanced Shooting Modes
The camera supports several advanced shooting functions:
- Continuous Shooting: Capture a rapid sequence of photos by holding down the shutter button. Ideal for action shots.
- Self-Timer: Set a delay (e.g., 3s, 10s) before the photo is taken, allowing you to join group shots or prepare for a selfie.
- Anti-shake Function: Digital image stabilization helps reduce blur caused by camera movement, especially useful in challenging conditions.
- Loop Recording: For video, this feature records continuously, overwriting the oldest footage when the memory card is full.
- Time-lapse Recording: Capture a series of images over time and combine them into a sped-up video.
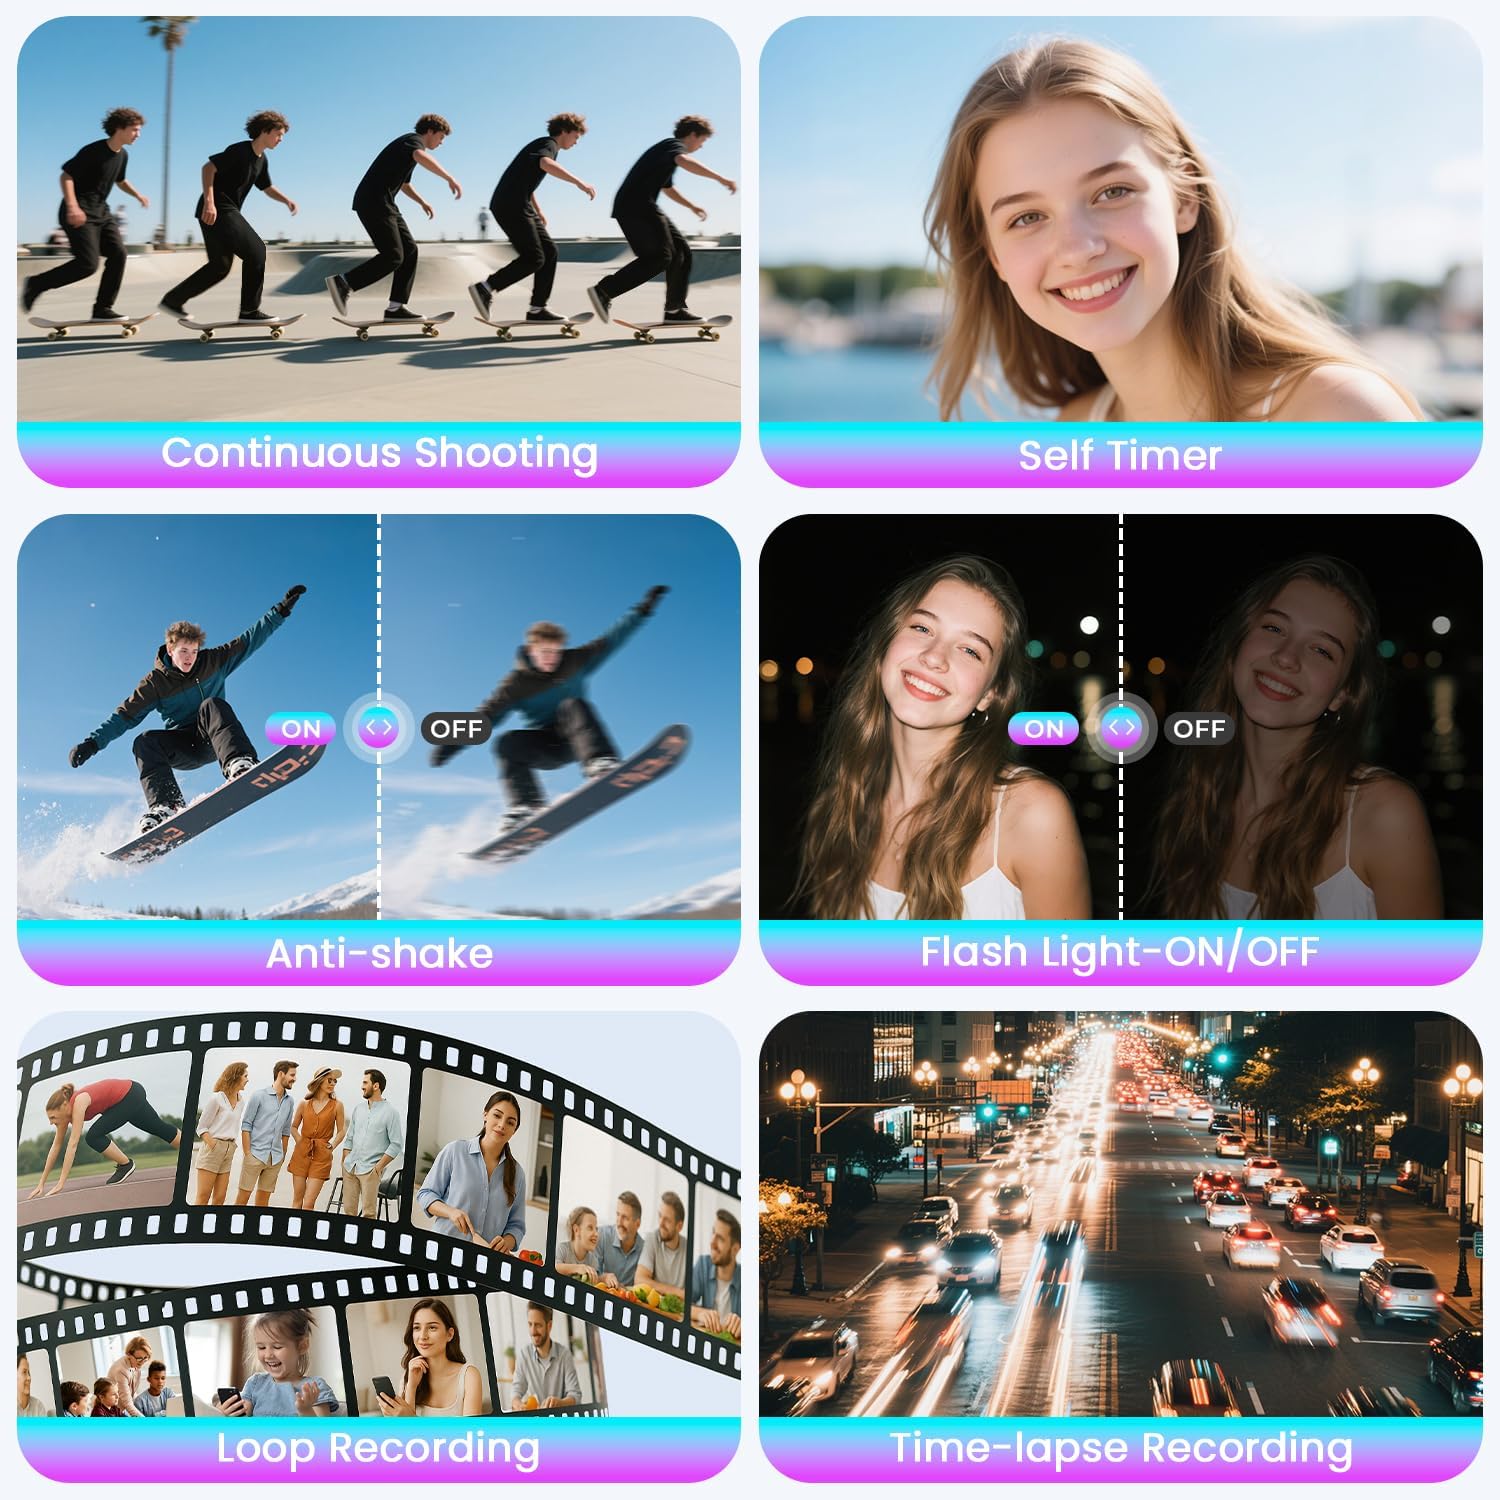
Image: Visual examples of Continuous Shooting, Self Timer, Anti-shake, Flash, Loop Recording, and Time-lapse.
5.8 Webcam Functionality & Connecting to PC
The camera can function as a webcam for video calls or live streaming. Connect the camera to your computer using the Type-C USB cable. Select "PC Camera" or "Webcam" mode on the camera's screen when prompted. Your computer should recognize it as a webcam device.
For file transfer, connect the camera to your PC via USB and select "Mass Storage" or "Disk Drive" mode. The camera's memory card will appear as a removable drive on your computer, allowing you to copy photos and videos.

Image: Camera used as a webcam for video calls and for vlogging.
6. Maintenance
6.1 Cleaning the Camera
- Use the provided lens cloth or a soft, lint-free cloth to gently wipe the camera body and screen.
- For the lens, use a specialized lens cleaning solution and a microfiber cloth. Avoid touching the lens directly with your fingers.
- Do not use harsh chemicals or abrasive materials, as they can damage the camera's finish or lens coatings.
6.2 Battery Care
- Store batteries in a cool, dry place when not in use.
- Avoid fully discharging the battery frequently, as this can reduce its lifespan.
- If storing for extended periods, charge the battery to about 50% capacity.
- Do not expose batteries to extreme temperatures or direct sunlight.
6.3 Storage
- When not in use, store the camera in its carry bag to protect it from dust and scratches.
- Keep the camera away from moisture, extreme temperatures, and strong magnetic fields.
7. Troubleshooting
If you encounter issues with your camera, please refer to the following common problems and solutions:
| Problem | Possible Cause | Solution |
|---|---|---|
| Camera does not turn on. | Battery is dead or not inserted correctly. | Ensure battery is charged and correctly inserted. Try charging the battery. |
| Cannot take photos/videos. | SD card is full, not inserted, or corrupted. | Check SD card. Delete unnecessary files, or format the card (backup data first). Ensure card is inserted correctly. |
| Images are blurry. | Autofocus failed, camera shake, or dirty lens. | Ensure autofocus locks before shooting. Hold camera steady or use anti-shake. Clean the lens. |
| Flash not working. | Flash is turned off or in an inappropriate mode. | Check flash settings in the menu and ensure it's set to Auto or Fill Flash. |
| Camera not recognized by PC. | Incorrect USB mode selected, faulty cable, or driver issue. | Ensure "Mass Storage" or "PC Camera" mode is selected. Try a different USB port or cable. Restart camera and PC. |
If the problem persists, please contact CAMWORLD customer support for further assistance.
8. Specifications
| Feature | Detail |
|---|---|
| Model Name | AC18-AA |
| Image Resolution | Up to 72 MP |
| Video Resolution | 4K (2160p) at 30 FPS |
| Digital Zoom | 18X |
| Screen Size | 2.8 Inches, 270° Flip Screen |
| Autofocus | Yes |
| Image Stabilization | Digital |
| Storage Media | TF Card (up to 128GB, 64GB included) |
| Battery Type | 900mAh Lithium Ion |
| Battery Life (Video) | Approx. 80 minutes (4K video) |
| Connectivity | USB Type-C, HDMI |
| Special Features | Webcam function, Built-in flash, 8 filter effects, Continuous shooting, Self-timer, Anti-shake, Loop recording, Time-lapse |
| Dimensions (D x W x H) | 1.97" x 4.33" x 2.36" |
| Weight | 0.25 Kilograms |

Image: Visual comparison of 4K/72MP resolution.
9. Warranty and Support
The CAMWORLD 4K Digital Camera comes with a 2-year warranty from the date of purchase, covering manufacturing defects. Please retain your proof of purchase for warranty claims.
For technical support, troubleshooting assistance, or warranty inquiries, please contact CAMWORLD customer service:
- Email: Refer to the contact information provided in your product packaging or on the official CAMWORLD website.
- Online Support: Visit the official CAMWORLD website for FAQs and support resources.
We are committed to providing excellent customer service and ensuring your satisfaction with our products.
Ask a question about this manual
Ask about setup, troubleshooting, compatibility, parts, safety, or missing instructions. Manuals+ will review the question and use this page’s manual context to help answer it.