
1. Introduction
This user manual provides detailed instructions for the safe and effective operation of your Tecaki Mini Portable Projector, Model X3. Please read this manual thoroughly before using the product and retain it for future reference. This projector is designed for versatile entertainment and presentation purposes, offering high-definition visuals and flexible connectivity options.
2. Package Contents
Verify that all items listed below are included in your package. If any items are missing or damaged, please contact customer support.
- Tecaki Mini Portable Projector (Model X3)
- Remote Control
- HDMI Cable
- Power Adapter
- User Manual (this document)
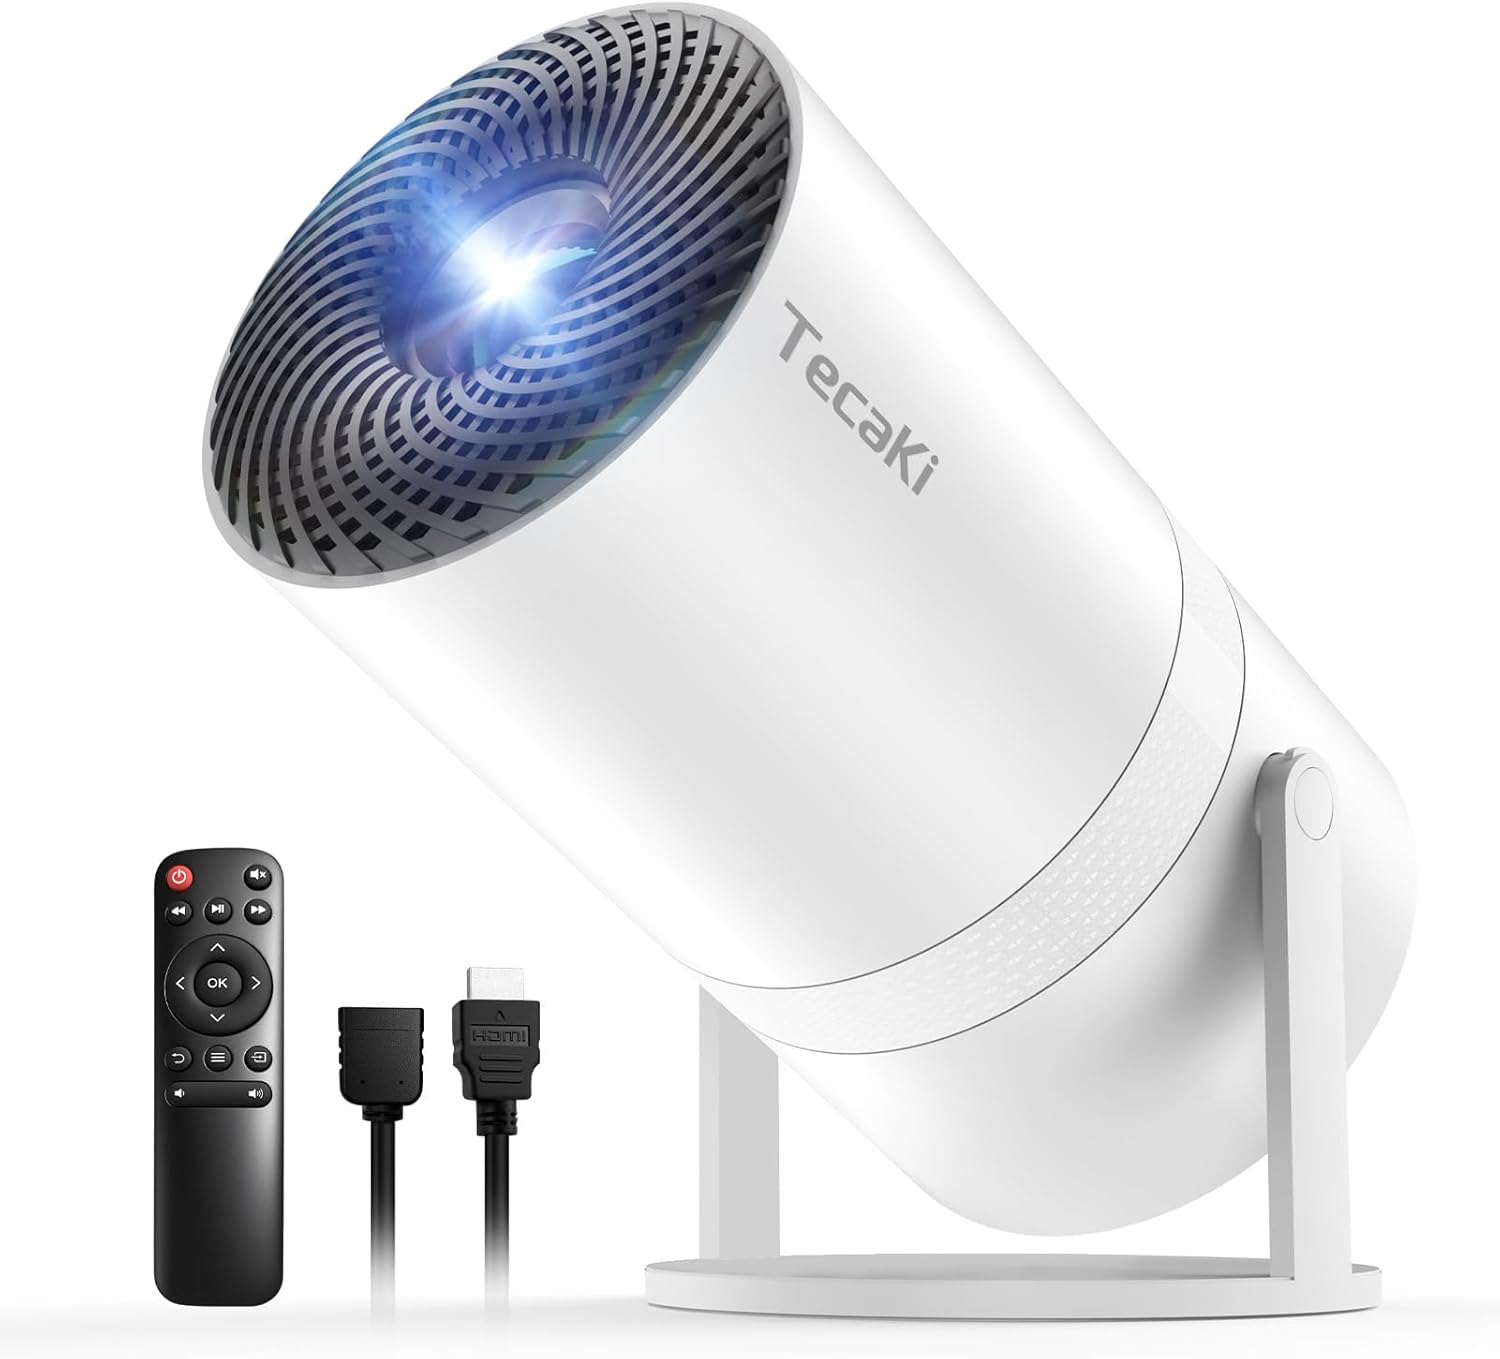
Image: The Tecaki Mini Portable Projector shown with its included remote control and HDMI cable.
3. Product Overview
Familiarize yourself with the physical components and connection ports of your projector.
3.1 Front View
- Projection Lens: Emits the image onto the screen or surface.
- Focus Ring: Manual adjustment for image clarity.
3.2 Rear View (Ports)
- HDMI Port: Connects to devices like laptops, gaming consoles, or TV sticks.
- USB Port: Connects to USB drives for media playback or charging.
- AV Port: Connects to older devices using an AV cable (not included).
- Audio Out (3.5mm) Port: Connects to external speakers or headphones.
- Power Input: Connects to the power adapter.
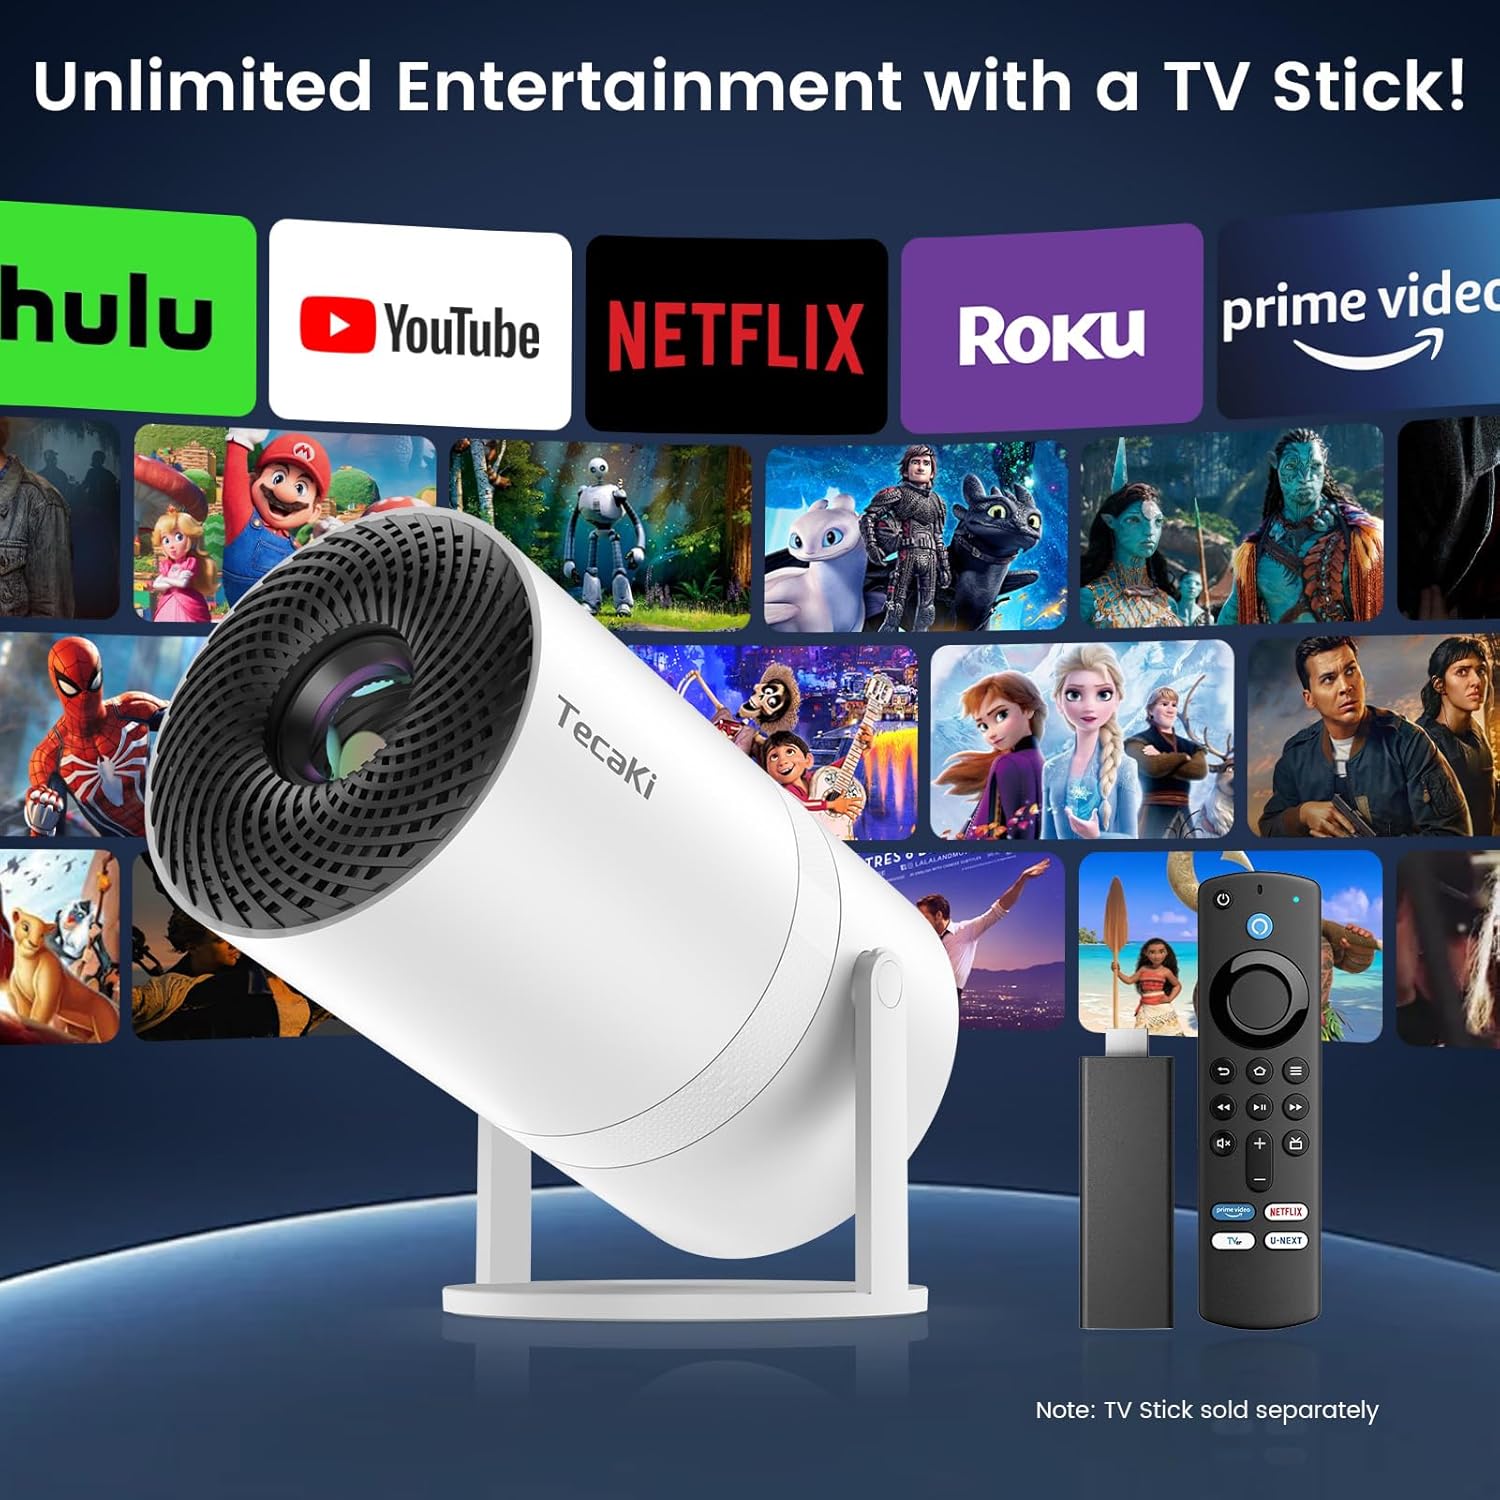
Image: The rear panel of the projector displaying various input and output ports for device connectivity.
3.3 Dimensions
The projector features a compact design for portability and flexible placement.
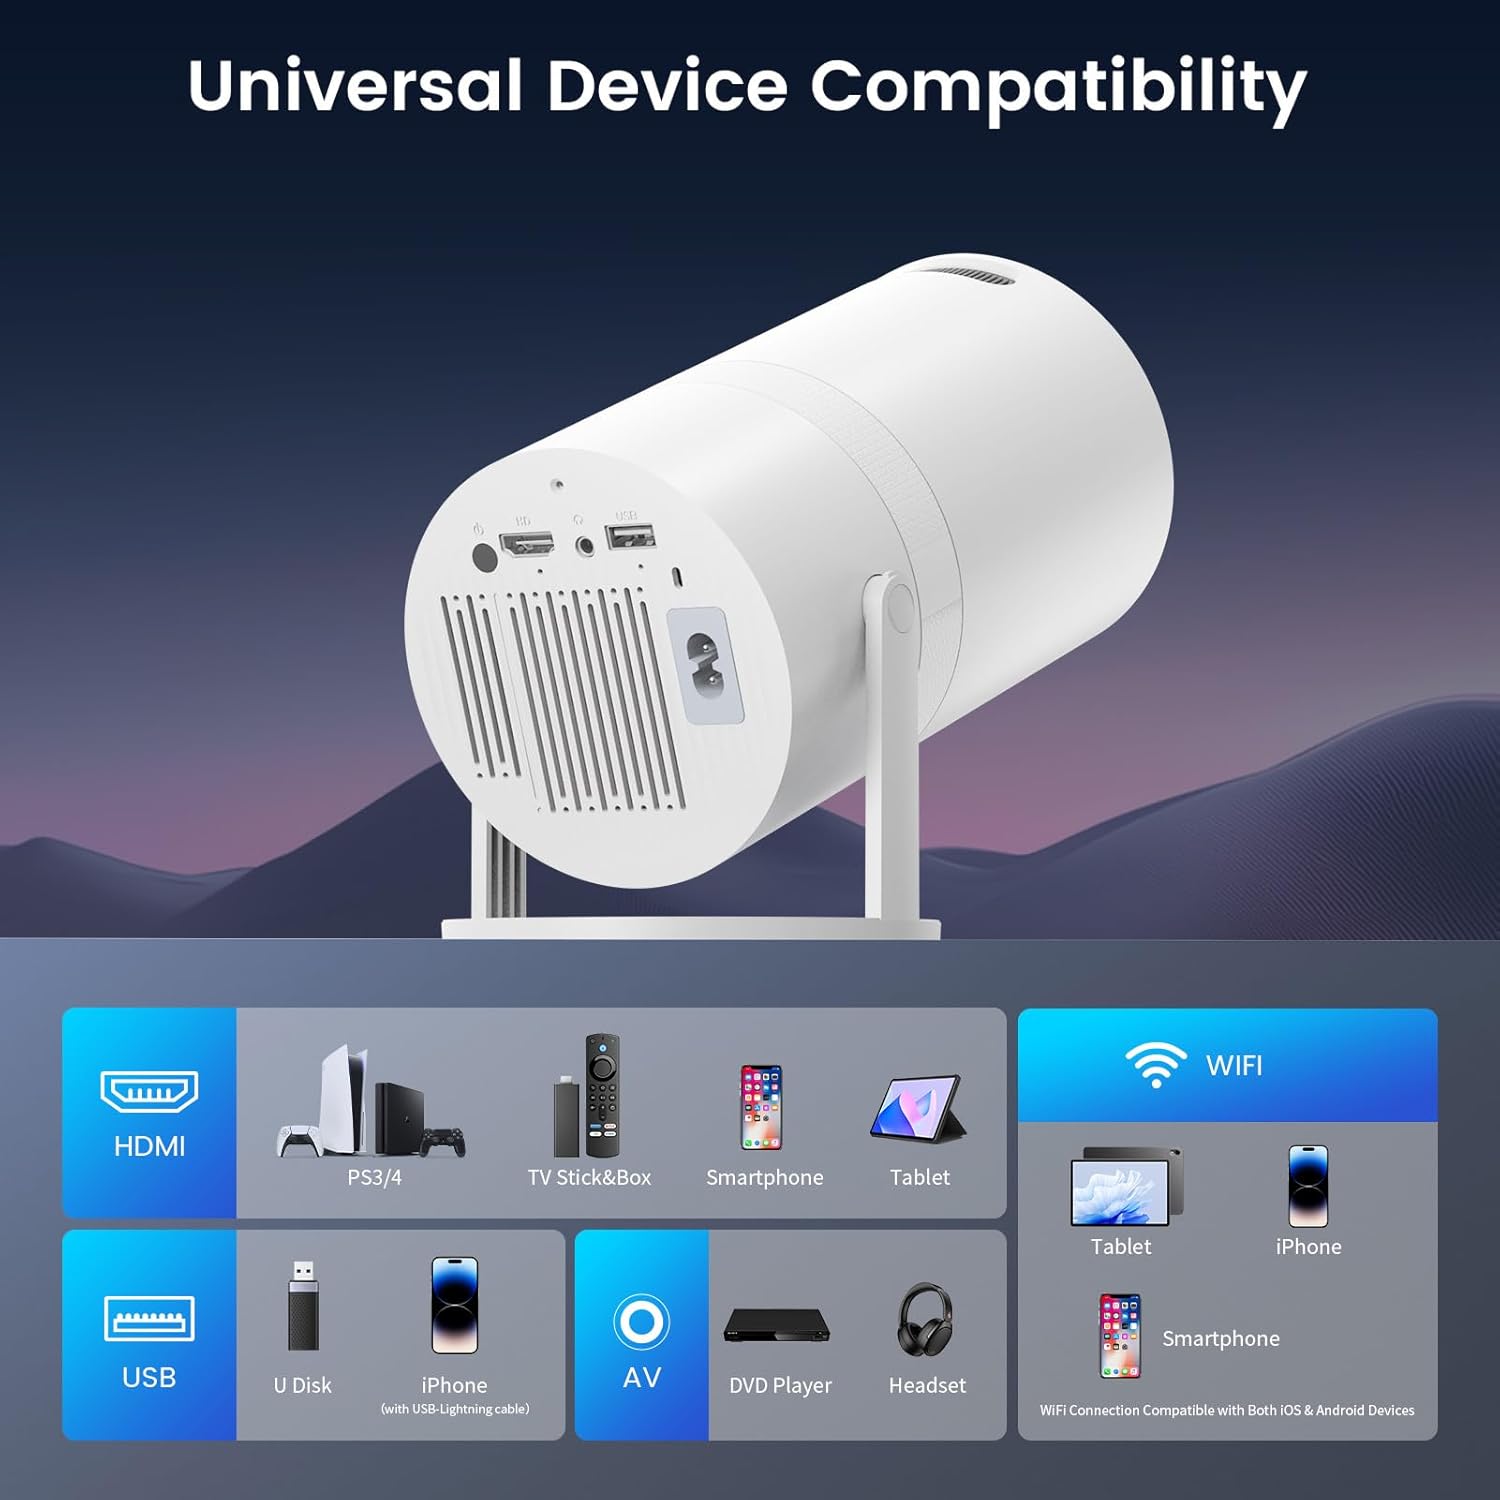
Image: A visual representation of the projector's compact dimensions, highlighting its small footprint.
4. Setup
4.1 Initial Placement
Place the projector on a stable, flat surface. The 180° rotatable stand allows for flexible projection angles, including wall, ceiling, or floor projection. Ensure there are no obstructions in front of the lens.
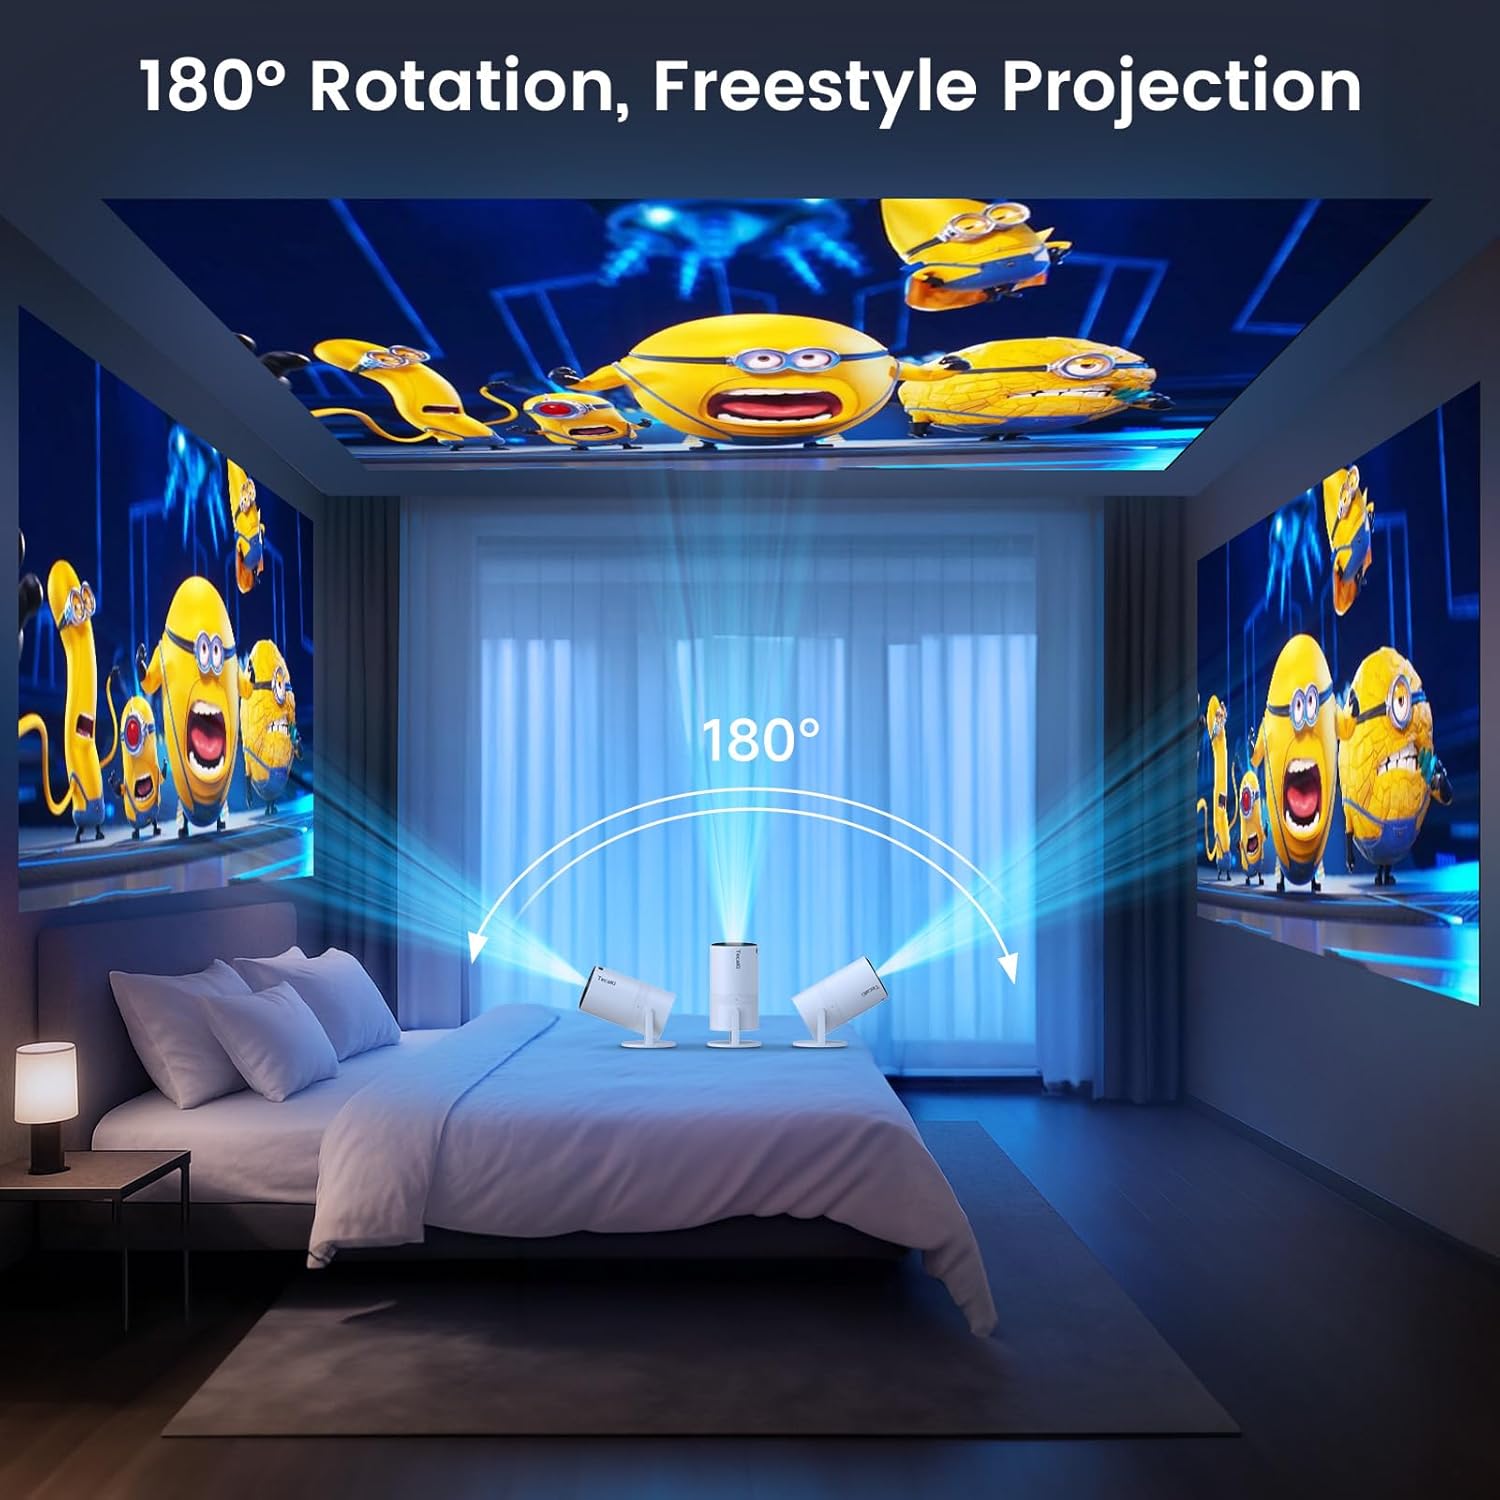
Image: The projector positioned to demonstrate its 180-degree rotation capability for various projection surfaces.
4.2 Power Connection
Connect the power adapter to the projector's power input port, then plug the adapter into a power outlet. The projector will typically enter standby mode.
4.3 Focus Adjustment
Turn the focus ring on the projector's lens until the projected image appears sharp and clear on your screen or surface.
4.4 Keystone Correction
The projector features automatic vertical keystone correction. If the image appears trapezoidal, the projector will automatically adjust it to a rectangular shape. Manual adjustments may also be available in the settings menu if needed.
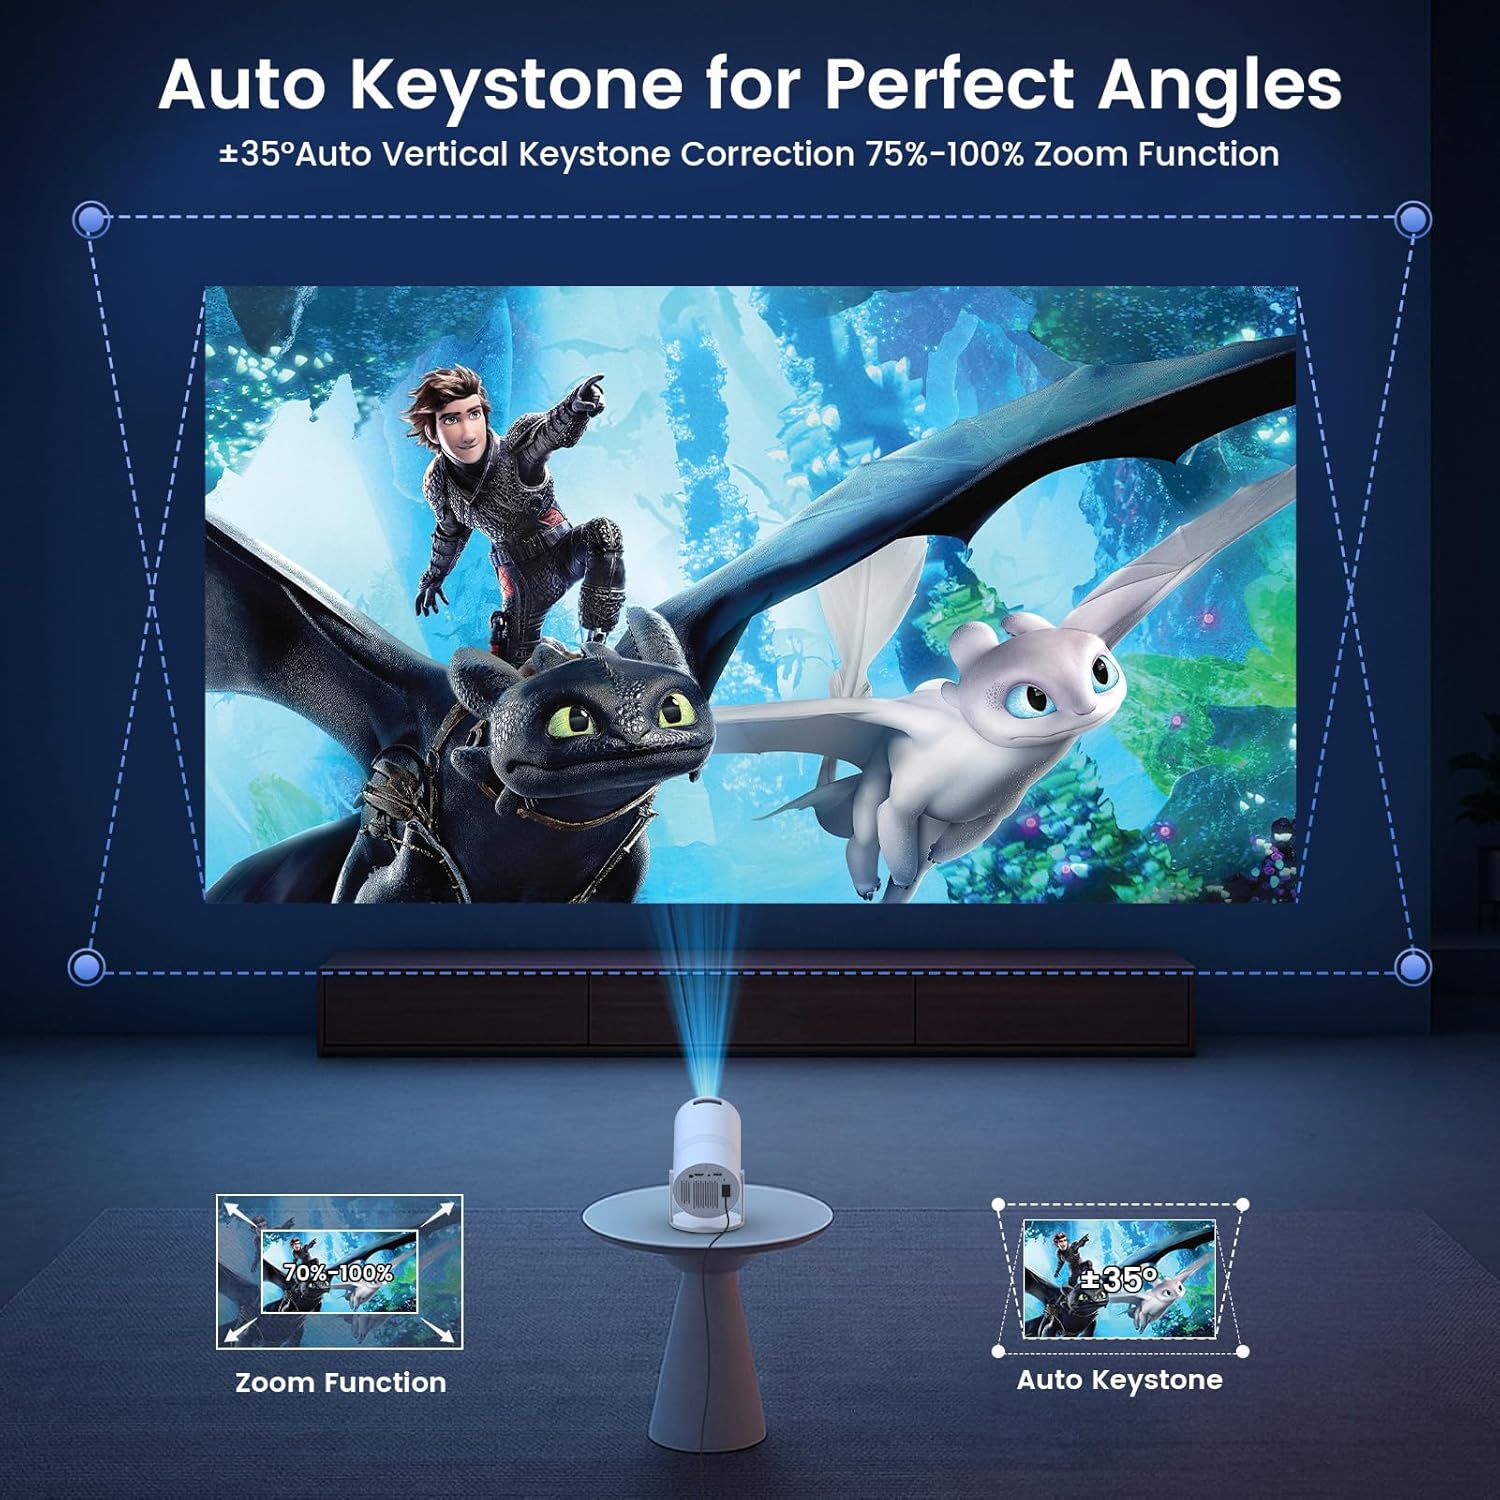
Image: A visual explanation of the auto keystone correction feature, ensuring a perfectly rectangular image.
5. Operating Instructions
5.1 Power On/Off
- Power On: Press the power button on the projector or the remote control.
- Power Off: Press the power button again. Confirm shutdown if prompted.
5.2 Input Source Selection
Use the 'Source' button on the remote control or the projector's control panel to cycle through available input sources (HDMI, USB, AV, Screen Mirroring).
5.3 Connecting Devices
- HDMI: Connect an HDMI cable from your device (e.g., laptop, TV stick, gaming console) to the projector's HDMI port. Select HDMI as the input source.
- USB: Insert a USB flash drive into the USB port. The projector's media player interface will typically appear, allowing you to browse and play compatible files.
- WiFi (Screen Mirroring):
- Navigate to the 'Screen Mirroring' or 'Wireless Projection' option in the projector's menu.
- Connect your smartphone or tablet to the same Wi-Fi network as the projector.
- On your device, activate screen mirroring (e.g., 'Smart View' on Android, 'Screen Mirroring' on iOS) and select the projector from the list of available devices.
- Note: Due to content protection (HDCP), certain streaming apps (e.g., Netflix, Hulu, Amazon Prime Video) may not support screen mirroring. For these apps, connect a streaming device (like a TV Stick) directly via HDMI.
- Bluetooth: The Bluetooth function supports audio transmission only. It allows you to connect external Bluetooth speakers or headphones for enhanced audio. It does not support video mirroring via Bluetooth.
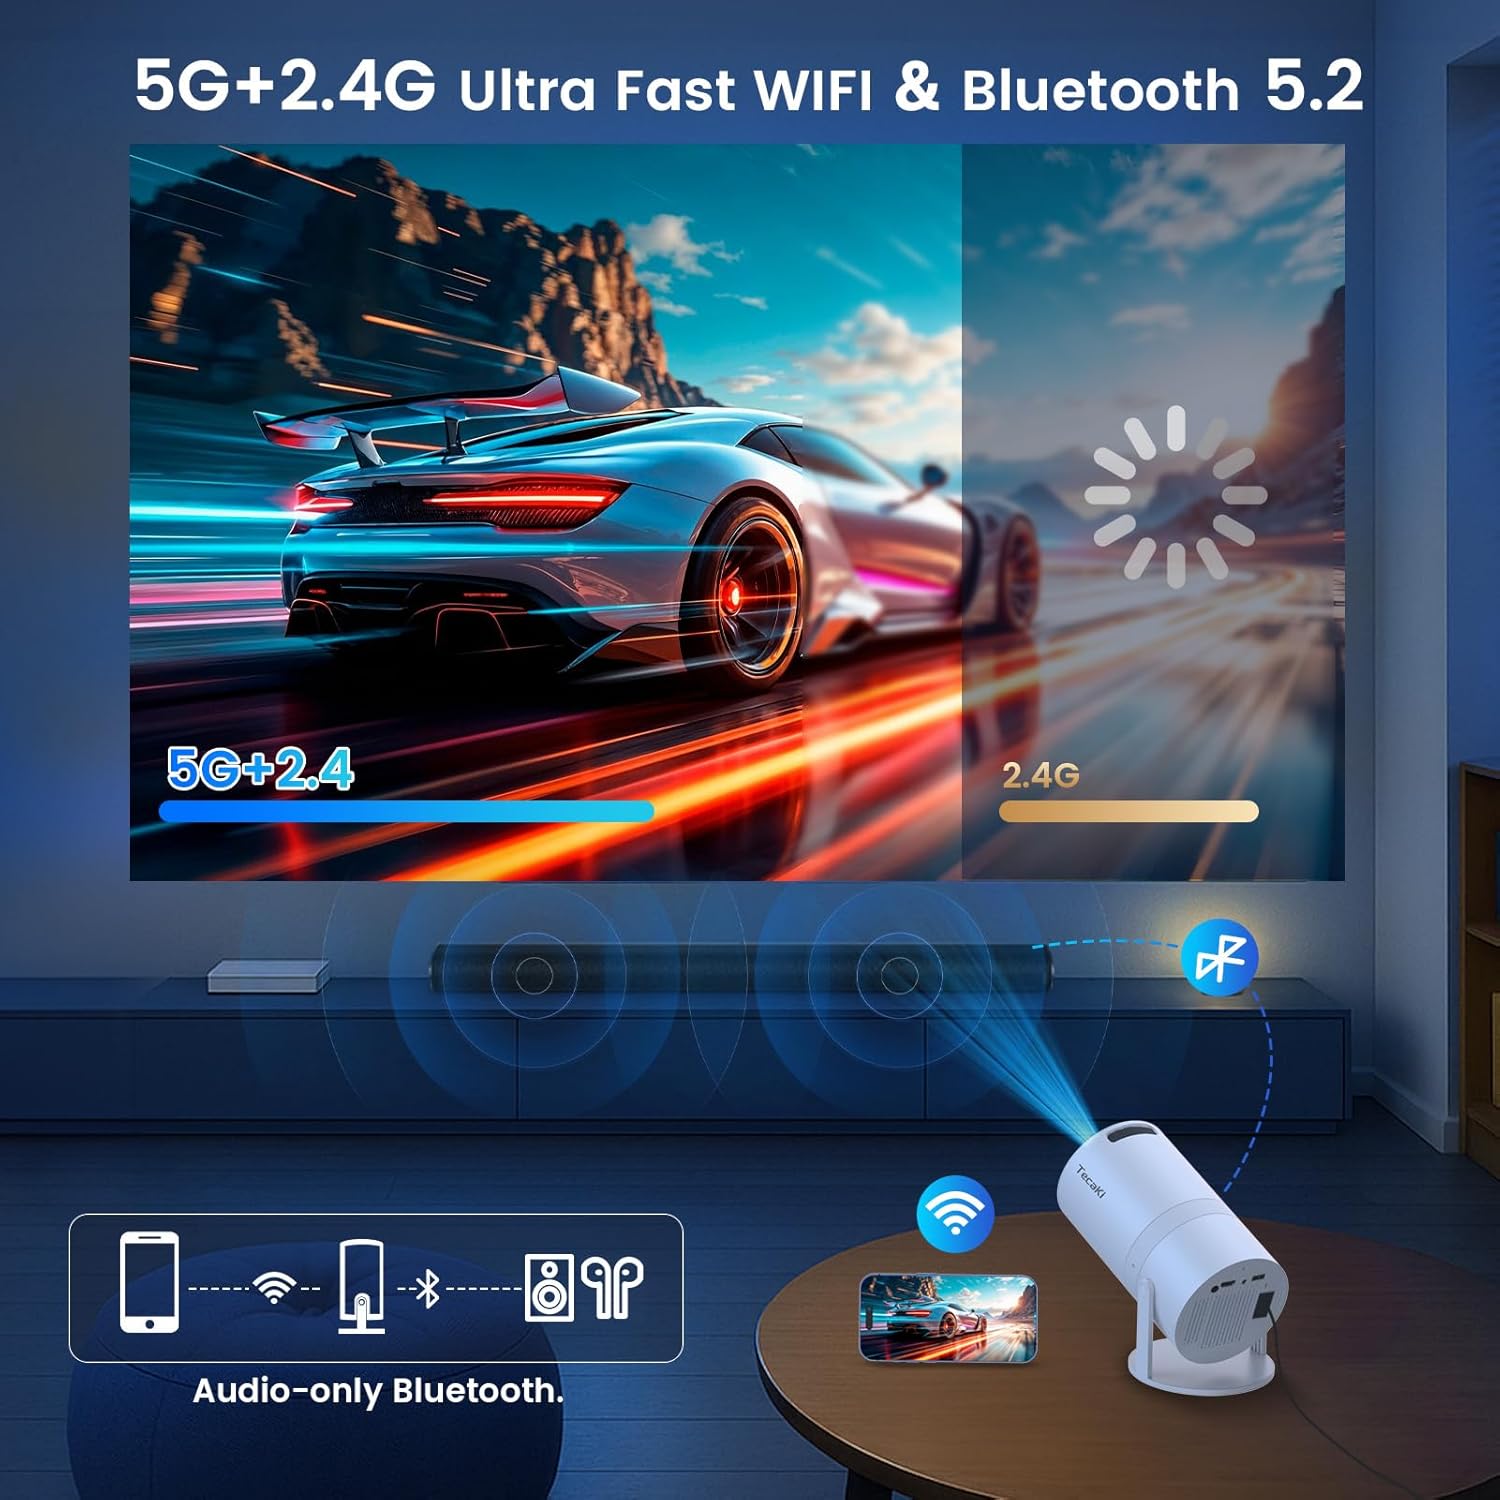
Image: Illustration of the projector's dual-band WiFi and Bluetooth capabilities for seamless connectivity.

Image: The projector demonstrating compatibility with a TV Stick for accessing popular streaming services.
5.4 Audio Output
The projector has a built-in speaker. For a more immersive audio experience, connect external speakers or headphones via the 3.5mm audio out port or pair Bluetooth speakers.
5.5 Projection Size
The projector supports a screen size range of 30 to 200 inches. Adjust the distance from the projection surface to achieve your desired screen size. The optimal projection distance is typically between 1 to 2 meters (3.2 to 7.2 feet).

Image: A visual representation of the projector's ability to create a large screen experience from a compact device.
6. Maintenance
6.1 Cleaning
- Lens: Use a soft, lint-free cloth specifically designed for optical lenses. Do not use abrasive cleaners or cloths.
- Exterior: Wipe the projector's exterior with a soft, dry cloth. Avoid using liquid cleaners directly on the device.
- Vents: Periodically check and gently clean the ventilation openings to ensure proper airflow and prevent overheating.
6.2 Storage
When not in use, store the projector in a cool, dry place away from direct sunlight and extreme temperatures. Use the original packaging or a protective case to prevent dust accumulation and physical damage.
7. Troubleshooting
If you encounter issues with your projector, refer to the following common problems and solutions:
| Problem | Possible Cause | Solution |
|---|---|---|
| No image projected | Power not connected; Incorrect input source; Lens cap on | Ensure power is connected; Select correct input source; Remove lens cap |
| Blurry image | Focus not adjusted; Incorrect projection distance | Adjust the focus ring; Adjust projector distance from screen |
| No sound | Volume too low; Muted; External audio device not connected/selected | Increase volume; Unmute; Check external audio connections/settings |
| Screen mirroring issues | Wi-Fi connection unstable; HDCP content protection; Device compatibility | Ensure stable Wi-Fi; Use HDMI for protected content; Check device compatibility |
| Remote control not working | Batteries low/dead; Obstruction; Not pointed at IR receiver | Replace batteries; Remove obstructions; Point remote directly at projector's IR receiver |
If the problem persists after trying these solutions, please contact Tecaki customer support.
8. Specifications
Key technical specifications for the Tecaki Mini Portable Projector Model X3:
- Brand: Tecaki
- Model Number: X3
- Item Weight: 1.87 pounds
- Product Dimensions: 4.3 x 4.3 x 6.7 inches
- Connectivity Technology: Wi-Fi (2.4G + 5G), Bluetooth 5.2
- Display Resolution: 1920 x 1080 (1080P HD Supported, 4K Input Supported)
- Special Features: Portable, Auto Keystone Correction, 180° Rotatable Stand
- Recommended Uses: Gaming, Movie Viewing
- Lamp Lifespan: Over 50,000 hours
9. Warranty and Support
Tecaki is committed to providing high-quality products and customer service. Your projector comes with comprehensive support and warranty coverage.
9.1 Warranty Information
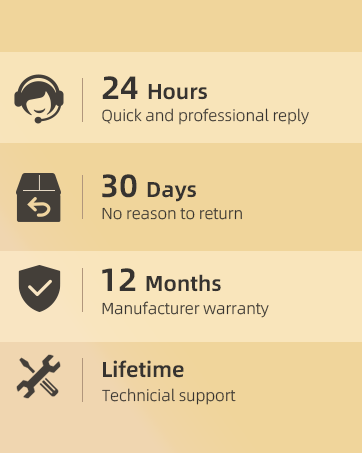
- Standard Warranty: 12 months manufacturer warranty from the date of purchase.
- Extended Warranty: An additional 24 months extended warranty may be available. Please consult Tecaki service support to activate your product warranty.
- If the product experiences any suspected fault issues within 36 months from the date of order, our technicians will assess and repair or replace it.

12 Months Manufacturer Warranty

Product & Extended Warranty
9.2 Customer Support
- Response Time: Quick and professional replies within 24 hours.
- Return Policy: 30-day return policy.
- Technical Support: Lifetime technical support is provided for your product.

24 Hours Support
30 Days Return
Lifetime Technical Support
For further assistance, please refer to the contact information provided with your product or visit the official Tecaki website.