
Introduction
This manual provides instructions for the proper setup, operation, and maintenance of your Ozark Trail 3-Person Clip & Camp Dome Tent. Please read these instructions carefully before use to ensure safe and efficient operation.
The Ozark Trail Dome Tent is designed for outdoor camping, offering a spacious 7' x 7' footprint with a 44" center height, suitable for up to 3 people or a queen-sized air mattress. It features a removable rainfly, mesh roof and walls for ventilation, built-in storage pockets, and an E-port for electrical access.
Components Included
Before beginning assembly, verify that all components are present:
- Tent Body
- Rainfly
- Tent Poles
- Tent Stakes
- Guy Ropes
- Built-in Awning
- Mud Mat
- Storage Bag

Image: The Ozark Trail 3-Person Dome Tent packed in its carrying bag, showing the compact storage solution.
Setup Instructions
Follow these steps to set up your tent:
- Choose a Site: Select a flat, clear area free of sharp objects and debris.
- Unpack and Lay Out: Remove the tent from its storage bag and spread the tent body flat on the ground. Ensure the mud mat is positioned at the intended entrance.
- Assemble Poles: Connect the tent pole sections. The tent typically uses two main poles that cross over the top.
- Insert Poles: Slide the assembled poles through the fabric sleeves on the tent body.
- Secure Poles: Attach the pole ends to the pins located at the corners of the tent base.
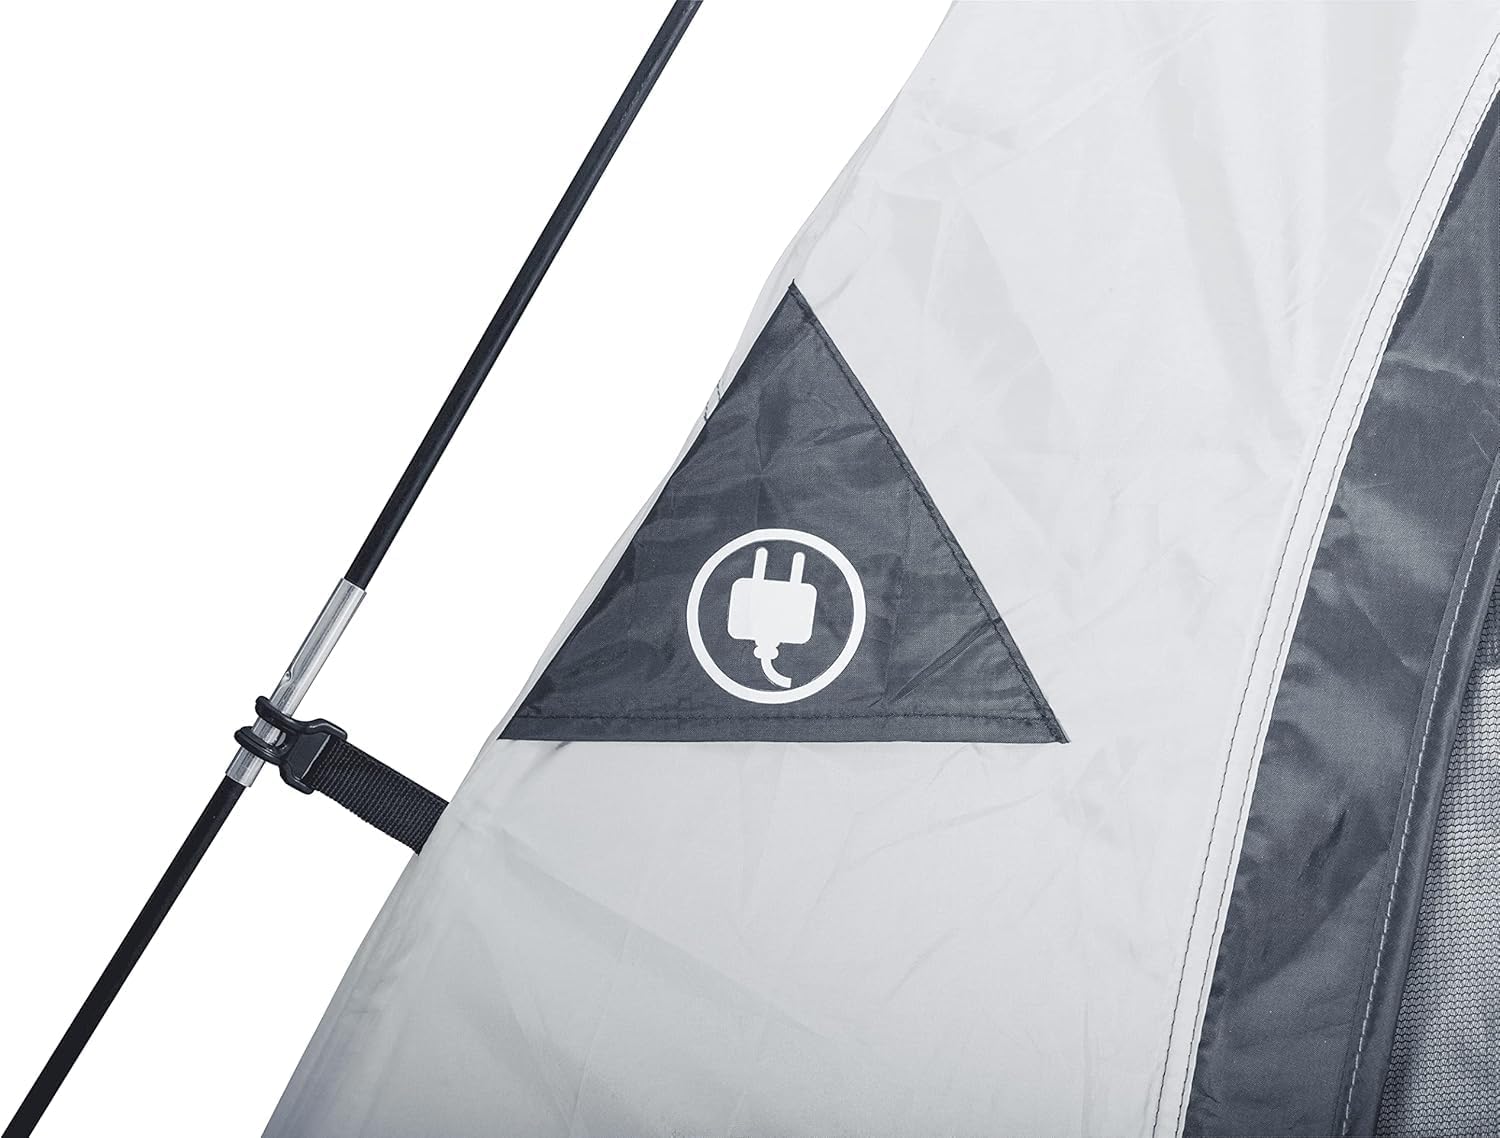
Image: A hand demonstrating how to clip the tent pole to the tent body for secure assembly.
- Raise Tent: Once poles are secured, the tent structure will begin to take shape. Clip the tent body to the poles using the attached clips.

Image: A detailed view of the clip and pole system, illustrating how the tent body attaches to the frame.
- Stake Down: Secure the tent corners and guy ropes to the ground using the provided stakes. This provides stability, especially in windy conditions.

Image: The tent body fully erected, showcasing the mesh roof and walls before the rainfly is added, highlighting ventilation features.
- Attach Rainfly: Drape the rainfly over the tent body, aligning the door and window openings. Secure the rainfly to the tent poles or base using the attached buckles or ties. Ensure the rainfly is taut to allow for proper water runoff.

Image: A close-up of the tent entrance with the rainfly in place, demonstrating how it provides coverage and protection.
Operating Instructions
Ventilation
The tent features a mesh roof and walls for optimal airflow. In clear weather, the rainfly can be removed to enhance ventilation and allow for stargazing. Ensure proper ventilation to minimize condensation inside the tent.
Storage Pockets
Utilize the built-in storage pockets to keep small items organized and off the tent floor.

Image: A hand demonstrating the use of the internal mesh storage pockets, holding a smartphone.
E-Port Access
An E-port is provided for convenient access to an external power supply. This allows you to run electrical cords into the tent while maintaining weather protection.

Image: A close-up view of the E-port access point on the tent, designed for electrical cord entry.
Disassembly
To disassemble, reverse the setup steps. Ensure the tent is clean and dry before packing to prevent mold and mildew. Fold the tent neatly and place it back into its storage bag.
Maintenance
- Cleaning: Hand wash the tent with mild soap and water. Do not machine wash or use harsh detergents.
- Drying: Always ensure the tent is completely dry before storing to prevent mold and mildew.
- Storage: Store the tent in a cool, dry place away from direct sunlight.
- Seam Sealing: Periodically inspect seams for wear. Re-seal seams if necessary to maintain water resistance.
Troubleshooting
- Problem: Tent is unstable or sags.
- Solution: Ensure all poles are fully assembled and correctly inserted into the pins and clips. Verify that the tent is properly staked down and guy ropes are taut.
- Problem: Water leakage.
- Solution: Check that the rainfly is correctly positioned and taut, covering all mesh areas. Inspect seams for damage and re-seal if necessary. Ensure the tent is pitched on level ground to prevent water pooling.
- Problem: Condensation inside the tent.
- Solution: Increase ventilation by opening mesh windows or removing the rainfly in clear weather. Avoid cooking or storing wet items inside the tent.
Specifications
| Feature | Detail |
|---|---|
| Model Name | Dome Tent |
| Occupancy | 3 Person |
| Dimensions (L x W x H) | 7'L x 7'W x 44"H (84"L x 84"W x 44"H) |
| Floor Area | 49 square feet |
| Item Weight | 5.6 pounds |
| Material Type | Polyester (Tent Body, Rainfly) |
| Water Resistance | Water Resistant with Seam Taping |
| Seasons | 4 Season |
| Included Components | Tent, Rainfly, Built-in Awning, Mud Mat, Mesh Roof/Walls, E-Port Access, Built-in Storage Pockets |
Warranty and Support
The product specifications indicate "Warranty Description: no". For any support or inquiries regarding your Ozark Trail 3-Person Clip & Camp Dome Tent, please contact the retailer or manufacturer directly. Keep your purchase receipt for reference.