
Passky KDM52PLY5B03R1-2
Contents
Passky 52-inch Sleek Ceiling Fan with Light and Remote Control User Manual
Model: KDM52PLY5B03R1-2
Introduction
This manual provides detailed instructions for the installation, operation, and maintenance of your Passky 52-inch Sleek Ceiling Fan with Light and Remote Control. This ceiling fan is designed for indoor use and features a 24W LED light, 6 wind speeds, a reversible DC motor, and quiet operation. It includes a remote control for convenient adjustments of fan speed, light brightness, and color temperature. This 52-inch ceiling fan features an A energy efficiency rating, reducing electricity consumption compared to traditional fans.
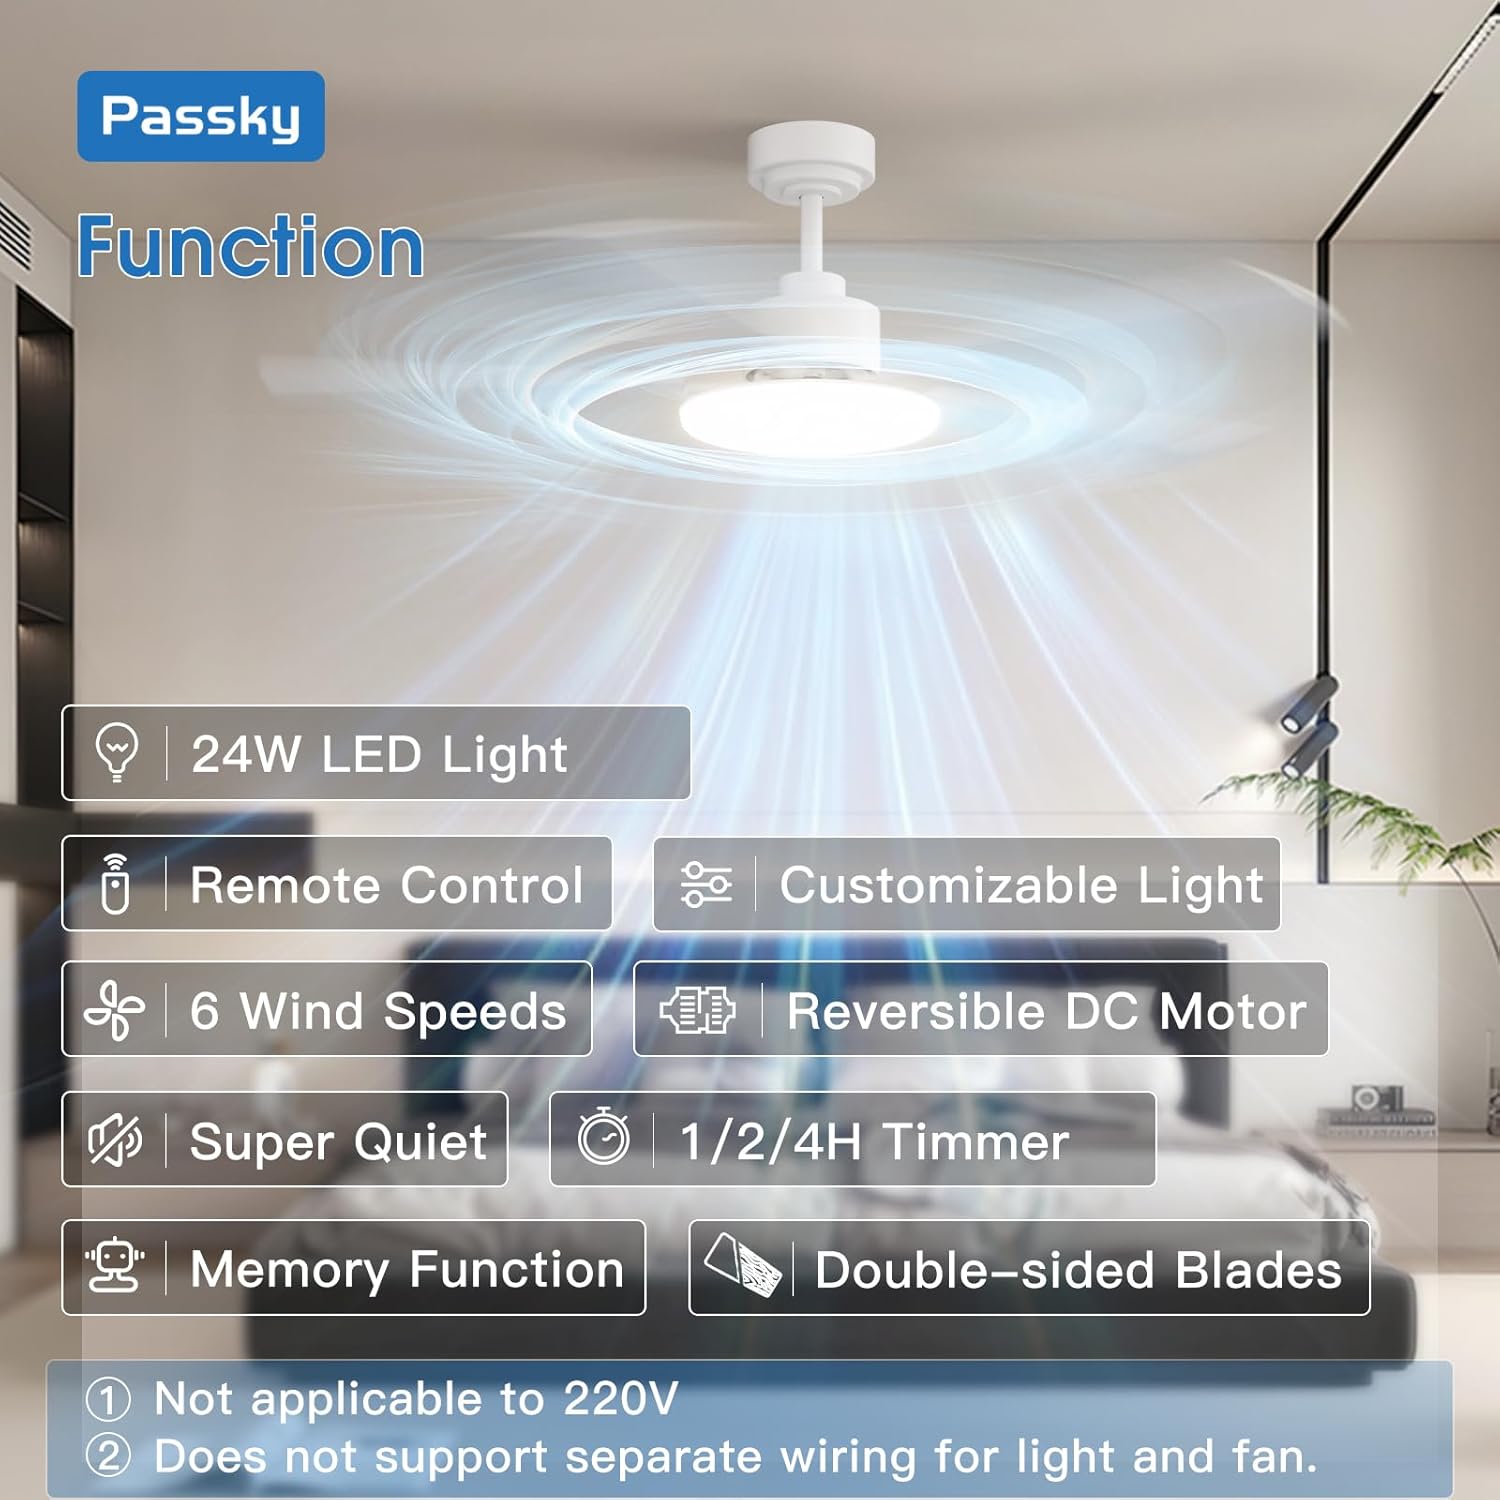
Image: The Passky 52-inch sleek ceiling fan with integrated light and remote control. This image highlights the fan's modern design and key features like LED light, remote control, 6 wind speeds, reversible DC motor, quiet operation, timer, memory function, and double-sided blades. It also notes voltage compatibility (120V only) and wiring requirements.
Setup and Installation
This Passky ceiling fan is designed for straightforward installation, suitable for standard ceiling junction boxes without requiring additional drilling. A step-by-step guide and installation videos are provided for setup. Please ensure the power is turned off at the circuit breaker before beginning installation.
Pre-Installation Checks:
- Verify your electrical system provides 120V AC input (US area). This fan is not compatible with 220V systems.
- Ensure your ceiling has a standard junction box.
- Do not connect the fan to dimmer switches or fan gear switches; use a traditional ON/OFF switch only.
Installation Steps:
- Mounting Bracket Installation: Secure the mounting bracket to your ceiling's junction box.
- Wiring: Connect the fan's electrical wires to your household wiring according to local electrical codes. Ensure proper grounding.
- Hanging the Fan: Carefully hang the fan motor assembly onto the ceiling bracket. Ensure the downrod ball engages the ridge on the hanger bracket for secure placement.
- Receiver Placement: Insert the remote control receiver into the bracket for wiring.
- Blade Attachment: Attach the fan blades to the motor housing. The blades are double-sided, offering white and yellow wood grain options.
- Light Kit Installation: Install the light kit and cover.

Image: A graphic illustrating the ease of installation for the Passky ceiling fan, highlighting its compatibility with standard junction boxes and the absence of drilling requirements.
Video: Official installation guide for the Passky 5-blade ceiling fan. This video demonstrates the step-by-step process of mounting the fan, connecting wires, and securing components.
Operating Instructions
Your Passky ceiling fan is controlled via the included handheld remote. The remote allows for comprehensive control over fan and light functions. This ceiling fan operates at a low noise level, approximately 35dB, providing a quiet environment suitable for bedrooms and other living spaces.
Remote Control Functions:
- Fan On/Off: Power the fan on or off.
- Light On/Off: Turn the integrated LED light on or off.
- Fan Speed Adjustment: Select from 6 wind speeds (1-6).
- Light Dimming: Adjust light brightness from 10% to 100%.
- Color Temperature Selection: Choose between 3000K (warm white), 4500K (natural light), and 6000K (cool white).
- Reverse Wind Direction: Change the fan's rotation direction for summer (downward airflow) or winter (upward airflow).
- Timer Function: Set the fan to turn off automatically after 1, 2, or 4 hours.
- Natural Wind Mode: Activates a mode that cycles through various speeds to simulate natural breezes.
Memory Function:
The fan and light feature a memory function. When turned off and then back on via a wall switch, they will resume their last used settings for fan speed, brightness, and color temperature.

Image: The remote control for the Passky ceiling fan, showing buttons for fan speed, light control, dimming, color temperature, reverse function, and timer settings.
Video: Demonstration of the Passky ceiling fan's remote control functions, including fan speed, light settings, and directional changes.
Maintenance
Regular maintenance ensures optimal performance and longevity of your ceiling fan. Always disconnect power at the circuit breaker before performing any maintenance.
- Cleaning: Use a soft, damp cloth to clean the fan blades and motor housing. Avoid using abrasive cleaners or solvents that could damage the finish.
- Blade Inspection: Periodically check that all blade screws are tight. Loose blades can cause wobbling and noise.
- Light Cover: Ensure the light cover is securely fastened. Clean the light cover gently with a soft cloth.
- General Check: Annually inspect all connections and mounting hardware to ensure they remain secure.
Troubleshooting
If you encounter issues with your Passky ceiling fan, refer to the following common problems and solutions:
| Problem | Possible Cause | Solution |
|---|---|---|
| Fan does not operate. | No power, incorrect wiring, remote control issue. | Check circuit breaker. Verify wiring connections. Ensure remote batteries are functional. |
| Light does not turn on. | Light switch off, incorrect wiring, LED failure. | Check light switch on remote and wall. Verify light kit wiring. Contact support if LED is faulty. |
| Fan wobbles. | Loose blades, unbalanced blades, loose mounting. | Tighten all blade screws. Ensure blades are balanced. Check mounting bracket security. |
| Excessive noise. | Loose components, motor issue. | Check for loose screws or parts. If noise persists, contact customer support. |
| Remote control not responding. | Dead batteries, signal interference. | Replace remote batteries. Ensure no obstructions between remote and receiver. |
Important Notes:
- This fan operates on 120V (US area) only. It will not function with 220V.
- The DC motor design means the light and fan cannot be wired separately to independent switches.
- Do not connect this fan to dimmer switches or fan gear switches. It requires a traditional ON/OFF switch.
Product Specifications
| Feature | Detail |
|---|---|
| Brand | Passky |
| Model Number | KDM52PLY5B03R1-2 |
| Size | 52 Inch |
| Color | White |
| Material | Engineered Wood, Metal |
| Light Source | LED |
| Light Output Maximum | 1800 Lumens |
| Brightness | 10%-100% Dimmable |
| Color Temperature | 3000K (Warm White), 4500K (Natural Light), 6000K (Cool White) |
| Wattage | 64 watts |
| Voltage | 120 Volts (US area) |
| Control Method | Remote Control |
| Fan Speeds | 6 Speeds |
| Motor Type | Reversible DC Motor |
| Timer Function | 1/2/4 Hours |
| Noise Level | Low (approx. 35dB) |
| Indoor/Outdoor Usage | Indoor (suitable for covered patios, breezeways, gazebos, pergolas; not directly exposed to rain) |
| Installation Type | Semi Flush Mount |
| Certification | ETL |

Image: A graphic detailing the dimensions and technical specifications of the Passky 52-inch ceiling fan, including voltage, motor wattage, light wattage, airflow, brightness, and room size recommendations.
Warranty Information
Passky products are backed by a comprehensive warranty to ensure customer satisfaction.
- Motor Warranty: 10-year warranty for the fan motor.
- Other Parts Warranty: 2-year warranty for all other parts.
- Satisfaction Guarantee: 24-month worry-free service.
For any issues related to logistics damage or missing parts, please contact customer service immediately for compensation or a satisfactory solution.
Customer Support
If you have any questions, problems, or require technical assistance with your Passky ceiling fan, please do not hesitate to contact our support team.
- Email Support: Available 24/7.
- Phone Customer Service: Available Monday through Friday.
Refer to the product packaging or official website for specific contact details.
Ask a question about this manual
Ask about setup, troubleshooting, compatibility, parts, safety, or missing instructions. Manuals+ will review the question and use this page’s manual context to help answer it.