
EvoFox Elite X2 (Blue)
EvoFox Elite X2 Wireless Gaming Controller User Manual
Model: Elite X2 (Blue)
1. Introduction
This manual provides detailed instructions for the setup, operation, maintenance, and troubleshooting of your EvoFox Elite X2 Wireless Gaming Controller. Please read this manual thoroughly before using the product to ensure optimal performance and longevity.

Image: The EvoFox Elite X2 Wireless Gaming Controller in blue, showcasing its ergonomic design and button layout.
2. Package Contents
Please verify that all items are present in your product packaging:
- EvoFox Elite X2 Wireless Gaming Controller
- 2.4GHz USB Receiver
- USB-C Charging Cable
- User Manual (this document)
3. Product Overview
Familiarize yourself with the various components of your EvoFox Elite X2 controller:

Image: An overview of the EvoFox Elite X2 controller, highlighting its design for precision, speed, and comfort.
Key Components:
- HallSense™ 3D Magnetic Joysticks: Provide drift-free, precise control.
- HallSense™ Magnetic Analog Triggers: Pressure-sensitive for nuanced input.
- EZ Click Macro Buttons: Two programmable back buttons for custom commands.
- Dual Vibration Motors: Deliver immersive haptic feedback.
- Turbo Mode Button: Enables rapid-fire functionality.
- Precision Mode Button: Reduces joystick sensitivity for fine adjustments.
- Dual Connectivity: Supports 2.4GHz wireless and wired USB-C connections.
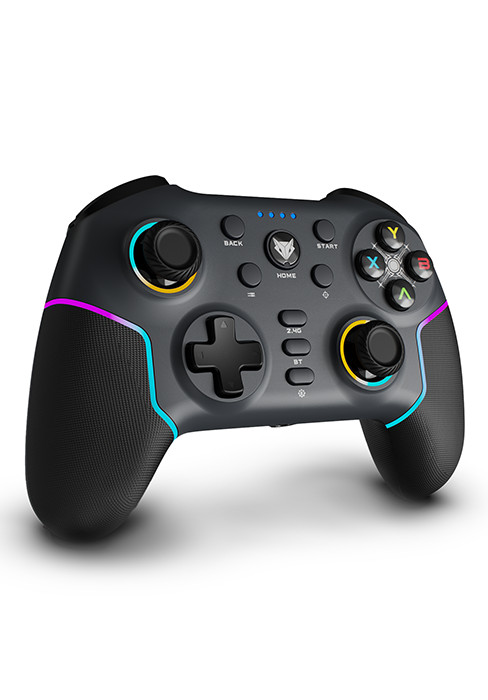
Image: A close-up view of the controller's joystick, featuring vibrant RGB lighting around its base.
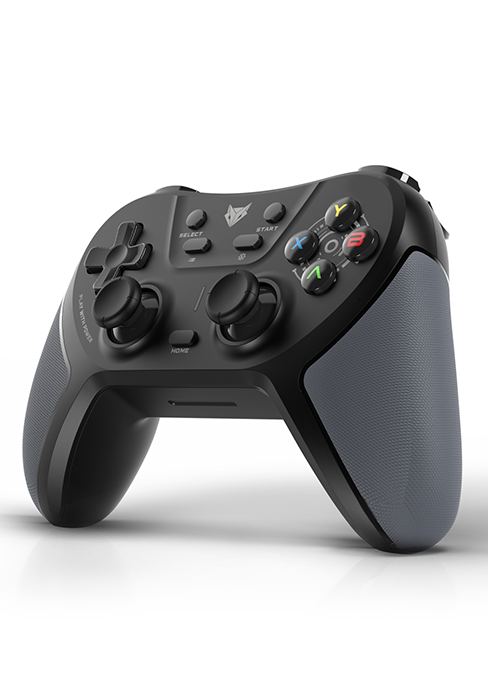
Image: A detailed shot of one of the controller's triggers, highlighting its design and texture.
4. Setup
The EvoFox Elite X2 offers both 2.4GHz wireless and wired connectivity options.

Image: The controller demonstrating its seamless dual connectivity, supporting both wired and 2.4GHz wireless modes.
4.1. 2.4GHz Wireless Mode
- Insert USB Receiver: Plug the 2.4GHz USB receiver into an available USB port on your PC.
- Power On Controller: Press the HOME button on the controller to turn it on.
- Pairing: The controller should automatically pair with the receiver. The LED indicators on the controller will show connection status.
- PC X-Input Mode: For optimal compatibility with PC games, long press the BACK + HOME buttons simultaneously to switch to X-Input mode.
4.2. Wired Mode
- Connect Cable: Connect one end of the provided USB-C cable to the controller's USB-C port and the other end to a USB port on your PC.
- Automatic Recognition: The PC will automatically detect the controller.
- PC X-Input Mode: For optimal compatibility with PC games, long press the BACK + HOME buttons simultaneously to switch to X-Input mode.
- USB Extender: If needed, use a USB extender for better cable management or reach.
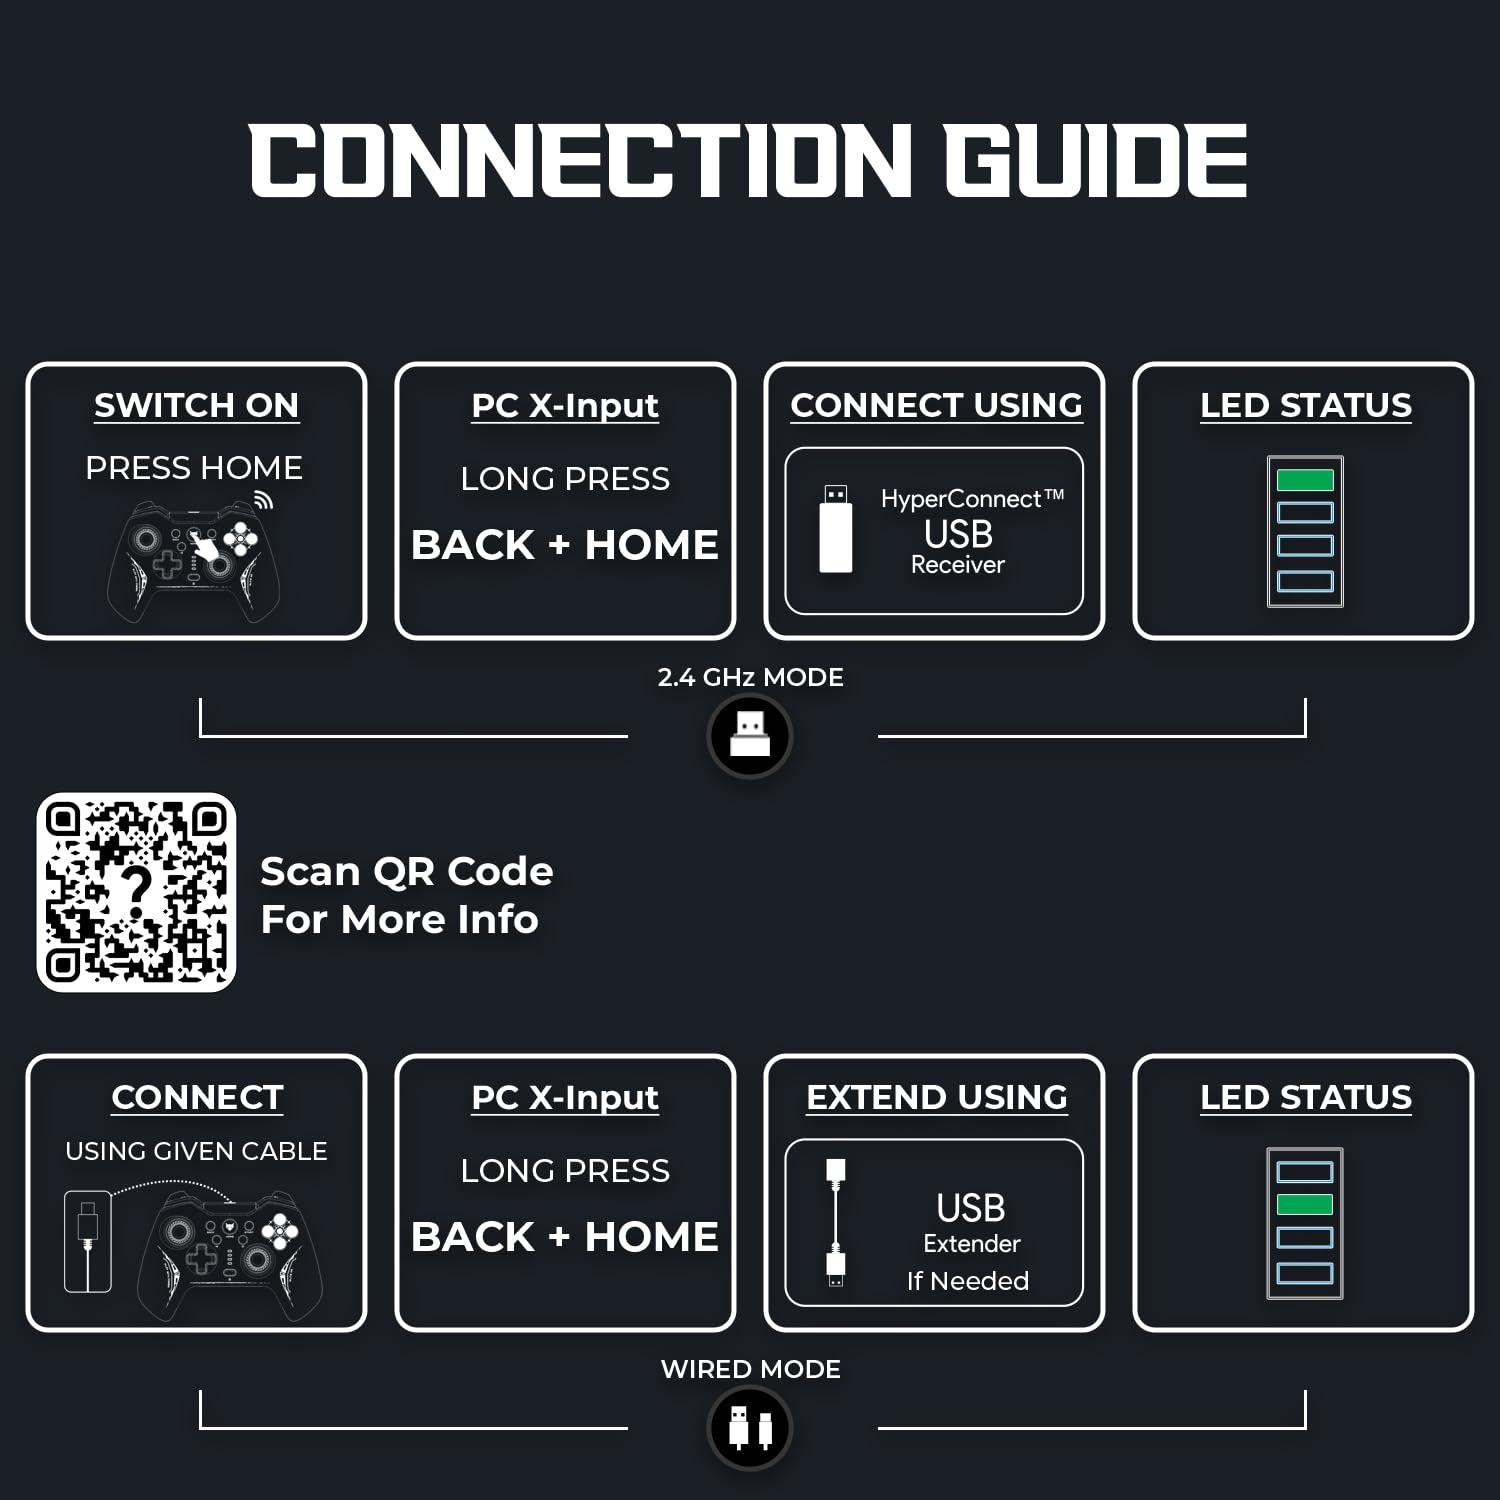
Image: A visual guide detailing the steps for connecting the EvoFox Elite X2 controller in both 2.4GHz wireless and wired modes, including LED status indicators.
For more information and troubleshooting, scan the QR code in the image or visit the official support page: https://www.amkette.com/qr/elite-x2-help
5. Operating Instructions
5.1. HallSense™ Magnetic Hall 3D Joysticks & Triggers
The HallSense™ technology utilizes magnetic sensors to provide precise, drift-free joystick movement and pressure-sensitive trigger input. This ensures accurate control in all game genres, from racing to first-person shooters.

Image: The controller highlighting its HallSense 3D Magnetic Analog Joysticks and Triggers, designed for enhanced precision and durability.
5.2. EZ Click Macros
The two programmable back buttons (M1, M2) allow you to assign complex commands or sequences for quick execution during gameplay. This feature provides a tactical advantage by enabling on-the-fly customization.
- Programming: Refer to the detailed programming instructions in the full digital manual (accessible via the QR code) for specific steps on how to assign macros.

Image: The rear view of the controller, pointing out the EZ Click Macro programmable buttons and the reset button.
5.3. Turbo Mode & Precision Mode
These modes offer enhanced control options:
- Turbo Mode: Press the Turbo button to activate rapid-fire for assigned buttons, useful in games requiring quick, repeated inputs.
- Precision Mode: Press the Precision button to reduce the joystick sensitivity by half (0.5X), allowing for extremely fine and accurate movements, ideal for sniping or delicate maneuvers.
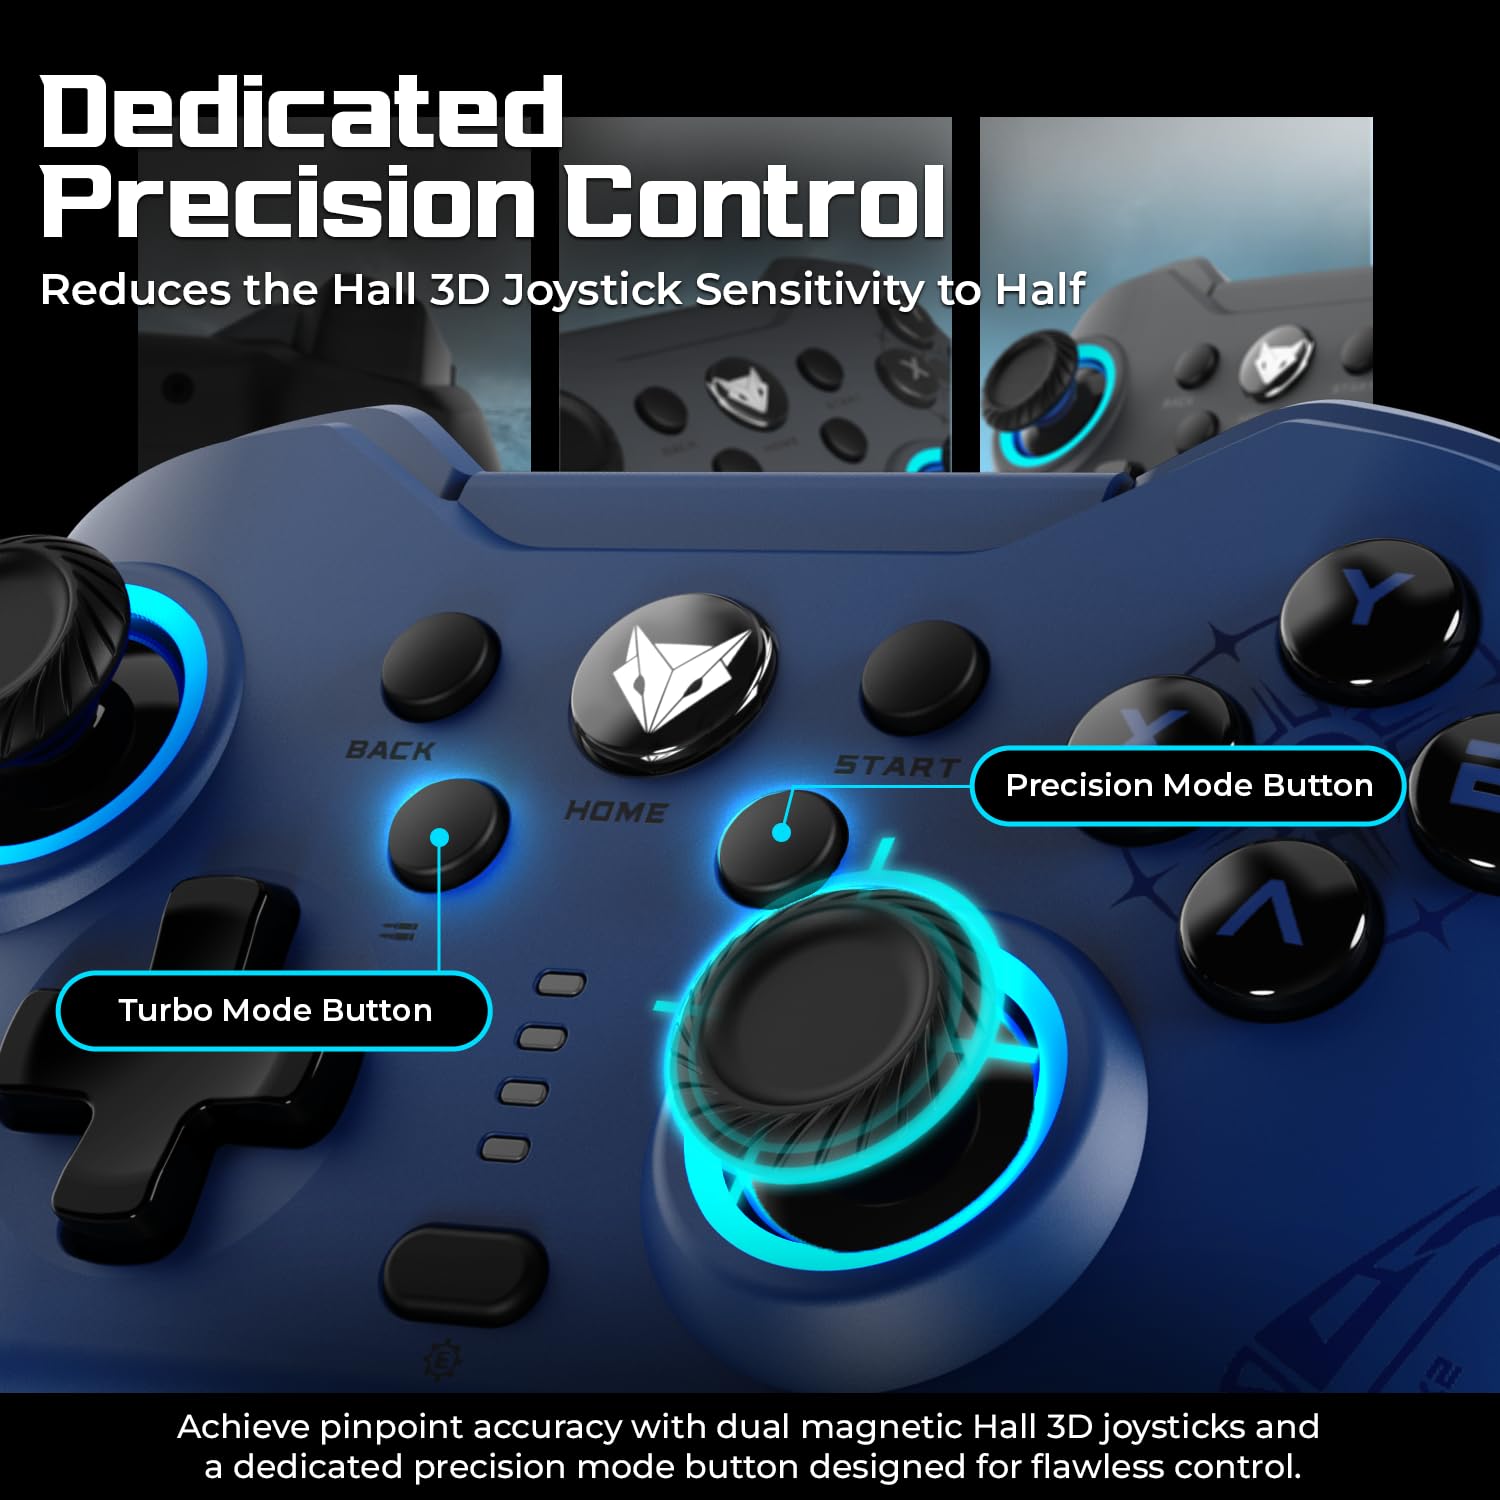
Image: A close-up of the controller's face, indicating the Turbo Mode and Precision Mode buttons for enhanced control.
5.4. Dual Vibration Motors
The integrated dual vibration motors provide realistic haptic feedback, enhancing immersion by simulating in-game events such as impacts, explosions, and recoil. There are up to 3 vibration levels.
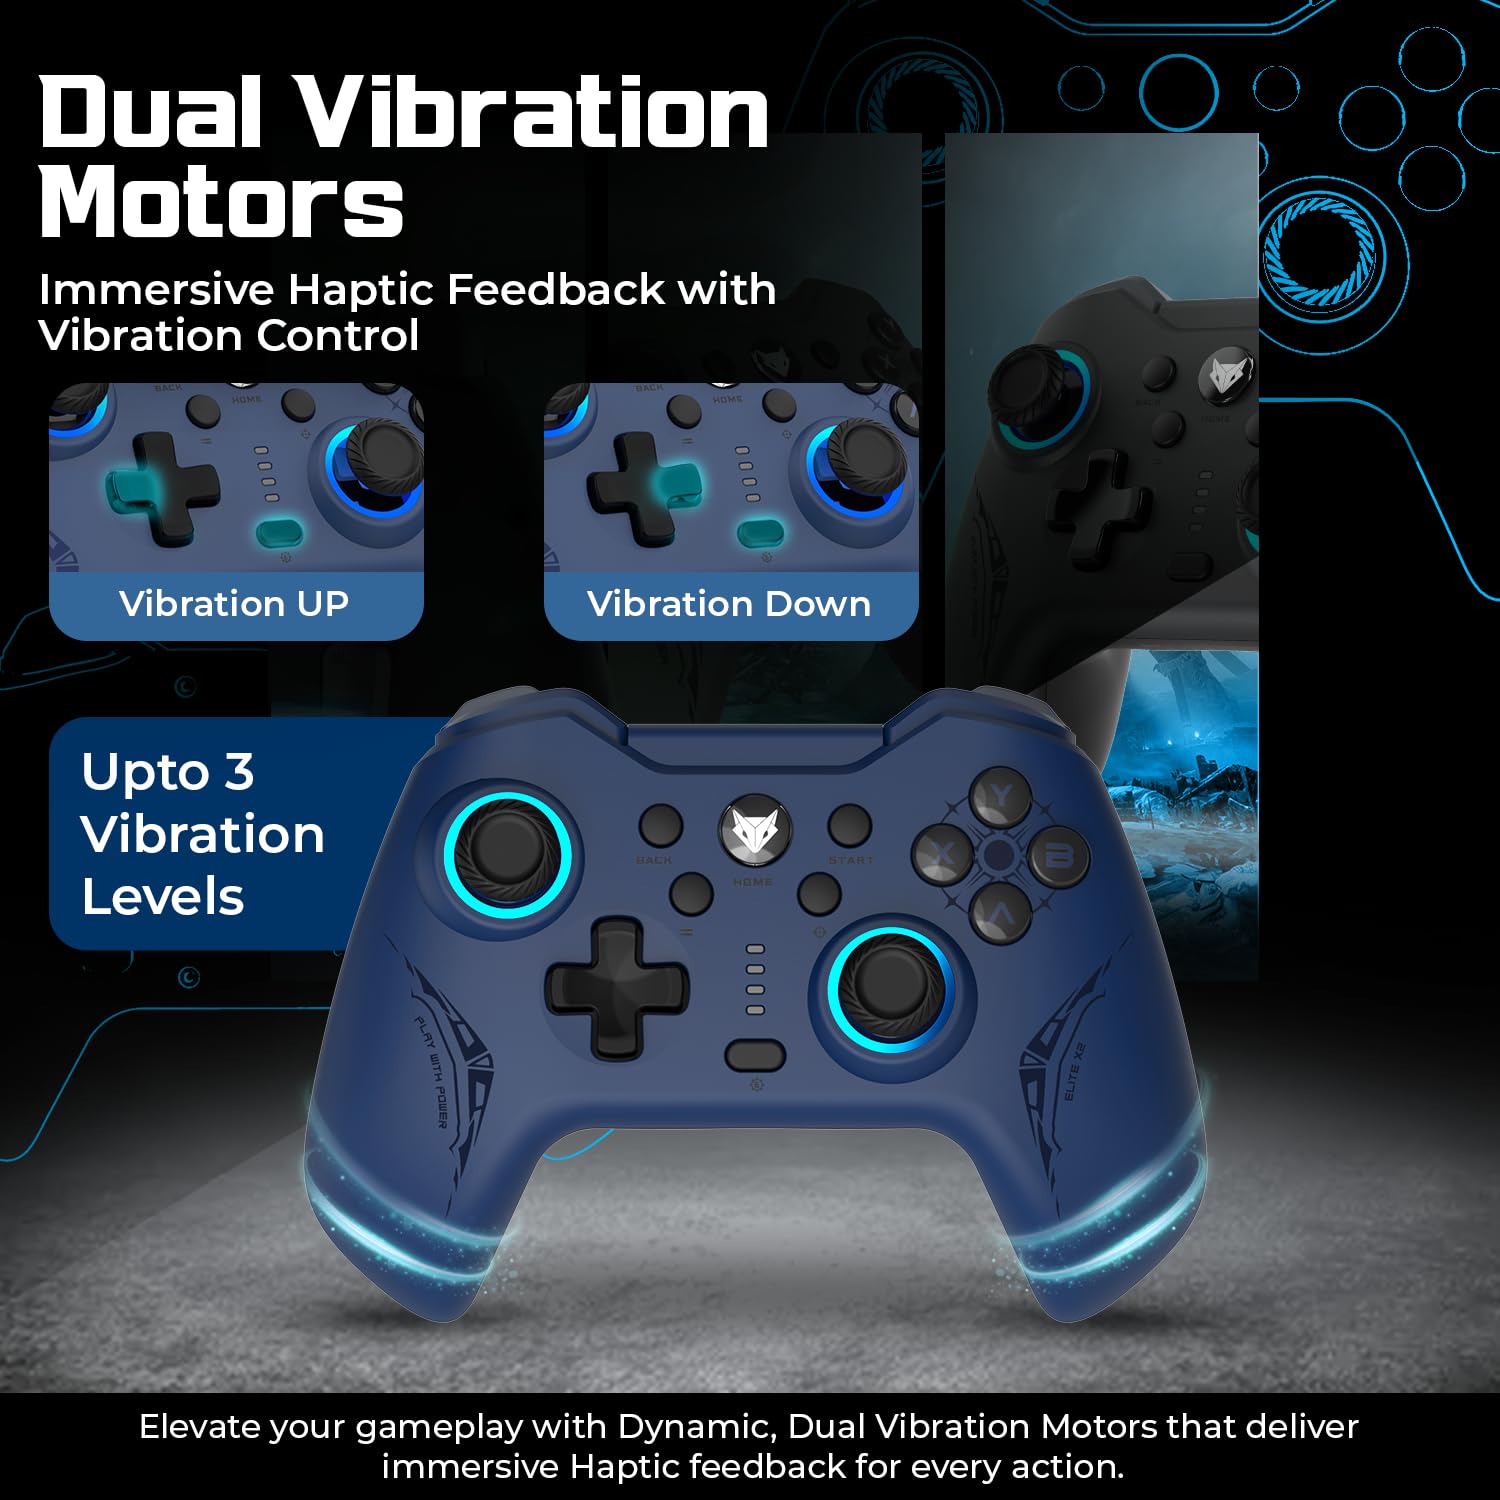
Image: The controller illustrating the effect of its dual vibration motors, providing immersive haptic feedback for various in-game actions.
6. Maintenance and Care
6.1. Charging
The controller is equipped with a 400mAh battery, providing up to 10-12 hours of playtime. To charge, connect the provided USB-C cable to the controller and a USB power source. A full charge takes approximately 2 hours.
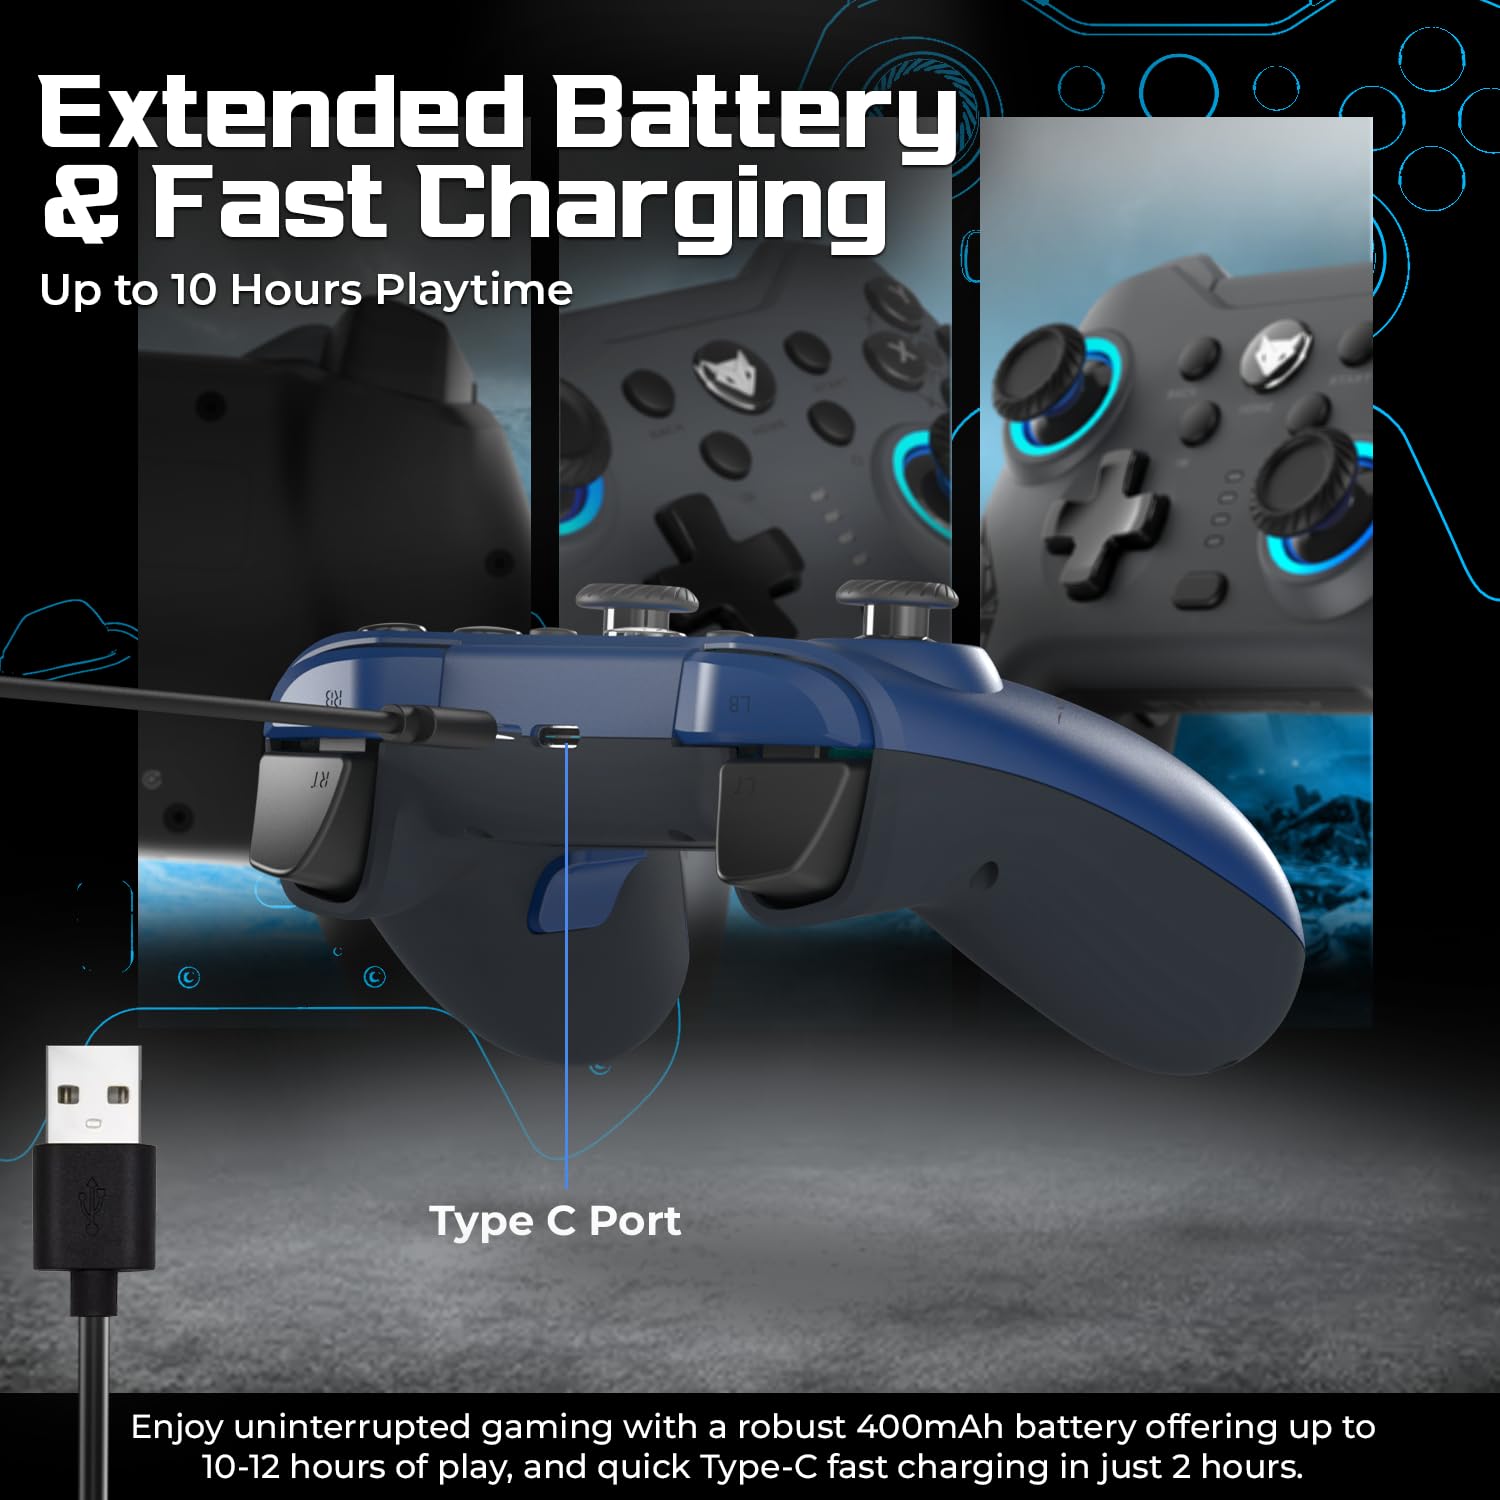
Image: The controller connected via its Type-C port, illustrating the charging process and highlighting its extended battery life.
6.2. Cleaning
To clean your controller, use a soft, dry cloth. For stubborn dirt, a slightly damp cloth can be used, followed by a dry cloth. Avoid using harsh chemicals or abrasive materials, as these can damage the controller's finish.
7. Troubleshooting
If you encounter issues with your EvoFox Elite X2 controller, please refer to the table below for common problems and solutions:
| Problem | Possible Solution |
|---|---|
| Controller does not turn on. | Ensure the controller is charged. Connect it to a power source using the USB-C cable. |
| Controller does not connect wirelessly. | Ensure the USB receiver is properly plugged into the PC. Try a different USB port. Ensure the controller is in 2.4GHz wireless mode. |
| Input lag or unresponsive buttons. | Ensure the controller is fully charged. Reduce distance between controller and receiver. Avoid interference from other wireless devices. Try wired mode. |
| Joysticks drifting or inaccurate. | The HallSense joysticks are designed to prevent drift. If issues occur, try resetting the controller using a pin in the reset hole on the back. |
| Vibration not working. | Check in-game settings to ensure vibration is enabled. Some games may not support vibration. |
For further assistance, please refer to the online support resources linked in the Setup section.
8. Specifications
| Feature | Detail |
|---|---|
| Model Number | 491 |
| Connectivity | 2.4GHz Wireless, USB-C Wired |
| Polling Rate | 1000Hz |
| Joysticks | HallSense™ Magnetic Hall 3D Joysticks |
| Triggers | HallSense™ Magnetic Analog Triggers (Pressure-Sensitive) |
| Macro Buttons | 2 Programmable EZ Click Macro Buttons |
| Vibration | Dual Vibration Motors (Up to 3 levels) |
| Battery | 400mAh (Up to 10-12 hours playtime) |
| Charging Time | Approx. 2 hours |
| Product Dimensions | 16 x 11 x 6.8 cm |
| Item Weight | 250 g |
| Country of Origin | China |
9. Warranty and Support
For information regarding warranty coverage and terms, please refer to the warranty card included with your product packaging or visit the official EvoFox website. Keep your purchase receipt as proof of purchase for warranty claims.
For technical support, frequently asked questions, and additional resources, please visit the EvoFox support page: https://www.amkette.com/qr/elite-x2-help
Related documentsElite X2 (Blue)


Ask a question about this manual
Ask about setup, troubleshooting, compatibility, parts, safety, or missing instructions. Manuals+ will review the question and use this page’s manual context to help answer it.